Laying title cards over a locked cut
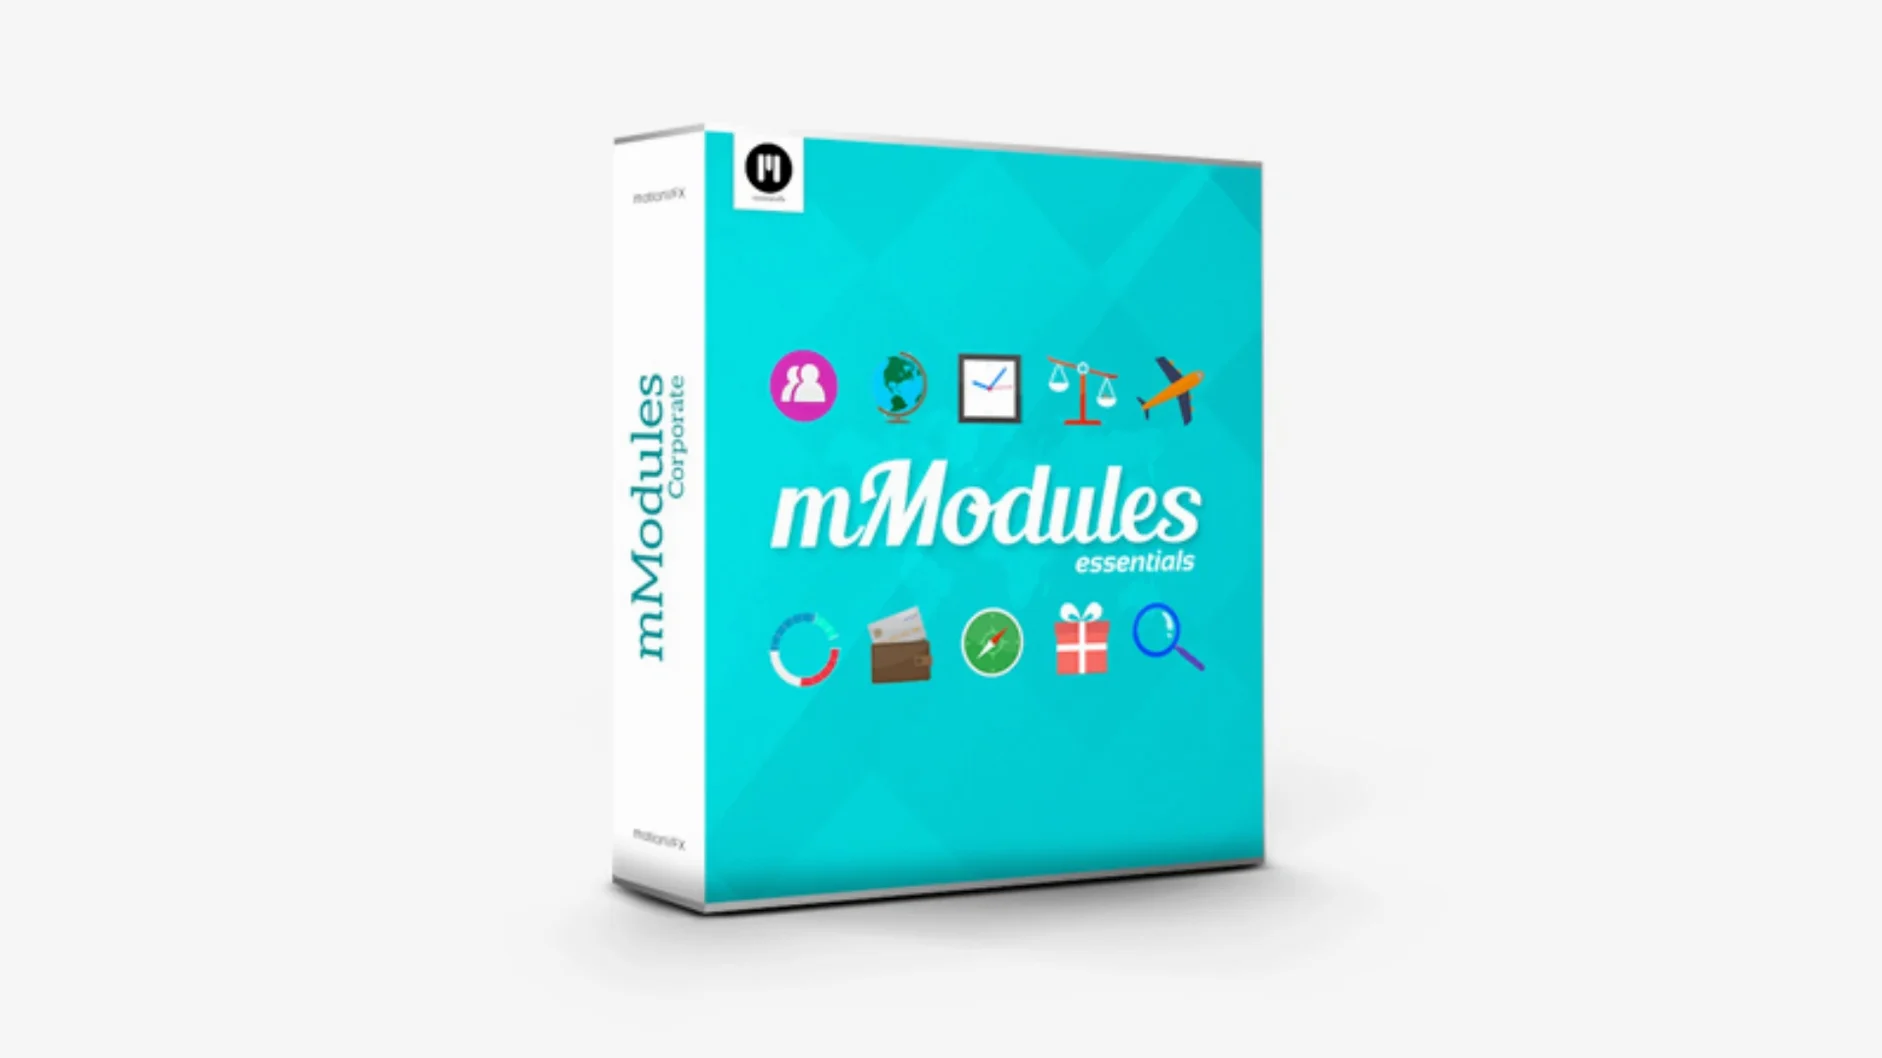
You’ve finished the timeline, the picture is locked, and now every gap needs a title card, a lower third, or a subtle animated reveal. mModules places sixty of those pieces in one folder inside the Generators browser, so you can drag a styled element straight onto the storyline and shift the text while the next clip plays through.
Scoring a transition with motion type
When an edit needs more than a dissolve, a kinetic text module with its own built-in movement can bridge two scenes while the sound design underneath holds the mood. The elements arrive as Final Cut Pro templates — no round-tripping to Motion required unless you want to crack one open and tweak the behaviour yourself.
Building a reusable show open
Three or four modules stacked across a compound clip form a quick show open you can archive for the next episode. Because the set lives in the Titles folder of your Movies directory, every project on the machine sees the same library, keeping recurring segments consistent across seasons.
Where mModules sits among your other tools
The files land in /Users/Your User Name/Movies/Motion Templates/Titles, which means Final Cut Pro reads them the same way it reads any custom title you've built yourself or downloaded from another source. That shared folder is the quiet centre of a surprisingly flexible ecosystem. If you also keep a collection of LUTs in the Effects folder or a handful of custom generators from other small developers, everything appears in the same browser panes without conflict — motionVFX templates carry their own category tag, so they don't mix with your own experiments or with stock Apple titles.
Because the templates sit as plain folders on disk rather than inside a managed library, macOS Spotlight can index the file names. Type "glitch" or "minimal" into a Finder search and you'll land on the template folder itself, which is handy when you've collected a few hundred elements over time and can't remember which pack a particular style came from. Backups are straightforward too: the folder tucks into the same Movies directory that Time Machine already watches by default, so a fresh macOS install plus a restore brings everything back without re-downloading.
These templates also play nicely with Compressor. Send a project that uses mModules elements to a Compressor batch and the titles render as part of the flattened video — no missing-plugin warnings, no offline media flags. That matters when you're handing off a master to a colourist or an online editor who works in a different application entirely.
Breathe through the first launch as Final Cut scans your mModules
After you drop the unpacked folder into the Titles path and launch Final Cut Pro, give the browser a moment to scan. On a large library with many third-party templates, the first launch might take an extra ten or fifteen seconds before the motionVFX category appears under both Titles and Generators. That pause only happens once; subsequent launches are back to normal speed.
A habit worth forming early: skim all sixty elements in one sitting. Drop each onto a throwaway timeline, scrub through the animation, and note which ones share a similar pace or entry style. Group those mentally as a set — fast reveals for social cuts, slower builds for documentary interviews, and the few that work well as punctuation marks between sections. You'll reach for them faster later when a producer is standing behind your shoulder.
Rename a copy of the template the first time you customize its text parameters. Hit Cmd-C on the template in the timeline, paste it into the Titles browser, and give the duplicate a project-specific name. The original stays untouched for the next job, and the tweaked version carries your font choices, colour shifts, and timing adjustments into the rest of the edit.
A stutter-glitch intro: one task from blank timeline to export
Suppose a music video needs a five-second artist name card that feels unstable, almost like a broadcast signal breaking apart. Start with an empty project and place a freeze frame of the opening shot on the primary storyline — something dark, with enough negative space for text to sit comfortably. Open the Titles browser, find the motionVFX category, and locate a glitch-style module with rapid horizontal offsets and a chromatic aberration flicker built in. Drag it above the freeze frame as a connected title.
Type the artist name into the text field and set the font to a wide sans-serif — something like Inter or Helvetica Now in a heavy weight. Most of the glitch modules in the set expose parameters for flicker speed, colour channel separation, and block displacement. Drop the speed slightly below the default so the effect reads as unsettled rather than frantic, then push the red and blue channel offsets a few points further apart for that analogue CRT edge. Play the result with the music track unmuted. The text should hit on the downbeat of the intro swell.
If the module's built-in animation runs longer than five seconds, trim the template's duration in the timeline the same way you'd trim a clip — drag the edge. The motion curves scale to fit, so the effect completes within the new duration rather than cutting off abruptly. Add a second module underneath, something subtle that fades up a thin line or a geometric shape behind the name, just enough to anchor the text against the background. Colour-correct the freeze frame to drop the exposure a half-stop, and the whole thing reads as a deliberate title sequence rather than an afterthought applied to an still frame. Export a range selection to check the timing against the audio waveform, adjust one or two keyframes in the text parameters pane, and you're done.
Drop mModules into the wrong folder and Final Cut stays silent
One of the first things that can trip people up is the folder path. If the templates are dropped directly into /Movies/Motion Templates/ without the /Titles subfolder, Final Cut Pro ignores them. The fix is quick: open the Motion Templates folder, create a folder called Titles if it doesn't exist, and move the motionVFX folder inside it. Restart Final Cut Pro and the category appears.
Another occasional snag shows up on Apple Silicon machines when Final Cut Pro has been migrated from an Intel Mac using the system migration assistant. Some third-party template caches don't carry over cleanly. If the motionVFX category stays missing after a correct install, quit Final Cut Pro, hold Option-Cmd while relaunching, and delete the preferences when prompted. The scan runs fresh and the templates populate within moments.
When a template preview thumbnail shows a blank grey square in the browser, the cause is usually a font the module expects but can't find. The elements ship referencing system fonts, but if you've removed or disabled any of the standard macOS typefaces, the preview renderer can't draw the placeholder text. Re-enabling the core fonts in Font Book solves it. The templates still work — the grey square is a preview issue, not a broken file.
People occasionally search for motionvfx plugins free download or motionvfx download looking for these exact elements, and the pack itself is straightforward to get hold of. Just make sure the folder lands in the right place on disk — most problems trace back to that one path detail, and once it's sorted the whole sixty-element set behaves as reliably as the built-in Final Cut Pro titles.
- macOS version not published by the developer
- Architecture not published by the developer
- Requires Final Cut Pro X