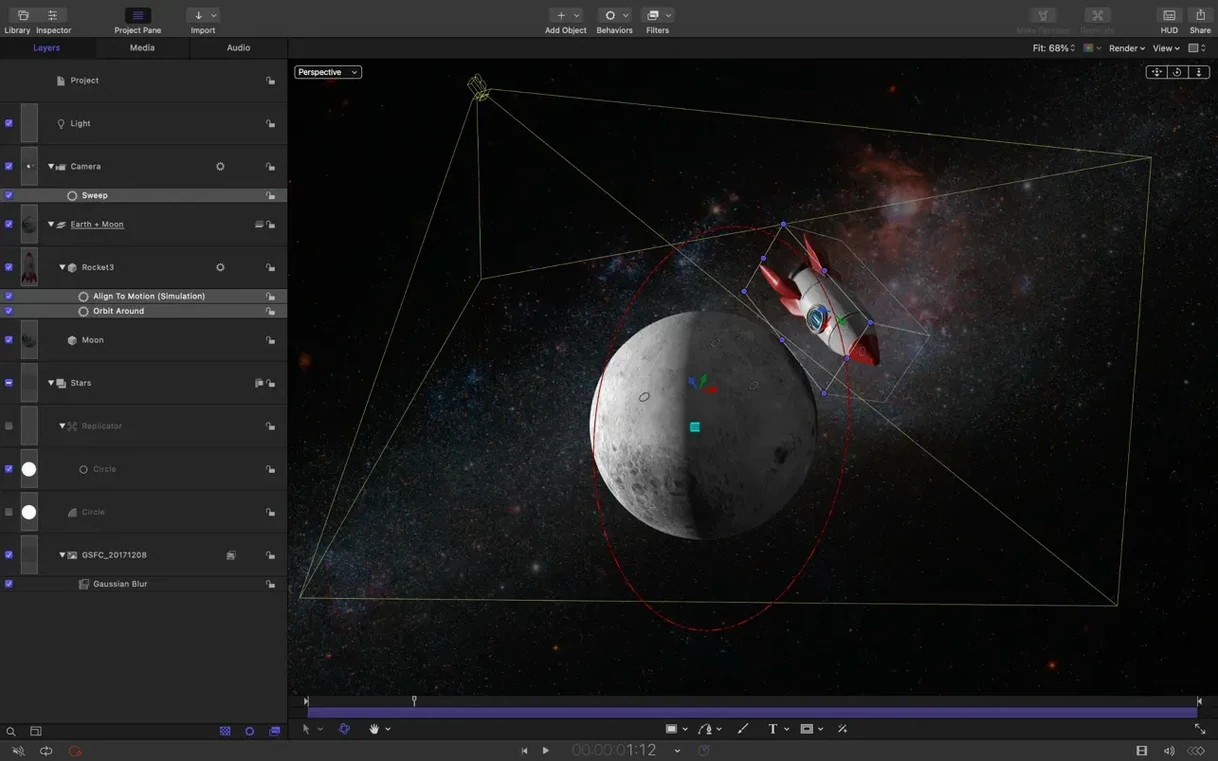
When a timeline full of clips needs a title sequence that doesn't feel like a template, or a transition that carries the emotional weight of a cut, a standard editing timeline quickly hits its limits. Motion is Apple's answer to that moment — a dedicated motion graphics workspace that feels less like a separate program and more like the other half of the edit.
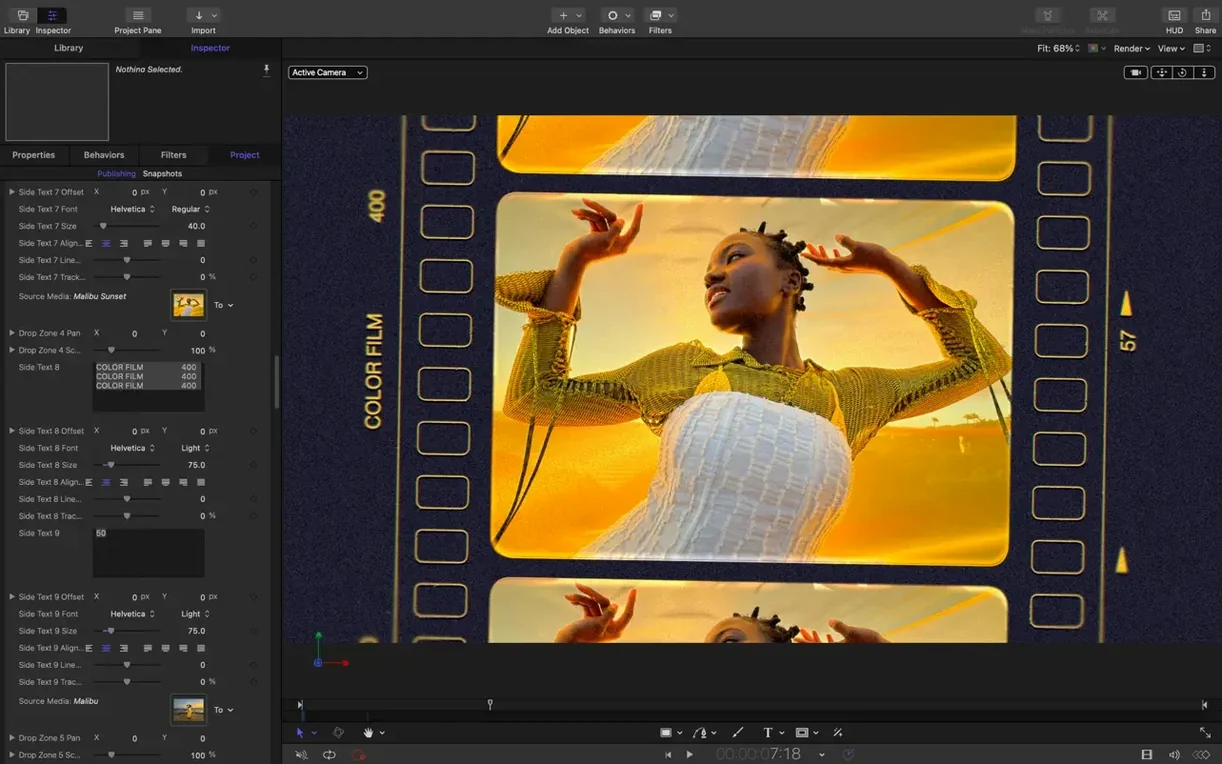
- Publish custom titles, generators and transitions directly into Final Cut Pro, where they appear alongside the built-in effects and adjust with on-screen controls.
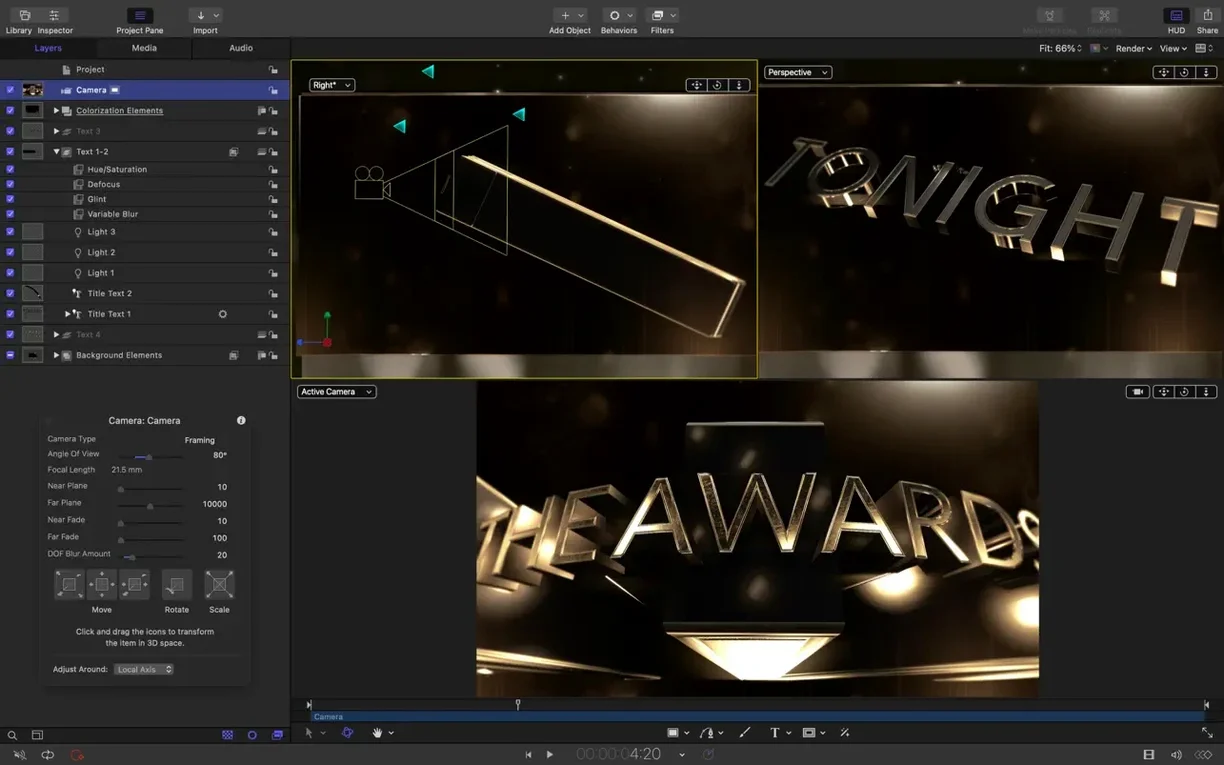
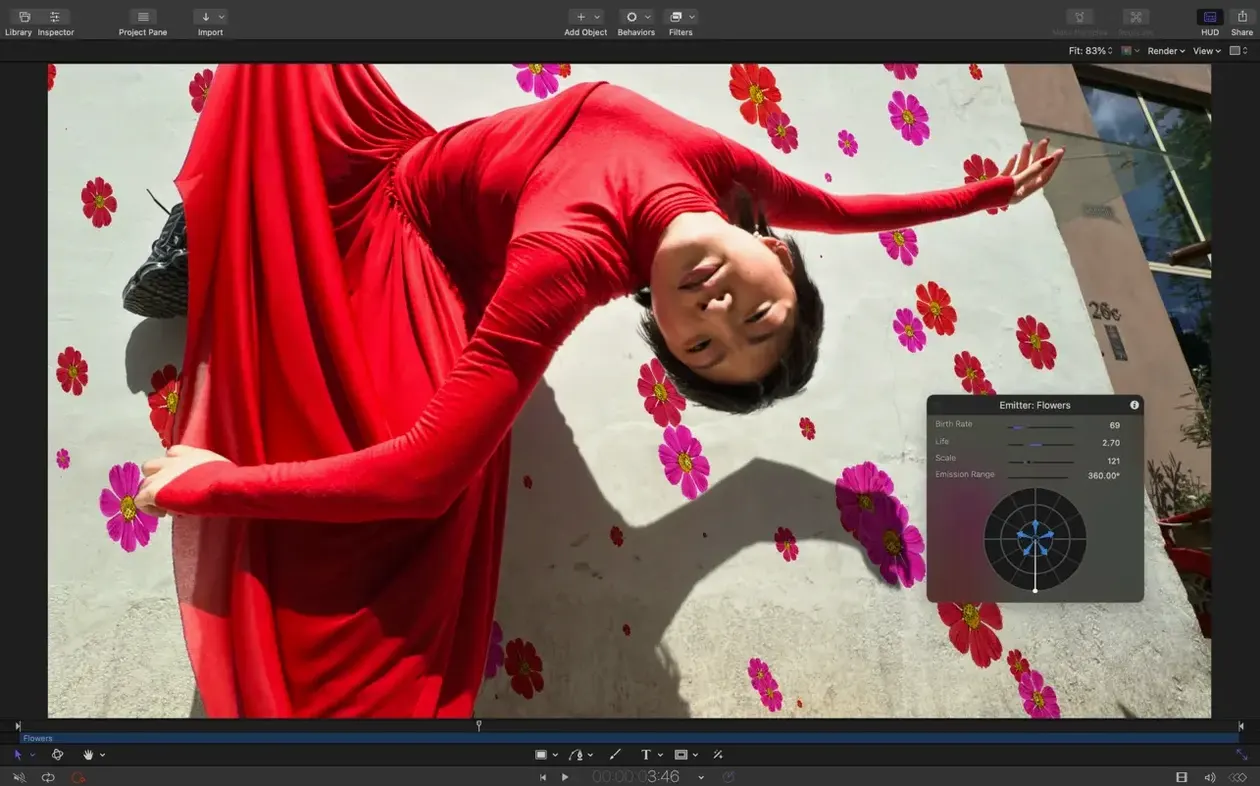
- Build particle emitters and 3D text scenes that play back in real time, so you see the grain, glow and motion as you tweak, not after a render.
- Hand a finished project to Compressor for batch encoding without leaving the Apple Creator Studio workflow — formats, frame sizes and codecs carry across cleanly.
- Import SVG artwork that scales to any canvas size and stays sharp at any resolution, which matters when a title card needs to work in both a 4K commercial and a conference-hall screen.
- Stagger, cascade or reverse clip timing with new sequencing controls that turn a flat stack of layers into a rhythmic reveal.
Motion sits between the cut and the final encode, doing the work that a nonlinear editor's built-in titler was never meant to handle. It's the same engine that drives Final Cut Pro's effects, opened up so you can build your own, and the recent update quietly fixes a colour pipeline issue where some filters rendered too bright on macOS 26 — a detail that matters when a grade has to hold across screens.
Closing it like a plug-in panel is the first wrong turn
Most trouble in Motion starts the same way: a Final Cut editor opens it expecting a plug-in panel, finds a full node-and-layer workspace, and closes it again. It's not a plug-in, and treating it like one leads to the first real snag — building an effect that looks right in Motion but arrives in Final Cut with missing media or broken timing. The fix is almost always in the project structure. Before you add a single shape or emitter, create a group for every logical piece of the composition and name the groups like you'd name bins in an edit. When you publish a template later, Final Cut reads those group names as parameter sections. Skip this, and you'll publish a flat list of sliders nobody can navigate.
The Bezier Mask vertex selection bug that 6.3 finally fixed used to drive people toward workarounds like converting masks to shapes and back again. If you're opening older projects and vertices still feel unresponsive, select the mask, hit Tab to cycle through points, then try dragging again — some legacy project files need that nudge after the update. Another recurring headache is 3D text that goes blurry or picks up the wrong texture during playback. Version 6.3 addresses the texture bug, but if you're still seeing soft type, check the Render menu and make sure you're not previewing at half resolution. Motion defaults to performance mode on older Macs, and its idea of "performance" sometimes means dropping texture fidelity before touching frame rate.
SVG import is the headlining feature, but it trips people up when they expect an Illustrator file to land with editable vectors. Motion reads SVGs as scalable source media, not as live shape layers — you can resize without loss, but you can't reach inside the file and push individual points around. If you need editable vector shapes, import the SVG into a separate group as a reference layer, then rebuild the critical parts with Motion's native shape tools on top. It's an extra few minutes that saves frustration when a client asks to tweak the curve of a logo mark after you've animated the whole sequence.
A dozen particle emitters play fine—until they don't
Motion's real-time engine is genuinely impressive until it isn't. On an Apple Silicon Mac with 16 GB of RAM or more, a dozen particle emitters, some 3D text and a few blend-mode-heavy groups will play back without a stutter. The engine leans hard on the GPU, and it's smart about dropping resolution on the fly rather than dropping frames. You'll see the canvas go slightly soft during a complex spin, then snap back to full sharpness the moment you pause — that's the design, not a bug. On an Intel Mac, particularly one with integrated graphics, the same project will need the View Quality set to Medium or Low to stay responsive, and even then, heavy 3D text scenes with reflections and environmental lighting will crawl.
Stability has improved markedly with 6.3. The colour pipeline fix for macOS 26 was overdue — editors who grade in Final Cut and round-trip through Motion for titles had been noticing gamma shifts that forced manual correction on return. That's gone now. Crashes do still happen, almost always when you're deep into a particle emitter's keyframe graph and Motion runs out of headroom for undo states. The autosave is generous, set to every five minutes by default, and it writes to the project bundle rather than a temp folder. I've lost maybe thirty seconds of work across a dozen crash recoveries.
Memory usage is the stat worth watching. A modest project with a few published generators sits around 800 MB to 1.2 GB. Add a 4K footage layer, some 3D text and an emitter with a few hundred particles, and you'll see 4–6 GB easily. The app won't warn you before it starts swapping — your first sign is a laggy canvas and the fans spinning up. Keep Activity Monitor open on a second screen during the first week, just to learn where your machine's ceiling sits with the kind of work you do.
Change the default 10-second timeline before you make anything
Motion ships with sensible defaults, but a few changes in the first hour make the next six months smoother. First, open Preferences > Project and set the default project duration to something longer than the factory 10 seconds — 30 seconds gives you room to let an animation breathe without resizing the timeline later. Switch Time Display to show frames rather than seconds. Motion is a frame-by-frame tool, and thinking in timecode distances you from the actual rhythm of keyframes and easing curves.
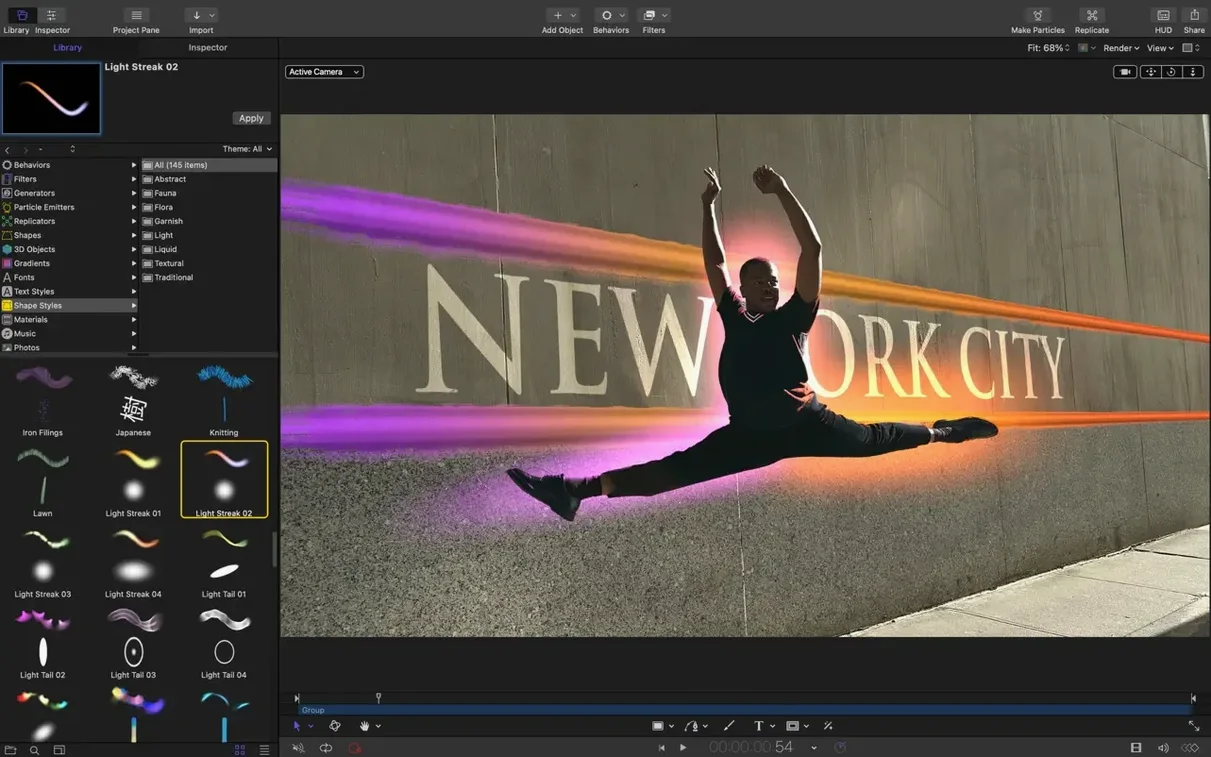
Second, spend ten minutes inside the Library tab, not browsing content but understanding how behaviours and filters are organized. Behaviors live under a separate category from Filters, which isn't how Final Cut presents them, and the distinction matters: behaviors drive procedural animation without keyframes, while filters are pixel-level treatments. Newcomers often stack a blur filter when they meant to add a fade-in behavior, then wonder why the fade doesn't animate. Drag the handful of behaviors you'll actually use — Throw, Fade In/Out, Grow/Shrink, Orbit Around — into a Favorites folder. It sounds trivial, but reaching for a known behaviour in three seconds instead of hunting through menus keeps the brain in a creative state.
Third, create a test template on day one, even if it's just a lower-third with your name on it. Publish it to Final Cut, drop it on a dummy timeline, and tweak the on-screen controls. The round-trip reveals what parameters actually matter to an editor — typically position, scale and text content — and which ones you can leave unpublished or hide under an advanced disclosure triangle. Learning what to publish is the single skill that makes everything you build in Motion useful to the person cutting the actual project.
No storyboard, just a note that 'the camera's still rolling'
A producer emails at 10:14. The documentary cut they locked last night has a title card at the opening that feels too static, and the director wants something that "moves like the camera's still rolling." No storyboard, no reference, just the clip — a slow drone push across a frozen lake at dawn, the camera rising as mist pulls back from the tree line. I drop the clip into Final Cut, mark the in and out points where the title lives, then right-click and choose Send to Motion. Motion opens with the clip on the timeline, frame-accurate, the playhead parked at the first frame of the selection.
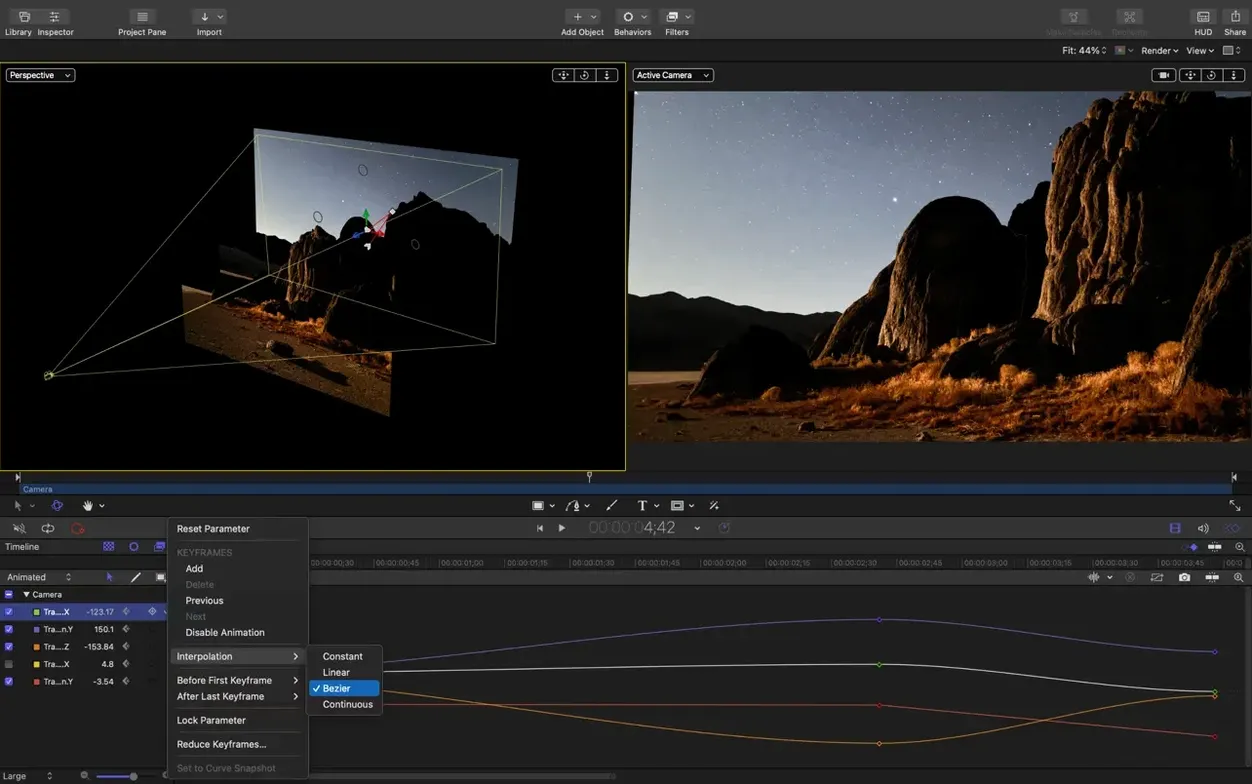
I add a 3D text layer above the clip and type the title. The default Helvetica feels wrong immediately — too urban, too clean. I swap it for something with softer serifs and pull the tracking open until each letter has room. Then I rotate the whole text block slightly on the Y axis so it sits in the same perspective plane as the frozen lake. The drone is still rising in the background clip, so I keyframe the text position to match — a slow lift, half the speed of the camera move, as though the words are drifting up through the mist rather than being stamped onto the frame.
I add a particle emitter behind the text, tiny specks of light, maybe a dozen particles total. Not snow — something more abstract, like dust catching the first sun. I set the emitter shape to a wide, shallow box so the particles spread horizontally behind the letters, then dial the birth rate down until new particles appear only every half-second. A Throw behavior pushes them gently upward. The whole thing is playing back in real time, no dropped frames, the mist in the clip moving through the transparent particles as the text rises.
I publish the text content and text size so the editor can change the title without coming back to me, then publish the particle opacity on a slider called "Dust visibility" — a small touch that lets them dial the effect up or down depending on how the grade looks after colour correction. I save the template, switch back to Final Cut, and the title sequence is waiting in the Effects browser under my custom category. The editor drops it in, opens the inspector, types the new title, and nudges the dust slider to 70%. The whole session took fifty minutes, including the time spent staring at the frozen lake footage and letting the mood of the shot suggest the movement.
The real fork in the road is After Effects versus Fusion
Motion's closest neighbors on the Mac are Adobe After Effects, DaVinci Resolve Fusion and, for the template-driven crowd, Lumen5 or similar quick-turnaround tools. The comparison that matters is with After Effects and Fusion, because those are the apps someone actively considers when they're looking for a motion mac download or weighing whether to stay inside the Apple ecosystem.
After Effects does more, and that's both its strength and its burden. It's a compositor first, a motion graphics tool second, and you feel that priority in every part of the interface — pre-comps, expressions, the endless plugin ecosystem. For a title sequence on a documentary, After Effects is using a sledgehammer to hang a picture. Motion does less, but the things it does — titles, transitions, generators, particle work — sit closer to the edit. The real-time playback alone changes the rhythm of a session; you're not waiting for a RAM preview to see if an easing curve feels right. If you publish templates to Final Cut, Motion is the only choice that makes those templates feel native, with on-screen controls and parameter sliders that an editor can reach without opening another program. Someone typing apple motion free download into a search is often an editor who already lives in Final Cut and needs to build effects that fit that world.
DaVinci Resolve Fusion sits somewhere between the two. It's node-based rather than layer-based, which is a genuine philosophical divide — nodes reward people who think in signal flows, and layers reward people who think in visual stacks. Fusion is deeply capable, and the fact that it's built into Resolve means you can move from edit to effects without launching another application. But Fusion's learning curve is steeper than Motion's, and its real-time performance on a Mac without a dedicated GPU can be rougher. Motion gets out of your way faster if you're building title sequences and lower-thirds for broadcast or corporate work. Fusion pulls ahead when you need to track a screen replacement or build a complex key from noisy footage — the stuff Motion's simpler toolset wasn't really designed for.
There's a quiet camp of editors who come to Motion from the other direction — they've been searching for an Apple Motion torrent or looking into an Apple Motion download because they remember the old Motion 5 from years ago and want to see what the current version does. For them, the surprise is how much of the original architecture survived. The particle system still traces its lineage to the same engine. The replicator, the behaviours, the keyframe editor — they've been polished and optimized, not replaced. Motion in version 6.3 feels like a mature tool that knows exactly which problems it solves and doesn't try to chase After Effects into compositing territory it'll never occupy.
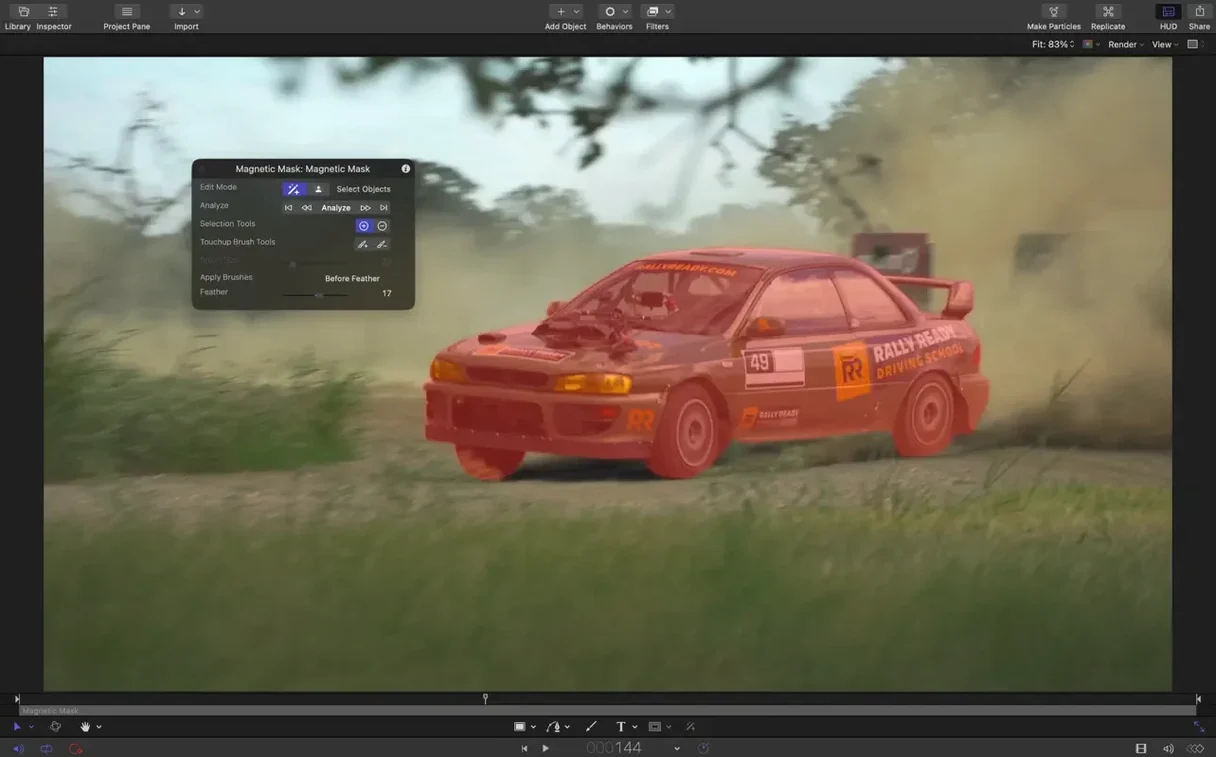
Version 6.3 adds SVG import that keeps artwork sharp at any resolution, plus new controls to stagger, cascade or reverse clip timing. Performance updates ship alongside fixes for Bezier Mask vertex selection, incorrect texture media during playback for some 3D text and particle emitters, and a colour correction rendering issue that made certain filters appear too bright on macOS 26.
- macOS 15.6 or later
- Apple Silicon or Intel 64-bit Mac
Questions from the booth
Yes. Effects, titles, transitions and generators built in Motion publish directly into Final Cut Pro and behave like built-in effects with on-screen controls.
Motion is included in Apple Creator Studio, alongside Final Cut Pro and Compressor, for a shared workflow from edit through motion graphics to final encoding.