Omnisphere shows up as a native ARM and x86 64-bit instrument, comfortable on any Mac running macOS 11 or later. It arrives as a standalone application and slots into a DAW session as an AU, VST, or AAX plug-in — the same patch can follow you from Logic to Pro Tools to Ableton without a second thought.
- Open your DAW and load Omnisphere on an instrument track. The browser sorts by category, timbre, and mood, so you can pull up a patch by the scene it needs to score.
- Play a few notes. The engine layers sample-based sources, wavetable, granular, and virtual analog waveforms into a single sound, reacting to velocity in ways that feel less like a preset and more like a recorded performance.
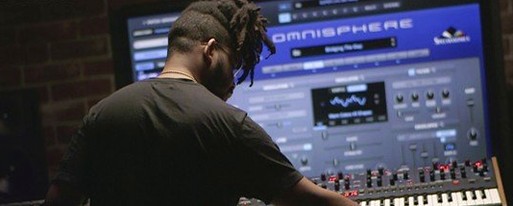
- Connect a hardware synth or MIDI controller. Omnisphere recognizes the panel layout from major brands and maps its parameters across, turning the plugin into a physical instrument you can reach out and touch.
Because the core library is a separate STEAM folder, you build the sound set once and every format draws from the same place. That makes swapping between the standalone window and a packed film cue session feel like the same instrument, just framed differently.
Why a fast external drive feeds the 60 GB library
People want to know whether the STEAM library demands its own drive. It does not, but it rewards one. The factory content spans over 60 GB, and Omnisphere streams samples from disk rather than loading everything into RAM. An external SSD connected over Thunderbolt or USB‑C keeps the library responsive while leaving your system drive free for the DAW’s temp files and the OS. You can point the plugin to whichever folder holds the STEAM data after installation, so moving it later is painless.
Another common question is whether Omnisphere works inside a Rosetta‑translated DAW. The plugin ships as a universal binary — it runs native on Apple Silicon and Intel, and it does not ask the host to translate anything. If your DAW itself is still running under Rosetta, Omnisphere appears as the correct architecture for that process without glitching. People running Logic or Ableton natively on an M‑series Mac simply open it and play.
The Hardware Synth Integration raises its own set of questions. It is not MIDI learn. Omnisphere reads the control map of a connected synth — a Prophet, a System‑8, a Subsequent 37 — and mirrors its knob layout onto the current patch. Parameters snap to where your hands already are. You do not need to program mappings, and you are not locked into the factory templates; you can still override assignments if a sound calls for it.
Smoother patch scrolling under audio load
The move from 3.0.0d to 3.0.2c tightened things that only become obvious after a few long sessions. Patch browsing, for one, settled down. Earlier 3.0 builds could hesitate when scrolling through a dense category while the audio engine was under load; the 3.0.2c release smoothed that out, so flipping between a bowed glass texture and a sub‑heavy arpeggio happens without the GUI stalling. For anyone building a cue with twenty instances open, that small change means you stop waiting for the plugin to catch up and stay in the flow of writing.
Another quiet improvement lives in the hardware integration layer. Spectrasonics tuned the handshake with several controller profiles, cutting the occasional lag between turning a physical cutoff knob and hearing the filter sweep. On a Subsequent 37 or a Prophet Rev2, the response now feels immediate enough that you reach for the synth panel instead of the mouse. The update did not add new synthesis engines or overhaul the browser — it refined the parts that make daily use feel like a conversation rather than a set of menu clicks.
Put the arpeggiator and Orb on the same track immediately
Give Omnisphere a dedicated audio track with the arpeggiator and the Orb running at the same time, early on. The Orb is a circular motion controller that morphs multiple parameters along a path you define, and pairing it with the arpeggiator reveals how much movement one held chord can generate. Drag the Orb’s cursor toward the edge of the circle while the arpeggiator cycles through a pattern, and the patch shifts timbre, filter state, and effects depth in ways that suggest a score cue building itself. It is the fastest way to learn what the performance controls actually do without reading the reference guide front to back.
Set up the STEAM folder location before you start a serious project. Omnisphere asks for the library path on first launch, and changing it afterward through the plugin’s settings pane takes seconds, but doing it mid‑session can interrupt the creative headspace. Point it to a fast external drive, let the plugin index the content once, and forget about it.
Spend an evening tagging favourites. The star‑rating system is simple, and every patch you mark becomes filterable in the browser. After a week, you will have a personal catalogue of go‑to sounds that cuts through the factory library’s sheer scale, and you will not find yourself re‑auditioning the same two hundred pads every time a scene needs atmosphere.
A textured pad from scratch, start to finish
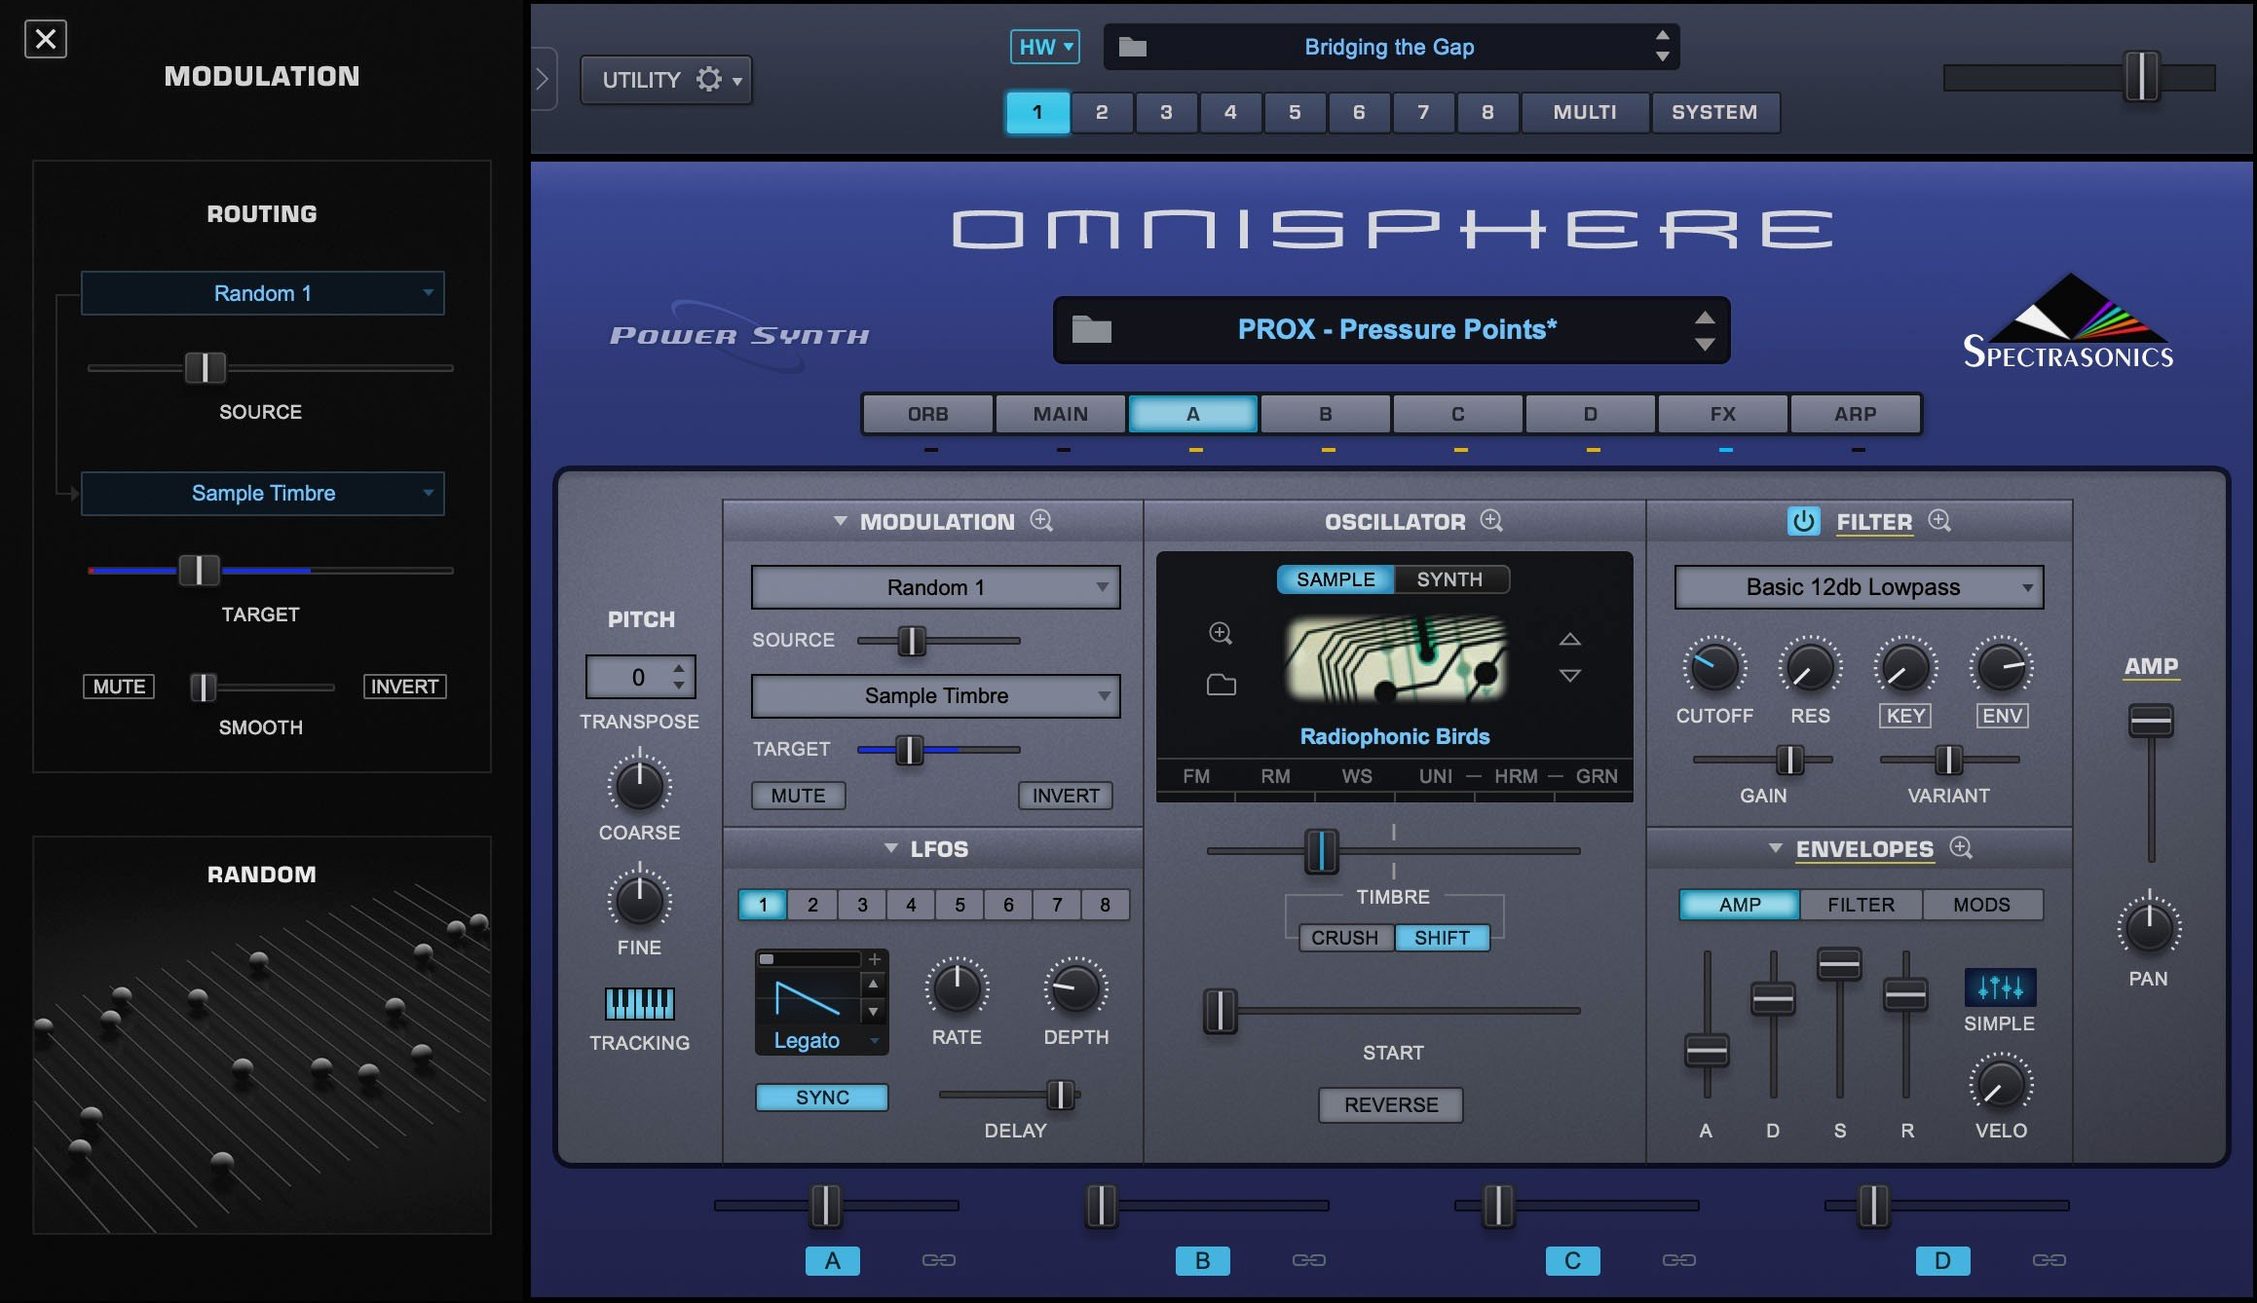
Begin by loading an initialized patch — a single sawtooth oscillator, no effects, amp envelope wide open. Immediately switch the oscillator type to a sample‑based source from the STEAM library. Choose something with an unstable, real‑world texture: bowed metal, a felted piano strike, or a field recording of rain on glass. Set the amp envelope to a slow attack, around 1.2 seconds, and a release that trails off over three seconds. The sound should swell into the scene, not announce itself.
Layer a second oscillator, this time a wavetable set to a glassy, formant‑heavy waveform. Detune it by seven cents and drop its volume until it sits just behind the sample source, adding a halo of pitch movement. Assign the Orb to control oscillator detune amount and wavetable position simultaneously — counter‑clockwise keeps the pad settled, clockwise pushes it into something stranger. Now insert the EZ‑Verb in the effects rack, choose a hall algorithm, and set the mix to around 35 percent wet. Dial the decay to four seconds and roll off the high frequencies above 8 kHz so the reverb breathes rather than sparkles.
For motion, engage the arpeggiator but set its rate to dotted‑eighth notes and its octave range to one. Lower the gate length so the notes feel plucked rather than held, then route velocity to a low‑pass filter cutoff. This turns a simple chord into a sequence that breathes with the Orb’s position. By the time you record the part into your DAW, you have a pad that shifts between warmth and unease across a single sustained chord — ready for a scene transition or a title sequence that needs to feel like a held breath.
Version 3.0.2c. The reference guide notes this as the current software revision, refining the instrument's performance and compatibility under the hood.
- macOS 11 or later
- Runs native on Apple Silicon and Intel