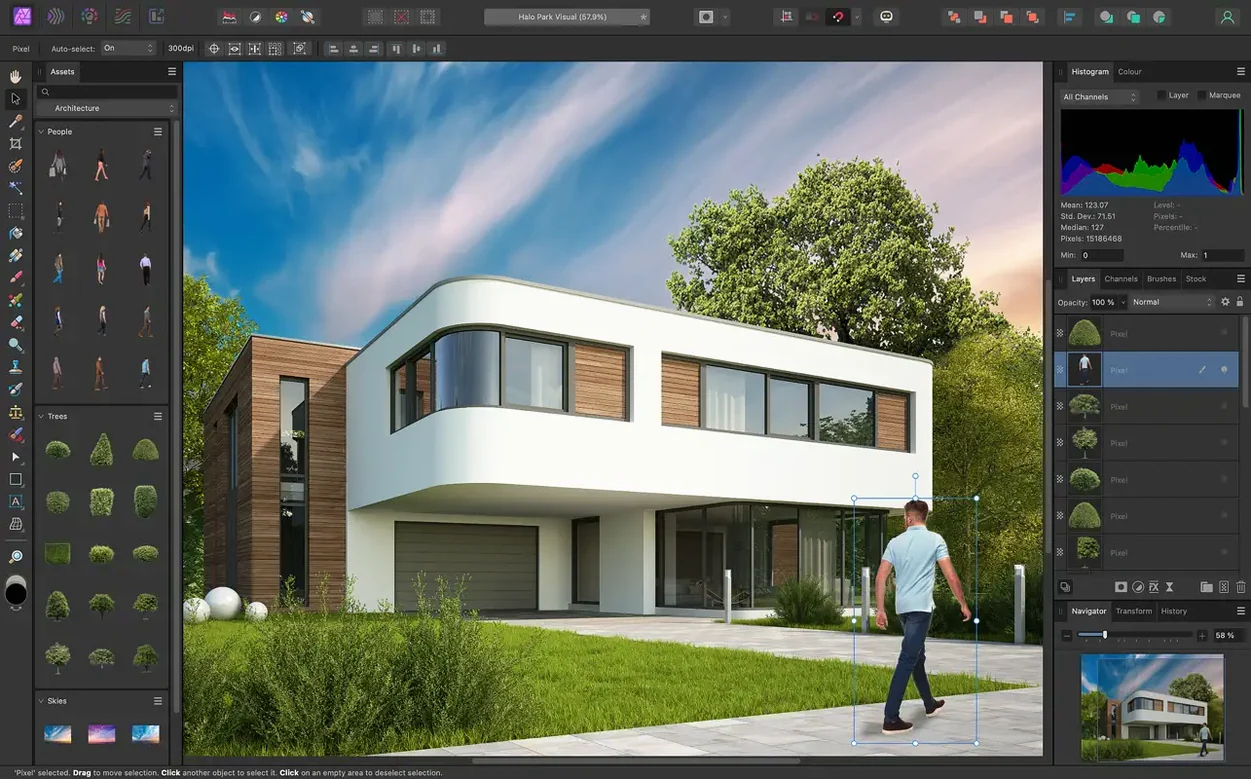
Affinity Photo is a layered raster editor that opens RAW files in a pre-processing space before you touch a single pixel on the canvas. One straight run through it—pulling an underexposed portrait from a flat negative into a finished image you would actually send out—shows where the toolset earns its place on a filmmaker’s drive.
Develop the flat RAW in the dedicated workspace
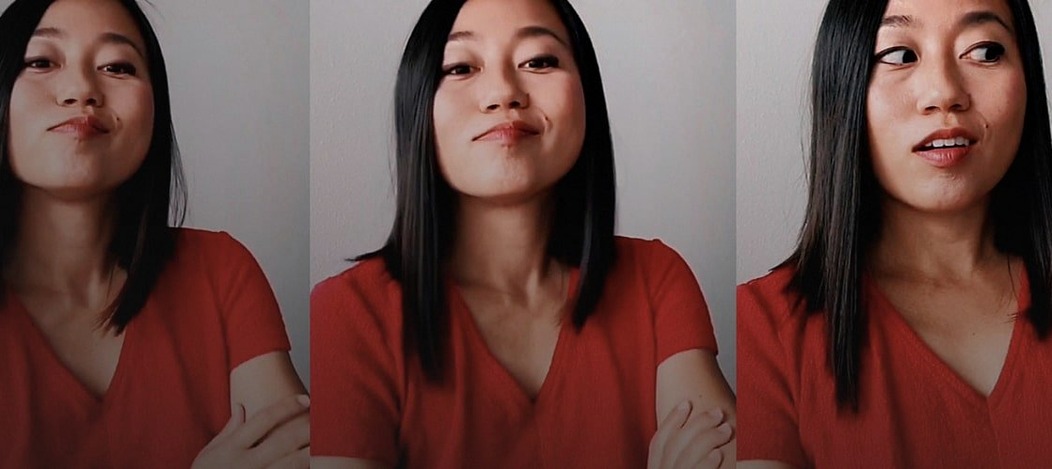
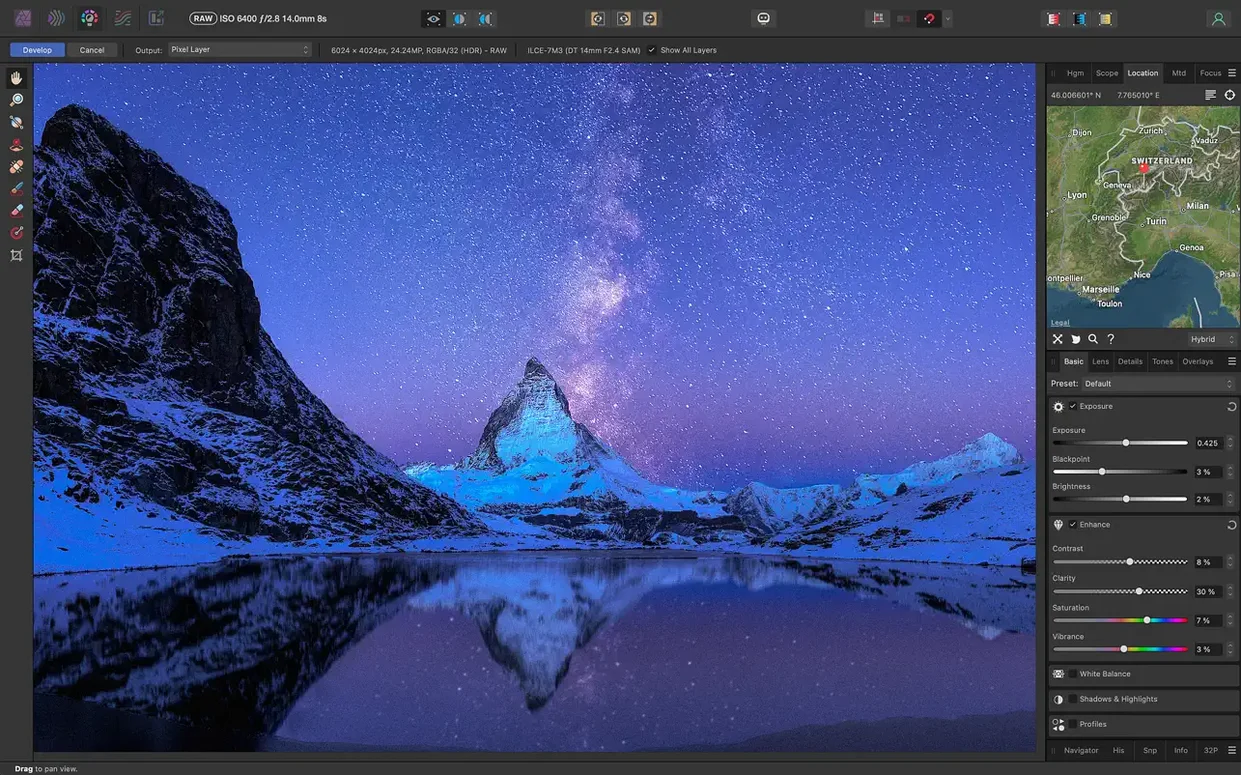
Opening a RAW file lands you in a separate persona where the exposure slider, black point, and clarity control live on the right. The white balance picker against a neutral grey on the subject’s jacket cleans the colour cast, and lifting the shadows while holding highlight detail makes the frame usable before you commit to pixels. Hitting develop sends a 16-bit linear image into the main photo persona with all the headroom intact.
Clean skin with frequency separation on a live layer stack
Adding a frequency separation layer splits the portrait into a low-frequency colour layer and a high-frequency texture layer; painting on the low layer smooths uneven redness without smearing pores. Every brush stroke previews in real time, and the edit history stays saved with the document so you can step back through a dozen tiny blending tweaks later.
Fine selection and a gentle colour grade
The hair selection tool follows flyaways with enough accuracy that a slight lift to the midtones on a curves adjustment layer never haloes the edges. A final vibrance push in the LAB colour space saturates the wardrobe without tipping skin tones, and the file writes out as a 16-bit TIFF with all layers and masks still live.
A full still-life edit: product shot to print-ready file
A ceramic mug on a kitchen table, window light falling soft across the handle — the kind of shot that looks fine on the camera LCD and flat once you pull it onto a display. The RAW opens into the Develop persona where the first move is a white balance pick on the saucer rim, pulling the yellow cast out of the morning light. Shadows come up just enough to show the wood grain in the table; highlights drop a fraction to hold the glossy glaze on the mug. Clarity at twelve percent gives the rim definition without making the whole frame look crunchy, and the lens correction profile straightens a slight barrel curve from the 35mm. Developing into a 16-bit RGB document preserves every gradation in the steam rising off the coffee.
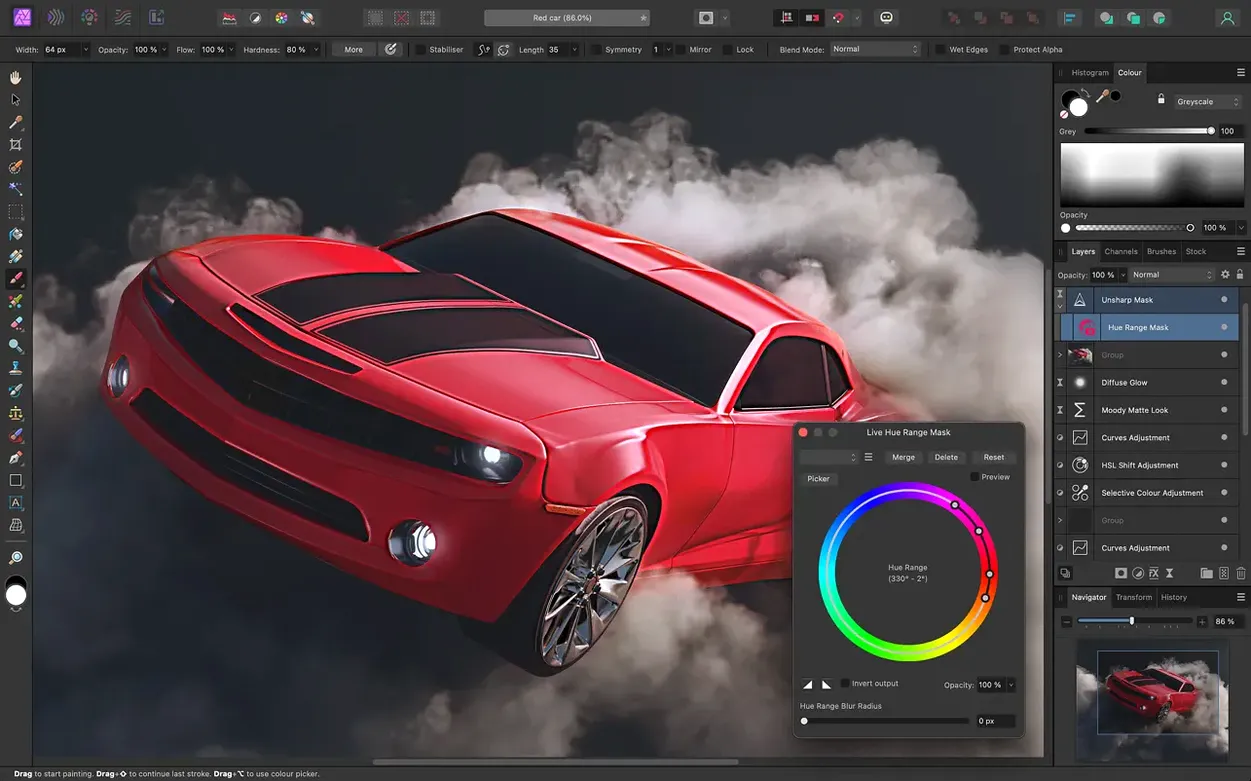
Back in the Photo persona, a live unsharp mask filter on a duplicate layer sharpens only the mug's edge — a mask painted with a soft brush keeps the background and the steam untouched. The inpainting brush removes three crumbs on the table in four clicks, sampling texture from the surrounding wood without leaving a smudge. A selective colour adjustment layer nudges the red in the saucer toward a warmer clay tone, and a curves layer lifts the midtones across the whole frame by a hair. The file exports as a CMYK TIFF from the export persona, soft-proofed against a coated profile, ready to drop into a layout. The whole session from import to export lands under twenty minutes because nothing needs flattening and the preview keeps up with every slider.
PSD round-trips that keep your retouching pipeline intact
Photographers who need to hand off layered PSD files to retouchers or art directors without rethinking their entire pipeline settle into Affinity Photo quickly. The PSD round-trip is reliable enough that a file opened here, edited, and sent back to a collaborator in another app arrives with adjustment layers and masks intact, not flattened to a single background. Graphic designers working across Affinity Designer and Publisher get a shared file format and a common undo history, which matters when a layout update in Publisher reveals a dust spot that needs vanishing in Photo before the final export.
People who came up through Photoshop and grew tired of the subscription model find the tool layout familiar — dodge and burn tools sit where you expect them, the clone brush behaves, and the history panel scrolls back through hundreds of states. Filmmakers and motion designers who need to prep still frames for title cards or poster art use the frequency separation and the LAB colour controls without leaving a lightweight Mac app that launches in seconds on Apple Silicon. It is also the right weight for a photographer who shoots fifty frames of a product and needs to merge a focus stack without handing the job off to a separate utility.
Layer style differences you notice next to Photoshop
Set next to Photoshop, the most obvious difference is the layer style handling — Affinity Photo imports and applies many Photoshop layer styles but does not offer a one-to-one editor for every blending option Photoshop ships. The RAW Develop persona is more self-contained than Adobe Camera Raw, which can feel like a separate application, and some photographers prefer the single-window flow here. Photoshop still leads on AI-based selections and generative fill, areas where Affinity Photo sticks to manual and algorithmic tools.
Pixelmator Pro leans harder into machine learning for colour matching and subject selection, and its single-layer workflow suits someone who wants a fast result without building a complex layer stack. Affinity Photo gives you the stack, the masks, and the live filter layers that Pixelmator Pro does not attempt to replicate. GIMP, the long-running open-source editor, covers much of the same ground in terms of colour spaces and bit depth, but its macOS interface feels grafted on and it lacks the live preview responsiveness that makes nondestructive editing practical on a Retina display. Affinity Photo sits between the two — more depth than Pixelmator Pro, more Mac-native than GIMP, and built for a layer-based way of working that stays live until you export.
Pressure-sensitive brushwork on a Tuesday portrait
Tuesday evening, a portrait shot the day before pulled onto the desktop. The Wacom is already plugged in, and Affinity Photo recognizes the pressure curve without a trip into system preferences. The brush panel is open on the right, a soft round loaded with opacity tied to pen pressure. A new pixel layer above the background catches the first strokes — dodging the catchlights in the eyes, burning the shadow side of the jaw, each pass building density the way a darkroom print does under an enlarger.
The brush tip preview hovers a ghost circle over the canvas that grows and shrinks with pressure, so there is no guessing about the size before the stroke lands. Tapping the bracket keys resizes the brush; holding Option samples a midtone grey from the cheek for a clone repair on a stray hair. The edit history panel shows every stroke as a separate line item, and scrubbing backward through twenty states undoes a too-heavy burn without losing the rest of the session. The file is saved as an .afphoto document with the history embedded, and an hour later the same file opens with every layer, mask, and brush stroke sitting where it was left — no reimporting, no rebuilding. That is the session that sells the tool: quiet, fast, and fully reversible.
- macOS 10.15 Catalina or later
- Runs on Apple silicon and Intel Macs
Questions from the booth
Yes, it has a dedicated pre-processing workspace with controls for exposure, white balance, shadows, highlights, clarity, and more, then sends the developed image into the main editor.
You can save the full edit history inside the document, which lets you revisit or undo any earlier adjustment later.
It works in RGB, CMYK, LAB, and grayscale colour spaces, and supports 16-bit and 32-bit per channel editing.