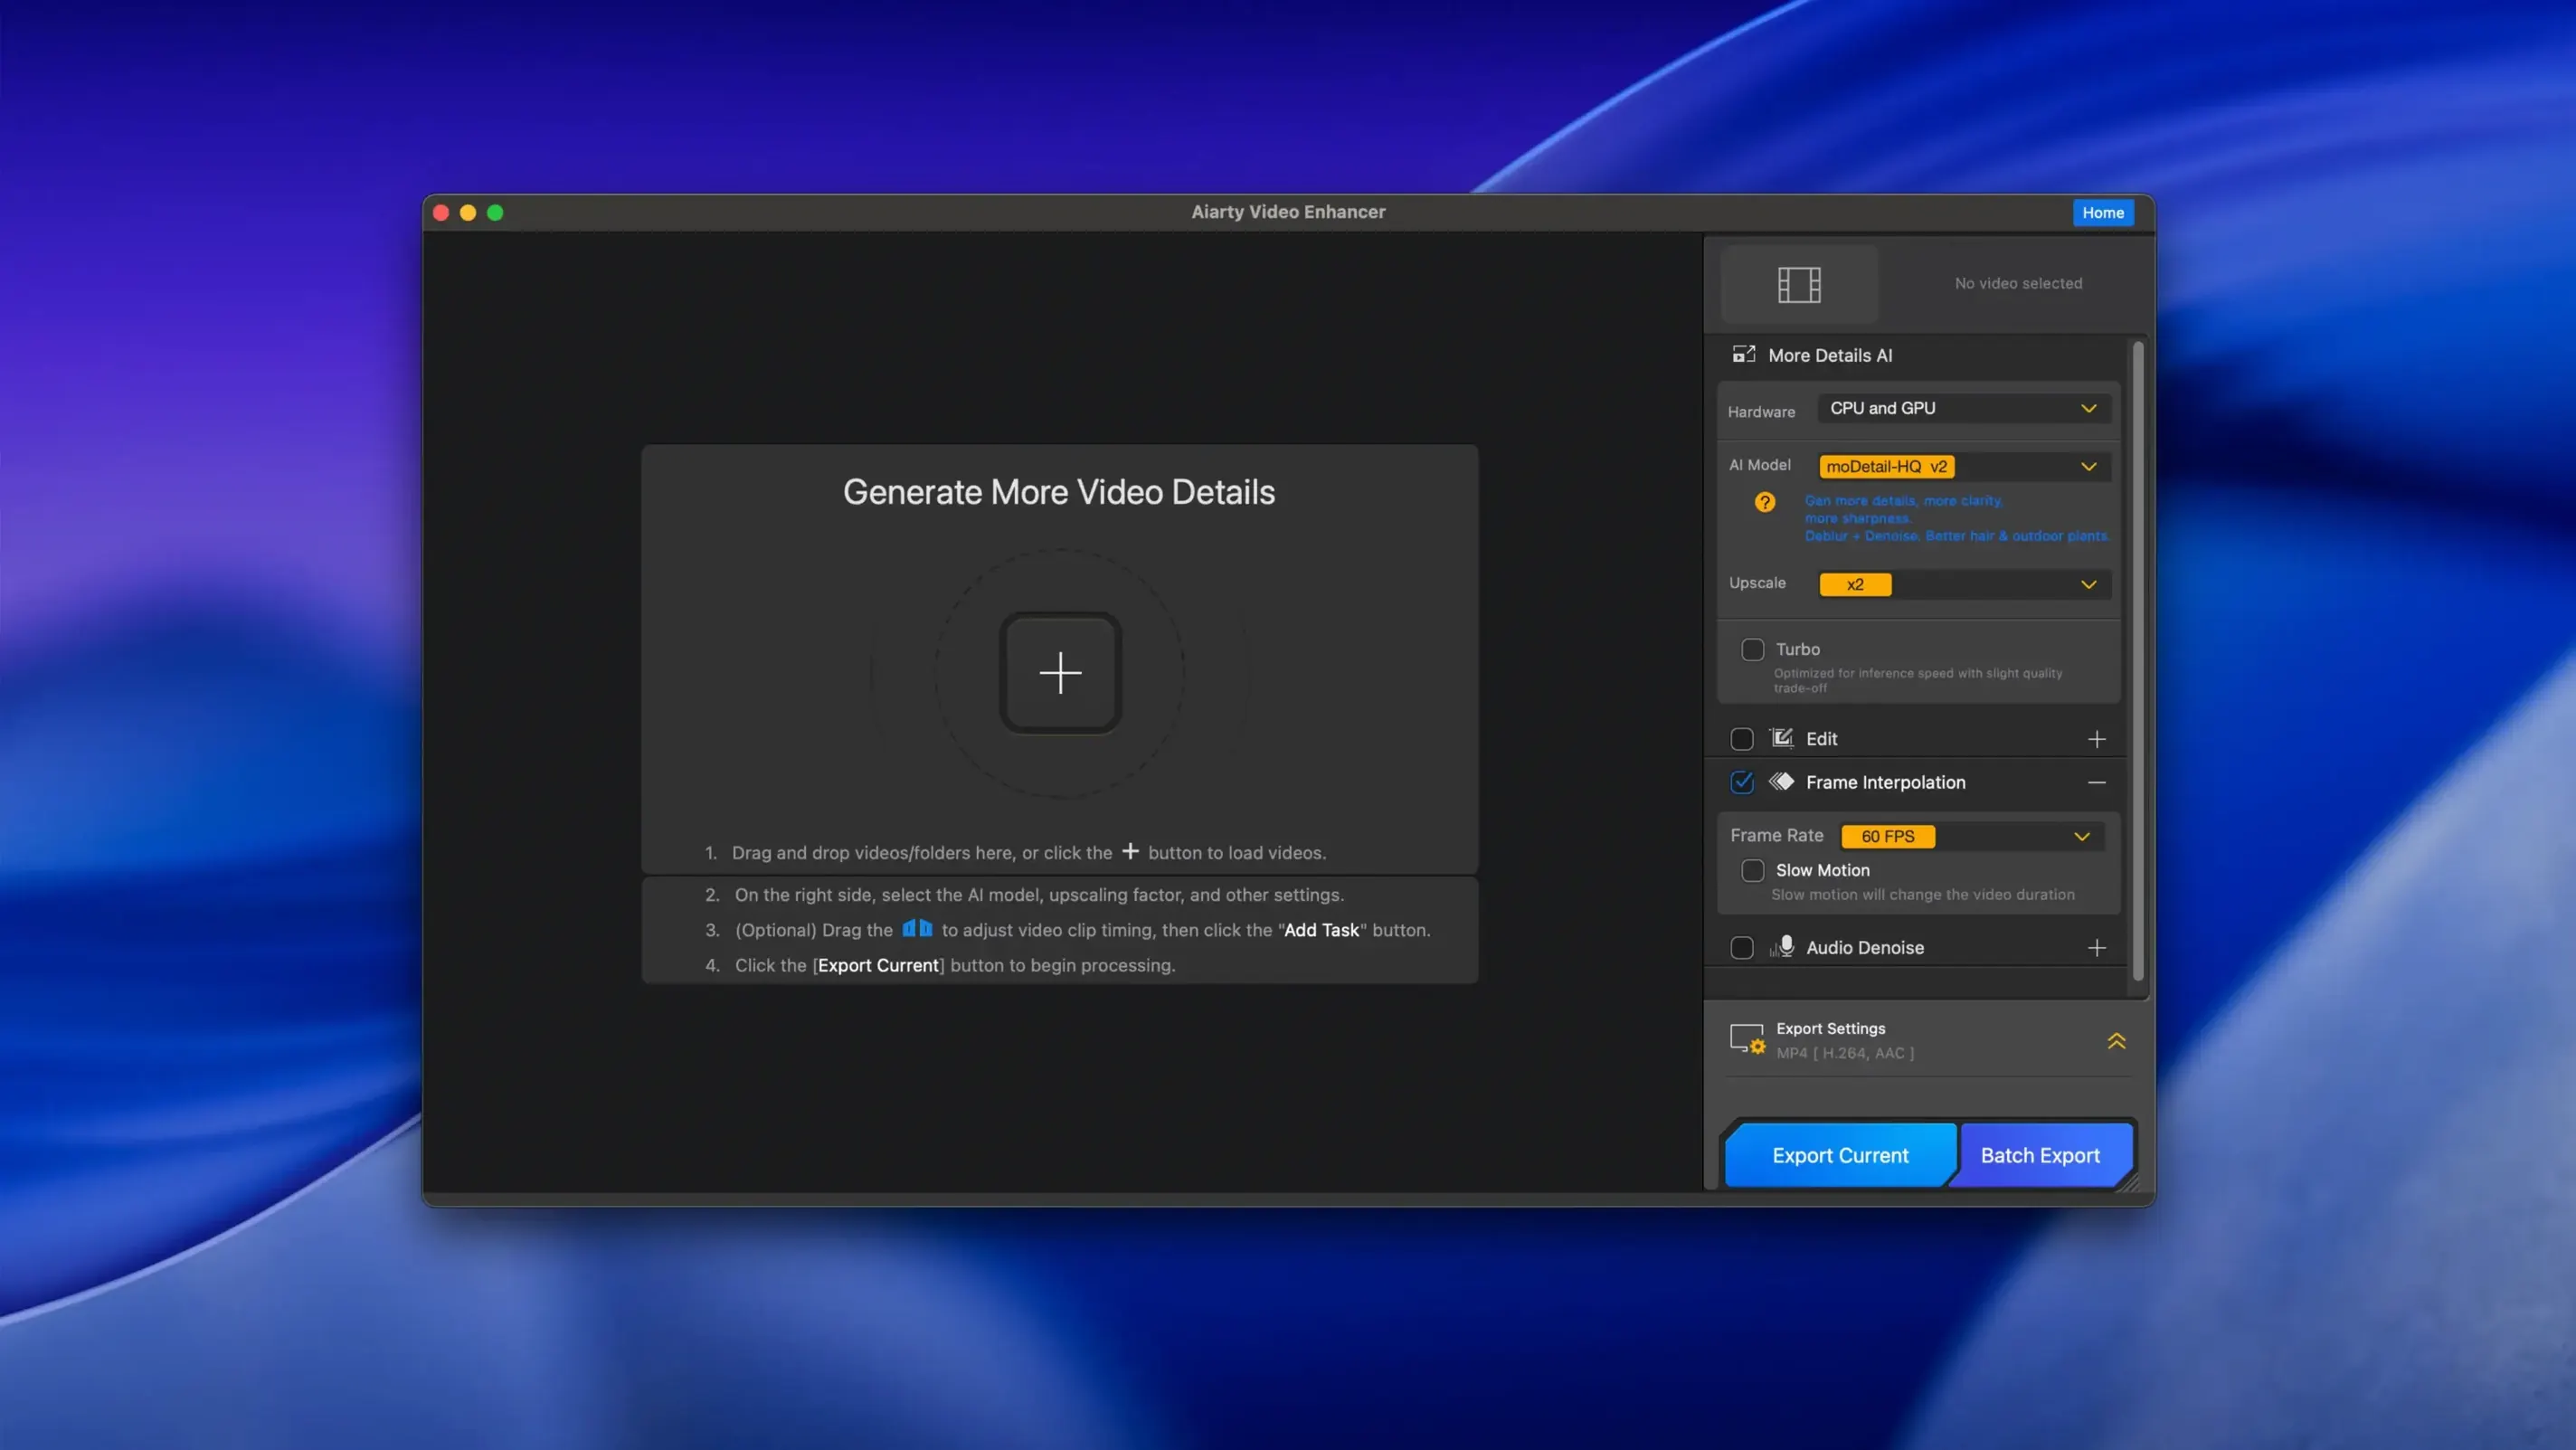
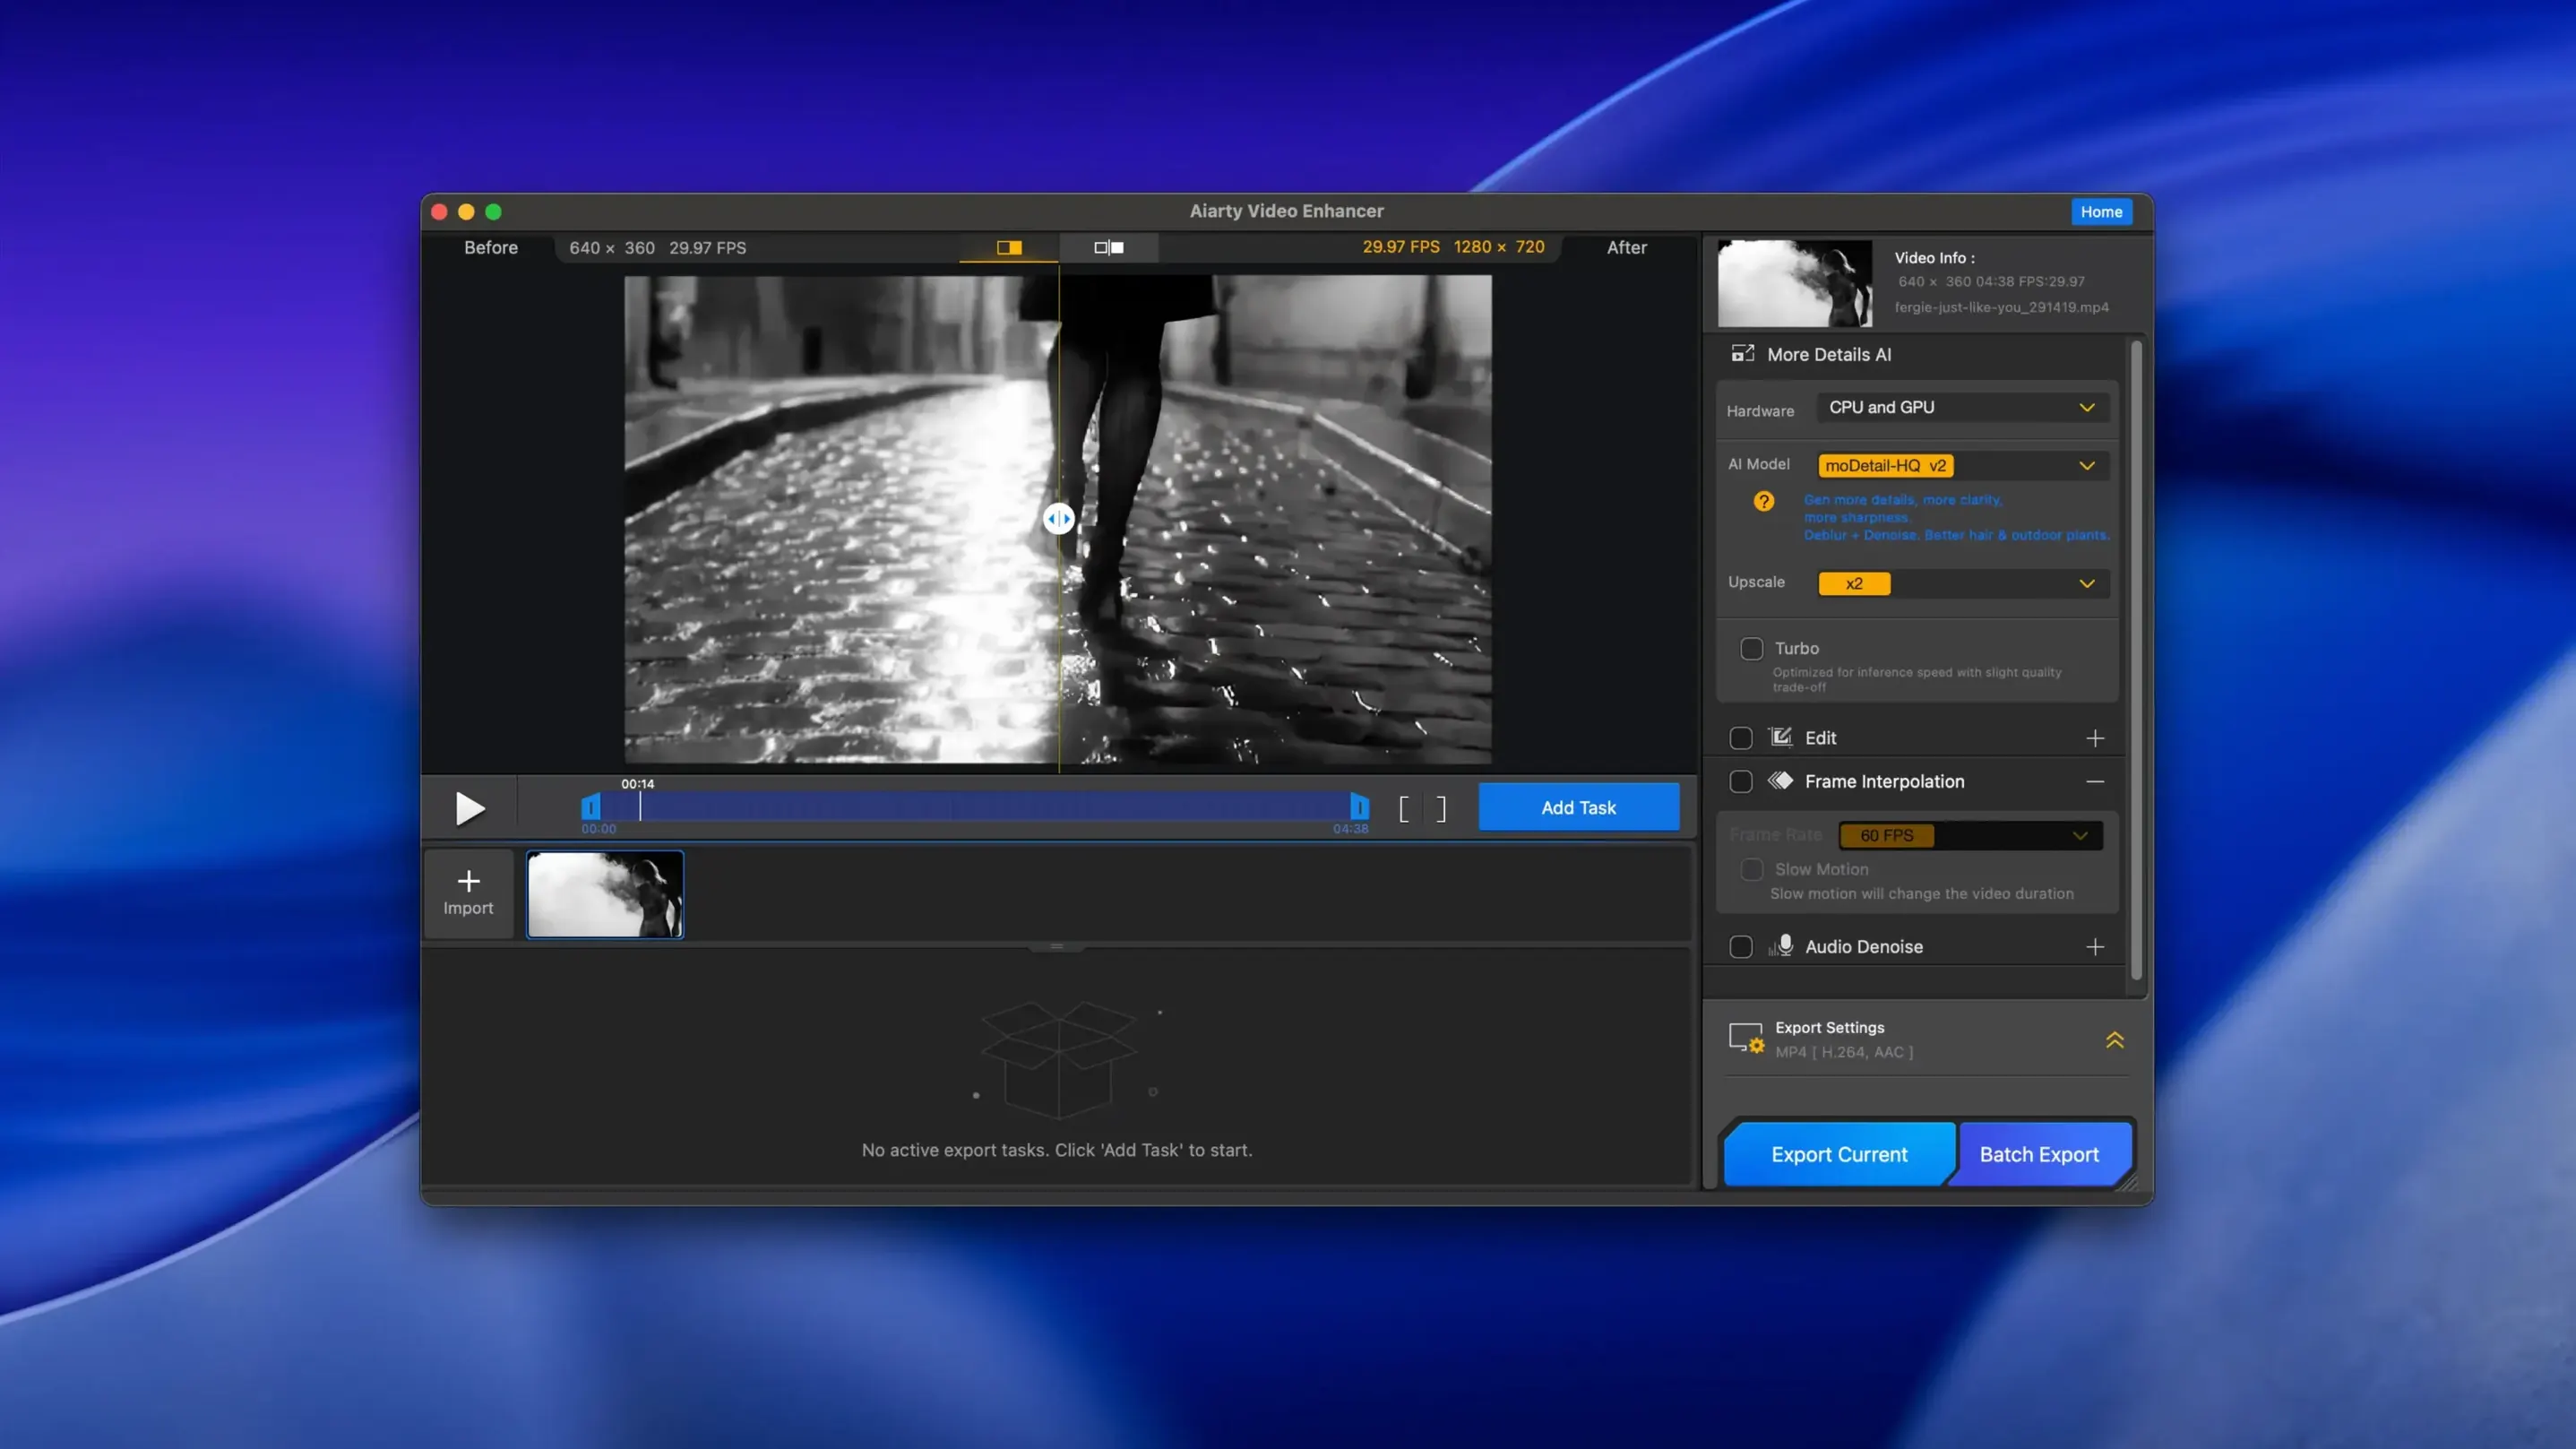
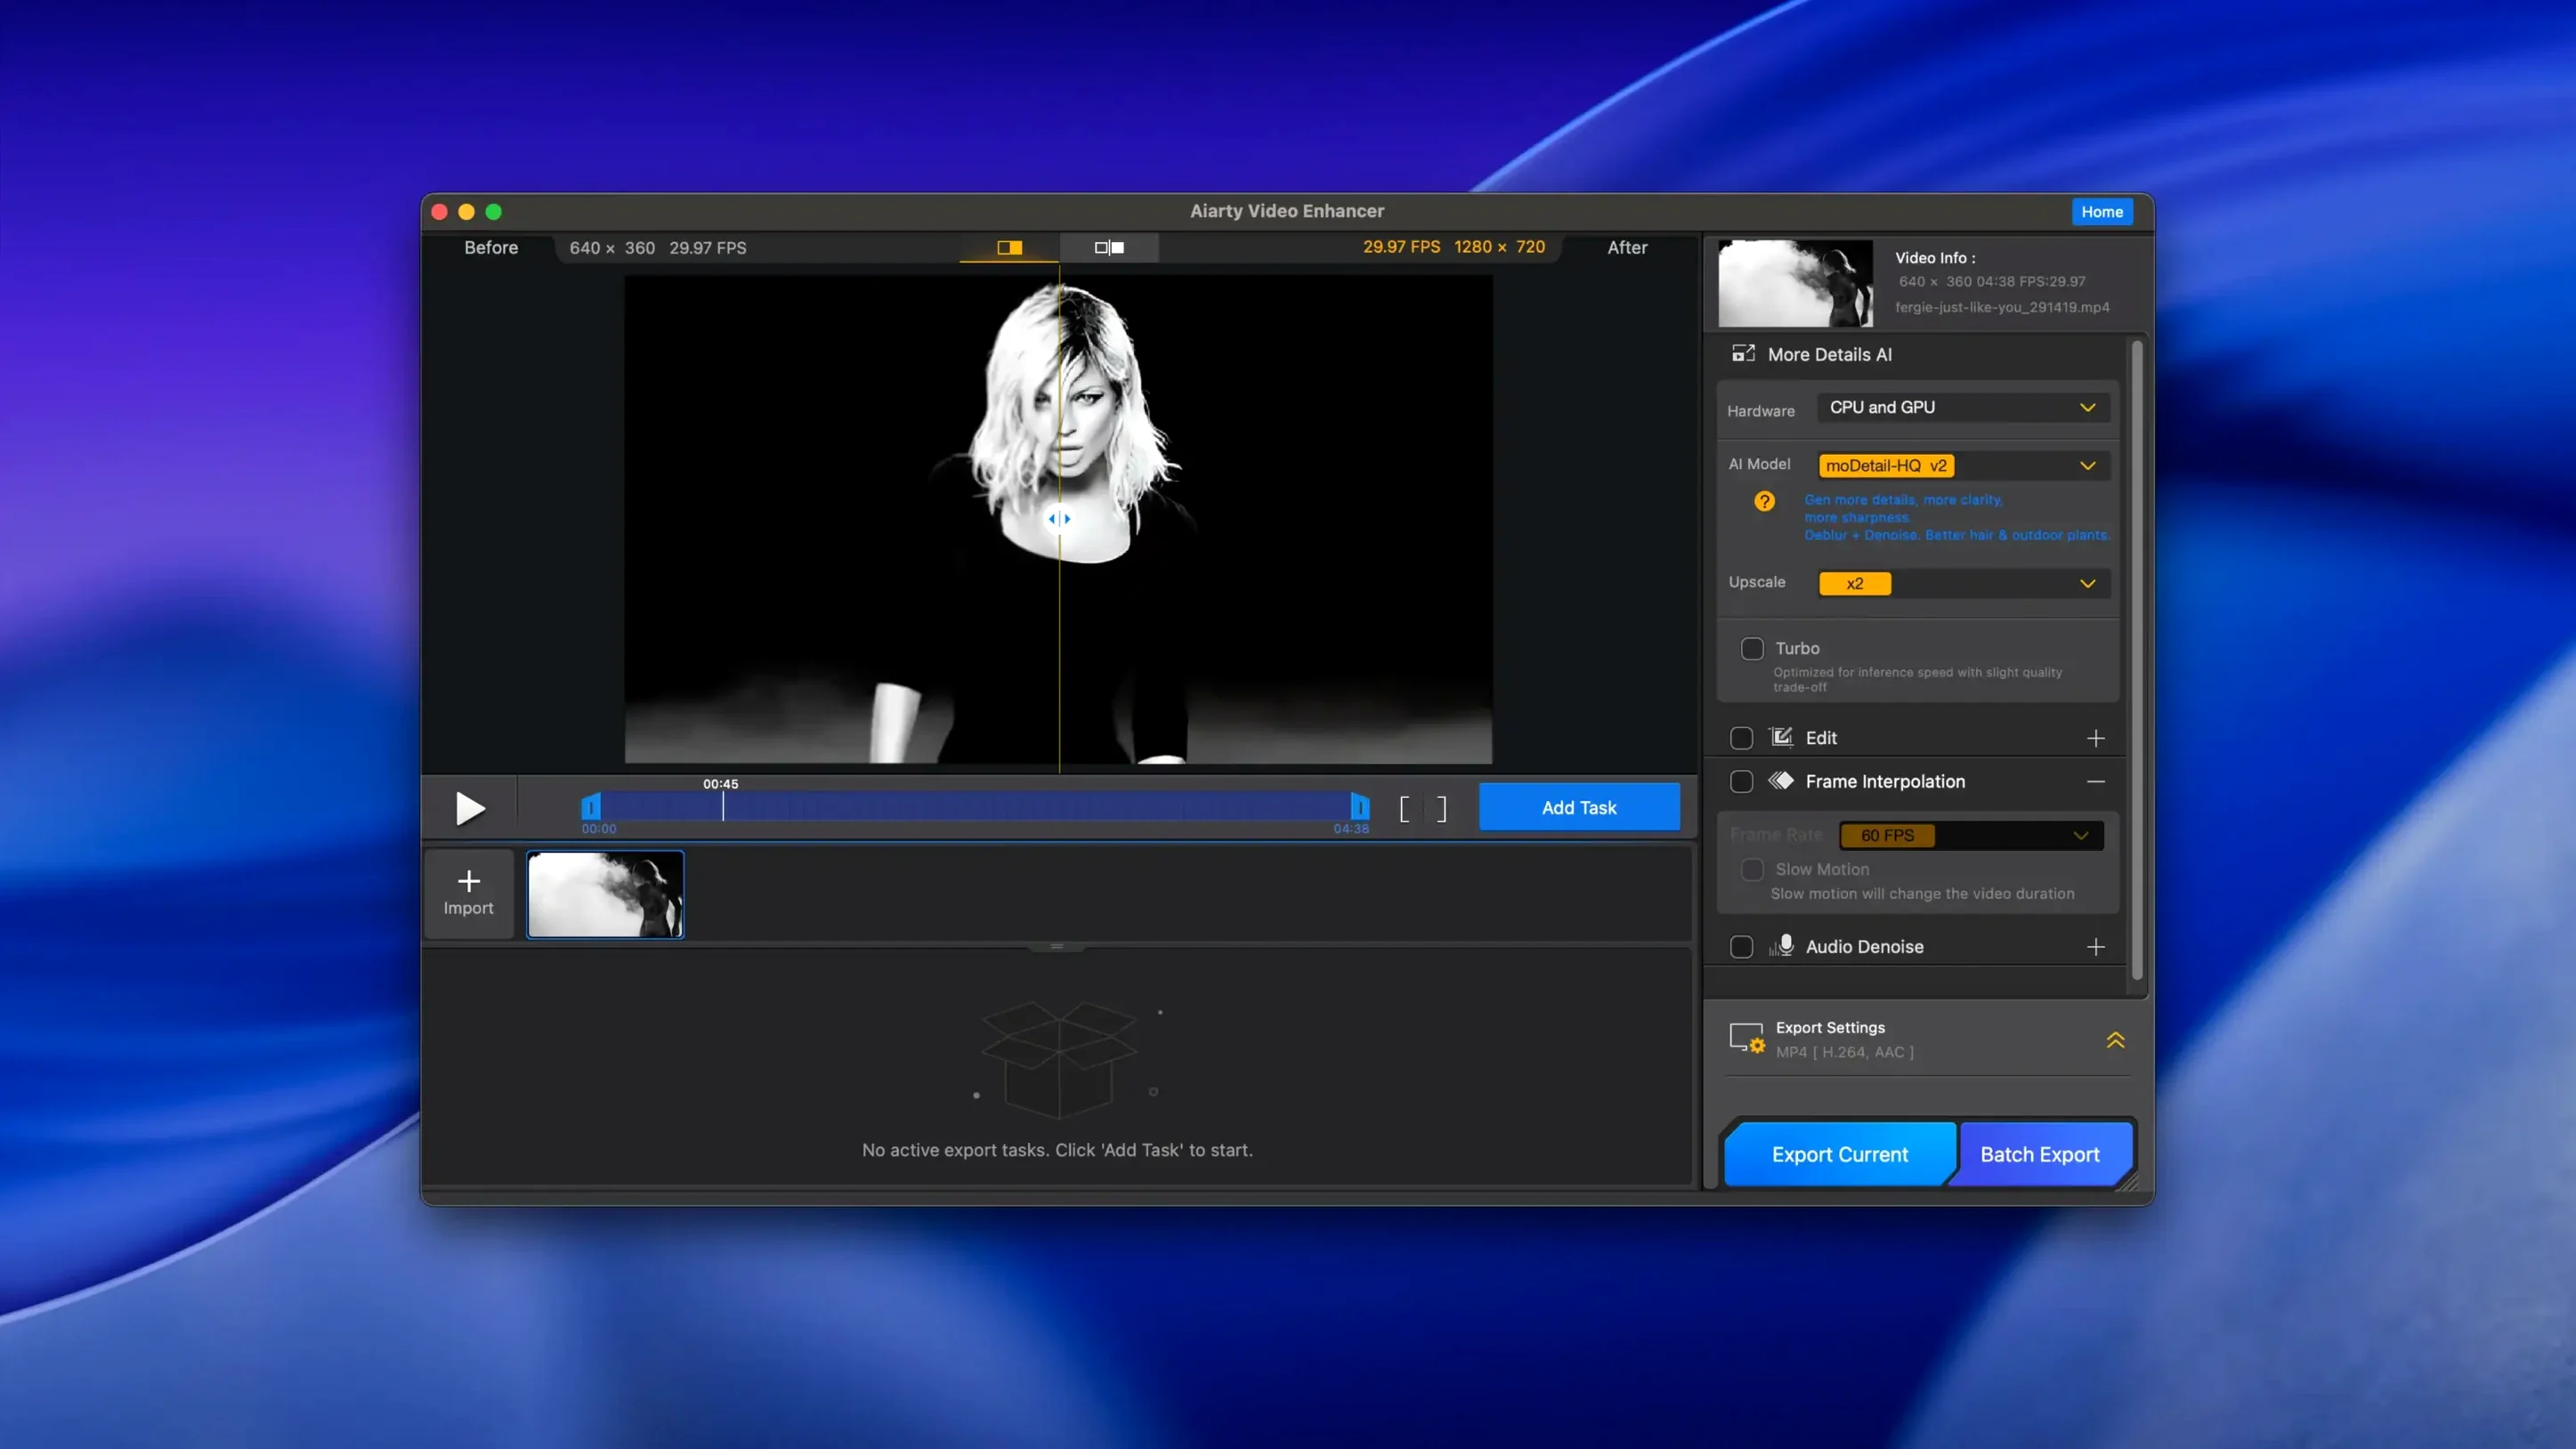
If you colour-grade in DaVinci Resolve or cut in Final Cut Pro, you already think about noise, sharpness and resolution shot by shot. Aiarty Video Enhancer sits upstream of that timeline — a separate desktop app from Aiarty's image tools, built to repair and rescale a clip before it ever touches your NLE. The AI models add detail, remove noise, pull out blur and push damaged footage toward 4K clarity, and version 3.8 keeps that work intact with resumable exports when a render gets interrupted.
Breathe new life into grainy or compressed footage
- Restoring older or compressed footage where grain, softness and artefacts distract from the edit
- Generating smooth slow motion with frame interpolation that creates intermediate frames at 8X or 16X
- Mac setups that run Intel processors — the app supports them alongside Apple Silicon, provided a dedicated GPU with 4 GB VRAM is available
- Projects that mix source formats now that MKV support has arrived
Plan for half a terabyte of working space
- It asks for 512 GB of disk space, so an external working drive becomes part of the picture for most laptops
- The interface is separate from Aiarty's image enhancer line, meaning you manage two apps if you use both stills and video
- Rosetta and a VPN may be needed during installation on current Macs
Where people go wrong at the start
The first mistake is treating every clip the same way. Someone drops in a 720p screen recording, a phone video from a dim concert, and a slightly soft interview shot, then runs all three through the same model at the same settings. The results are uneven — not because the app failed, but because each source had a different problem. Denoising wants different strength than deblurring. Upscaling a clean clip is not the same job as upscaling one with heavy compression artefacts. Spend a minute looking at the footage before choosing the model.
Another common stumble is judging the preview too quickly. The AI needs a moment to settle on a frame, and the preview window is not the final render. Beginners sometimes flip between settings every few seconds, never giving the model enough time to show what it can do. Pick a short section, let it process, then compare. Also worth remembering: the enhanced file will often look softer in motion than the aggressively sharpened still frame you stared at for ten minutes. That is normal and usually sits better in an edit.
Then there is the export habit. People start a batch of long clips, walk away, and come back to a stalled queue because the disk ran out of space. The app asks for 512 GB of disk space for a reason — intermediates and processed frames add up fast. Pointing the working folder at an external drive before the first render avoids most of that pain, and version 3.8's resumable exports mean a lost render is no longer a lost evening.
A restoration scenario
Think of a documentary editor working with digitised MiniDV tapes from the early 2000s. The footage is interlaced, noisy in the shadows, and soft across every frame. It has been transferred through a FireWire chain a decade ago and compressed a few times since. The editor needs a handful of shots for a film that will screen at 4K, and the source is standard definition.
She brings the clips into Aiarty Video Enhancer, works on a two-minute section first, and settles on a model that balances detail recovery with noise reduction. The denoiser pulls the sensor noise and DV compression blocks down to a level that feels like texture rather than interference. The upscaler rebuilds edges and adds plausible detail where the tape had smeared fine lines. She checks faces at full zoom, because that is where aggressive enhancement shows itself first. Once the settings feel right, she applies them to the full batch and lets the Mac work through it overnight. The next morning she has 4K masters that cut into the timeline without calling attention to themselves — and the resumable export feature means a dropped connection at 3 a.m. did not cost her the whole render.
A slow-motion workflow from start to finish
Start with a skateboarder filmed at 30 fps on a phone in daylight. The clip is usable, but a 16X slow motion pass would turn a three-second trick into something that lingers. In Aiarty Video Enhancer, import the clip and set the output resolution to 4K. Choose the interpolation model and set the frame generation to 8X or 16X depending on how long the moment needs to hold. The app creates the intermediate frames before the upscale pass, so the final render has both the new frames and the added resolution.
Before committing to the full clip, test a short segment around the trick itself. Watch the board, the feet, and the background — interpolation can warp fast-moving edges if the source has motion blur or rolling shutter. If the test shows artefacts, try the slower 8X setting or trim the clip to only the section that needs the effect. Once the preview looks right, run the export. The result lands in the project folder as a single file, ready to drop into the edit with the speed change already baked in.
M-series chips keep short 4K renders under a few minutes
On a Mac with an M-series chip, short test renders feel quick enough to stay in a creative rhythm — a ten-second clip at 4K can finish in a few minutes depending on the model. Intel machines need more patience, and the dedicated GPU with 4 GB VRAM is not a suggestion there. Without it, the app will still run, but the renders become a background task rather than an interactive one. The CUDA memory optimizations in version 3.8 mostly benefit Windows users, but the underlying changes to how the app manages GPU memory keep things steadier on Macs during long batches.
Stability during daily use is calm. The app holds up through queues of eight or ten clips without stalling, though it does hold onto RAM while it works. That 8 GB minimum is a floor, not a comfort zone — closing other heavy apps before a long render keeps the whole system responsive. Disk usage is the quiet constant. The working folder grows while a batch processes, then shrinks once the app clears its intermediates. Keeping that folder on an external drive means the internal disk never becomes the bottleneck, and it makes the 512 GB requirement feel less like a warning and more like a workflow decision.
Version 3.8 adds resumable exports so a stopped render picks up where it left off, MKV container support alongside the existing formats, and CUDA memory optimizations that keep the GPU pipeline steadier on longer sequences.
- macOS 11 or higher
- Intel or Apple Silicon Mac
- 8 GB RAM
- 512 GB available disk space
- Dedicated GPU with 4 GB VRAM or more on Intel Macs
Questions from the booth
Yes, the frame interpolation feature can generate intermediate frames for smooth 8X and 16X slow motion effects.