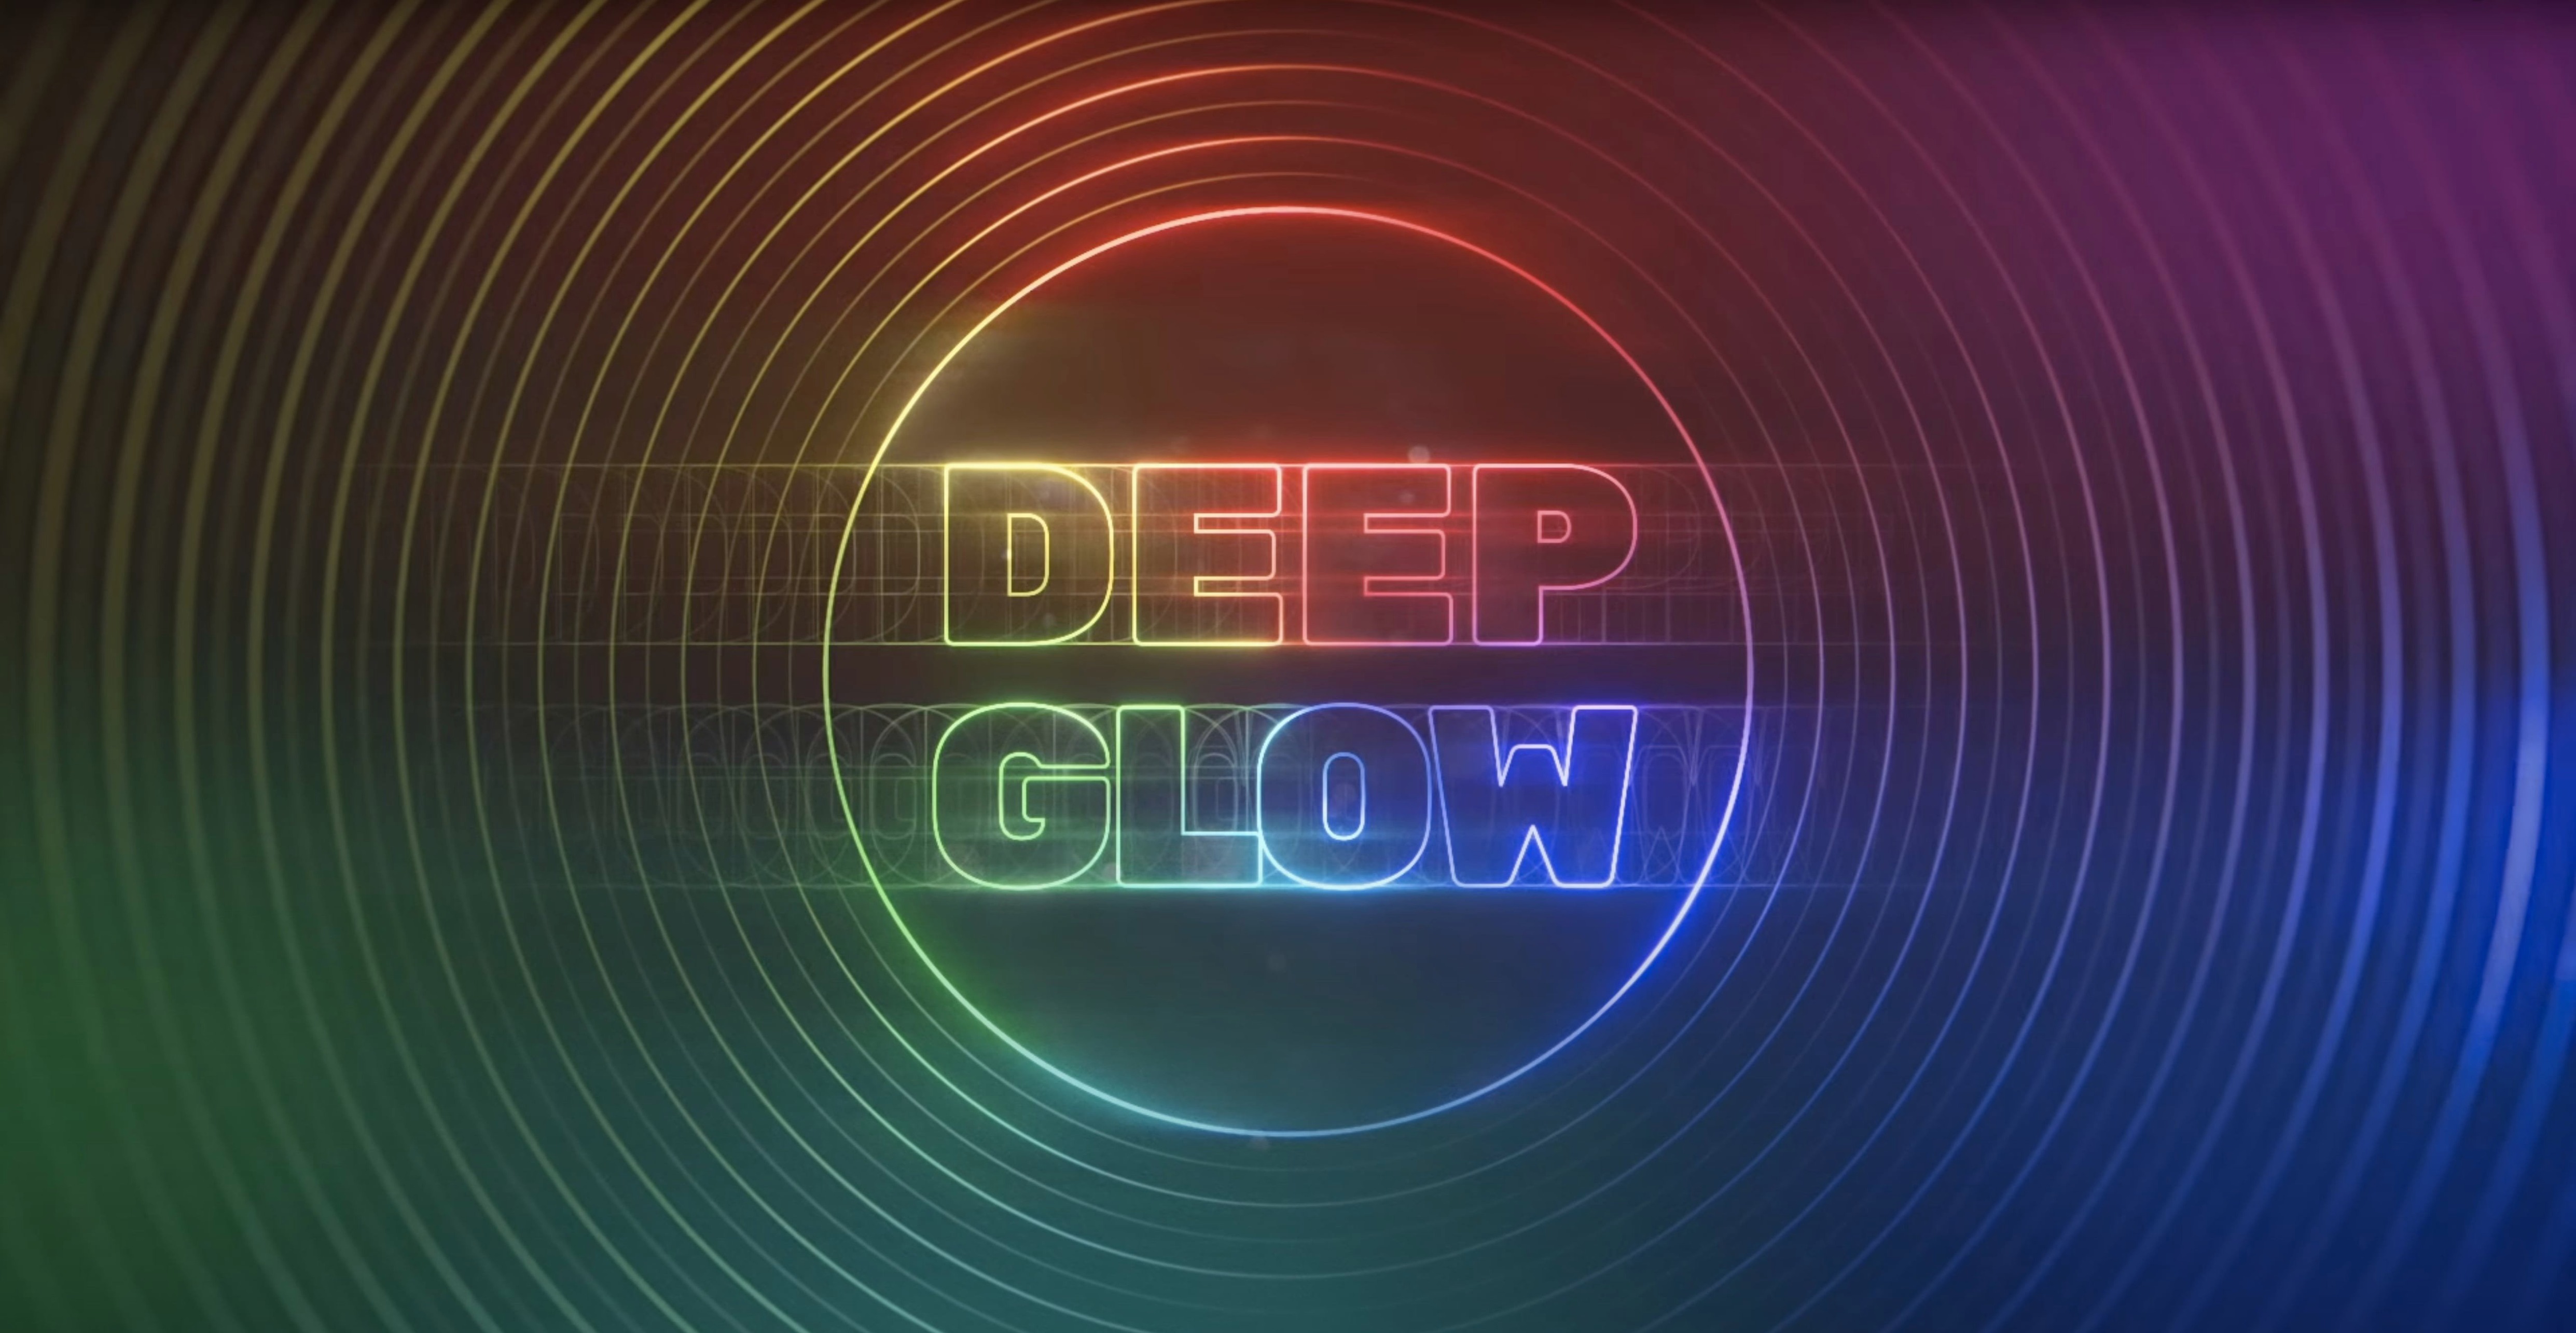
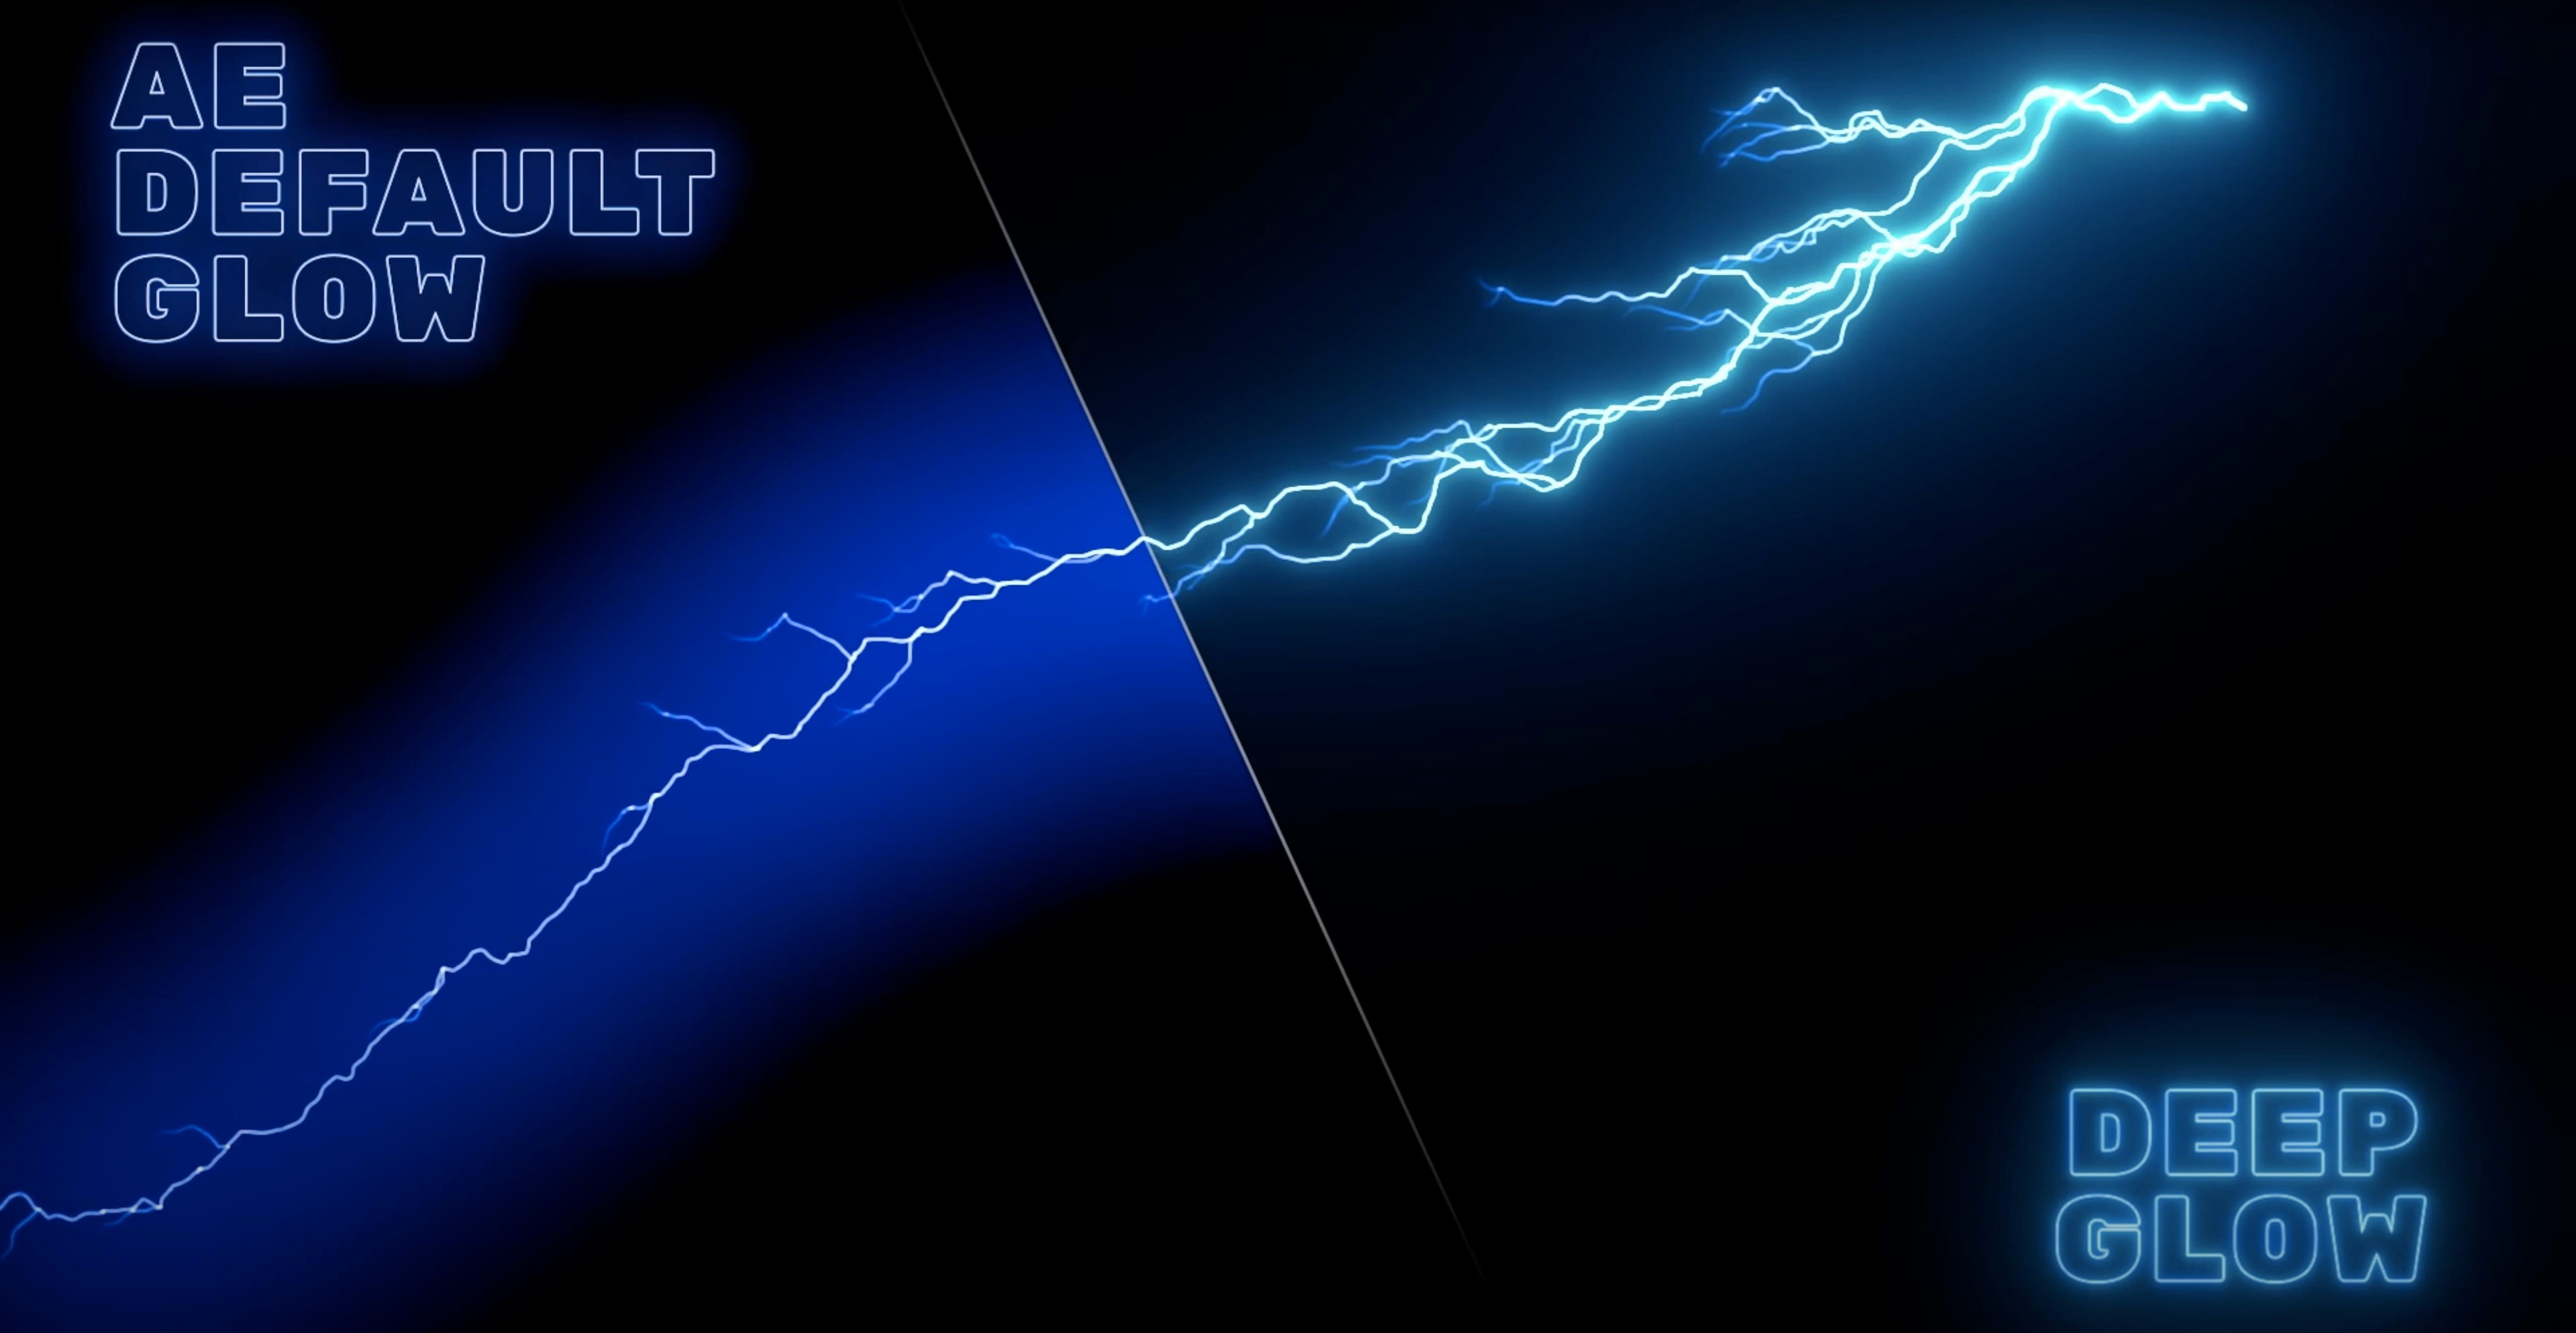
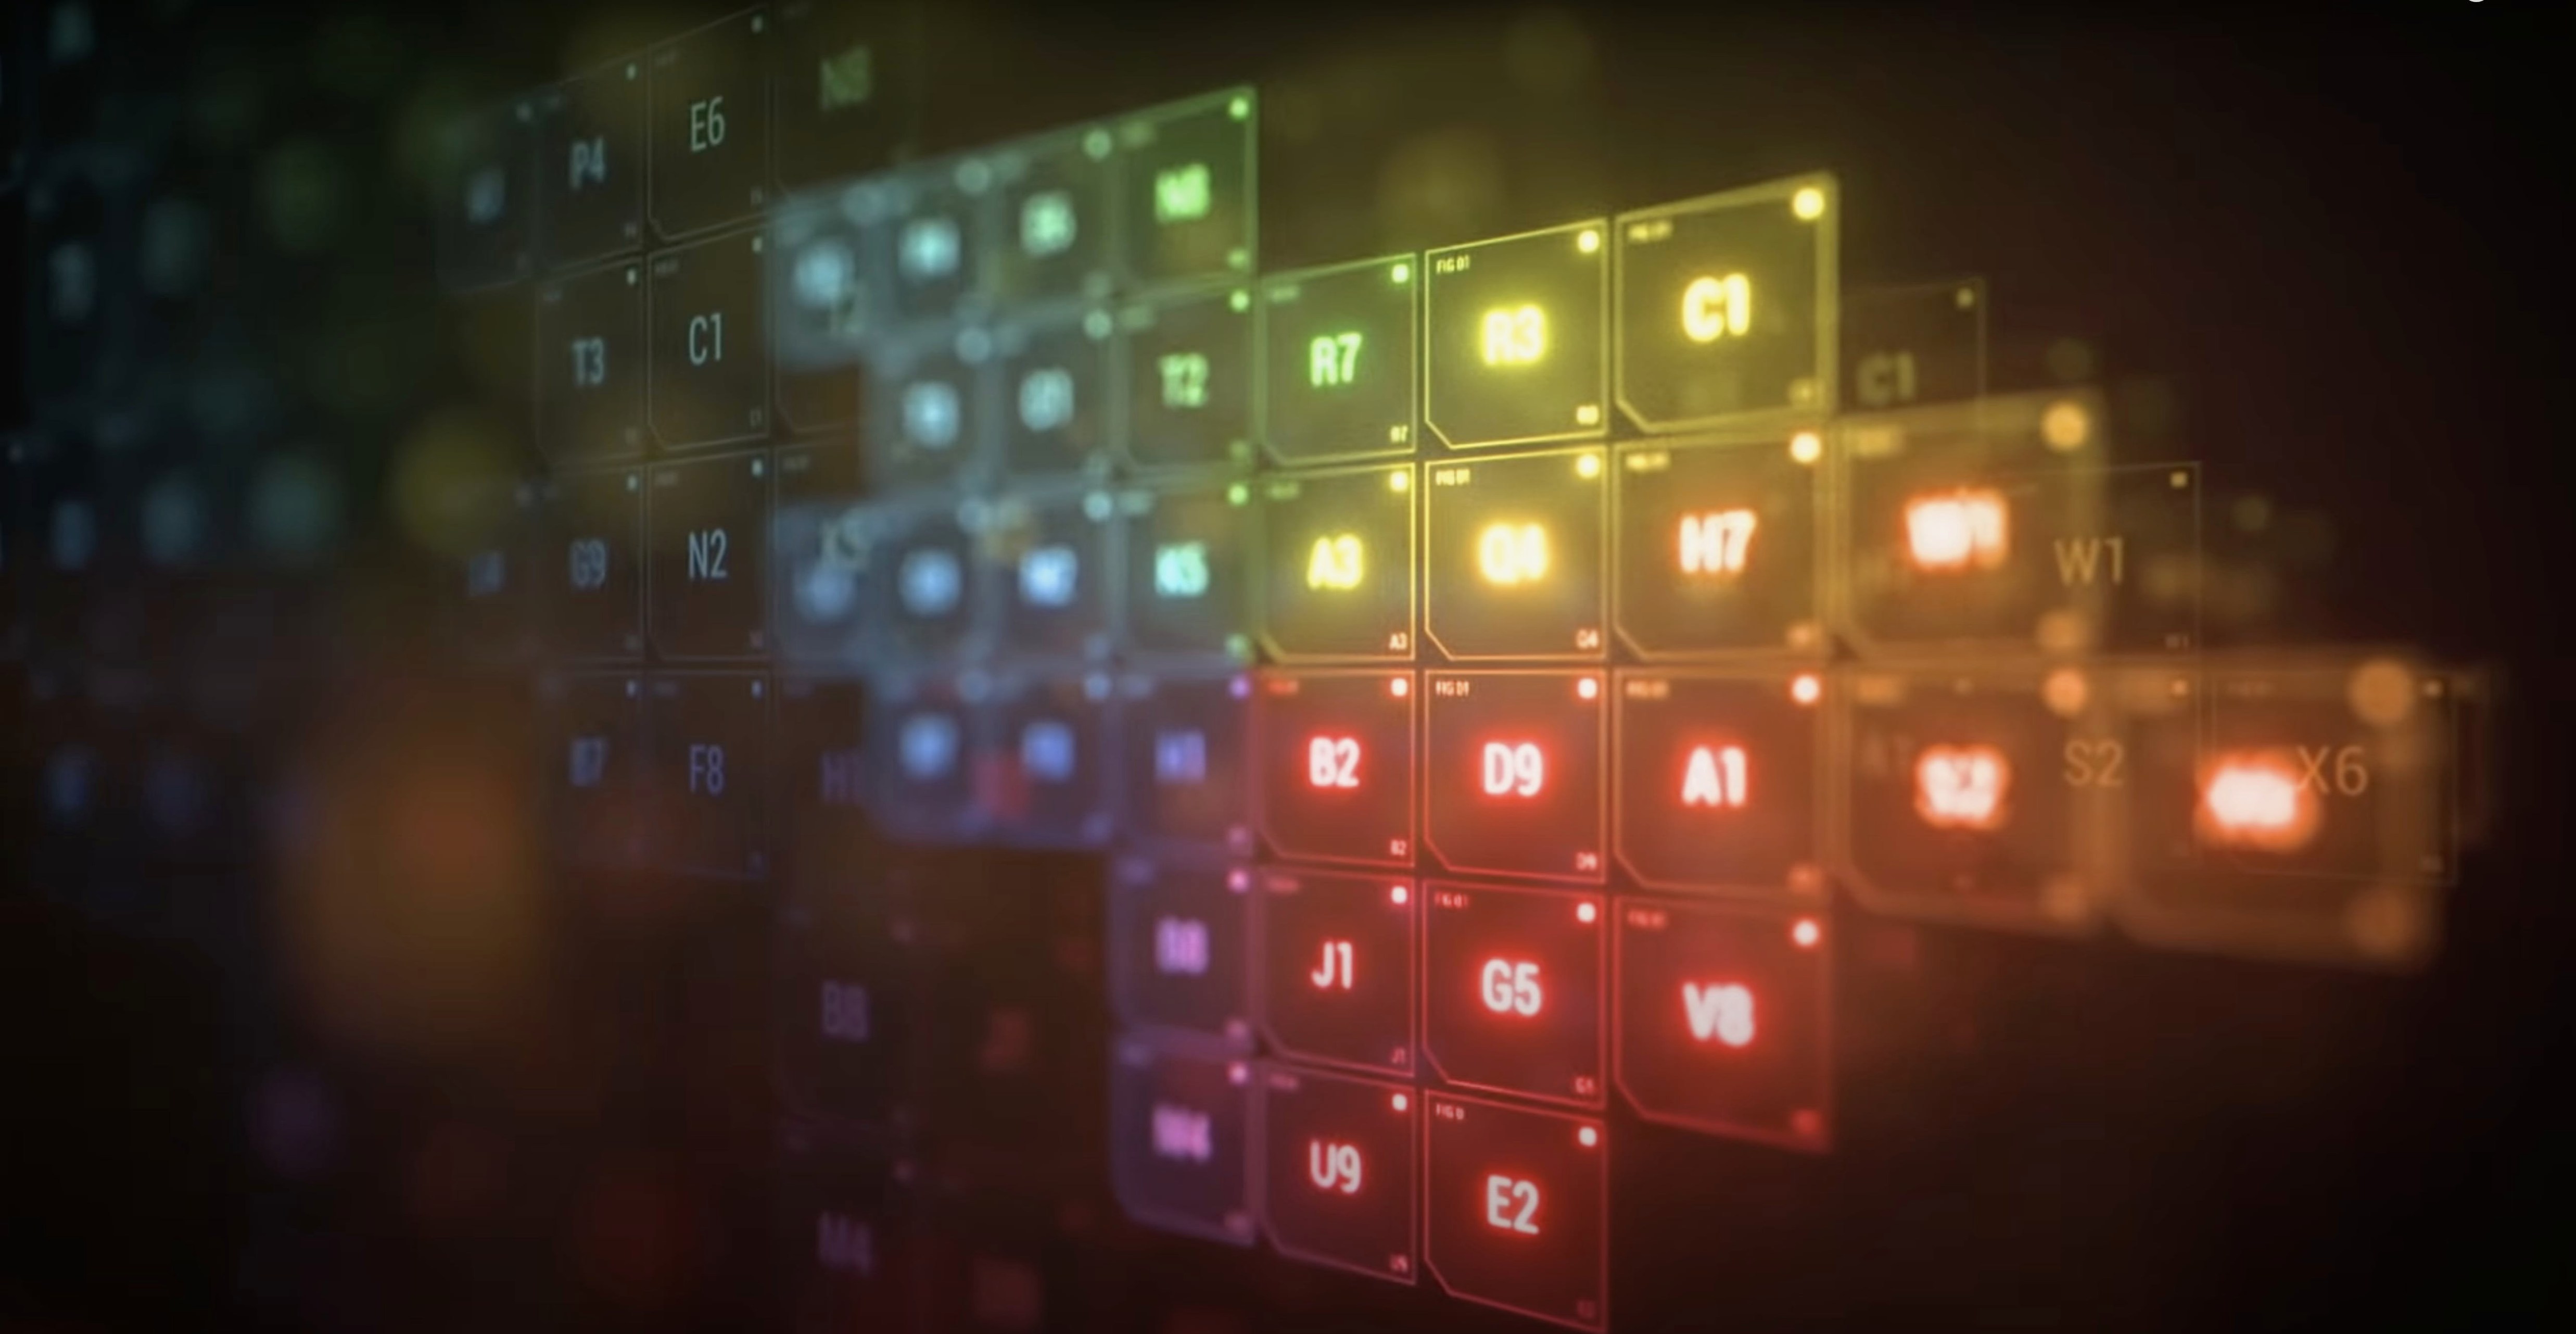
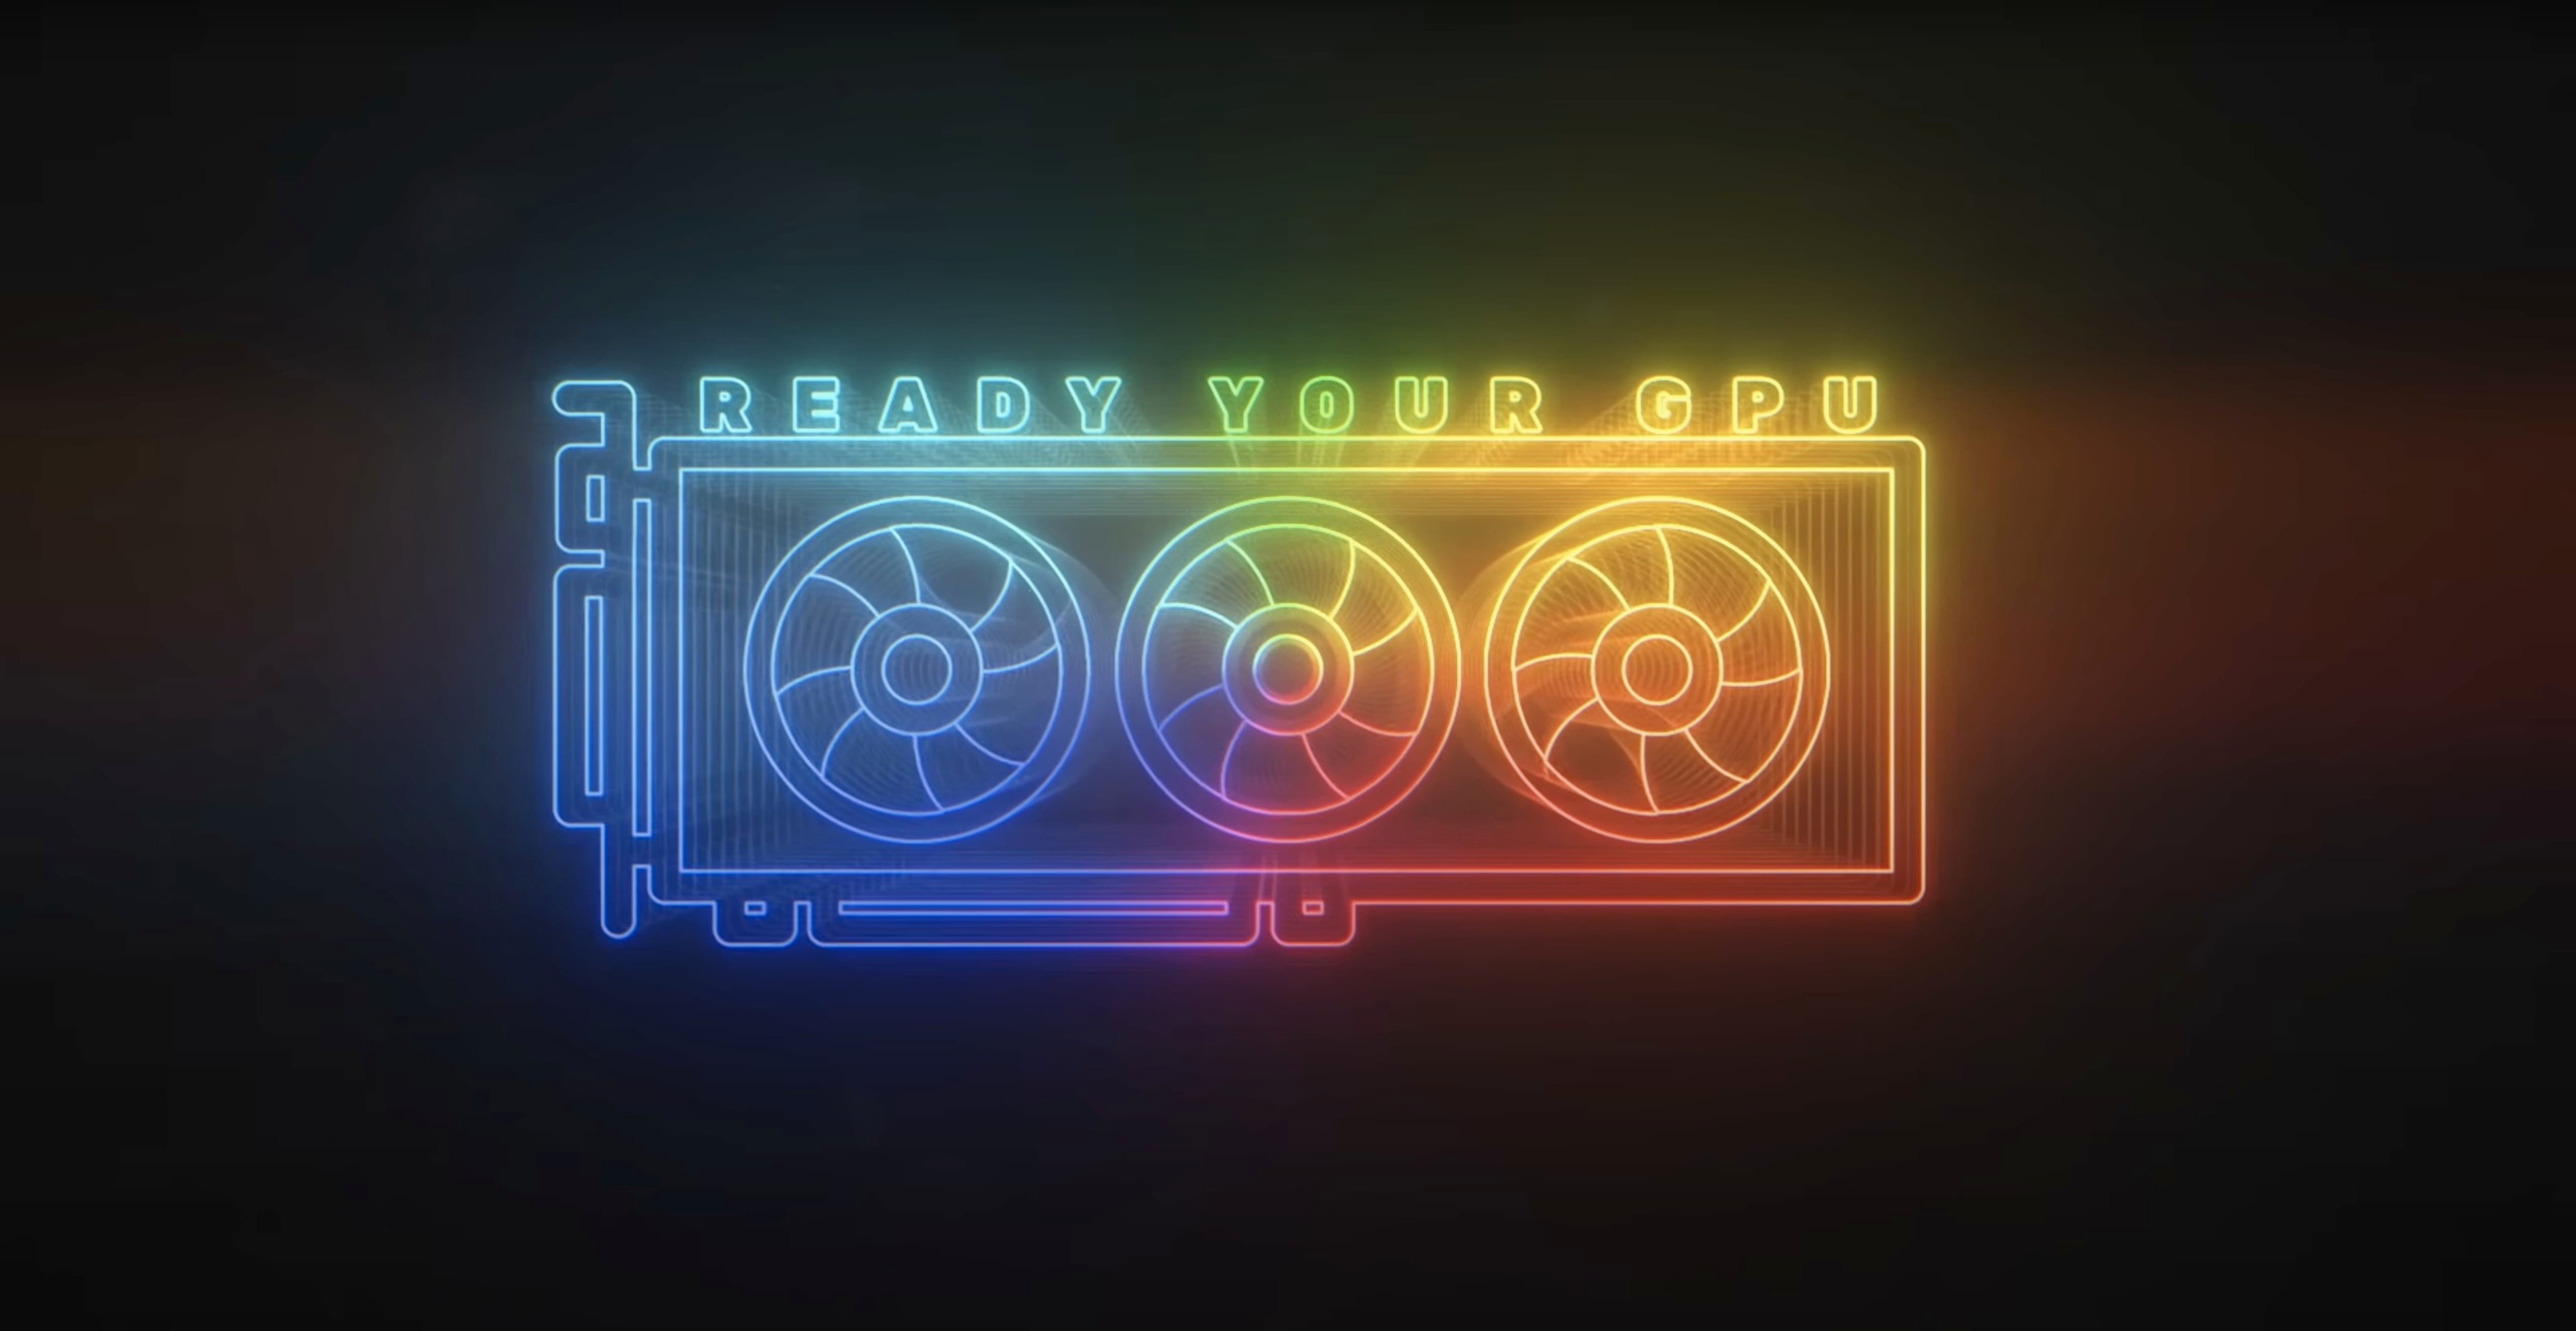
If you know After Effects' stock Glow effect, you know its limits: a Gaussian blur and some screen blending that falls apart the moment you push it. Deep Glow was built to replace that. It simulates the physical inverse-square falloff of real light, so a glow reads as volume rather than a soft edge. The 1.6 release didn't rewrite that core idea, but it landed in an archive that stretches from 1.6.9 back through 1.6.8, 1.6.6, 1.6.5, 1.6.4, 1.6.3 and the earlier 1.x line, each tightening performance and stability on both ARM and x86 64-bit Macs.
- Drop Deep Glow onto a text layer, logo or light source comp.
- Set your working space to a non-linear colour profile — the plugin's falloff math expects it.
- Dial the radius and exposure, then pull back the downsampling controls to keep playback smooth while you rough out the shot.
- Bump the quality samples only for the final render pass.
Real-time 4K scrubbing with half-res downsampling
After a week of slotting Deep Glow into client work, the first thing you notice is that it doesn't make you wait. A single glow on a 4K comp with downsampling set to half or quarter resolution scrubs almost in real time on an M1 Max, and even on older Intel machines the GPU path keeps the timeline from turning into a slideshow. Stack three or four glows on overlapping elements and the frame rate dips, naturally, but the quality presets earn their keep here — you rough out timing at a quarter the pixel count, then switch to full resolution and higher sample counts only when you bounce a preview or send the render queue. RAM usage stays flat across a working day; I've had After Effects crash from a dozen other things, but Deep Glow has yet to be the culprit.
The renderer is the quiet star. Final-frame exports with eight or sixteen samples chew through more GPU time, yet the plugin never locks up the way a dense particle sim might. On an M2 Ultra, a 3840×2160 comp with three glows and 16-sample quality renders in roughly the same window as a heavy lens blur stack — slower than real time, but not overnight territory. Intel Macs with AMD graphics show a wider gap between preview and export speeds, so those users learn to toggle the quality control more often. Either way, the plugin respects the host: you can queue a dozen comps in Media Encoder and Deep Glow won't stall the batch.
Built-in linear colour space handling for natural falloff
Does it work in linear colour space? It was built for it. Deep Glow reads the comp's working profile and applies its falloff in non-linear space by default, which means the roll-off from a hot centre to the edge behaves the same in Rec.709, sRGB or a log profile. If you accidentally leave the project in a linearized space, the glow still renders, but the exposure slider feels off — highlights clip sooner and the tail gets thin. The fix is a two-second project settings check, not a workaround.
Will it run on my machine? The current build is a universal binary that covers ARM and x86 64-bit. If your Mac is running a version of macOS that supports your build of After Effects, Deep Glow should load without complaint. People on older Intel hardware sometimes report a slightly slower UI draw when scrubbing radius, but the render pipeline uses the same Metal or OpenCL path either way.
Is the grain pass just a gimmick? Not if you composite at high bit depths. The grain controls let you add a photographic noise layer into the glow itself, which breaks up the perfect digital smoothness that gives away a CG shot. Push the grain size to 2 or 3 pixels, keep the intensity subtle, and suddenly a motion-tracked flare sits in the same world as the plate footage. It is one of the few grain implementations in a glow tool that actually holds up at 16-bit and 32-bit float.
A short scene from a motion designer's desk
Mari runs a small studio in Glasgow, mostly title sequences and brand films. A recent job called for a neon signage animation — hand-drawn letterforms that needed to feel like glass tubes filled with argon, flickering against a rain-soaked alleyway. She roughed out the lettering in Illustrator, brought the shapes into After Effects as shape layers, and applied Deep Glow to a pre-comp that held the full animation.
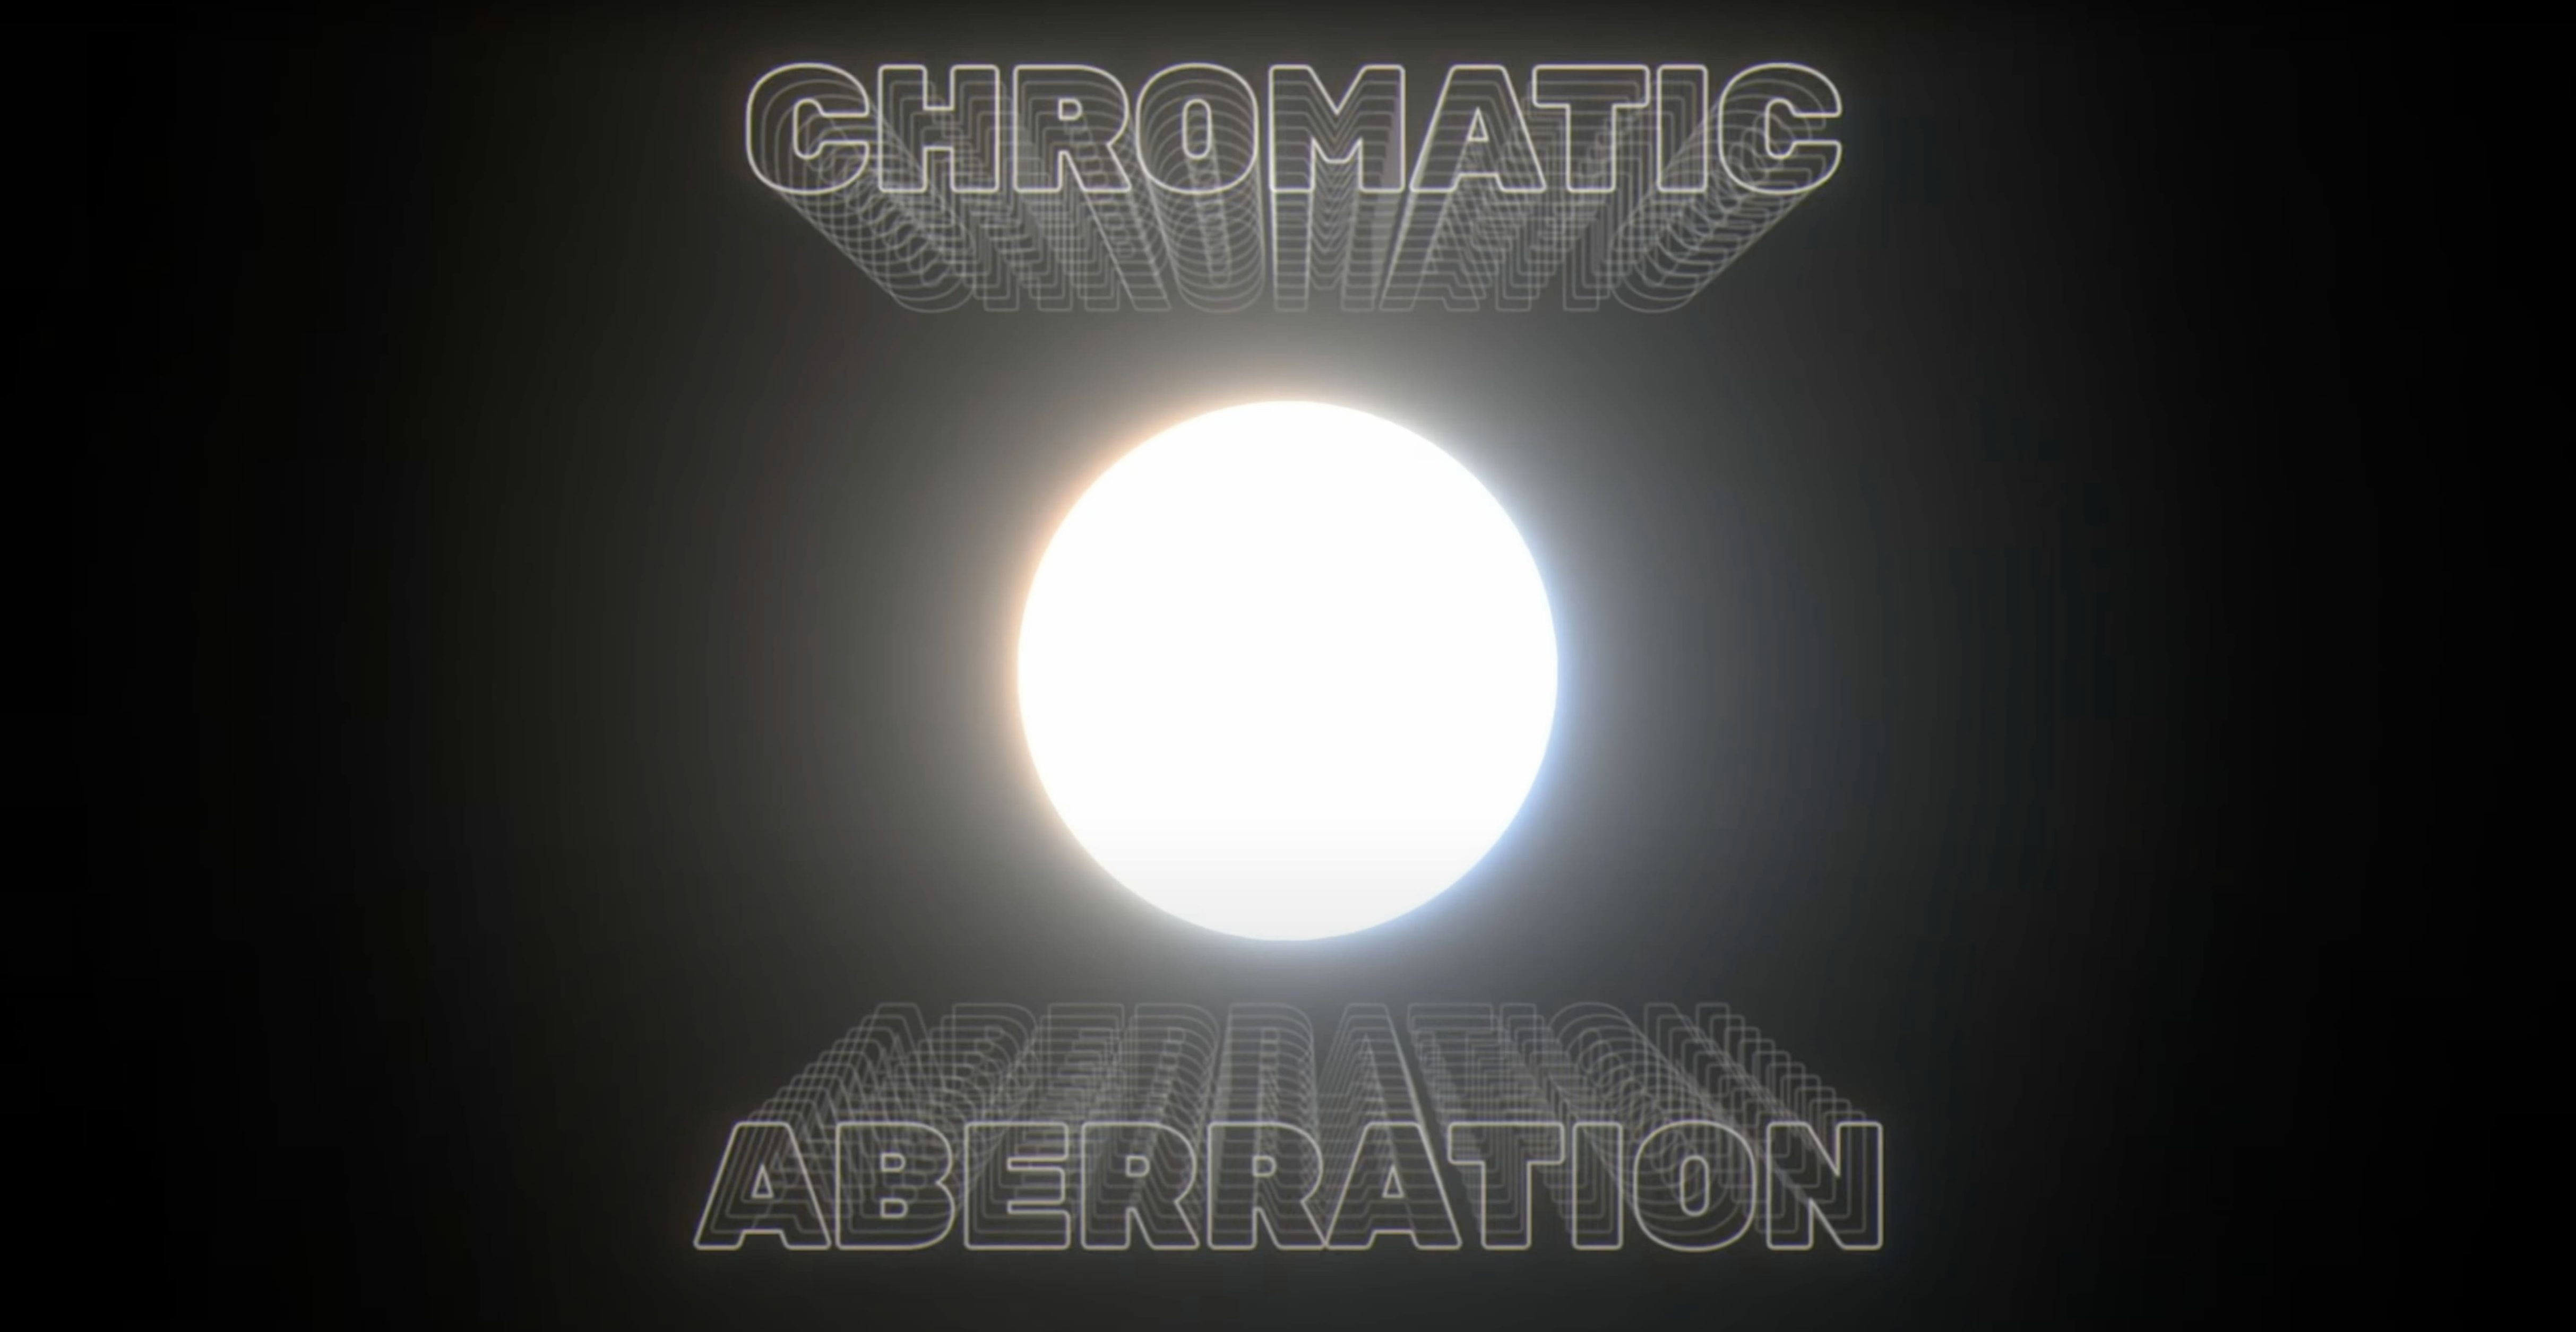
The radius sat around 180 pixels on a 1920×1080 comp, exposure at 1.2, and she pulled the chromatic aberration sliders just enough to split the red and blue channels by a hair — the kind of optical imperfection you get when shooting real neon through a wet lens. For the flicker, she keyframed the exposure control with a wiggle expression at 8 Hz, and because Deep Glow recalculates the falloff per frame without introducing temporal artifacts, the pulsing light felt electrical rather than algorithmic. The alleyway plate had its own practical reflections from a rain machine on set, so Mari set the glow's composite mode to Add and dropped the opacity to 85%. The result sat inside the scene, not on top of it. The client asked how she got the glass to feel hot. She sent them a screenshot of three sliders and a grain setting of 1.8 pixels.
Why your glow disappears inside a pre-comp
The glow vanishes when you pre-compose. This happens because blend modes inside a pre-comp don't carry through to the outer comp the way you expect. If Deep Glow is set to Add or Screen inside the pre-comp and the pre-comp itself sits on a layer with a Normal blend mode, the glow has nothing to composite against. The simplest fix is to leave the glow effect on the element in the outer comp, or set the pre-comp layer's blend mode to Add. Either way, the plugin needs a pixel underneath it to add to.
Colour fringing looks like a broken cable. The chromatic aberration controls are powerful, but they scale with the radius. If you set a radius of 300 pixels and push the red-blue separation to 20, you get a rainbow smear that reads as a rendering error. Back the separation down to single-digit values or offset only one channel by a pixel or two. Used lightly, it mimics lens dispersion. Cranked, it pulls the shot apart.
Render times balloon at 32-sample quality. The quality sample slider multiplies the number of blur passes. At 32 samples, the GPU is effectively rendering the glow thirty-two times per frame and averaging the result. That is overkill for most broadcast work. Eight samples looks clean on a 4K master; sixteen is luxury. Reserve thirty-two for shots that will be freeze-framed or examined on a cinema screen, and even then, try sixteen first.
A white circle on black reveals each composite mode
On day one, make a test comp with a white circle on black and run through each composite mode — Add, Screen, Normal, Subtract — at different exposure values. You will build a gut sense of which mode pairs with which kind of source material before you even touch a client project. Day two is about the downsampling toggle. Train yourself to drop the quality to Quarter while you animate, then bump to Full and 8 samples only for the render. On day three, experiment with the grain controls on a still frame, exporting a short TIFF sequence to check whether the noise pattern stays organic under motion. It does, but seeing it for yourself means you trust it when a deadline is closing in.
After that, Deep Glow becomes muscle memory. You reach for it instead of the stock Glow, and the old effect starts to feel like a preview proxy — a placeholder you use while you wait for the real light to arrive.
What stayed the same is the quiet confidence of a glow that breathes across a scene instead of sitting on top of it.
Deep Glow 1.6 appears in the release archive alongside point updates like 1.6.9, 1.6.8, 1.6.6, 1.6.5, 1.6.4 and 1.6.3, carrying forward the architecture support and non-linear colour handling that define the plugin.
- macOS (Apple Silicon and Intel 64-bit supported)
- Adobe After Effects
Questions from the booth
Yes, Deep Glow supports both Apple Silicon and Intel 64-bit architectures, so it runs natively on current Macs.