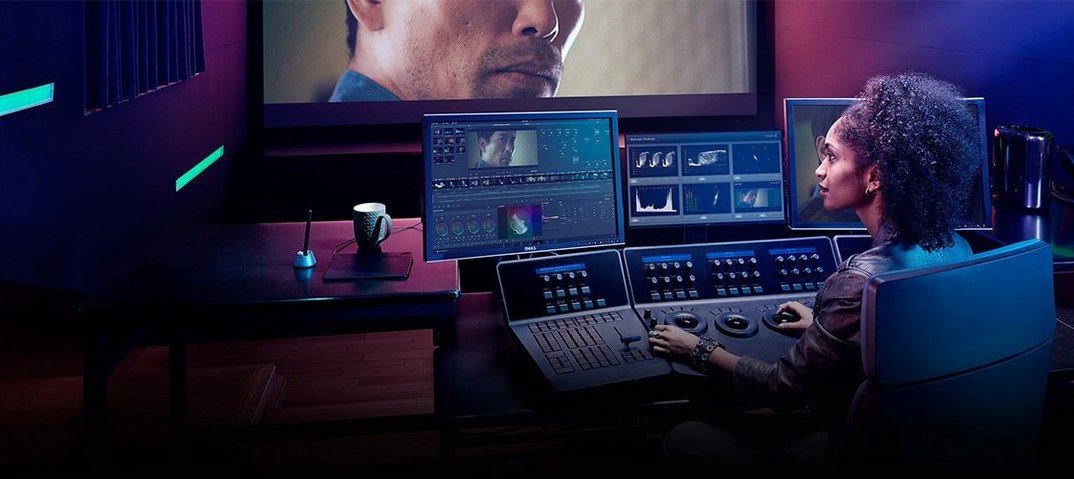
You drop it onto a node in the middle of a grade, just after the primary corrections have locked in your exposure and white balance, and the image shifts from clean digital capture to something with an embedded history.
Grain — Not a uniform overlay, but a response to the densities already in the shot. It settles into the midtones first, then pushes outward as you raise the amount, respecting the size and softness you dial in for the stock you chose.
Halation — The red-orange bleed that happens when light hits the film base and bounces back into the emulsion. You see it most around practicals and hard specular edges; the spread control determines how far that glow travels before it falls off.
Bloom — A softer cousin to halation, a mist around the highlights that doesn't carry the same colour shift. Together, the two controls let you separate the physical scattering of light from the chemical colour response of the film layers.
Film Compression — The shoulder and toe of a film stock's characteristic curve, remapped into your working colour space. Highlights roll off instead of clipping; shadows sink without crushing.
You bring a clip into the timeline already balanced, or nearly so. The first pass in Dehancer usually means choosing a film stock and letting the profile do its work before you touch anything else. Start with a print film that matches the contrast you're after — a lower-contrast negative if you plan to push the grade further down the line, a reversal stock if the shot needs to feel finished on its own. Then step back from the monitor for a moment. Look at the whole frame, not the scopes. The profile shifts colour relationships in ways that are hard to predict from a vector scope alone.
After the stock choice, the order matters. Raise the grain amount until it reads at your intended viewing distance, not at 200% zoom. Pull the halation down if the windows start to feel radioactive; push it up slightly for night exteriors where practical lights should spill. Bloom comes after halation, because the two overlap in the highlights and one can mask the other's contribution. Then the print controls — the toe and shoulder that decide whether the shadows feel inky or lifted, whether the sky holds texture. Most of the time, that's the whole pass. A LUT out at the end if the project needs consistency across a team, but for a single film, the plugin is the grade.
Boost render quality before you start grading seriously
Open the preferences not for the look, but for the performance. The plugin defaults to a processing quality that favours playback speed over final output, and that is the right trade-off for most editing sessions. But the moment you start judging grain and halation, switch to a higher quality setting. The difference is subtle in a still frame and obvious in motion — grain patterns resolve more naturally, halation spreads without banding.
Cache behaviour is the second thing. In Resolve and After Effects, film grain is expensive to recompute on every playback pass. If the plugin offers a cache or render-quality override, set it to a level that matches the preview resolution you actually use. There is no point rendering grain for a 4K timeline when you are monitoring in a 1080p window, and the time savings add up quickly on a long-form project.
Also worth doing early: build a small set of user presets for the stocks you reach for most. Not full looks — just the film profile plus a reasonable grain and halation baseline, saved under names you will remember. Colour grading sessions run on momentum. The less time spent re-dialing the same five controls, the more time goes to the shots that actually need decisions.
Grain and halation now feel lighter to play back
The 7.3.4 release is a quiet one, mostly under the hood. Bug fixes and performance improvements are the official notes, and the performance side is the part you feel in practice. Grain and halation have always been the heaviest operations in the chain, and recent builds push more of that work onto the GPU where the host application allows it. On Apple Silicon machines, the difference shows up as longer stretches of real-time playback before the cache kicks in.
The other notable addition is Production License Server support. For a solo colourist on a single workstation, this changes nothing day to day. For a post house with a few suites and a shared render machine, it means the plugin can pull authorisation from a central server instead of binding to one computer. The practical effect is that a machine can be re-imaged, moved, or swapped without breaking the install, which matters more the larger the team gets.
How a documentary editor might use it
A documentary editor working with archival footage faces a specific problem: the new interviews are clean, native 4K, and the archival material is a mix of digitized 16mm, old broadcast tapes, and scans of photographs. Cutting between them is jarring without a unifying layer. Dehancer becomes the connective tissue.
The editor sets up an adjustment layer across the timeline — or a grade on the project level in Resolve — and applies a single print film profile to everything. The interviews get a light touch: enough grain to take the digital edge off, a hint of halation around window light in the background. The archival material gets the same profile, but with film damage and gate weave dialed in to match the source's own decay. The result is not that everything looks identical; it's that everything looks like it was made in the same world. The newer footage doesn't feel sterile, and the older footage doesn't feel like a museum piece. The editor can then render a LUT from that project-level grade and hand it to the finishing facility, so the broadcast master matches the offline cut without shipping the plugin settings back and forth.
Dehancer Pro 7.3.4, listed for 15 August 2025, is a maintenance release. It addresses a handful of bugs and brings performance improvements under the hood, with no changes to the feature set or interface.
- macOS 11 or later
- Apple Silicon or Intel 64-bit processor
- DaVinci Resolve, Adobe After Effects, or Adobe Premiere Pro
Questions from the booth
It runs as a plugin inside DaVinci Resolve, Adobe After Effects, and Adobe Premiere Pro, with native support for both Apple Silicon and Intel 64-bit Macs running macOS 11 or later.
It provides physically modelled grain, halation, bloom, and film compression curves that respond to the image data rather than applying a fixed overlay, giving independent control over each aspect of the film response.
The update focused on bug fixes and performance improvements, keeping the interface language in English as before.