DCommander sits comfortably on any Mac running macOS 11.5 or newer, and it speaks both architectures natively — Intel and Apple Silicon. It is a universal build, so whether you’re holding onto an older Intel machine or working from a recent M-series laptop, the app steps in without translation overhead.
Classic dual-pane speed meets native Mac polish
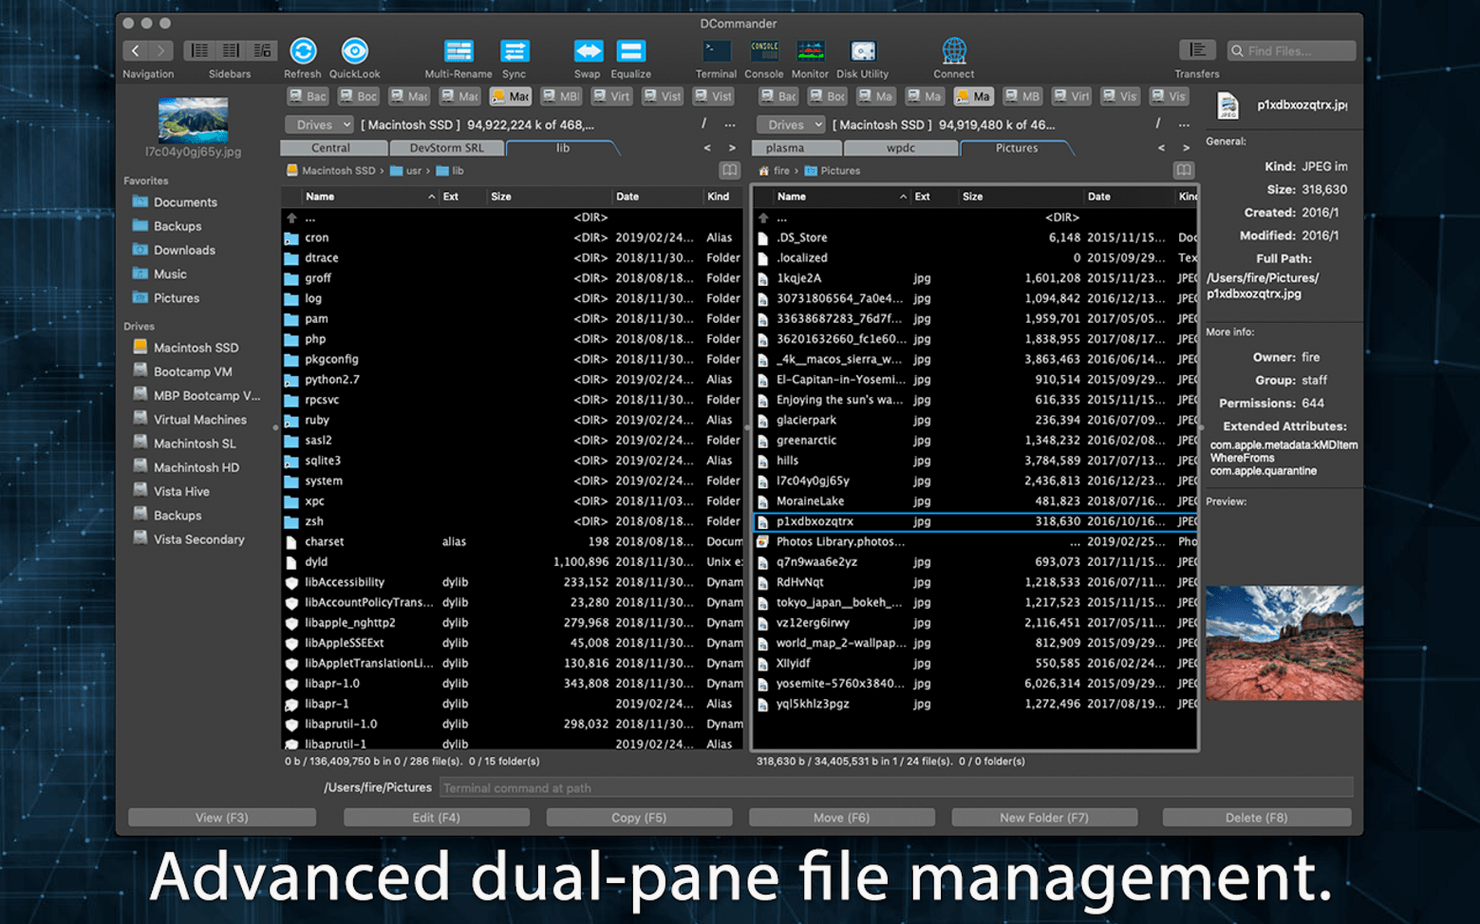
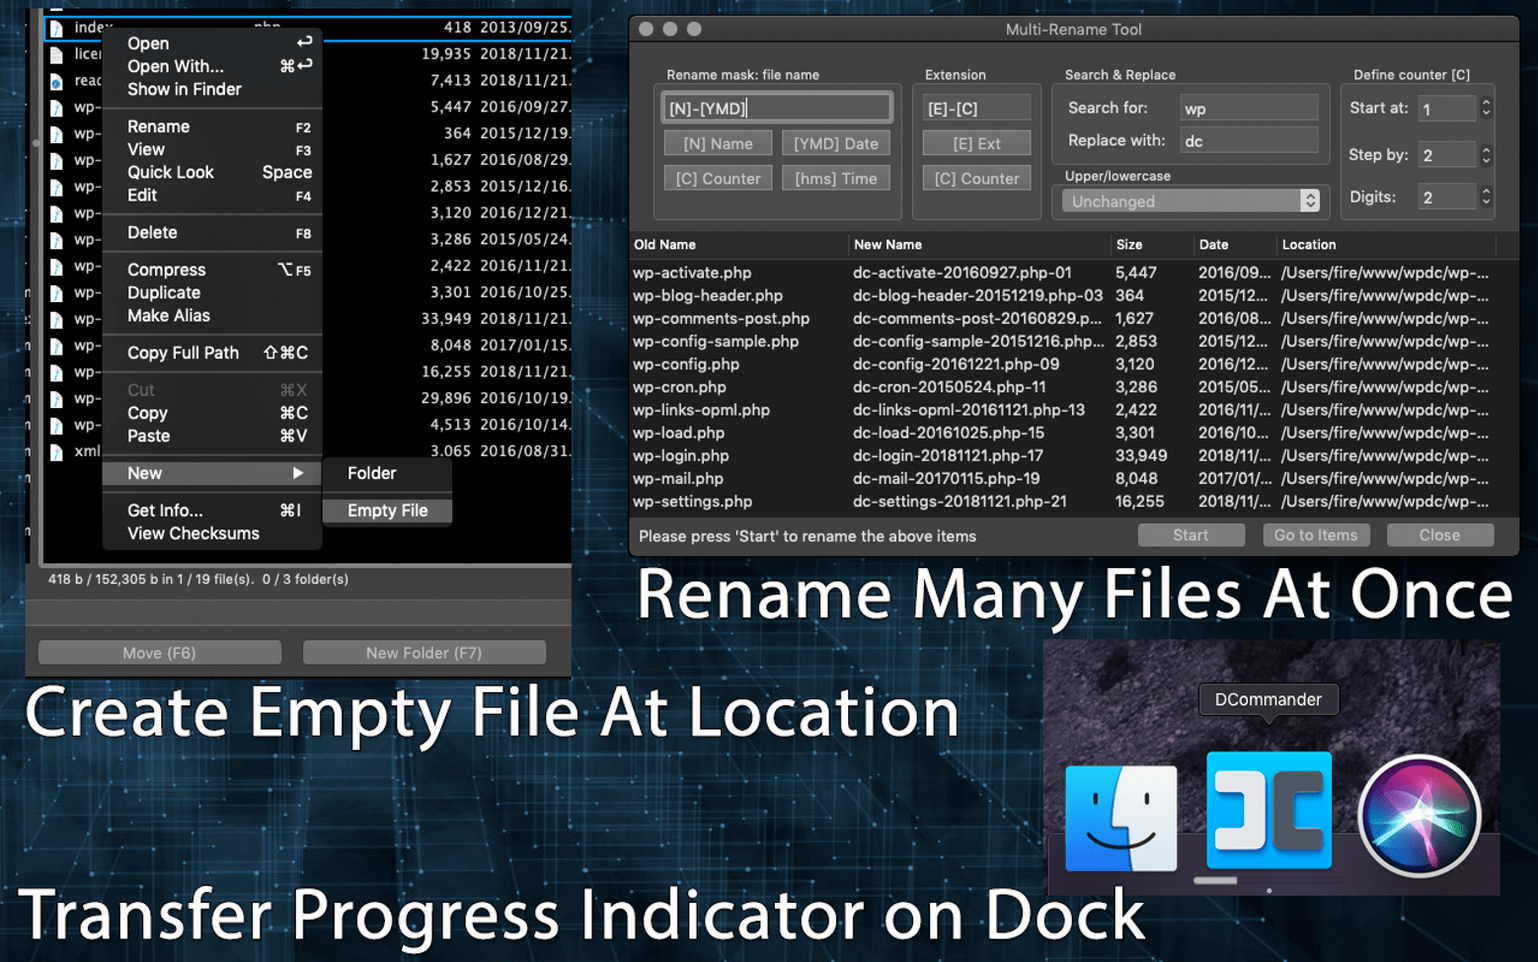
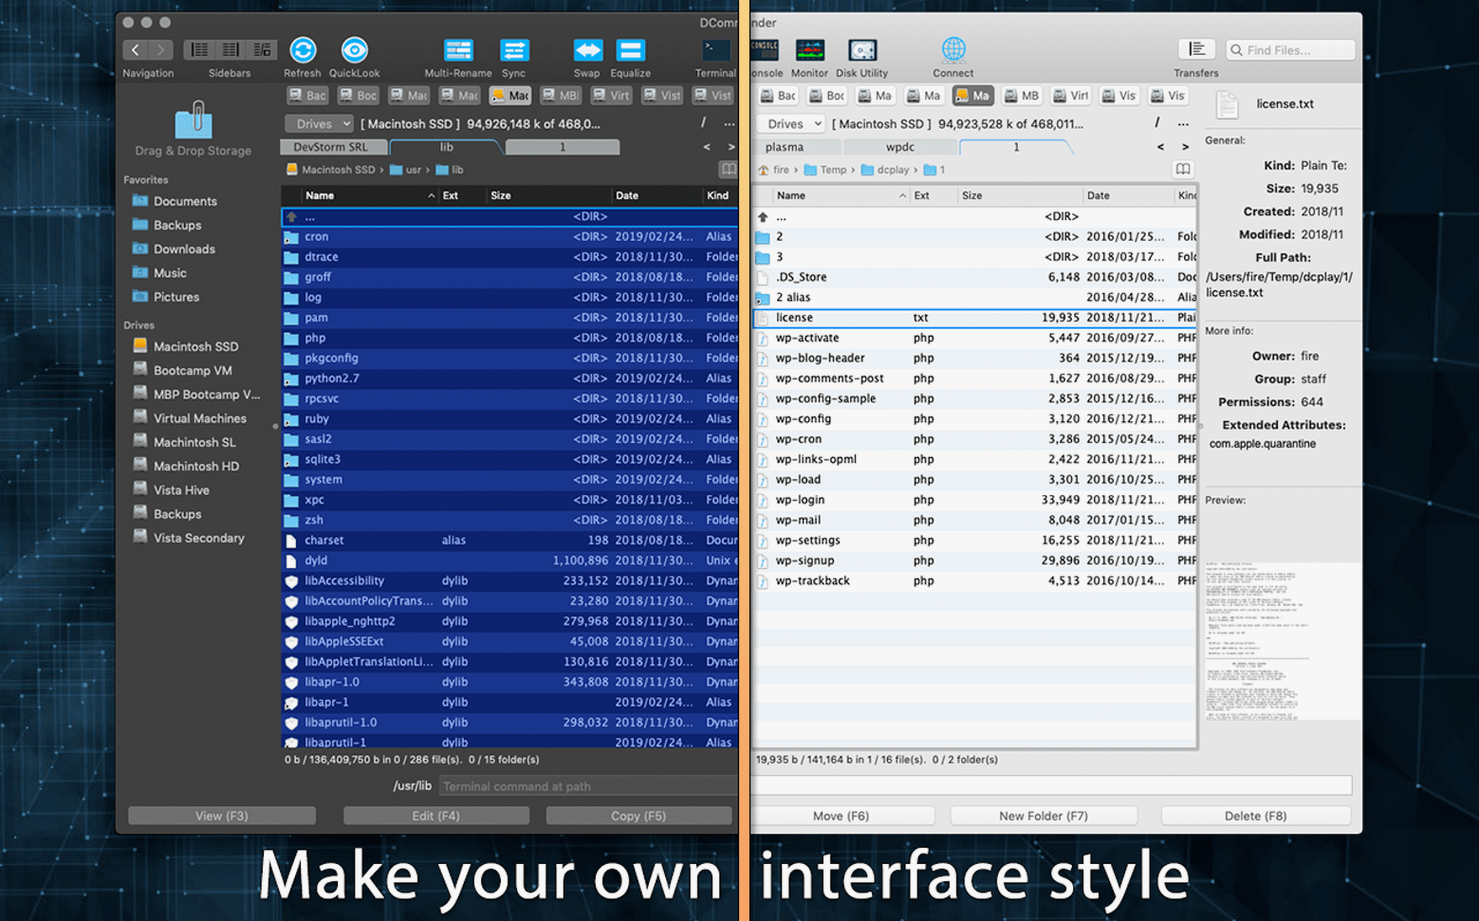
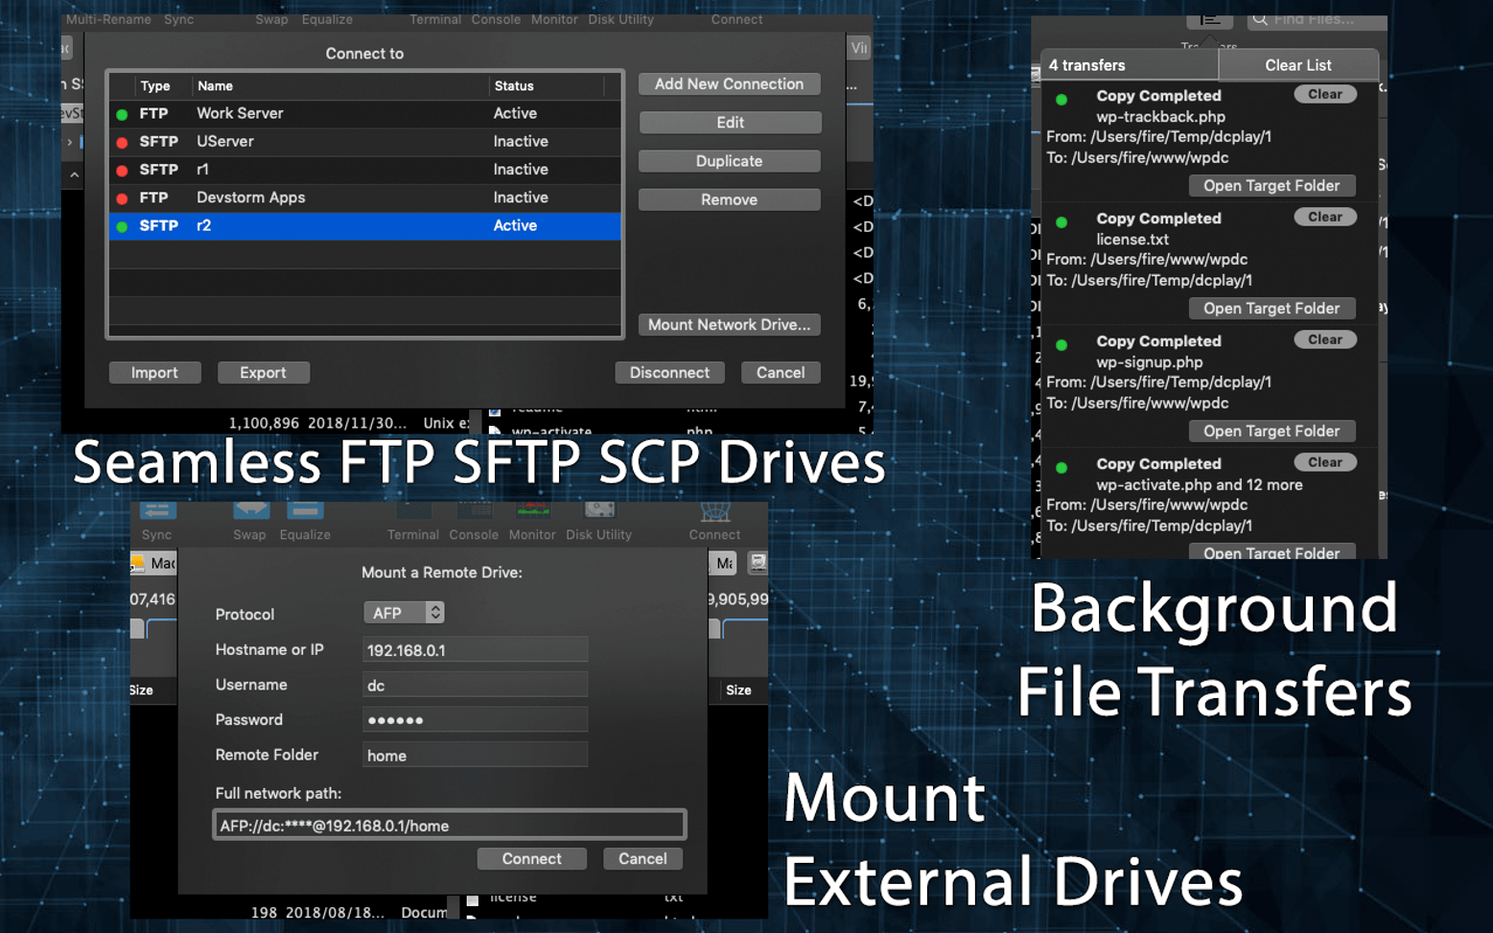
Strip it back and you find a classic orthodox file manager built for modern macOS. It splits the window into two independent panes, which makes copying, moving, synchronizing and archiving feel direct. Batch operations come standard, and a background transfer manager keeps file jobs out of your way. Less obvious tools sit ready when you need them: a HEX editor for poking at raw bytes, and checksum utilities for verifying file integrity on the spot.
When the panes click into place
The rhythm of a two-pane setup is something no Finder window quite replicates. You see source and destination at once, drag or keyboard-navigate files across the divide, and build a workflow that rewards muscle memory. For anyone who grew up with Norton Commander or Total Commander, the layout feels like coming home. For newcomers, it’s a quieter, more structured way to manage sprawling project folders and external drives without drowning in tabs.
One of the sharpest early mistakes is treating DCommander as two Finder windows fused together. It isn’t. The muscle memory you built with column view works against you here — the app expects shortcuts like Tab to jump between panes and F5 to copy, not Cmd-C and Cmd-V. New users often highlight files in one pane, switch apps reflexively, then return to find their selection gone. Another common stumble: forgetting that the background transfer manager queues operations independently, so firing off five separate copy commands without checking the queue can leave you wondering why disk activity spiked ten minutes later.
People also sleep on the connection profiles. It’s tempting to punch FTP or SCP credentials into the quick-connect bar every session, but saving a named profile — with the remote path, default directory, and connection type baked in — turns a thirty-second ritual into a single keystroke. And the HEX editor trips up anyone who opens it expecting a text viewer; scrolling past the ASCII column straight into raw byte offsets without a firm idea of what you’re looking at is a fast route to confusion.
Camera card to Thunderbolt drive in one Tab keystroke
You’ve just pulled a card from a camera and plugged it into the Mac. The left pane points at the DCIM folder on the card, the right at your project’s footage/raw directory on an external Thunderbolt drive. You tap Tab a few times to settle into the rhythm, then press Space on a clip — the built-in preview pops up just long enough to confirm the take. No launching QuickTime, no waiting.
You select a block of twelve clips with Shift-Down and hit F5. The copy dialog asks if you want to preserve timestamps; you check the box and send the job to the background transfer manager. While those files stream across, you open a third tab in the left pane, connect to the studio’s SFTP server using a saved profile, and pull down the revised shot list someone uploaded ten minutes ago. The transfer manager chimes softly — your footage landed. You close the tabs, eject the card, and open the checksum tool to verify a disk image you archived last week. Everything matches. You shut the lid.
- macOS 11.5 or later
- Apple Silicon or Intel processor