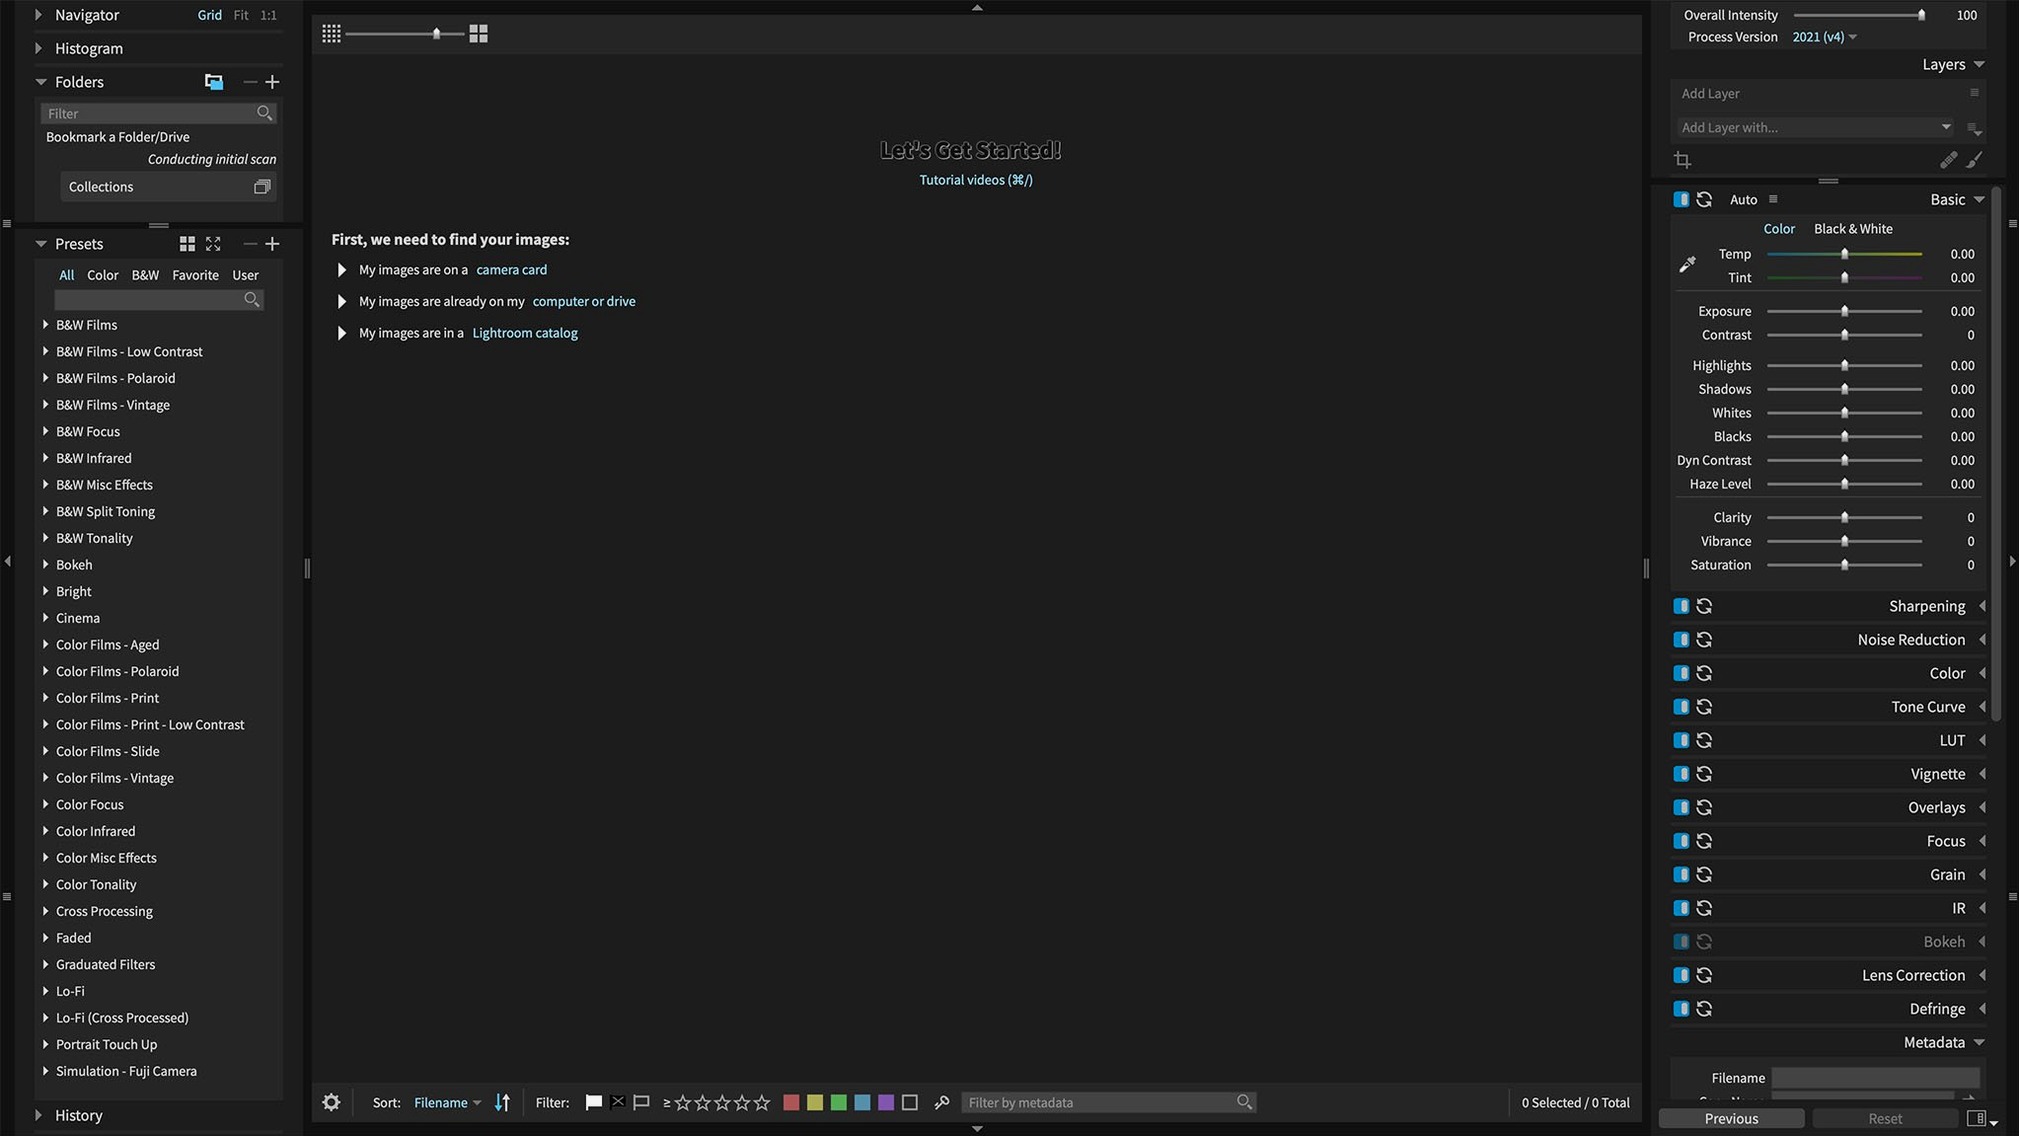
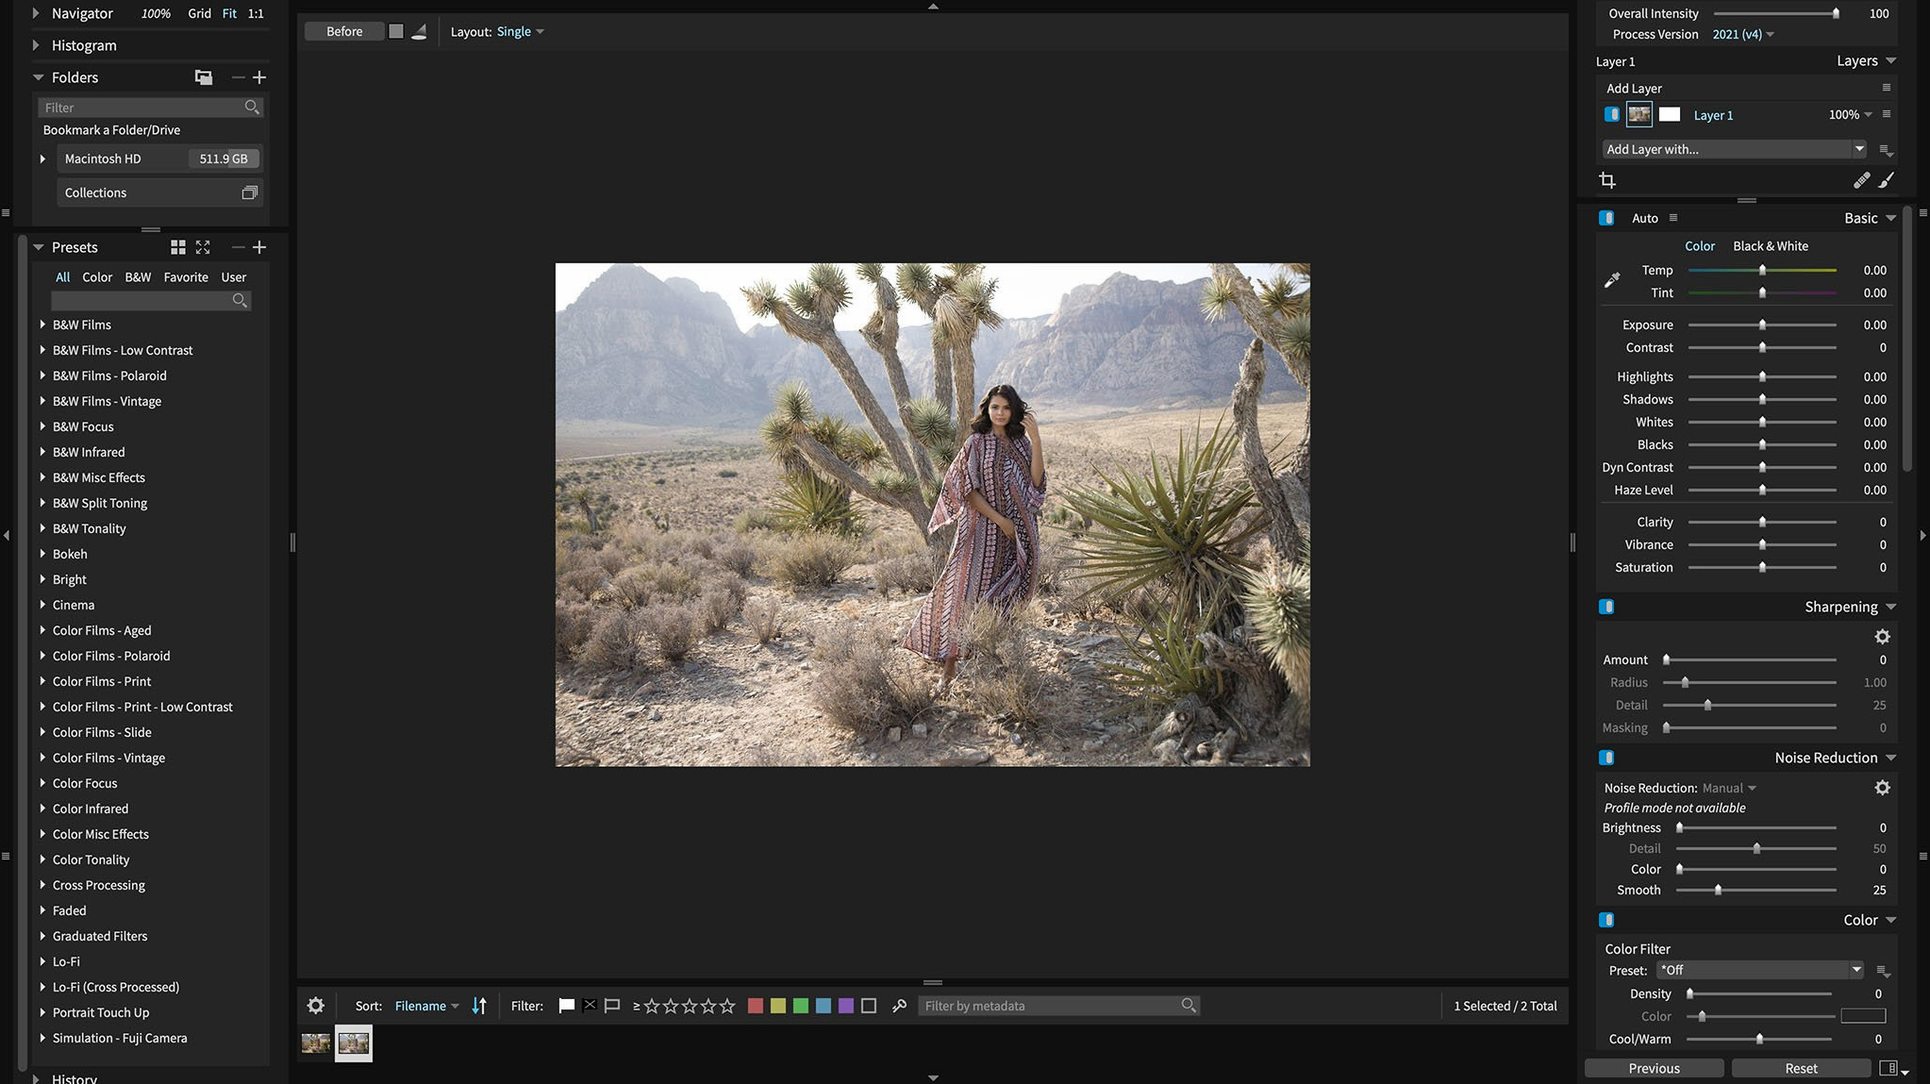
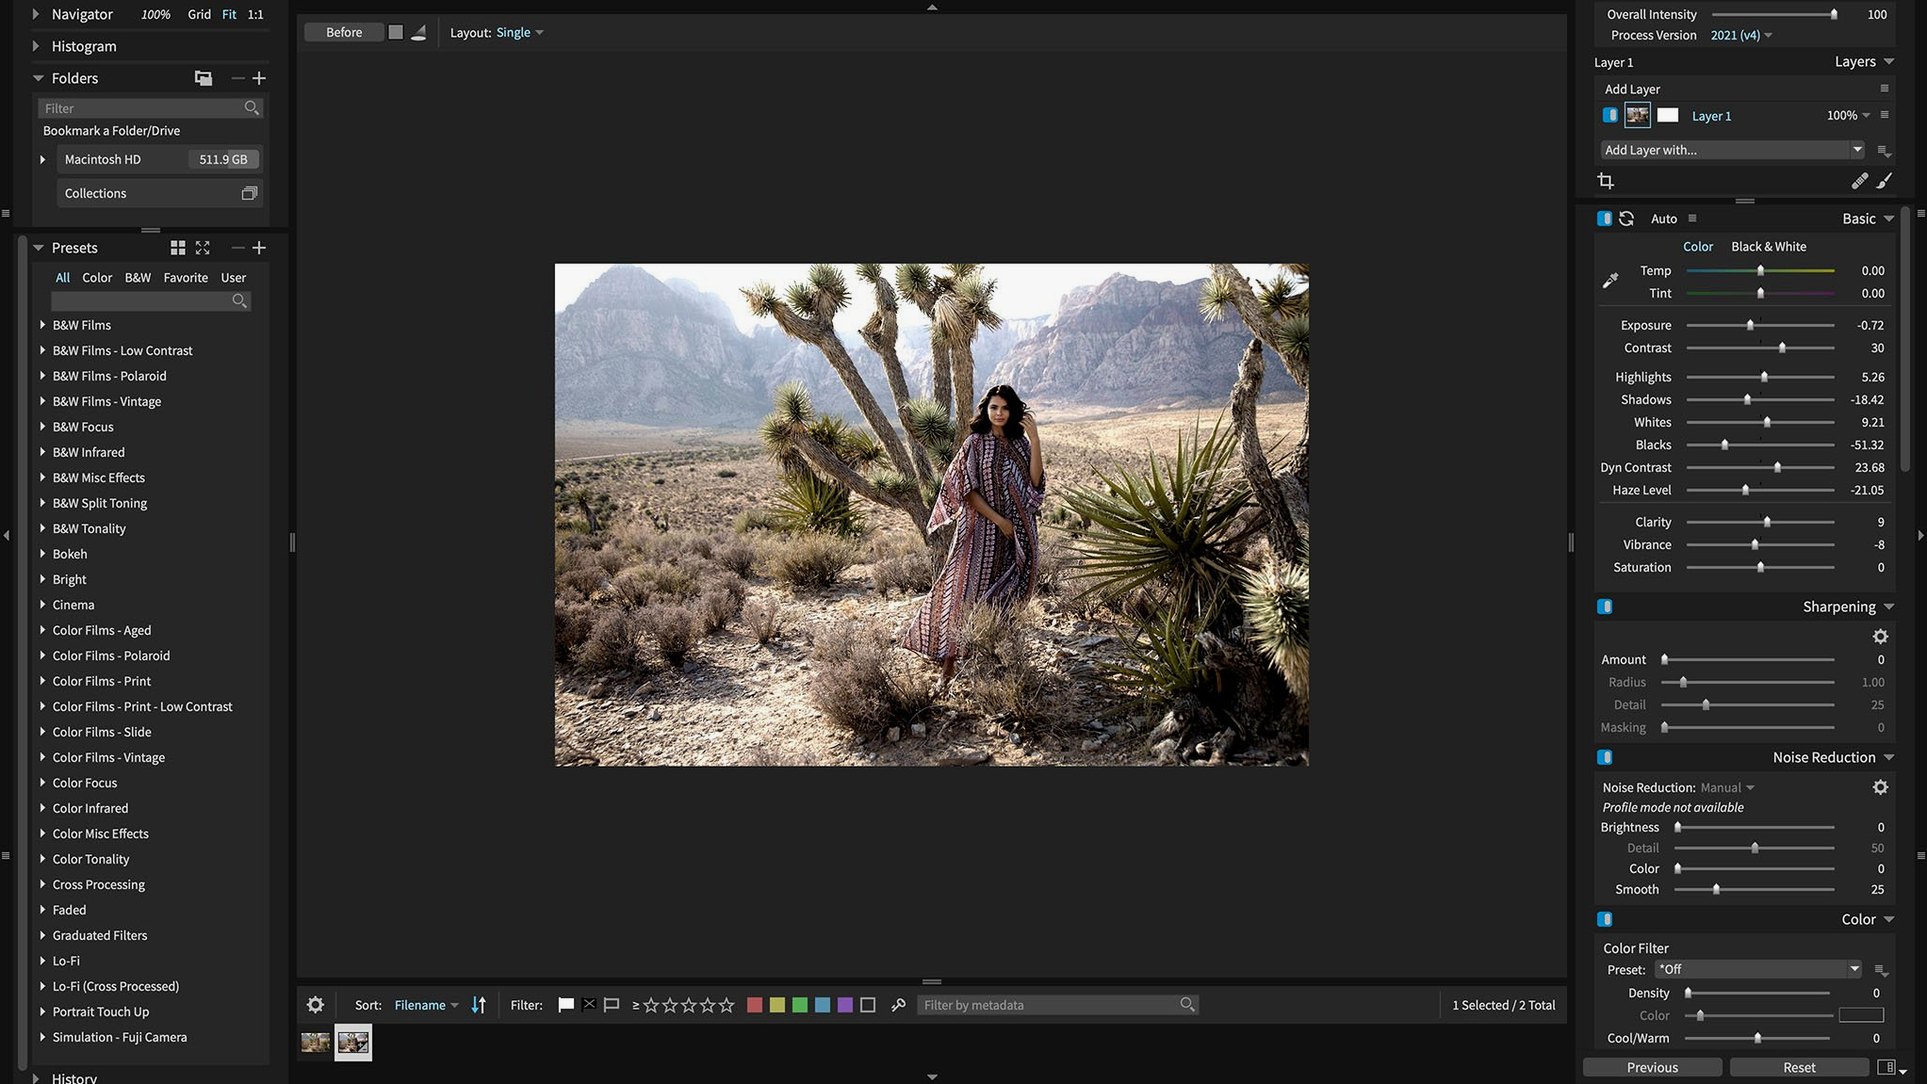
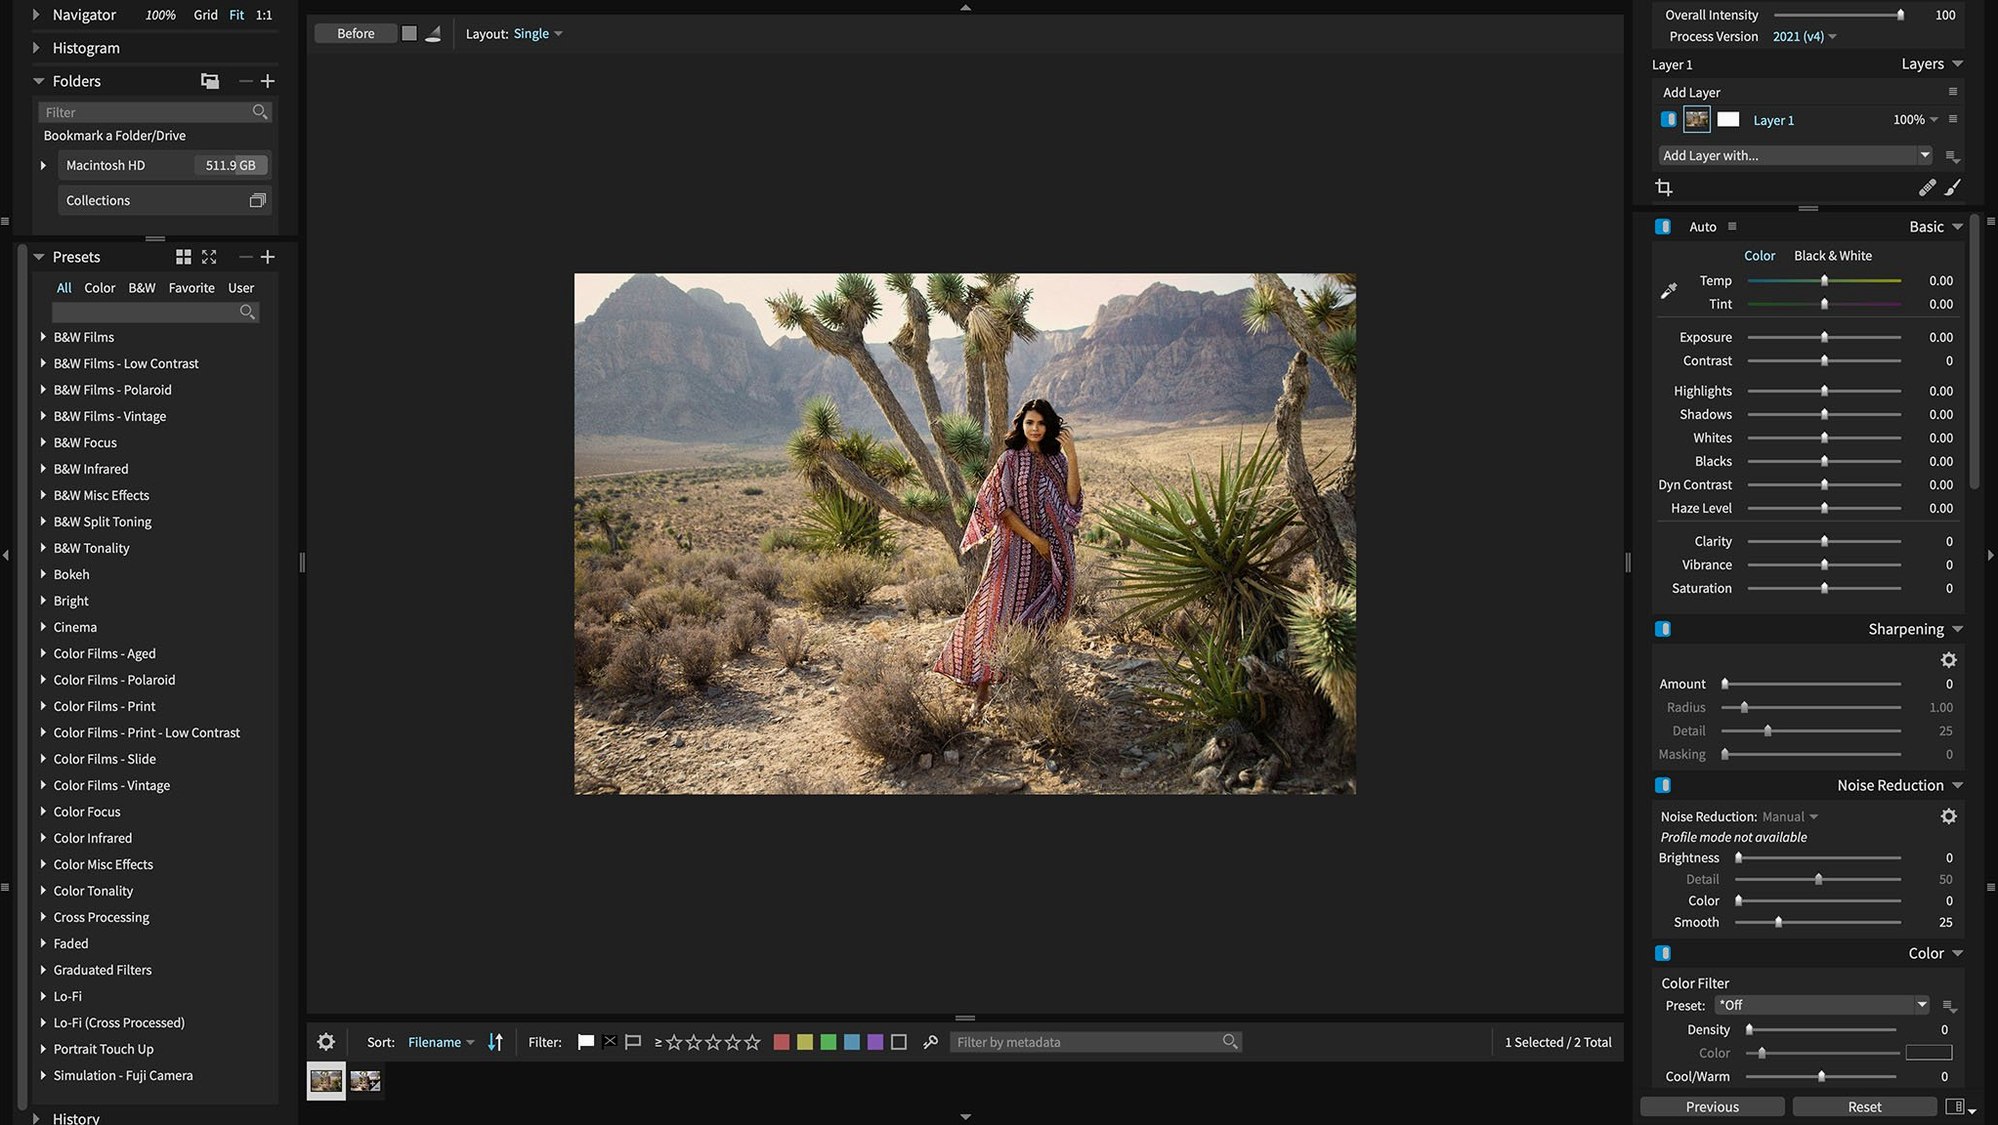
When a RAW file arrives flat and unformed, carrying all the data but none of the presence of the moment, you need a space where that potential can resolve without friction. Exposure X7 builds that space around a clean, responsive editing layout where exposure, contrast, and colour adjustments feel direct—more like shaping a print than wrangling metadata. The masking tools let you isolate a face, a sky, or a sliver of foreground with enough precision that the correction sits inside the image rather than on top of it, and the film-inspired presets bring a warmth that doesn't announce itself as a filter.
Batch raw editors who need keywords and collections inside the editor
- Photographers who process large batches of RAW images and need organization tools like keywords, collections, and smart collections alongside the editor.
- Editors who split time between standalone work and a Lightroom Classic or Photoshop pipeline, since the plugin integration keeps the workflow continuous.
- Anyone drawn to emulsive black-and-white looks: the preset library covers a wide range of classic stocks and darkroom character.
Plugin bridge only works with Lightroom Classic, not the cloud apps
- The plugin bridge requires Lightroom 6 or Lightroom Classic CC—newer cloud-centric Lightroom versions have a different architecture that doesn't support the same plugin path.
- The current build supports macOS 10.13 and later, with full Intel and Apple Silicon compatibility, but earlier systems won't see the installer.
Don't zero the auto adjustments and ignore presets right after install
One thing I see photographers do right after installing is treat Exposure X7 like a raw converter they have to wrestle into neutrality before the real work begins. They zero out the automatic adjustments, ignore the preset browser entirely, and build a look from scratch every time. That impulse makes sense if you come from a tool that over-processes by default, but here the auto tone and colour mapping are gentle enough to serve as a useful first draft. Let them run on import, then tweak—you can always pull the sliders back, and you'll often save ten minutes of neutralising an image that was closer than you assumed.
The other quiet trap is the way people approach the 3D colour masking. The interface invites you to sample a colour, refine the range with the lightness and saturation axes, and then apply adjustments to that isolated zone. Where it goes wrong is skipping the visualisation overlay. Hold down the Option key while dragging the range sliders and the mask paints itself across the image in black and white, showing you exactly which pixels are caught. Without that, it's easy to build a mask that looks clean on the colour chart but leaks into areas you won't notice until you print. The overlay takes a second and prevents the kind of halos that make an image feel brittle.
Beginners also tend to stack too many film presets on a single layer, chasing a hybrid stock that doesn't exist. The grain, colour shift, and highlight roll-off from one preset interact with another in ways that compound unpredictably—you get muddy shadows and a digital sharpness that fights the emulation. Pick one preset that handles most of the character, then use the basic panel and a masked adjustment layer to shape the rest. The presets are strong enough to carry the mood alone.
Point it at one recent folder first instead of migrating everything
On day one, don't try to migrate an entire catalogue. Point Exposure X7 at a single folder of recent raw files—something you shot in the last month and know well. Watching how it reads familiar images gives you a faster read on its rendering than any test chart. Let the automatic adjustments apply as a starting point, then browse the film presets with the thumbnail strip visible at the bottom of the window. The strip shows each preset applied to your image at a glance, so you can scan twenty looks in as many seconds and land on a direction without committing to anything.
Get comfortable with the non-destructive layers early. The layer panel lives on the right, and each new layer can carry an adjustment, a preset, or a mask. The habit worth building is naming your layers the moment you create them—"sky darken," "face brighten," "HP5 base." Two months later, when you reopen that image, descriptive labels are the difference between a quick refinement and a forensic investigation.
If you work in a hybrid setup with Photoshop, install the plugin on day two and run a round-trip test on a single image. The plug-in path under Lightroom Classic CC or Photoshop CS6 and later preserves your Exposure X7 layers and masks, but the first time you send a layered file back and forth it's worth checking that your naming conventions survive the handoff. They do, but confirming it with your own workflow saves a moment of doubt when you're on a deadline.
Small conveniences worth learning
The Quick Export menu is genuinely quick, but its real trick is that the export presets remember the last folder you used per preset. If you always deliver web-resolution JPEGs to one client folder and full-resolution TIFFs to another, set an export preset for each destination once and you'll never browse for a folder again. The crash that version 7.3.0 fixed in this menu—when reordering export presets—makes the current build the right moment to build those presets without worrying about stability.
A few other shortcuts that hide in plain sight: double-clicking a slider returns it to its default, which is faster than hunting for a reset button. The / key toggles between the before and after view without moving your cursor off the image. In the keyword panel, typing a comma after a keyword commits it and opens a new entry, so you can tag a whole shoot with subject, location, and lighting keywords in a single pass without ever touching the mouse. And when you're working with the HEIC files that version 7.3.0 now supports from current iPhone models, the same non-destructive editing logic applies—the file format doesn't change the workflow, which means a pocket photo and a raw from a Sony A7 IV sit side by side in the same collection.
For editors who value the edit over the ecosystem and subscription rhythm
The photographer who benefits most is someone who values the edit over the ecosystem. If you find yourself fighting Lightroom's catalogue structure or resenting the subscription rhythm, the standalone mode here is the point—it opens your files where they live on disk and doesn't ask you to import them into a database. The file browser mirrors your folder structure, and the collections and smart collections layer on top of that without taking ownership of the originals. You can rename, move, or reorganise in the Finder and Exposure X7 follows along.
Film-stock enthusiasts—people who know the difference between Tri-X 400 pushed a stop and Delta 3200 shot at box speed—will find the preset library deeply satisfying. The grain emulation is per-channel and responsive to the image size, so it doesn't fall apart when you crop or resize. That's a detail that matters if you print, because grain that looks organic on screen can go crunchy on paper when the algorithm is lazy. Exposure X7's approach holds up at A3 and beyond.
Event and wedding photographers who deliver large galleries on tight timelines get a quieter benefit: the combination of automatic adjustments that land close enough, a preset browser that previews quickly, and a Quick Export that remembers destinations means you can process a thousand frames with fewer trips through the menus. The overlay tools for portrait retouching—skin softening that doesn't blur eyelashes, eye brightening that stays local—keep the final pass feeling like polish rather than rescue work.
If you run an older Mac or a machine you intend to keep for years, the support back to macOS 10.13 and the native Apple Silicon build mean the software isn't forcing an operating system upgrade on you. That's increasingly rare, and for a certain kind of user—the one who treats a Mac as a tool rather than a subscription—it's the detail that tips the decision. Version 7.3.0 on an M1 or M2 machine feels snappy in a way that matters when you're scrubbing through a shoot at full resolution, and the GPU optimisation keeps the masking tools responsive even on integrated graphics.
Version 7.3.0 brings HEIC support for recent iPhone photos into the library, alongside raw compatibility for the Panasonic Lumix G95D, Lumix S5 IIX, and Sony Cyber-shot DSC-RX100M7. Under the hood, the update resolves a corrupt rendering issue with Sony A7 IV lossless compressed raw files and a crash tied to black-and-white film presets. The Quick Export menu no longer falters after reordering export presets, and the Chinese, German, French, and Japanese localizations have been refreshed throughout.
- macOS 10.13 or later
- 64-bit Intel or Apple Silicon Mac
Questions from the booth
Yes, it operates fully on its own for RAW editing, masking, and image organization, and it also integrates as a plugin for Adobe Photoshop and Lightroom Classic.
The advanced masking tools allow for precise local adjustments, letting you isolate specific areas of an image for targeted exposure, colour, or detail work.
It offers one-click automatic adjustments that can serve as a quick starting point before you refine the image manually.