
If you already cut rough assemblies in QuickTime Player or string together clips in iMovie when you need something fast, HitPaw Edimakor occupies a similar niche but adds a layer of AI-guided assistance. It does not replace a timeline-heavy editor like Resolve or Final Cut — it sits beside them, ready for the moments when you need a polished cut without building a full project.
- Start with your source clips. Drop in the footage you have, whether it is a single long take or a handful of shots from a phone or screen recording.
- Trim and arrange. Use the basic cutting tools to set in and out points across your timeline. The editor keeps the operation closer to a trimmer’s bench than a full NLE cockpit.
- Let the AI handle connections. Elements from other tracks — separate audio, overlays, title cards — are automatically attached to the main video, so they move as a block when you shift things around. It is the kind of behaviour you would otherwise set up manually with linked clips in a heavier editor.
From there, the merge tools let you flatten everything into a single export without leaving the application. The interface ships in sixteen languages, which makes it a workable option if you are sharing a workstation across a multilingual team. It runs on Intel Macs back to Catalina, so even older production machines can keep it in the toolkit alongside the utilities you already rely on for quick-turnaround jobs.
Can this actually replace a full video editor
Most people want to know what they are actually getting into before they mount a disk image. One of the first questions is whether Edimakor can stand in for a full NLE. The honest answer is that it is meant for a different rhythm of work. If you are cutting a short documentary with nested timelines and colour-managed output, you will still reach for Resolve. But if a client needs a social cut of an event by end of day, this is where Edimakor makes sense — the feature set is shaped around speed, not depth.
Another recurring question is about performance on older Intel machines. The minimum requirement is Catalina, and the build is x86 64-bit, so it runs natively on those Macs without Rosetta translation. On a 2019 iMac with 16 GB of RAM, the timeline stays responsive even with five or six tracks of 4K phone footage, though scrubbing through heavy transitions can introduce a brief stutter. It is not a resource hog in the way some AI editors can be — the background processing stays contained.
People also ask about activation. The version distributed as a MediaFire build through the Russian download page is pre-activated by the TNT team, so the Gatekeeper bypass step during installation is the only hurdle. You run the Open Gatekeeper friendly script, press Enter in Terminal when prompted, and drag the app to Applications. After that, it launches without calling home for a licence check. Some users grab a HitPaw Edimakor crack to handle activation themselves, which works alongside the same pre-patched architecture. If you have searched for an Edimakor torrent, you have likely found the same release — the version string will read 2.6.0 either way.
Rough cut in under an hour from two camera angles
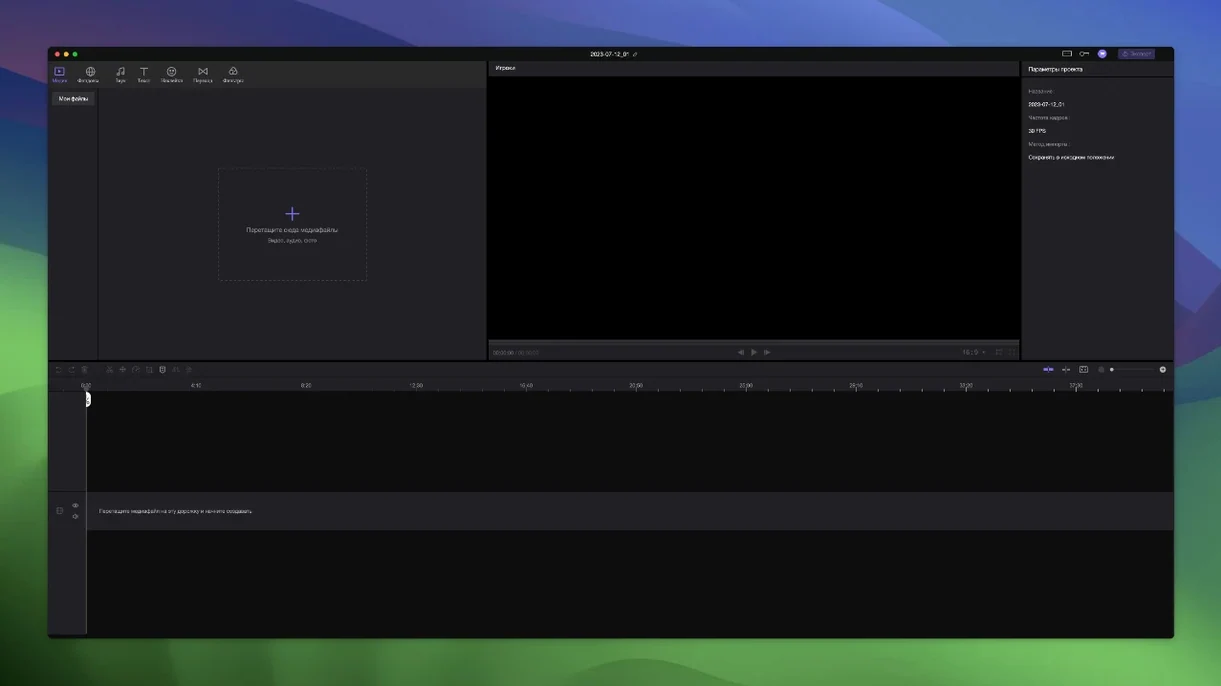
Imagine it is late afternoon and a musician friend has sent over three takes of a live session — two camera angles and a stereo audio file recorded separately. You have about an hour before she needs a rough cut for her Instagram. You open Edimakor and the workspace settles into a familiar three-zone layout: source preview on the upper left, program monitor on the right, and a horizontally scrolling timeline below.
You drop all three files onto the timeline. The two video tracks stack vertically, and the audio track sits beneath them. Edimakor automatically links the audio to the main video track, so when you start trimming the top video to match the beat of the song, the external audio follows instead of drifting out of sync. That single behaviour saves you from the usual dance of grouping and ungrouping clips.
Next, you run through the first take and set cut points with the trim tool, removing the false start where she adjusted the mic stand. The timeline snaps to frame edges clearly, and you can zoom in to individual frames when you need precise cuts around a chord change. You switch to the second camera angle for the chorus by slicing the main track and dragging the alternate clip into the gap. The attached elements — a title card with the song name you added earlier — shift right along with the main video block, keeping everything aligned without extra nudging.
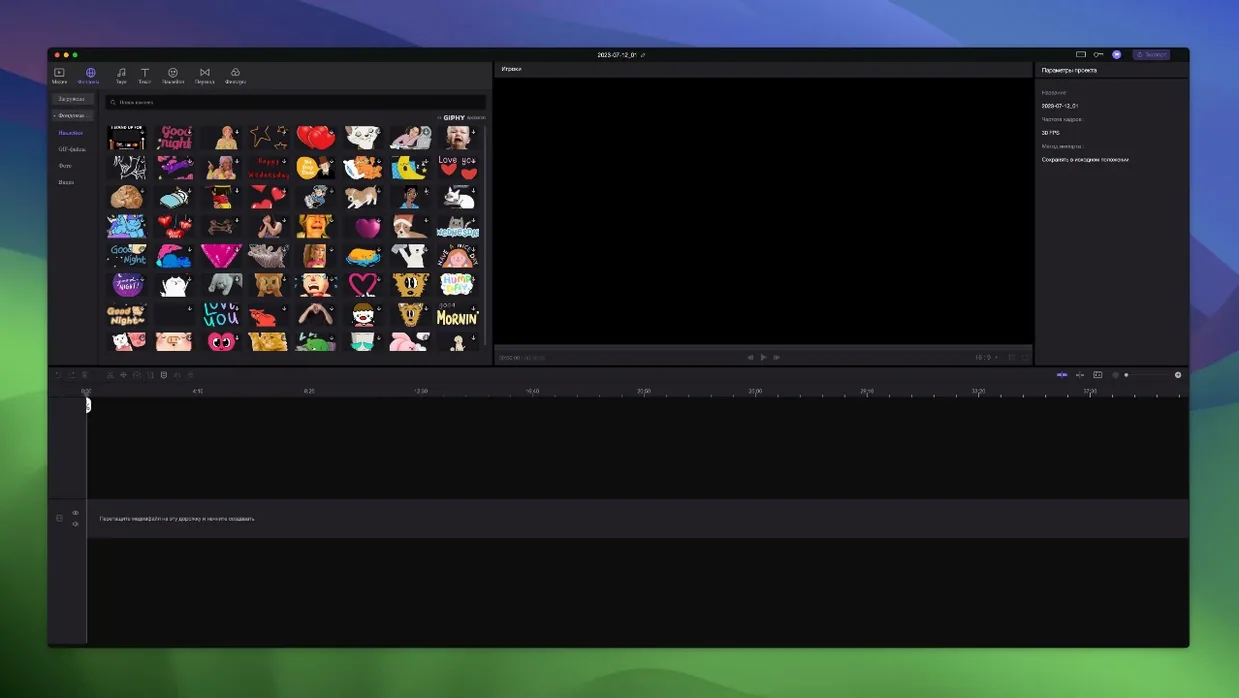
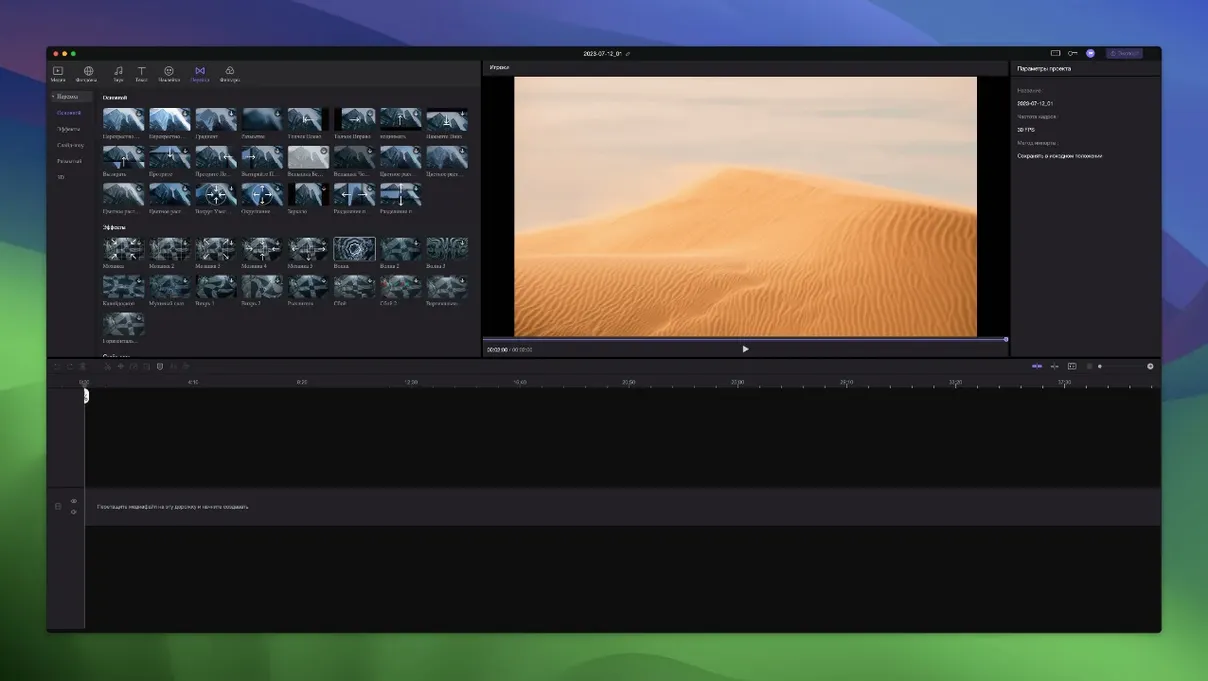
You pull a few transition presets from the built-in library — nothing flashy, just a short crossfade between the verse and chorus — and drag them onto the cut points. The timeline renders them in real time on the iMac. You drop two stickers onto an overlay track to mark the start and end of the solo section, and because of the attachment logic, they stay pinned to those moments even when you later decide to move the entire second half of the song forward by four seconds.
By the forty-minute mark, you have a three-minute cut with synced audio, two camera angles, transitions, and simple graphics. You hit export, choose a preset, and the file is ready before your kettle boils. The session never felt like you were fighting the software — it felt like you were assembling a story with a tool that anticipated the repetitive parts of the process.
Turning coffee b-roll into a 15-second teaser
Suppose a small coffee roaster has sent you a batch of clips — tight shots of beans dropping into a grinder, slow pans across a pour-over setup, a few seconds of steam rising against a dark background. They want a fifteen-second teaser for their website, no voiceover, just visuals and a supplied music track.
You start by importing everything into a new project and immediately mute the camera audio — none of it is usable, and the music track will carry the whole piece. You place the music file on the timeline first, then begin stacking video clips above it. The unlimited track count means you can lay out a dozen candidate shots without committing to any of them yet. You scrub through the music, find the moment where the track swells, and mark it as the emotional peak of the teaser.
Now you work backwards. You trim the steam shot so it lands exactly on that swell, then place the grinder shot just before it. A quick cut to the pour-over pan fills the opening. Each clip gets trimmed to between two and four seconds — enough to register the texture and motion without lingering. Because elements are attached to the main video track, you can slide the entire sequence left or right to match the music phrasing without losing the relative placement of your clips.
For polish, you add a subtle vignette sticker to the steam shot and a title card with the roaster’s name on a fade-in at the end. The transition library gives you a soft dissolve between the grinder and the pour-over, which echoes the slow-motion feel of the footage. You preview the whole thing at full resolution, tweak two cut points by a few frames each, and export. The entire workflow — from blank project to final file — runs under thirty minutes, and the timeline never exceeds six tracks. That is the sweet spot for Edimakor: short-form, visually driven pieces where the editing needs to serve the pace, not the other way around.
Where it lands between iMovie and pro software
Compared to iMovie, Edimakor occupies a slightly more capable tier without crossing into professional territory. iMovie handles basic trimming and titling well enough, but it caps tracks at two video layers and lacks the automatic attachment behaviour that keeps Edimakor’s timeline manageable when you shift material around. Where iMovie nudges you toward templates and themed trailers, Edimakor stays tool-focused — you build the cut yourself, with AI smoothing the friction points rather than making creative choices for you. Some users who initially searched for an edimakor cracked build were coming from iMovie and wanted more track flexibility without moving to a subscription editor, and Edimakor fits that gap.
Next to CapCut, the comparison shifts toward the AI feature set. CapCut leans heavily on its library of effects, auto-captions, and trending templates — it is built for a social-media-first workflow. Edimakor’s AI is subtler; it handles the structural side of editing rather than the stylistic side. The attachment logic and timeline timing tools feel like they came from a developer who watched editors lose time on repetitive alignment tasks and decided to automate those specifically. CapCut gives you more flash; Edimakor gives you more control over how the pieces fit together. If you have looked for an edimakor torrent after using CapCut, you were probably seeking that control without the template-heavy interface.
Measured against DaVinci Resolve, the gap is wide and deliberate. Resolve is a colour grading suite and audio workstation wrapped around an NLE — it expects you to manage node trees, Fairlight buses, and delivery presets. Edimakor never
- macOS 10.15 Catalina or above
- Intel Mac