
Cinema 4D runs on any Mac with macOS 11 or later, on both Apple Silicon and 64-bit Intel processors.
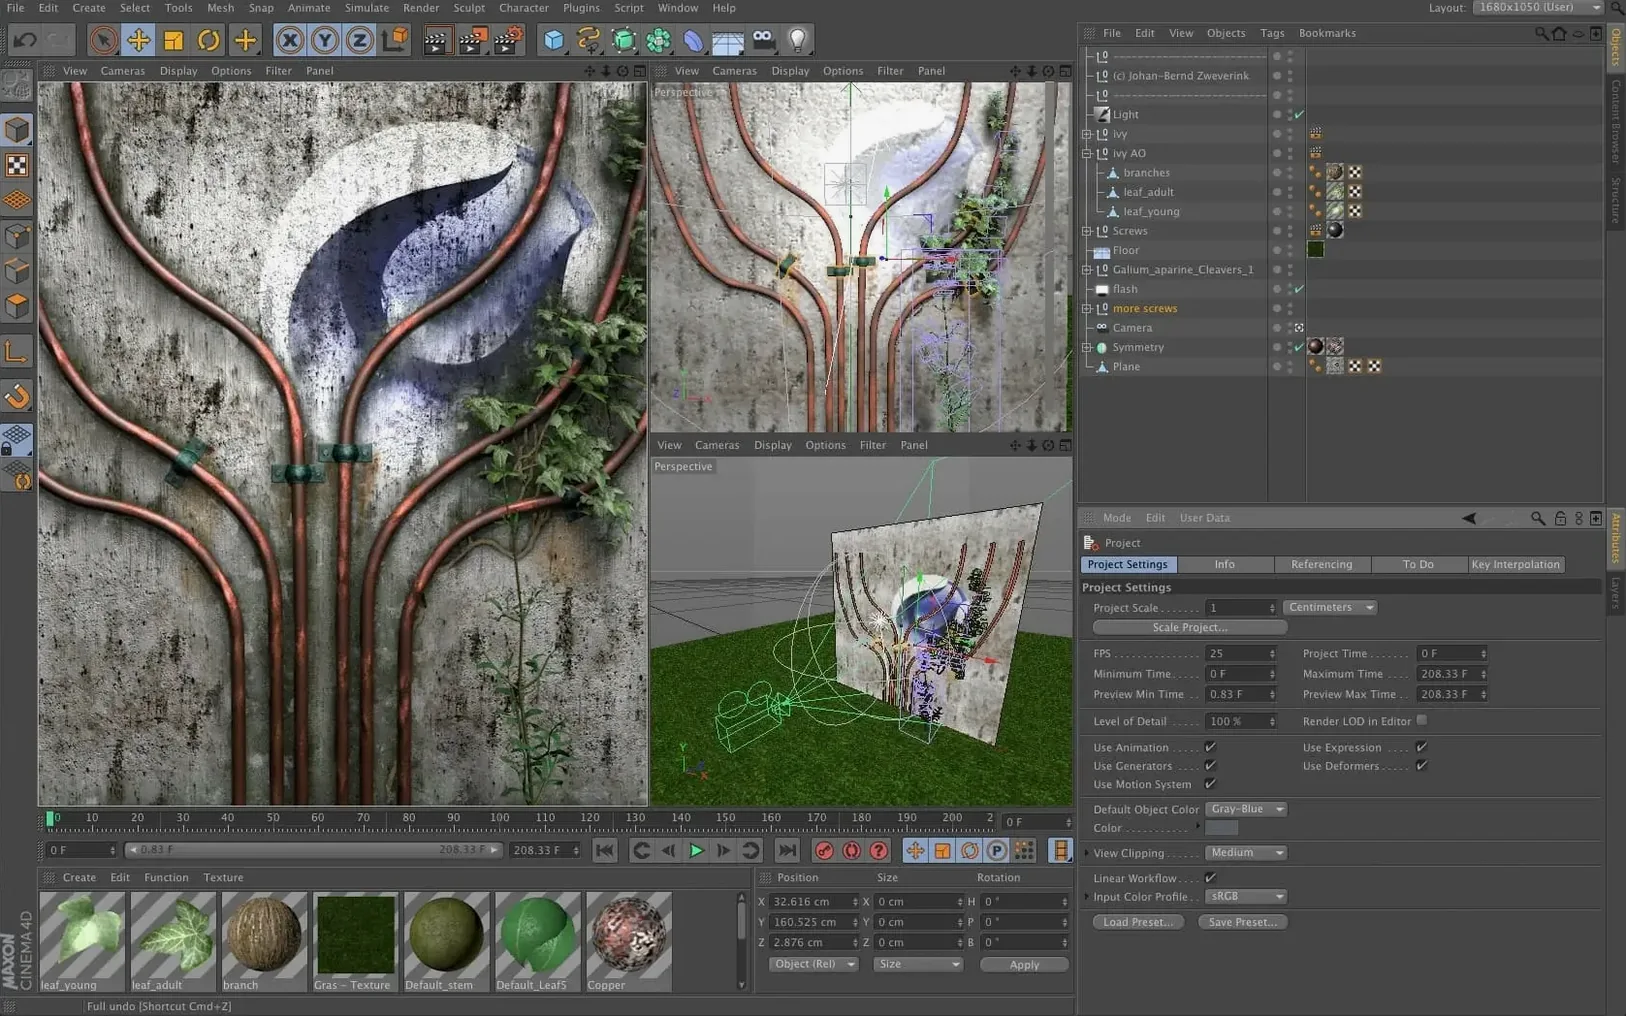
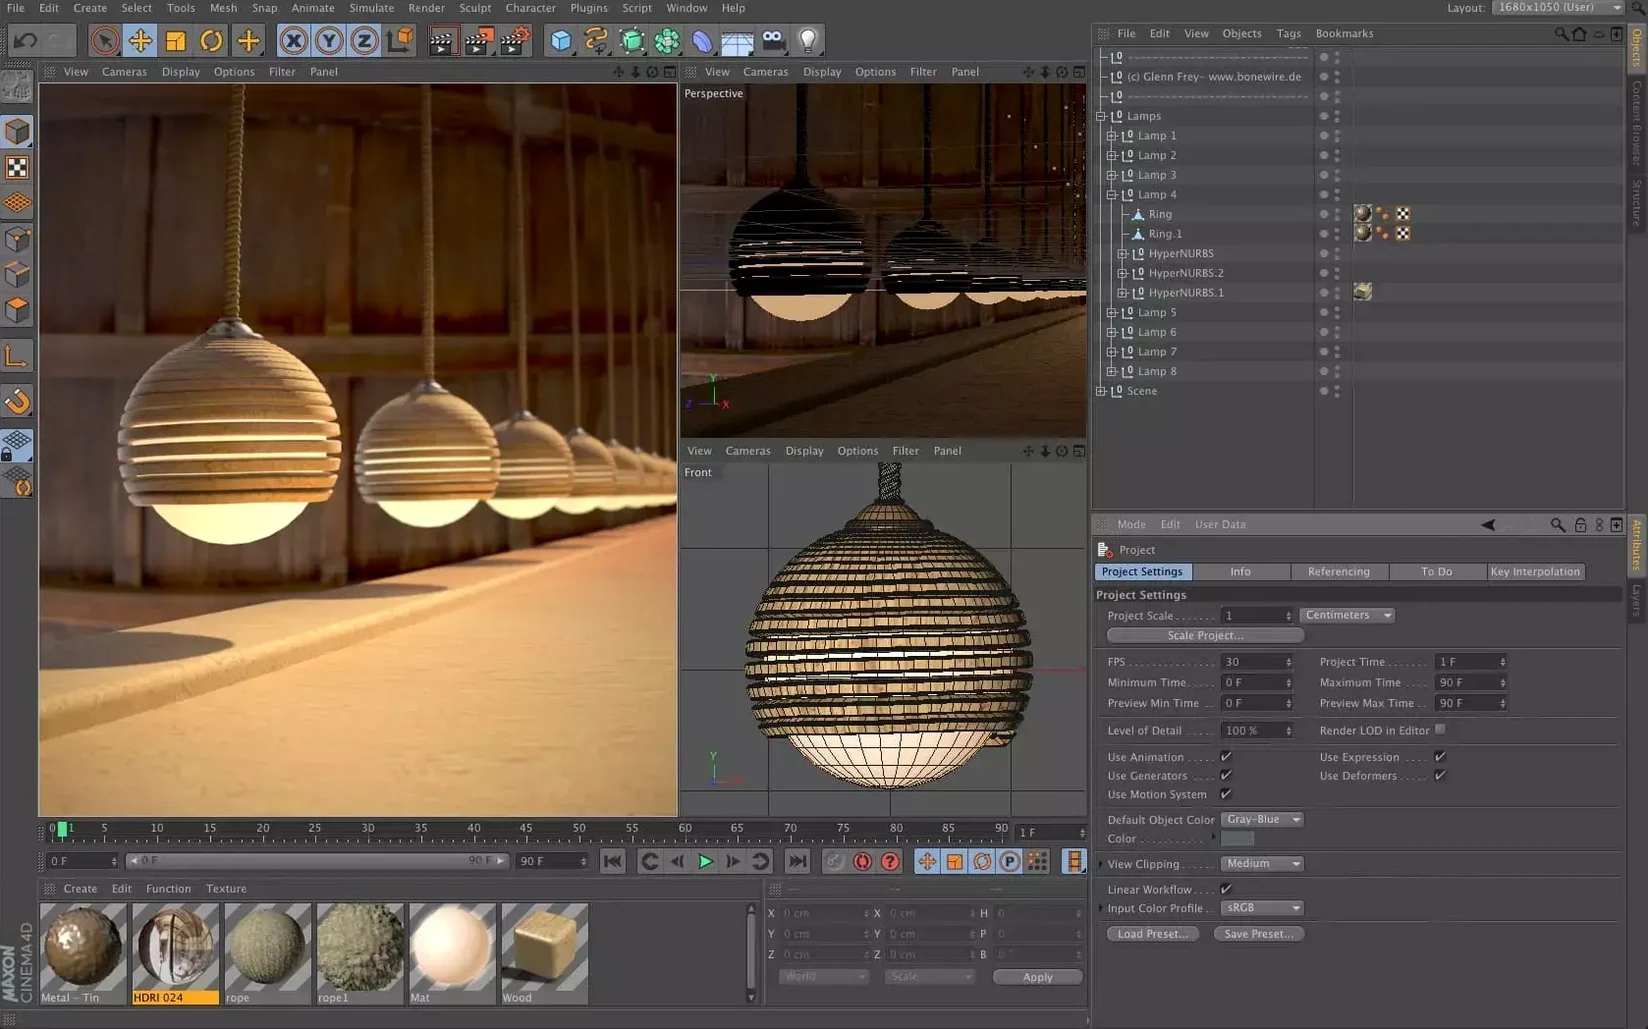
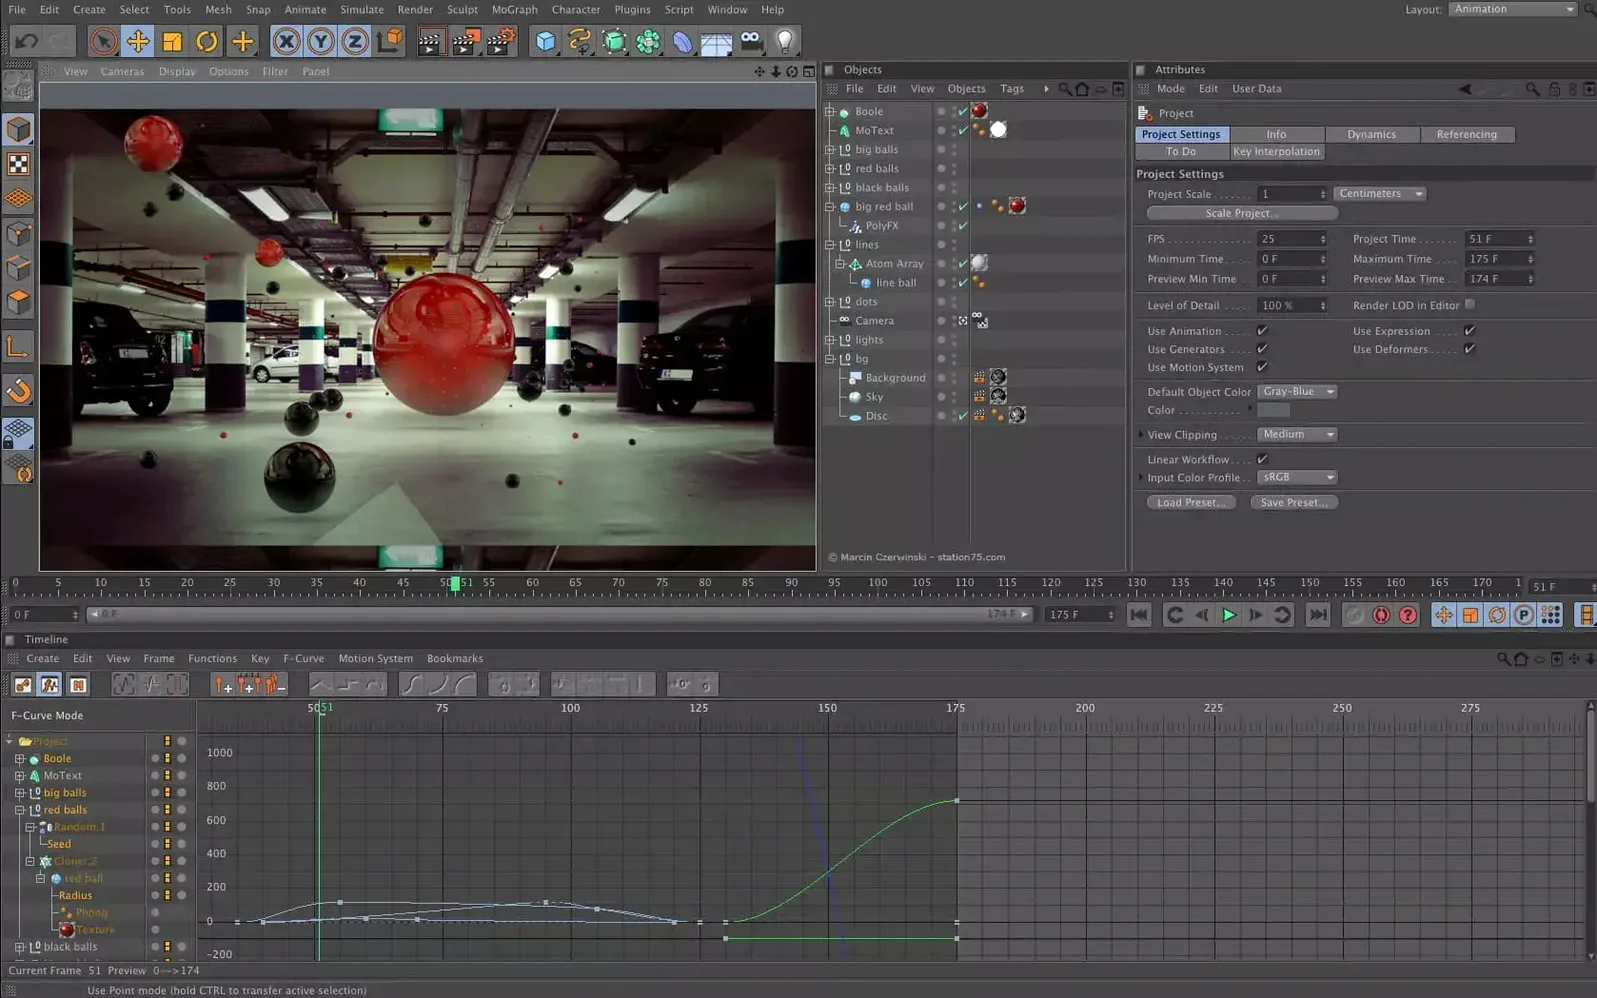
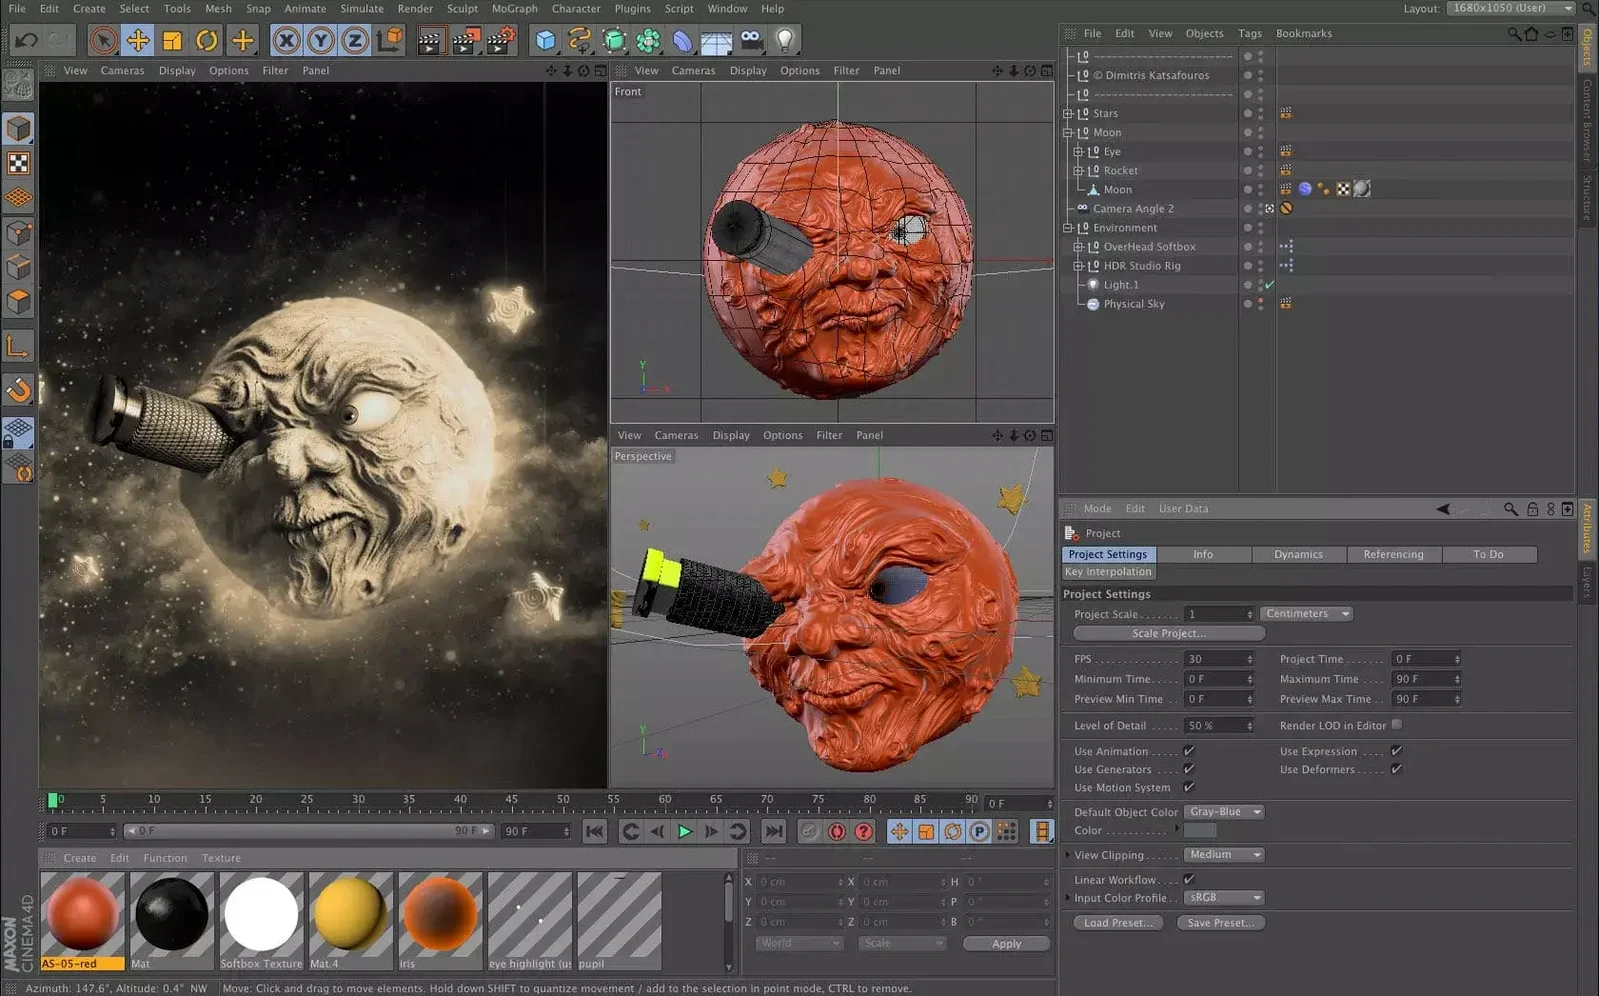
Updated interface with preset workflows — the modernized panels and menus are built around how a shot comes together. Rather than hunting through menus, you follow a preset-based structure that gets a base scene up quickly, leaving room to refine later.
Capsules in the Object Manager — this is where the scene node system meets the classic layer stack you already know. You can build procedural generators, filters, and modifiers with nodes, then drop the result into the Object Manager as a single Capsule asset. It keeps the power of nodes without forcing you to leave a familiar timeline and hierarchy view.
Unified simulation framework — cloth, soft bodies, and rigid bodies now share the same solver under the hood. A piece of fabric can tear, catch fire via Pyro, and collide with a rigid object in one pass, without exporting or switching engines.
Apple Silicon runs natively on a fanless MacBook Air
People ask whether Cinema 4D will run smoothly on an M1 or M2 MacBook Air without a dedicated GPU. The short answer is yes — the Apple Silicon build is native, not translated through Rosetta, and the viewport handles moderately complex scenes without choking. You will notice the difference most during Redshift renders, where the unified memory architecture means the GPU pulls from the same pool as system RAM, so a machine with 16 GB will feel tighter under heavy renders than one with 32 GB. It works, but your scene complexity ceiling shifts accordingly.
Another recurring question is whether the node-based Capsules system replaces the traditional layer-based workflow. It does not. Capsules sit alongside the Object Manager as a bridge, not a replacement. You can spend months working exactly as you always have and only dip into nodes when a specific procedural task — scattering foliage across a terrain, generating variations of a mechanical part — makes more sense as a graph. Maxon designed this for overlap, not forced migration.
Some users coming from other 3D applications worry about file interchange. Cinema 4D imports Alembic, FBX, OBJ, and USD files cleanly, and the Scene Manager gives you a spreadsheet-like view of every object and its attributes, which makes wrangling imported assets from Blender or Maya far less of a guessing game. If you have worked with adobe cinema 4d pipelines in a post-production house, you already know that C4D and After Effects share a camera and null object exchange that few other combinations match — that integration is present here too.
Motion graphics template opens with depth-of-field camera and staged lights
You open the application and the preset workflow greets you with a project template suited to motion graphics — a stage object, a camera with depth of field already dialed in, and a few lights placed at sensible angles. You are not staring at an empty viewport. You drag a primitive onto the stage, tab into point mode, and start pulling vertices. The soft selection falloff responds immediately, no lag, and the viewport ambient occlusion gives you depth cues without a render preview.
After blocking out the main shapes, you open the Capsule builder and wire a noise node into a displacement modifier. The result appears in the Object Manager as a single named asset you can duplicate, tweak, or share across scenes. You drop a Pyro tag onto a simple sphere, set the fuel density curve, and hit play — the simulation runs in real time in the viewport, smoke curling upward and interacting with a collision object you placed earlier. You scrub the timeline, find a frame where the turbulence looks right, and move on.
Lighting comes next. You place an area light behind the subject and tint it warm, then add a gobo pattern by dropping a texture into the light’s colour channel. The Redshift IPR window updates within a second or two, showing you exactly how the shadows fall across the scene. You adjust the exposure in the camera settings rather than the lights, keeping the ratios intact — a habit that keeps your renders consistent when you hand the project off or reopen it weeks later.
Save node setups as Capsule assets to build a personal kit fast
Spend an afternoon building a small library of Capsule assets from your most-used node setups. A single noise-driven deformation, a scatter preset, a material-blending utility — save them early, and by the end of the week you will be assembling scenes from reusable parts rather than rebuilding logic every time. It is the kind of investment that pays out within two or three projects.
Set Redshift as the default renderer in the preferences immediately, even if you plan to use the standard renderer for rough layouts. Switching later can shift how materials and lights behave, and fixing those discrepancies at the end of a project is tedious. Lock the renderer choice on day one and work within its constraints from the start.
Learn the keyboard shortcut for the Scene Manager, because once you have a hundred objects in a scene, selecting them through the viewport becomes unreliable. The Scene Manager lets you filter by type — all lights, all nulls, all cloners — and rename or reparent them in batches. It also exposes attributes that are otherwise buried in tabs, like the simulation quality multiplier on a Pyro tag.
Skipping preset templates lands you in an unlit, flat-looking scene
The most common one is ignoring the preset workflow templates entirely and starting from a blank scene. That blank scene has no lighting, no camera, and default render settings that produce flat, over-bright results. Beginners then spend an hour trying to fix the mood with materials alone, not realizing the scene lacks a tonemap. The templates exist to give you a calibrated starting point — use them, even if you strip away everything but the camera and a key light.
Another mistake is applying high subdivision levels to objects before locking the silhouette. A mesh with Subdivision Surface set to level four will slow the viewport and make UV unwrapping painful later. Work at level one or two during layout, and only push subdivisions when you are ready to texture and light. The same restraint applies to Pyro simulations: a voxel size that looks crisp at 4K will grind your machine to a halt while you are still adjusting turbulence. Start coarse, refine last.
Some newcomers coming from cinema 4d mac torrent setups on older machines try to run Redshift on a Mac with 8 GB of unified memory and wonder why renders fail. Redshift needs headroom for both geometry and texture caches, and when system RAM is shared, a complex scene can exhaust memory faster than expected. The fix is not a setting — it is simplifying the scene or closing every other application, browser tabs included, before hitting render.
- macOS 11 or later
- Apple Silicon or 64-bit Intel processor
Questions from the booth
It's common in design, motion graphics, visual effects, AR/MR/VR, architectural visualization, and game development.