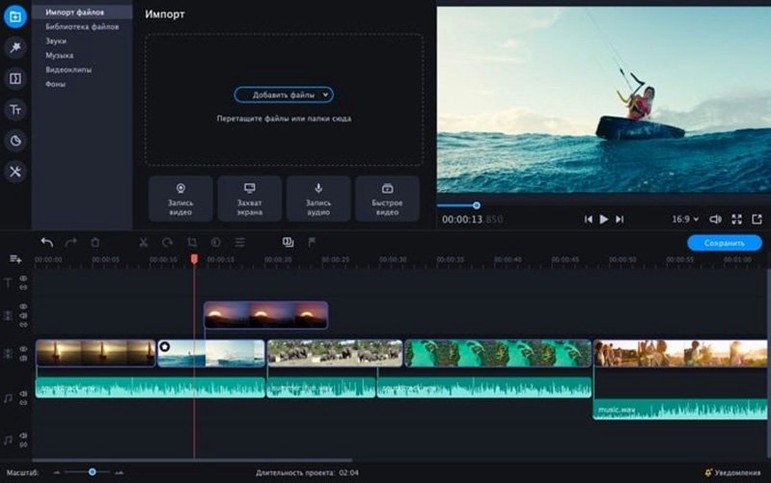
Cutting footage on a Mac often means choosing between an editor that feels like a cockpit and one that strips out the tools you actually need. Movavi Video Editor sits in the useful middle, built for assembling a clip with effects without spending an afternoon learning panels. The current release, version 22.4.1, keeps that balance intact on macOS 10.13 and later.
The current build
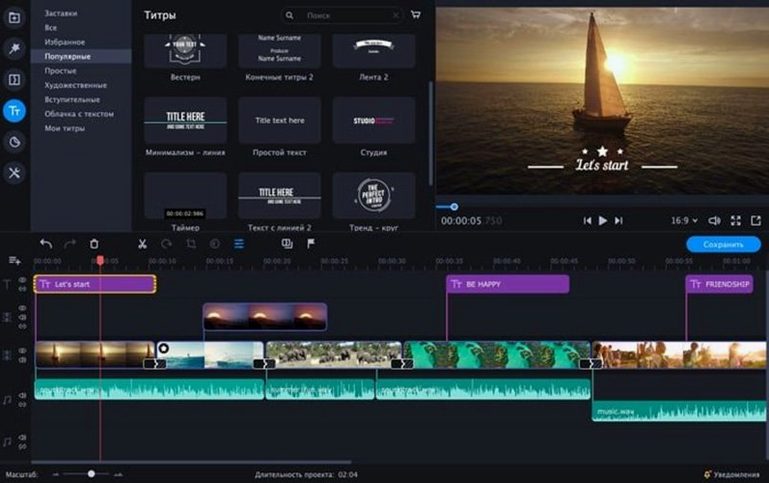
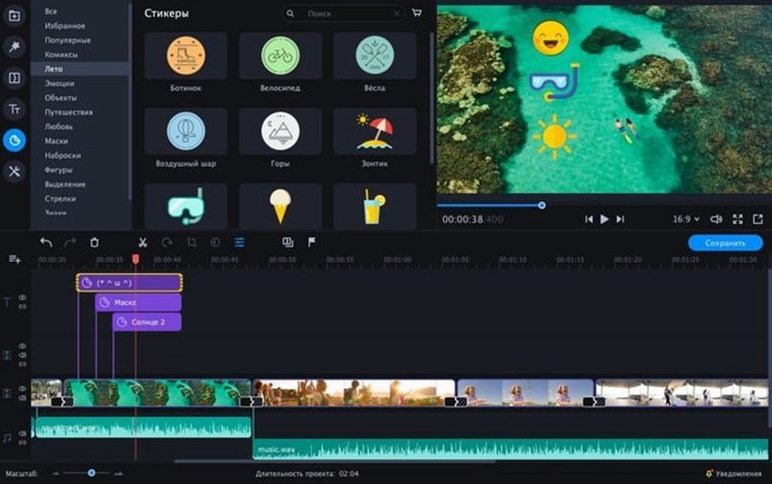
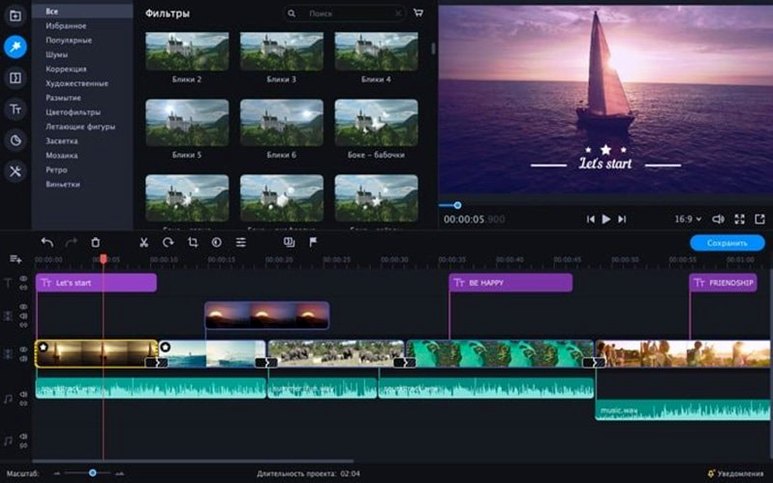
What you get with this version is a focused editing timeline wrapped around a generous effects library. Chroma key lets you replace a background without leaving the app, and slow motion plus reverse playback give narrative room to breathe. Stickers and animated text overlays land as easily as drag-and-drop, which suits quick social cuts or a first assembly of a short film.
AI cleanup and one-click audio polish still carry the load
Sound polishing remains a few clicks rather than a separate mix session, and the built-in AI tools still handle the repetitive cleanup work. The editor runs on Intel Macs and speaks a wide set of interface languages, from German and Japanese to Turkish and Polish, so the tool stays approachable no matter where the footage comes from.
Where Movavi Video Editor feels most at home is alongside other Mac tools that fill the gaps it leaves open. It doesn’t try to be a colour grading suite, so footage often benefits from a pass through DaVinci Resolve first — just the primary corrections, nothing elaborate — then exported as a clean ProRes file for assembly in Movavi. The timeline accepts those files without complaint, and the effects layer sits on top without bogging down. For audio, I’ll sometimes pull a clip into ocenaudio for a quick spectral cleanup of a noisy location recording, then bring the polished file back in. Movavi’s own sound tools handle the broad strokes well, but they’re not surgical, and that’s fine. The app plays nicely with Finder tags too: I keep a folder of frequently used sticker assets tagged in red, and dragging them in from a saved Finder search is faster than browsing the built-in library every time.
More creative control than iMovie without the pro timeline leap
Set Movavi next to iMovie, and the first thing you notice is that Movavi assumes you want more control over the look of things without committing to a professional timeline. iMovie’s trailer templates are charming but rigid; Movavi gives you chroma key, reverse playback, and a sticker system that doesn’t force a template structure on your edit. The trade-off is that iMovie handles media organization more gracefully — its library browser feels native to macOS in a way Movavi’s file picker doesn’t quite manage. If you’re cutting a family holiday video and you want to drop in an animated title without building it from scratch, Movavi is the faster route. If you’re stitching together iPhone clips and you never touch the inspector, iMovie is probably enough.
Compared to Filmora, the similarities are closer. Both editors target the same creator who wants effects-heavy social content without learning keyframes from scratch. Filmora’s effects marketplace is larger and more regularly updated, and its audio ducking feature handles voiceover-to-music balance with less manual fiddling. But Movavi’s chroma key implementation is cleaner in my experience — fewer edge artifacts on soft backgrounds like wrinkled fabric, less need to tweak spill suppression afterward. Filmora also leans harder into subscription prompts and online account features, whereas Movavi stays local and quiet once it’s running. For someone who edits offline or on a laptop in a café with spotty Wi-Fi, that matters more than an extra pack of transitions.
Against OpenShot, the gap is mostly about friction. OpenShot is open source and infinitely tweakable, but its Mac build has always felt like a Linux app wearing a coat — the interface stutters on retina displays, and keyframe editing is functional but tedious. Movavi’s timeline snapping and trim behaviour are smoother, and the bundled effects work without hunting down third-party plugins. OpenShot rewards patience and curiosity; Movavi rewards wanting to finish a video before lunch.
Forty minutes of Lisbon footage, wind noise and all
Imagine someone who shot forty minutes of handheld footage across a weekend in Lisbon — tram windows, pastéis de nata being filled, a rooftop at dusk, too much wind noise on the voiceover attempt. They’re not a professional editor. They want a three-minute cut for YouTube by the afternoon. They open Movavi, dump the clips onto the timeline, and start trimming with the blade tool, which responds quickly even on the longer 4K shots. The wind-damaged audio gets a pass through the noise removal slider — not perfect, but enough that the voice sits forward. A slow-motion segment on the tram departure adds weight to the moment, and a reverse clip of a seagull taking off backward gets a laugh. The built-in “Travel” sticker pack supplies a small animated compass rose for the corner of the opening title, and a lower-third text overlay names the neighbourhood. Chroma key isn’t needed here, but it’s reassuring to know the tool is there if they shot a piece-to-camera against a hostel bedsheet. By early afternoon, the edit is exported as an H.264 file and uploaded. The whole process stayed inside one application.
Match your frame rate before you cut a single clip
After dragging the app into Applications and launching it, resist the urge to start a project immediately. Open the preferences first and set the default project frame rate to match what your camera or phone shoots — mixing 24 fps and 60 fps on the same timeline without this set correctly leads to judder that’s easy to blame on the software but is just a mismatch. Next, spend fifteen minutes dragging sample clips and experimenting with the chroma key effect on different backgrounds. Green screen work in Movavi responds best when the background is evenly lit; if your footage has shadows, pull the tolerance slider left before touching anything else. The slow-motion and reverse playback controls sit on the clip inspector, not the timeline toolbar, which trips people up on the first day. Bookmark the sticker and text animation categories you actually use — the library is deep enough that scrolling through it mid-edit breaks flow. If you work with external audio, import a test file early to confirm the waveform draws correctly; on some Intel Macs with integrated graphics, very long audio files take a moment to render their visual waveform, and knowing that ahead of time prevents a panic during a real project.
Assembling a product teaser from scratch
A concrete workflow helps the interface settle into memory. Say the task is a thirty-second product teaser for a handmade ceramic mug, shot against a blue backdrop with a voiceover recorded separately. Start by importing the video clips, the voiceover file, and a piece of background music into a new project. Drag the main wide shot onto the timeline first, then layer the close-up detail clips above it on a second track — Movavi supports multiple tracks, and keeping close-ups on a higher track makes it easy to trim them into place without disturbing the master shot. Apply chroma key to the wide shot, sample the blue backdrop colour with the eyedropper, and adjust tolerance until the background disappears cleanly. Drop a still photo of a café interior onto the track below as the new background. Trim the voiceover to length on its own audio track, then use the noise removal tool to pull out the room tone from the recording. Add the music track underneath, lower its volume to around twenty percent, and apply a fade-out at the end by dragging the fade handle on the clip edge. Open the animated text library, choose a simple lower-third title for the product name, and position it over the bottom third of the frame for the final five seconds. A subtle sticker — a small steam icon from the food pack — sits above the mug during the pour shot. Export as MP4 at the original resolution, check the file plays back smoothly, and the teaser is done. The whole sequence, from empty timeline to finished file, runs inside Movavi without sending anything out to another application.
- macOS 10.13 or later
- Intel Mac
Questions from the booth
Yes, this version runs on macOS 10.13 or later and supports Intel Macs.