If you have ever used QuickTime Player for a quick screen capture and then hit the wall where you need to trim, add a title or blend two clips, ScreenFlow sits on the other side of that frustration. It bridges the gap between a bare recorder and a full editing suite, giving you a familiar timeline without leaving the Mac ecosystem it was built for.
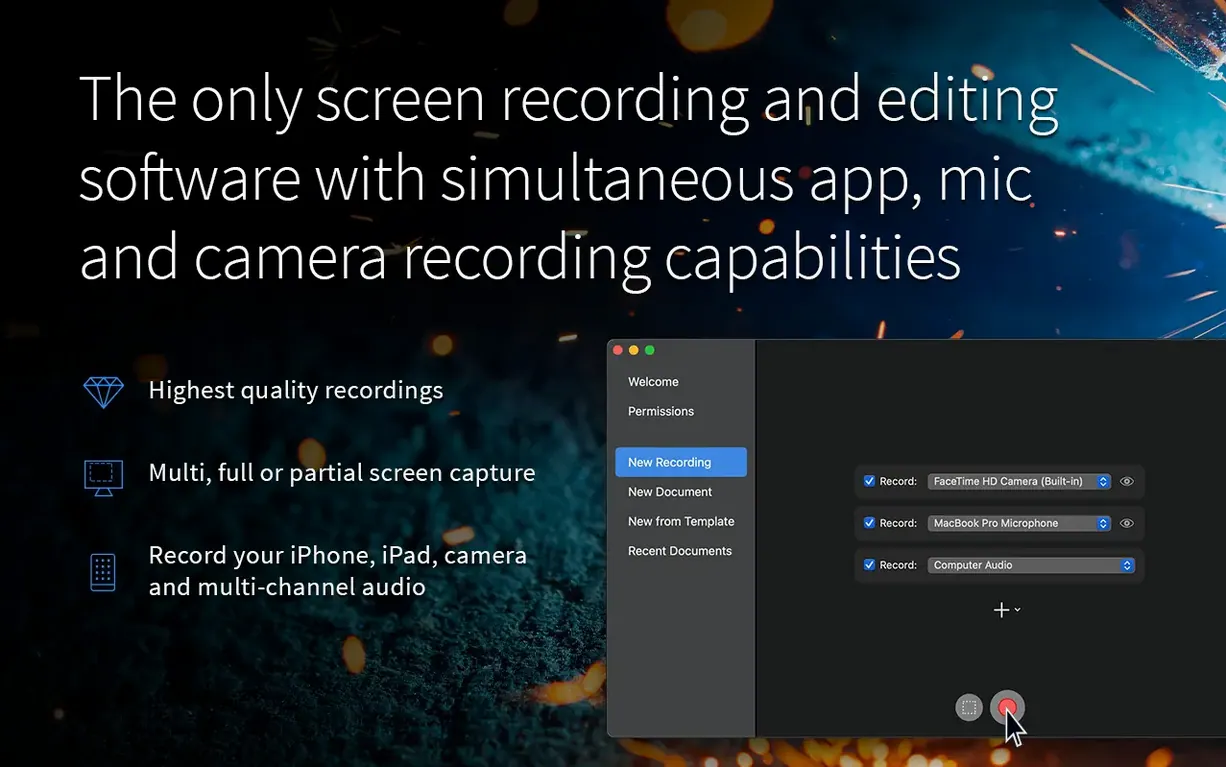
- Recording sources you can stack: screen, camera, microphone and even a connected iOS device can all be captured simultaneously, each on its own track for later adjustment.
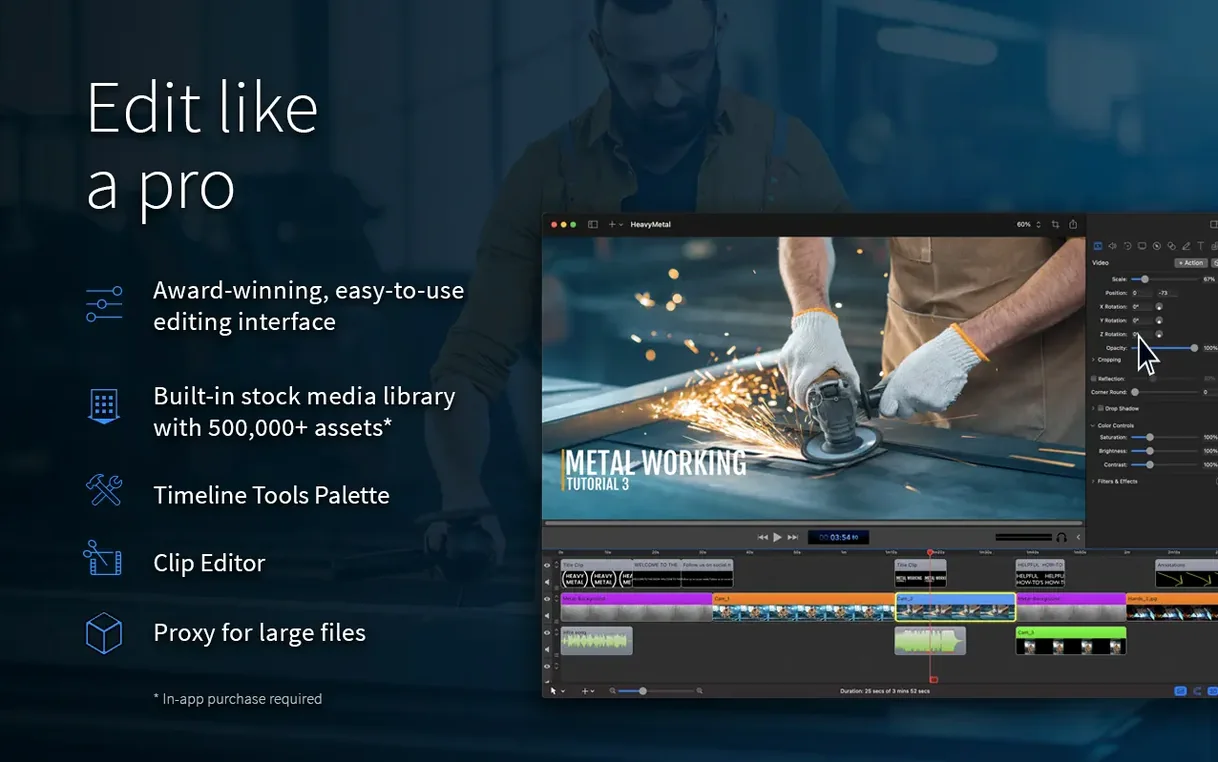
- The editing layer: images, text overlays, additional video files and audio clips land on a multi-track timeline. You can ripple-edit, split clips and adjust opacity without exporting to another application.
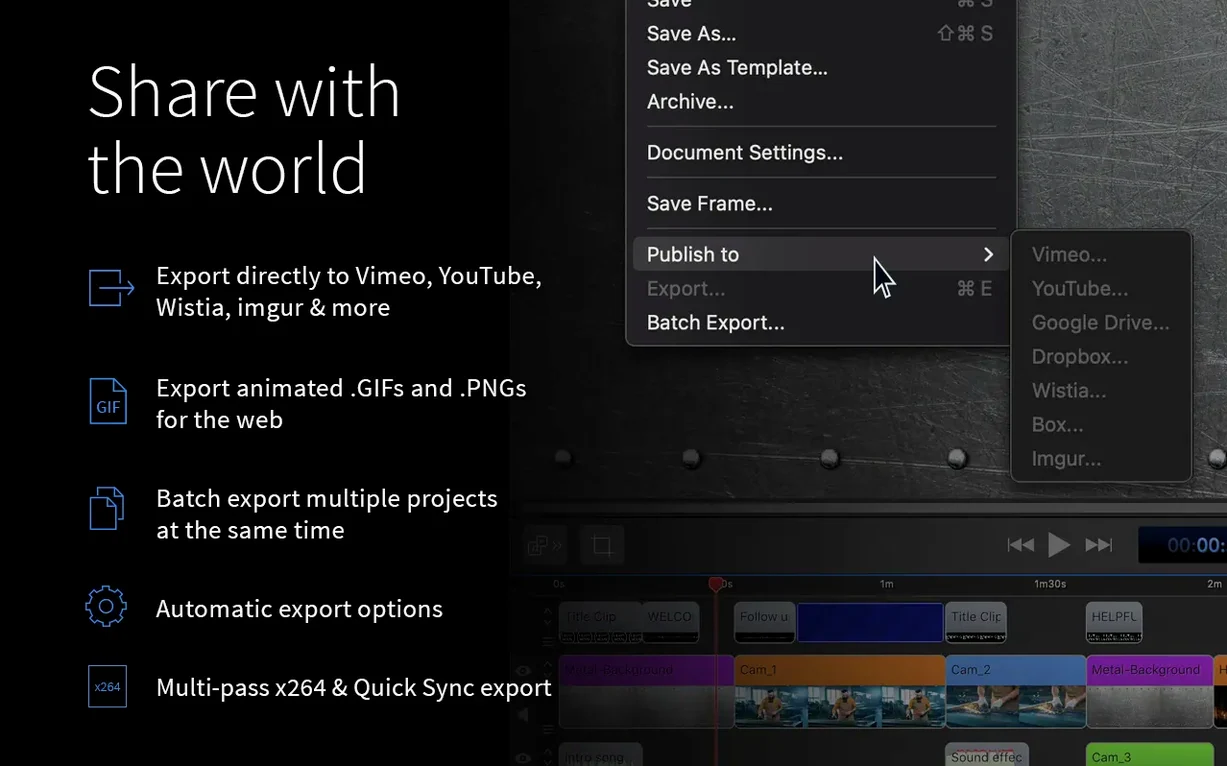
- Export formats that matter: ProRes and MP4 cover the professional and web-ready ends of the spectrum. Animated GIF and APNG export is built in, which is rarer than it should be in screen-recording tools.
- Apple Silicon native: runs on Intel 64-bit and Apple Silicon Macs, so renders use the hardware you have without translation overhead.
- Interface in five languages: English, German, Spanish, French and Japanese — the timeline and menus switch cleanly between them.
- Version 10.5.2 stability fixes: a crash on macOS 26.2 or later is resolved, along with a Chroma Key export bug that affected certain screen recordings and a broken licence management link.
The app requires macOS 10.15 or newer and stays firmly Mac-only — no Windows port, no web version. That single-platform focus means the interface conventions feel native rather than cross-platform awkward. For anyone recording tutorials, software demos or gameplay footage who outgrew QuickTime but does not need the weight of a full NLE, it lands in a comfortable middle.
In daily use on an M-series MacBook Pro, ScreenFlow rarely stutters during capture. A 45-minute 4K recording of a browser window with a PiP camera overlay and system audio hovers around 6–8% CPU while running, and the resulting file scrubs cleanly on the timeline even before rendering. Memory pressure stays low — Activity Monitor shows it idling under 400 MB with a moderate project open, climbing to about 1.2 GB during an export to H.264. That is leaner than some dedicated NLEs and on par with lightweight recorders that lack an editing timeline. Stability has been uneventful across a dozen exports since the 10.5.2 update, which specifically addressed a crash on macOS 26.2 and a Chroma Key export bug; I have not seen a spinning beachball since.
Export times tell a practical story. A 12-minute 1080p tutorial with three tracks, a handful of callouts and a cross-fade finishes encoding to MP4 in just under three minutes on an M2 Pro. ProRes exports are faster still, often real-time or better. The GPU is clearly doing the heavy lifting during h.264 encodes — the fans stay quiet, which is not a given with video work. That matters when you are rendering a batch of short clips for a client and do not want your machine turning into a space heater.
Recording your entire display instead of one window
The most common stumble with ScreenFlow is not understanding the recording setup before pressing the red button. New users often leave the screen recording area set to “Full Screen” when they only need a single window, then wonder why the export file is enormous and the timeline feels sluggish. The fix is trivial — select the specific window or define a custom region — but it is easy to overlook when you are in a hurry.
A second classic mistake: recording system audio and microphone to the same track. ScreenFlow defaults to separating them, but if you dig into the recording preferences and combine them, you lose the ability to edit voiceover independently from computer audio later. That one decision locks you into a mix you cannot unpick. Beginners also tend to ignore the ripple-edit behaviour — deleting a gap on the timeline shifts everything downstream, which surprises people who expect a static layout. Holding the Option key while deleting leaves the gap intact, but few discover it until they accidentally shift half their project out of sync.
Overusing the built-in callouts and annotations is another tell. The library of arrows, shapes and text overlays is generous, and the enthusiasm to use all of them in the first three minutes of a tutorial is real. The result is visual noise that distracts from the screen content. The best ScreenFlow exports tend to use one or two annotation styles consistently and let the screen recording do the heavy lifting.
Building a software tutorial from start to finish
Here is a practical workflow for a five-minute feature walkthrough — the kind of project where ScreenFlow shines. The goal is a clean MP4 with PiP camera presence, smooth cursor tracking and a couple of zoom highlights.
First, prepare the recording environment. Quit everything unrelated, turn off notifications and set the display resolution to 2560×1440 so the final video scales cleanly. In ScreenFlow, choose New Recording and configure four sources: screen (a specific app window), built-in camera, a USB microphone, and system audio. Check the levels — aim for the microphone peaking around -6 dB with the gain dial in the recording panel. Hit record and walk through the feature slowly, pausing between steps so there is natural breathing room for edits.
When the recording stops, it lands on the timeline as separate tracks. The first editing pass is structural: drag the playhead through and split clips wherever there is a long pause, a mistake or a cough. Delete those segments. Use the Ripple Delete command to close the gaps. Now insert a title slide at the start — ScreenFlow’s text tool handles this in a few clicks, and you can fade it in with a simple opacity keyframe.
Next, focus on the cursor. Open the Screen Recording Properties panel and switch the cursor effect to Scale & Highlight. This enlarges the pointer slightly and adds a coloured halo during clicks, which makes it trackable on smaller screens. If a specific menu click needs emphasis, add a Zoom & Pan action at that point on the timeline — drag the playhead, set the zoom rectangle around the menu, and ScreenFlow animates the transition automatically.
Now the camera track. Resize the PiP to about 20% of the canvas and position it in a bottom corner where it does not obscure the UI. Add a subtle drop shadow from the video properties panel so it separates from the screen content. If the background behind you is distracting, apply the Chroma Key filter — it works surprisingly well with a plain wall if you sample the colour carefully and tighten the tolerance slider.
Audio gets its own pass. Apply the Noise Reduction filter to the microphone track; the default settings handle most room tone. Add a gentle compressor to even out speech levels. For system audio, a quick fade-out at the end prevents an abrupt cutoff. Drag the music track — something instrumental and unobtrusive — onto a new audio track, set its volume to around -20 dB, and duck it under the voiceover automatically using the Audio Ducking option in the track properties.
Export settings round things off. Choose MP4, H.264 at 1080p, 30 fps, with a bitrate around 8 Mbps for a clean web upload. Tick the “Prepare for Internet Streaming” box so the file starts playing before it fully downloads on platforms like Vimeo. The whole project, from recording setup to finished file, can sit inside 45 minutes once the muscle memory kicks in.
A recorder that grew an editing brain, not a presentation toolkit
Compared to Camtasia, ScreenFlow feels less like a presentation toolkit and more like a recorder that grew an editing brain. Camtasia bundles a larger library of pre-built assets and quiz features aimed at e-learning, but its Mac version still carries a whiff of cross-platform compromise in the interface — menus and panels do not always follow macOS conventions the way ScreenFlow’s do. For a pure software tutorial, ScreenFlow’s timeline is faster to navigate, and the simultaneous multi-source recording is more straightforward to configure.
OBS Studio is the free elephant in the room. It captures more sources and supports elaborate scene compositions — ideal for live streaming — but it is not an editor. Once you stop recording in OBS, you still need a separate app to trim, add text overlays or adjust audio. ScreenFlow collapses those steps into one. OBS wins on flexibility and zero cost; ScreenFlow wins when you want to ship a finished video without leaving one application.
Then there is Final Cut Pro, which many Mac users already own or consider. Final Cut is a vastly more capable editor — magnetic timeline, advanced colour grading, 360° video support — but it has no built-in screen recorder. You need a separate capture tool, then import the file, then sync everything. ScreenFlow sacrifices editing depth for integration, and for screen-centric content that trade-off often makes sense. If your project is 80% screen capture and 20% talking head, ScreenFlow stays cleaner than round-tripping between QuickTime and Final Cut.
Where ScreenFlow holds its ground is that narrow but common use case: recording something on a Mac, editing it on the same machine, and publishing it within the hour. OBS and Final Cut sit on either side of that workflow — one too little, one too much. Camtasia gets closest, but ScreenFlow’s Cocoa-native feel and lighter resource footprint give it an edge for daily tutorial work. The app is not trying to be a streaming hub or a Hollywood editor, and that restraint is exactly what keeps it fast and stable on a typical production day.
Version 10.5.2 patches a crash that appeared on macOS 26.2 and later, restores Chroma Key exports for certain screen recordings that were failing, and fixes the licence manager's manage button, which previously pointed to a dead URL.
- macOS 10.15 or later
- Apple Silicon or Intel 64-bit Mac
Questions from the booth
Yes. Version 10.5.2 specifically fixes a crash that occurred on macOS 26.2 or later, and the release notes list it as the current version for both macOS 15 and macOS 26.