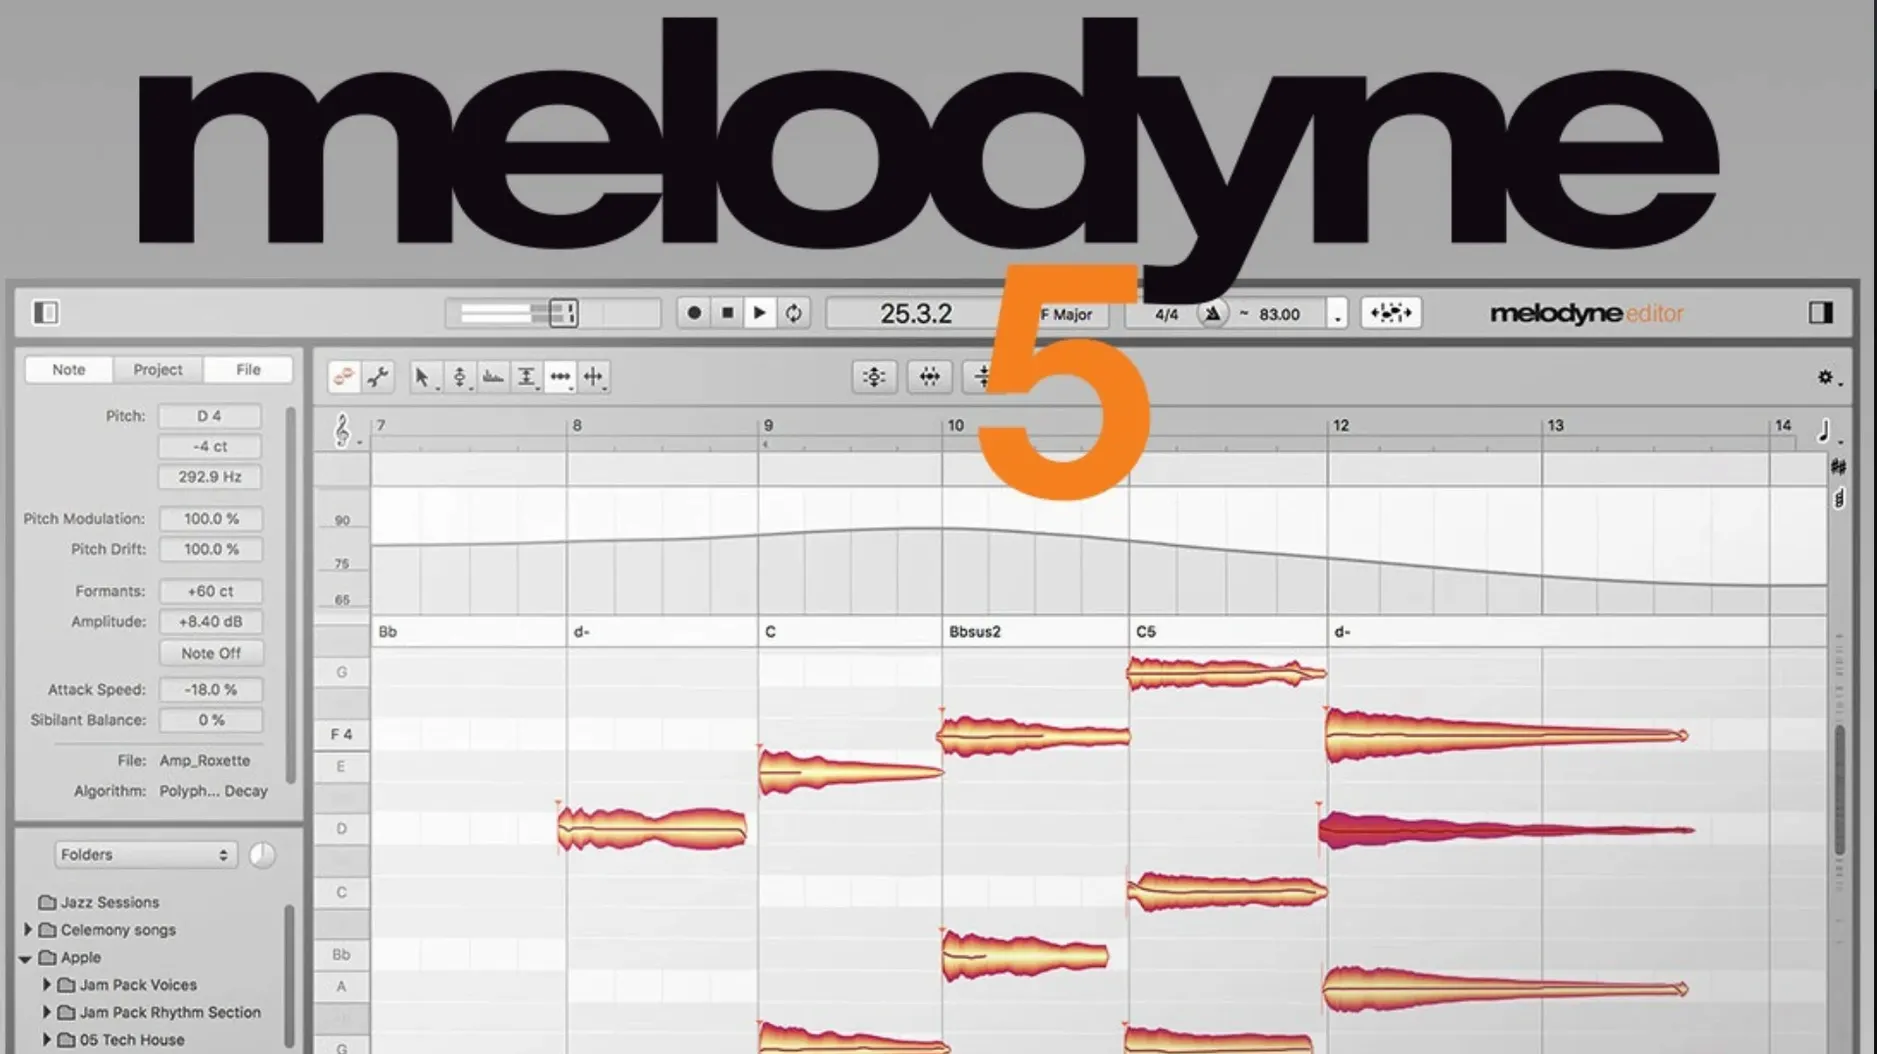
A vocal take sits in your arrangement, almost right. The phrasing lands, but one note sags flat on the sustain. You open the track in Melodyne, and the software lays out the performance as a scatter of blobs on a piano roll — each blob a note with its own pitch, timing, and drift. You nudge the flat note up a semitone, tighten the vibrato with a drag, and play it back. Now it sits.
- Load the audio. Drop a vocal, a guitar line, or a percussion stem into the plug-in. Melodyne analyzes it and maps every detectable note onto a grid, detecting the key, tempo, and chord structure as it goes.
- See what you have. The display separates pitch, noise, breath, and intonation. You can isolate sibilance from tone, or pick out the pitched body of a snare hit using the Percussive Pitched algorithm.
- Reshape the performance. Move notes up or down the scale, shorten or lengthen them, or redraw fades with the Fade Tool. The Leveling Macro evens out dynamic jumps across a phrase without squashing the life out of it.
- Tune to context. Snap a sample to the key of the composition. Change one note in a chord and hear the rest follow. The software works on vocals, yes, but also on anything that carries pitch — woodwinds, toms, a field recording with a hum in it.
What comes back out isn’t a processed copy of the original. It’s the original, just re-placed — the timing tightened, the pitch settled, the breaths kept or pulled back as you decide. Version 5.4.2 arrives as a Universal Binary, running natively on Apple silicon and Intel Macs alike, with scrolling that tracks your fingers on the trackpad the way it should.
Rescuing a vocal take where emotion and pitch collide
You’ve tracked a chorus vocal that’s close but not there. The emotion is right — she pushed into the bridge and the rasp that came with it — but a few syllables clipped sharp, and the double-track wavers in a way that muddies the centre. You insert Melodyne on the lead channel, let it transfer, and watch the blobs bloom across the editor. The algorithm has already guessed the key and mapped the tempo; you can see the chord track lighting up above the piano roll.
You zoom into the hook line. The word “stay” on the second repetition overshoots the tonic by about thirty cents and slides down late. You click the blob, check the pitch drift curve in the inspector, and use the Pitch Modulation tool to rein in the tail without flattening the attack. The note settles into tune but keeps the scoop at the front — the part that sounds human. You bypass the edit twice to confirm: first time you hear the problem, second time you don’t. That’s when you leave it.
Next you open the double-track on a separate Melodyne instance. ARA lets you see both editors side by side if your DAW supports it, but you work one at a time. You’re listening for consonants that land a frame apart — “s” and “t” sounds that create a tiny flange when summed to mono. The sibilant detection highlights them as separate noise components. You grab the “s” in “stay” and shorten its tail by a few milliseconds, nudging it into phase with the lead. The centre image snaps tight. You do the same for three more sibilants across the chorus, then widen the double-track back out and it holds.
During the outro, the singer let a breath run long before the final phrase. It’s a nice moment but it spikes the meter. Rather than clip-gain it, you select the breath segment in the noise layer and pull its amplitude down with the note volume handle. The breath is still there, still intimate, just tucked into the pocket. You render the track, commit the edits, and move on to bass.
Train the algorithm on familiar stems before your first real edit
Melodyne gives you a lot of power on first launch, and the instinct is to start correcting. Resist it for an afternoon. Instead, feed it material you already know well — a rough mix, a vocal stem you’ve lived with, an acoustic guitar line with some fret buzz — and just watch how the detection behaves. Notice where the algorithm splits notes, where it misreads a slide as two separate pitches, where it assigns a blob to the wrong octave in a dense chord. Learning to read the blob map before you edit prevents the kind of over-correction that makes a track sound plastic.
Run the same piece of audio through different algorithms. A nylon-string guitar phrase will parse differently under Polyphonic versus Universal. A tambourine hit run through Percussive Pitched might reveal a ring you never noticed. Switch between them and listen. The algorithm you reach for by default may not be the one that serves the material best.
Change the zoom-centre point to stop fighting the trackpad
Open the Preferences pane and look for the Scroll and Zoom behaviour settings. The 5.4.2 update revised trackpad scrolling, and the new defaults are better, but you may still prefer a different zoom-centre point — set it to Mouse Position rather than Playback Cursor if you tend to zoom into a blob you’re pointing at. While you’re there, check the Keyboard Shortcuts preset. If you come from Logic or Pro Tools, the factory set may clash with muscle memory. Remap the main tool switch — the F1–F4 row — to something you can reach without looking down.
Under Audio, confirm the sample rate matches your project before the first transfer. Melodyne can resample on the fly, but a mismatch here is the source of a surprising number of early-user glitches — stuttering playback, missing blobs, analysis that never finishes. Set it once per session and forget it.
Listen to the full detection pass before questioning a note’s placement
The most common one is editing before listening to the full detection pass. A transferred vocal can look wrong — a blob sitting sharp on the grid, a note flagged as G# when the song is in C — but sound perfectly right in context. Pitch is not the same as intonation, and intonation is not the same as feeling. If you correct first and listen second, you’ll chase numbers instead of music.
Another mistake is ignoring the separation between tonal and noise components. When you lower a sibilant by dragging the whole blob, you also pull down the pitched part of the syllable, and the vocal suddenly sounds lisped. Always check whether Melodyne has split the note into its tonal and noise layers — the display shows them as distinct elements — and edit them separately. The same applies to breaths: they live in the noise layer, and moving them as if they’re pitched notes creates artefacts that sound like bad mp3 compression.
Beginners also tend to quantize everything. Melodyne’s timing grid is precise, and dragging every transient to the beat is technically possible, but a performance with zero push and pull is a sequencer pattern, not a singer. Use the Timing tool to tighten the downbeats and leave the offbeats where the performer placed them. You’ll keep the groove and fix the drift.
Finally, watch the formant tool. It’s tempting to shift a note up five semitones and leave formants uncorrected for a chipmunk effect, but on subtle moves — a tone or two — the formant shift is easy to miss. A vocal that has been pitch-corrected by a third with formants untouched will sound throaty and strange in the mix. Melodyne can adjust formants automatically relative to the pitch shift; make sure it’s on unless you have a reason to disable it.
Slice a melisma into individual pitches with the buried Note Separator
The Note Separator tool is hidden in plain sight. When Melodyne treats a slide or a melisma as a single blob, double-clicking it with the Note Separation tool lets you slice it into individual pitches manually. This is invaluable for runs where the detection lumped three syllables together — you get independent control of each note without re-running the algorithm.
Hold Option while dragging a note’s pitch to bypass the snap-to-scale grid. This lets you micro-tune a note to match a sample or a synth with natural drift, and it’s the kind of thing that makes a remix vocal sit inside a track rather than on top of it.
The Fade Tool handles note-level fades, but you can also apply it across multiple blobs by selecting a phrase and dragging across the group. Combine this with the Leveling Macro — which smooths note-to-note volume differences — and you can shape a dynamic vocal phrase without touching a compressor. It’s a cleaner way to handle uneven proximity effect on a handheld mic recording.
If you work with macOS Sequoia, note that 5.4.2 includes specific adaptations for it. The interface responsiveness on recent Mac hardware is noticeably snappier, especially when zooming into dense polyphonic material. The trackpad scrolling revision means two-finger swipes through a long vocal take finally feel 1:1, no acceleration lag.
Melodyne 5.4.2 tightens a few loose bolts. Trackpad scrolling feels more responsive now — less fight, more glide when you zoom across a long take. The update also resolves a crash that could hit when opening the plug-in in ARA mode, and brings the application into line with macOS Sequoia.
- macOS 10.12 or later
- Intel or Apple silicon Mac
- English interface
Questions from the booth
It analyzes recorded audio and lets you edit pitch, timing, length, and dynamics on a note-by-note basis without degrading the original sound.
Yes — it works on any pitched or semi-pitched material, including guitars, brass, strings, and percussion, using algorithms tailored to different sound types.
Version 5.4.2 ships as a Universal Binary, so it runs natively on both Apple silicon and Intel-based Macs.