Portrait work piles up quickly — a dozen headshots from a casting session, a wedding gallery full of close-ups, or a single keyframe that needs to hold on screen. Manual frequency separation and healing brush work get you there, but they eat the afternoon. Beauty Box Photo steps into that bottleneck. It isolates skin tones automatically and smooths texture without smearing eyelashes, lip lines or the catchlights that give a face its life. Blemishes and wrinkles fade while the structural details stay crisp. The real-time rendering through CUDA and OpenGL means you see the result as you dial the settings, not after a progress bar finishes.
Evening out dozens of portraits with the same subtle settings
- Sessions with dozens of portraits that all need the same subtle evening-out
- Key art frames where the skin has to read well at full resolution but the actor's expression must stay untouched
- Quick-turnaround beauty passes baked into an action or dropped onto a smart object before client review
Runs inside Photoshop and needs even lighting for automatic detection
- The plug-in runs inside Photoshop — it is not a standalone editor
- Real-time preview depends on a compatible GPU for CUDA or OpenGL
- Automatic skin detection works best on evenly lit faces; uneven colour casts may need a manual mask to guide it
A workflow from raw frame to client-ready portrait
Start with a high-res still open in Photoshop — a headshot shot against a window, soft morning light, but the model had a rough night and every pore is telling the story. Duplicate the layer so the original stays untouched. Apply a gentle curves adjustment first to lift the midtones slightly; Beauty Box Photo reads skin more reliably when the face isn't sitting in deep shadow.
Launch the plug-in from the Filter menu. The automatic skin detection scans the image and highlights the areas it identifies as skin, shown as an orange mask overlay. If the model has a hand near the cheek or the light spills onto a bare shoulder, the mask usually grabs those zones without help. For this frame, a stray highlight on the collarbone gets included — fine, because the smoothing there will look natural. Where the mask misses, like the shadow side of the nose where the skin tone drops half a stop, paint a quick inclusion stroke with the built-in brush. The mask snaps to the edge of the lips and stays clear of the irises on its own.
Set the Smoothing slider around 40 for this shot. The real-time preview updates instantly on a CUDA-capable card — you can watch the under-eye texture soften while the eyelash edges hold sharp. Push Sharpness to about 25 to preserve the catchlights and the fine grain of the eyebrows. The Shine control gets a small nudge downward because the forehead is catching too much of the window light. Click OK and the plug-in renders the pass onto the duplicate layer in a few seconds.
Back in the Layers panel, drop the opacity of the retouched layer to 85%. That lets a whisper of the original skin texture bleed through — just enough to keep the result from sliding into porcelain territory. Add a layer mask and paint out the smoothing over the lips and the corners of the eyes with a soft brush at 20% flow. The whole pass, from opening the raw file to flattening for export, runs under five minutes. When twelve more frames from the same session are waiting, save the Beauty Box settings as a preset and apply it through a Photoshop action. The time saved compounds.
Apple Silicon native support stopped the beachballing on large files
The jump to 6.0.5 brought native support for Apple Silicon — not through Rosetta translation, but as a universal binary that runs ARM instructions directly on M-series chips. In practical terms, that meant the plug-in stopped beachballing on large 16-bit TIFFs from medium-format scans. The real-time preview on an M1 Max feels immediate, where earlier versions ran a half-beat behind each slider move. For Intel holdouts on older Mac Pros, the 64-bit x86 path stays available in the same build, so a studio with mixed machines doesn't have to track separate installers or maintain legacy versions.
The automatic skin detection algorithm also tightened up noticeably. Earlier builds could drift into the whites of eyes on pale skin or grab the rim of a white collar under studio lights. Version 6 is more conservative at the edges, staying inside the face contour even when the subject's skin tone is close to the background. That cuts mask cleanup time to nearly zero for evenly lit portraits, which matters when you batch-process a hundred frames overnight. The preset system now recalls mask adjustments alongside the slider values, so a saved look carries the exact inclusion and exclusion zones from a reference frame.
Option-drag the Smoothing slider for a split-screen preview
Hold the Option key while dragging the Smoothing slider and the preview flips to a split-screen view — untouched skin on one side, the current settings on the other. It's the fastest way to check whether you have drifted too far from the original without toggling the preview checkbox repeatedly. The overlay opacity for the skin mask is adjustable with a small slider tucked beside the preview window; dropping it to 30% lets you see the mask and the portrait simultaneously, which helps when painting manual corrections at high zoom.
The plug-in remembers the last mask brush size between sessions. If you work at a consistent resolution, say 6000 pixels on the long edge for print work, the brush won't reset to a tiny default every time you open a new image. A less visible trick: after you run the filter and return to Photoshop, the Fade Beauty Box command under the Edit menu acts like a blend slider, letting you dial back the entire effect on a single opacity scale without needing a duplicate layer. Useful when you want a 70% pass without committing to layer management right away.
Live as a non-destructive smart filter in your existing Photoshop stack
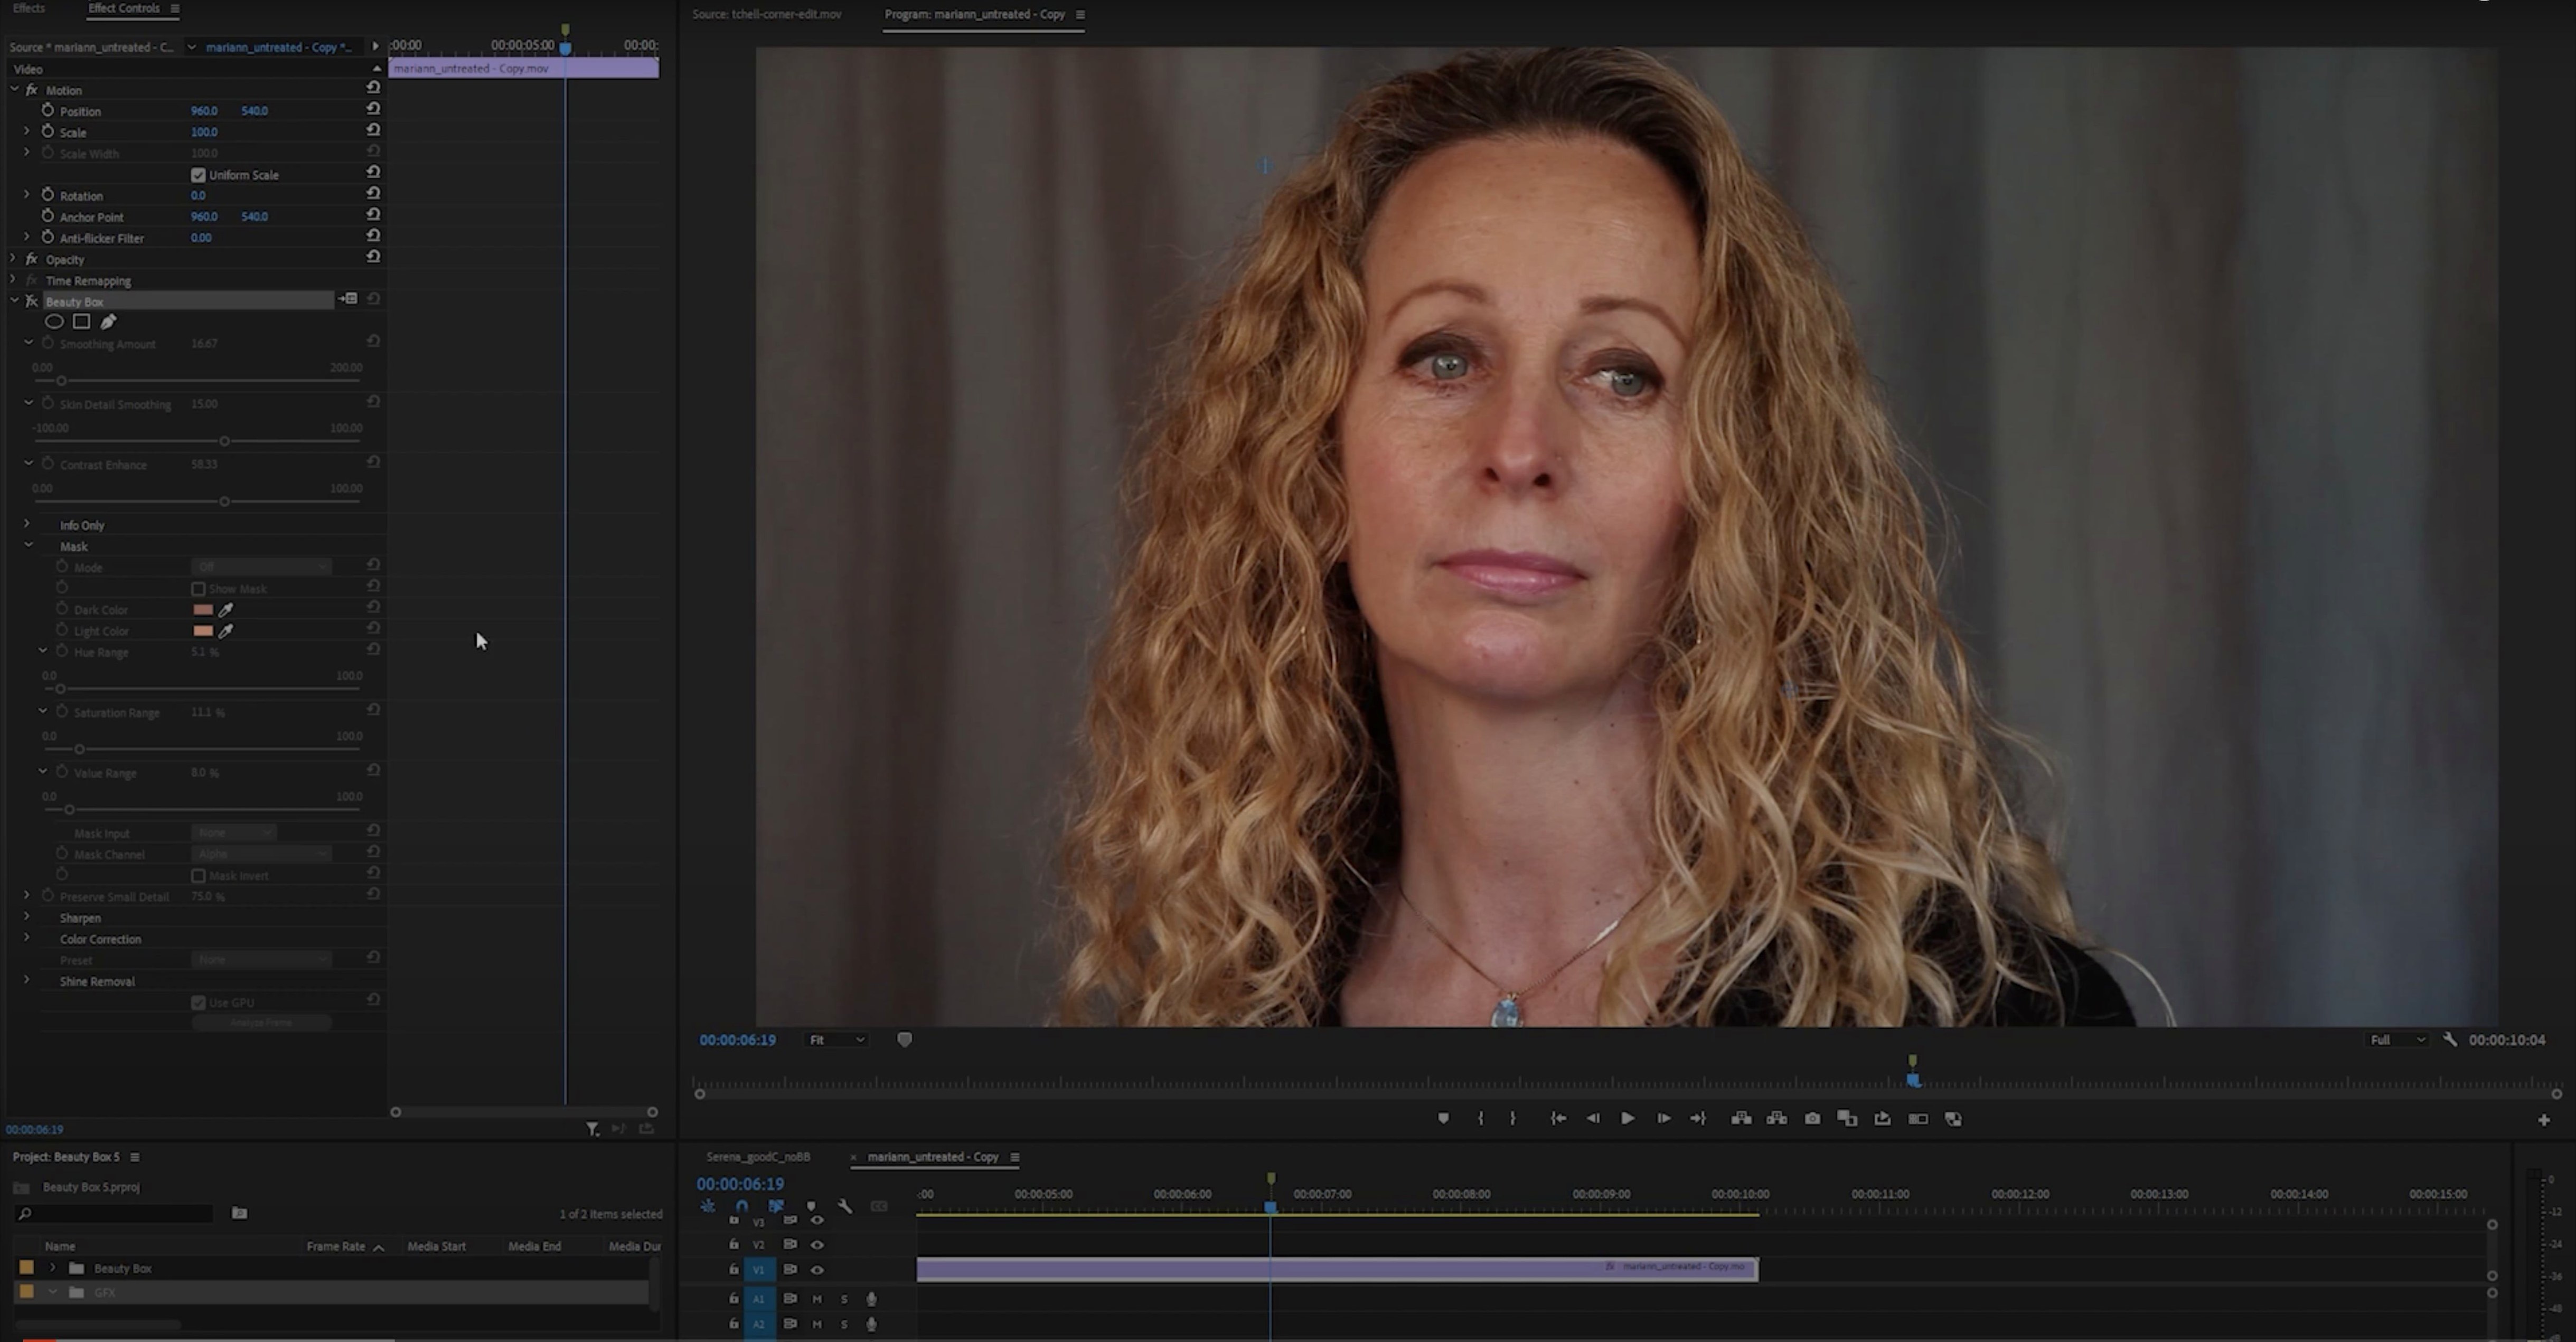
Beauty Box Photo slots into a Photoshop-heavy stack without demanding its own ecosystem. Run it as a smart filter on a converted smart object and the settings stay non-destructive — double-click the filter name to reopen the plug-in interface with all sliders where you left them. That pair of moves, smart object plus smart filter, means a retouching pass can travel into After Effects for video work. A beauty box premiere pro workflow often starts exactly there: a still frame retouched in Photoshop as a smart object, then imported into a Premiere timeline where the look is matched with the video edition of the plug-in. The photo and video versions share enough DNA in their skin detection that a preset built on a still transfers its logic to moving footage without recalibration.
On the macOS side, Quick Look plays nicely with the flattened results — tap the spacebar on an exported JPEG and the retouched skin reads cleanly without the Finder thumbnail crunching the detail into a blocky preview. The plug-in writes standard metadata into the file, so Bridge and Lightroom Classic pick up the edited TIFFs without import errors. Color-coded layer labels in Photoshop, blue for raw captures, yellow for retouched passes, become more useful when the plug-in consistently names its output layer "Beauty Box" — a small thing, but it keeps a twenty-layer portrait file legible at a glance when you hand it off to a compositor.
- Runs on Intel and Apple Silicon Macs
- Requires a compatible version of Adobe Photoshop