
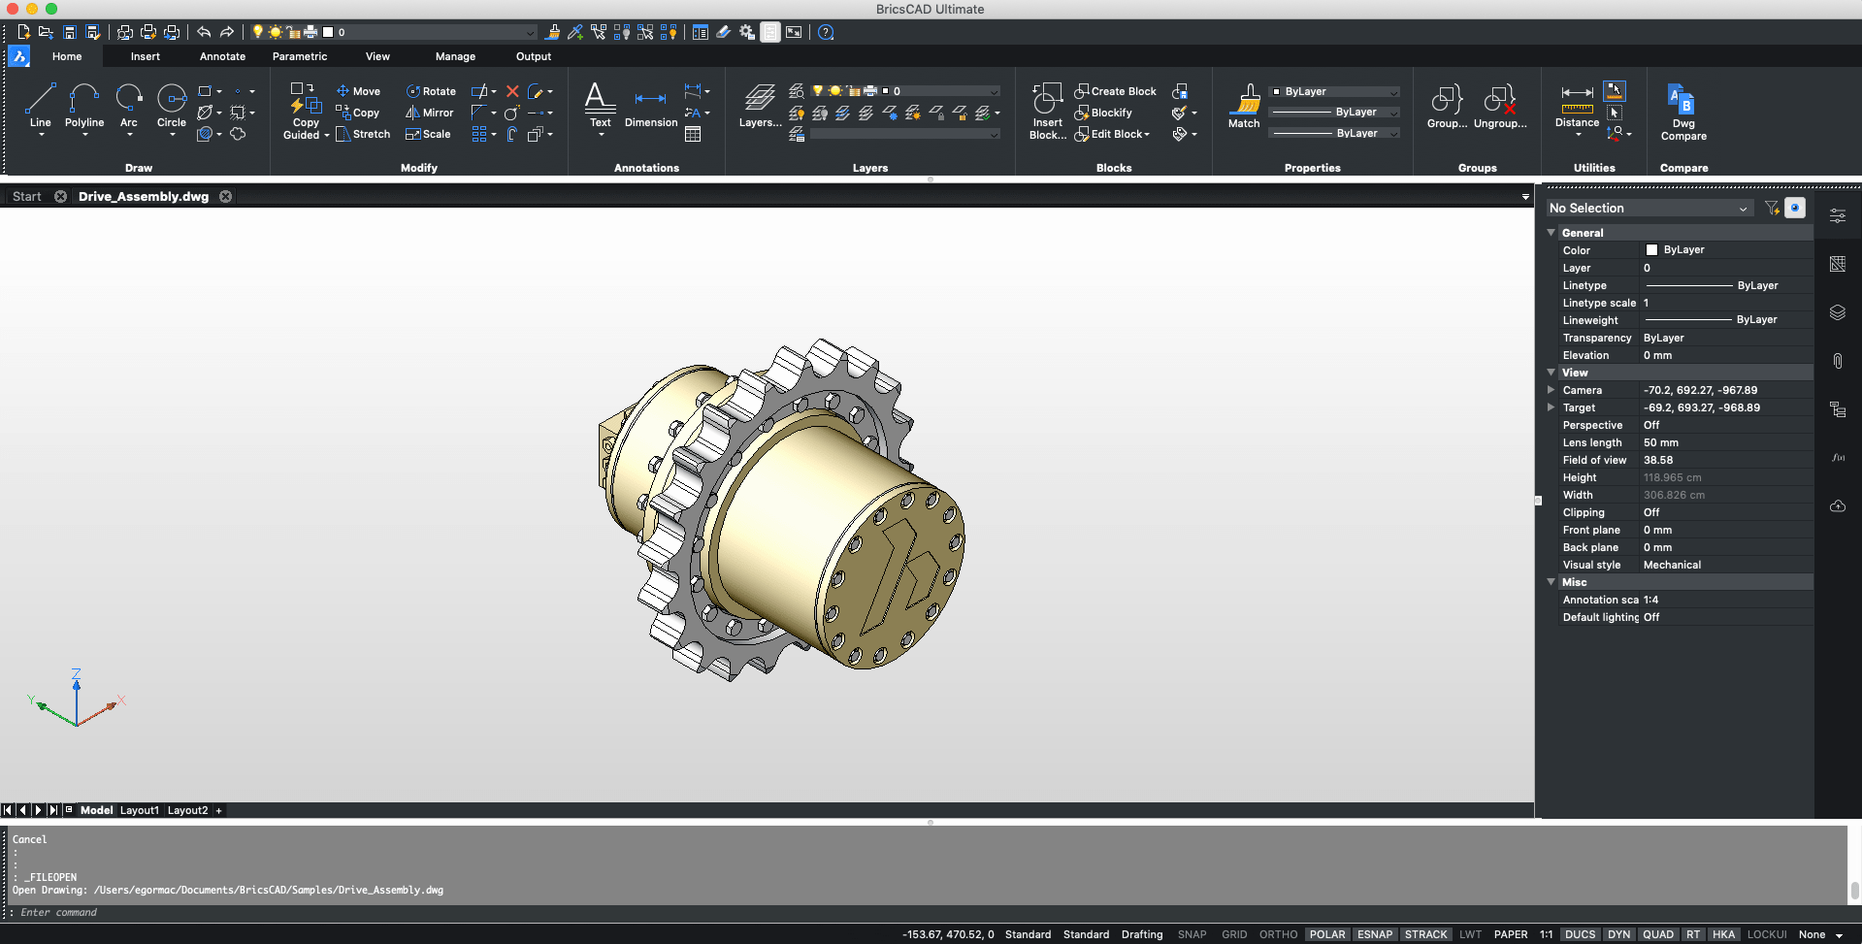
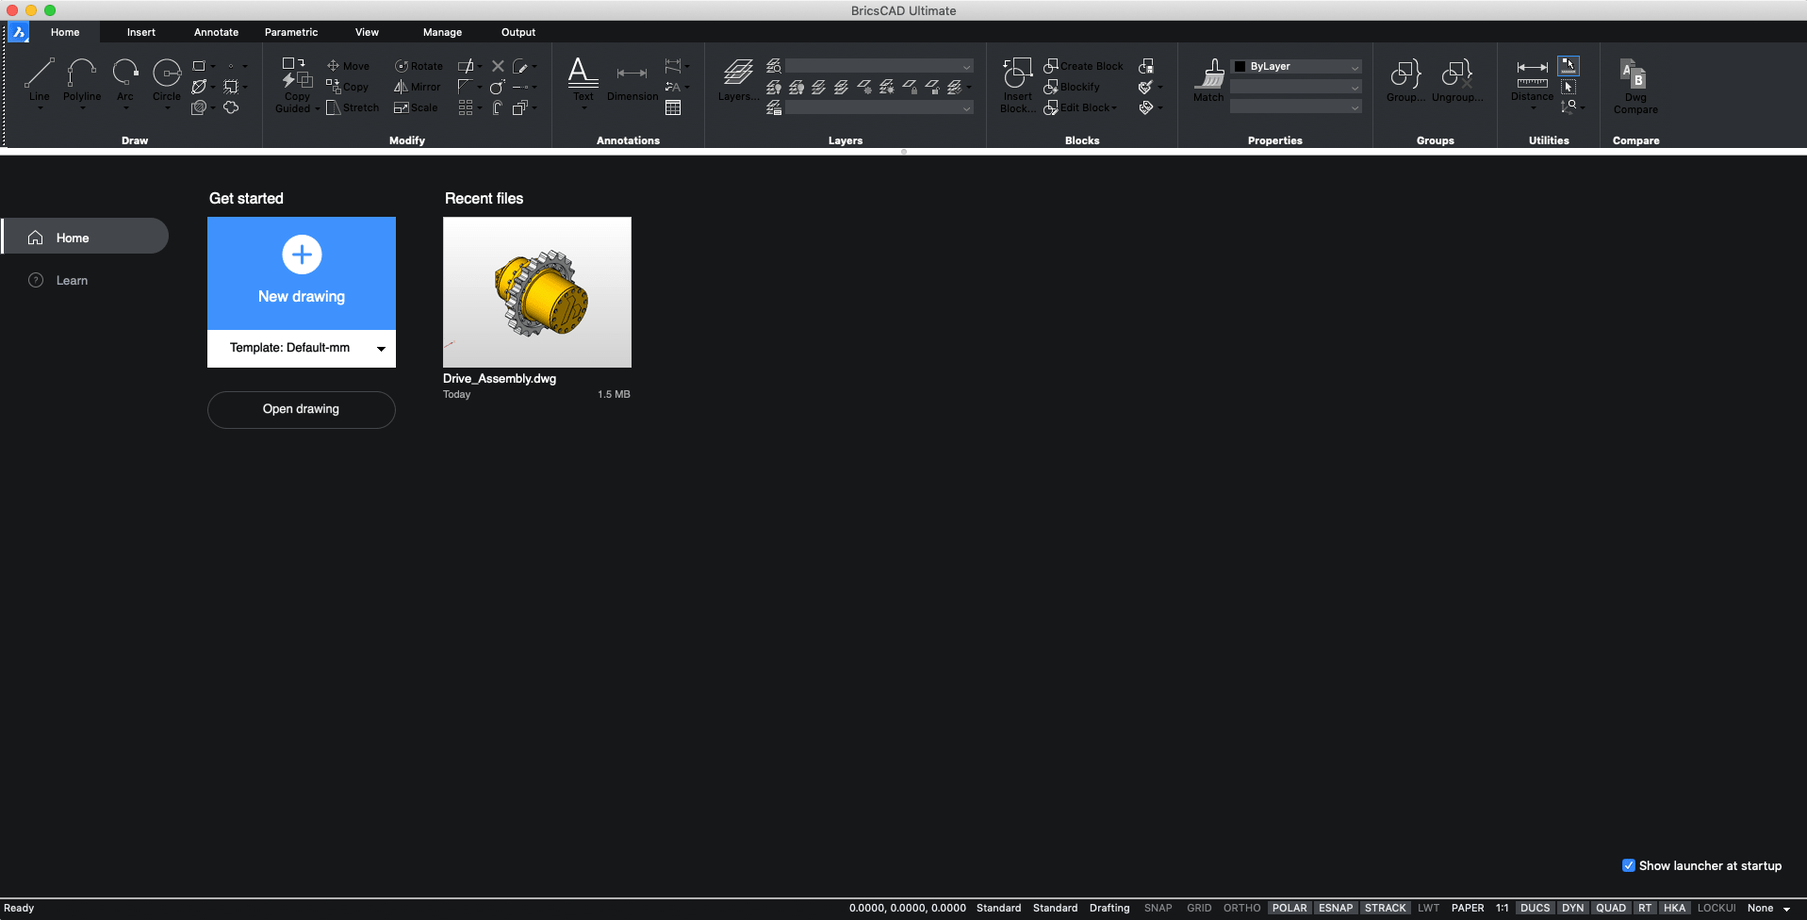
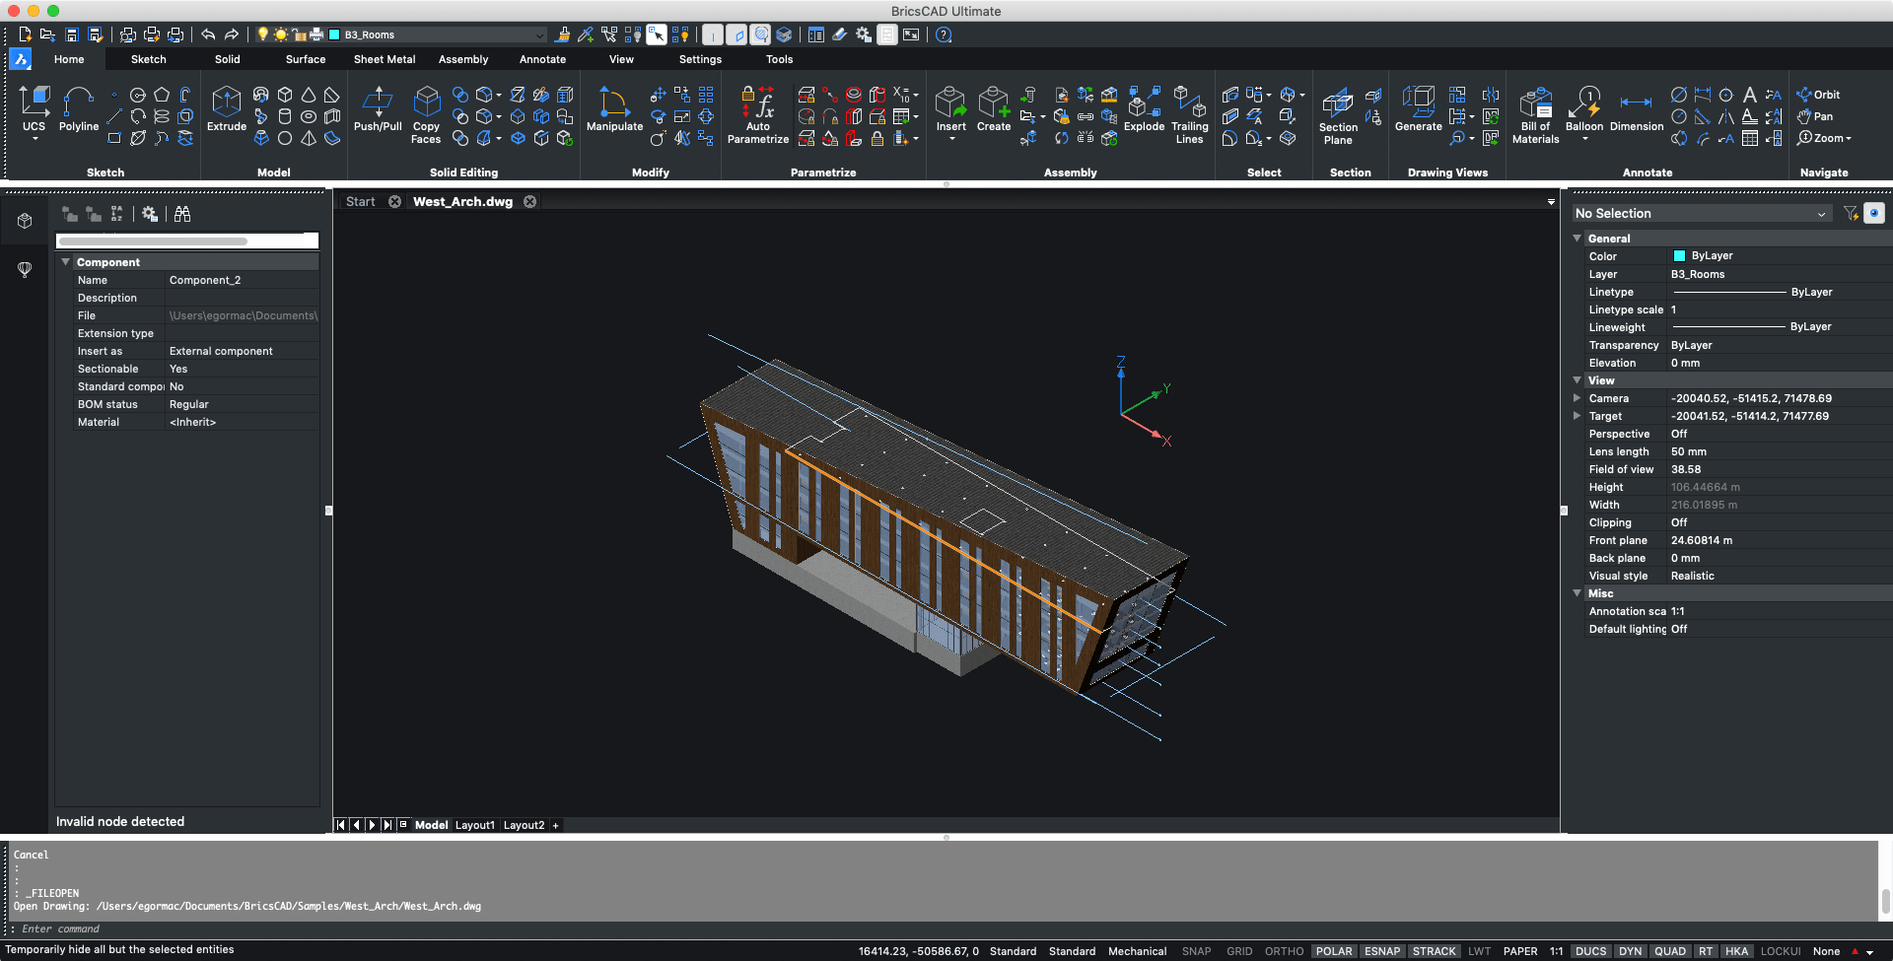
A familiar DWG file lands on your desktop, but the application that created it isn’t installed on your Mac. BricsCAD steps into that gap. It reads and writes the DWG format natively, and it opens AutoCAD custom menus, toolbars, scripts, and snaps without conversion, so project files keep their intended behaviour.
Drafting that speaks the same language
Open a drawing and your custom workspace comes with it. Tool palettes, command aliases, and menu files transfer across, which means a studio’s established standards don’t get left behind when a freelancer works from a Mac.
Modelling inside a familiar environment
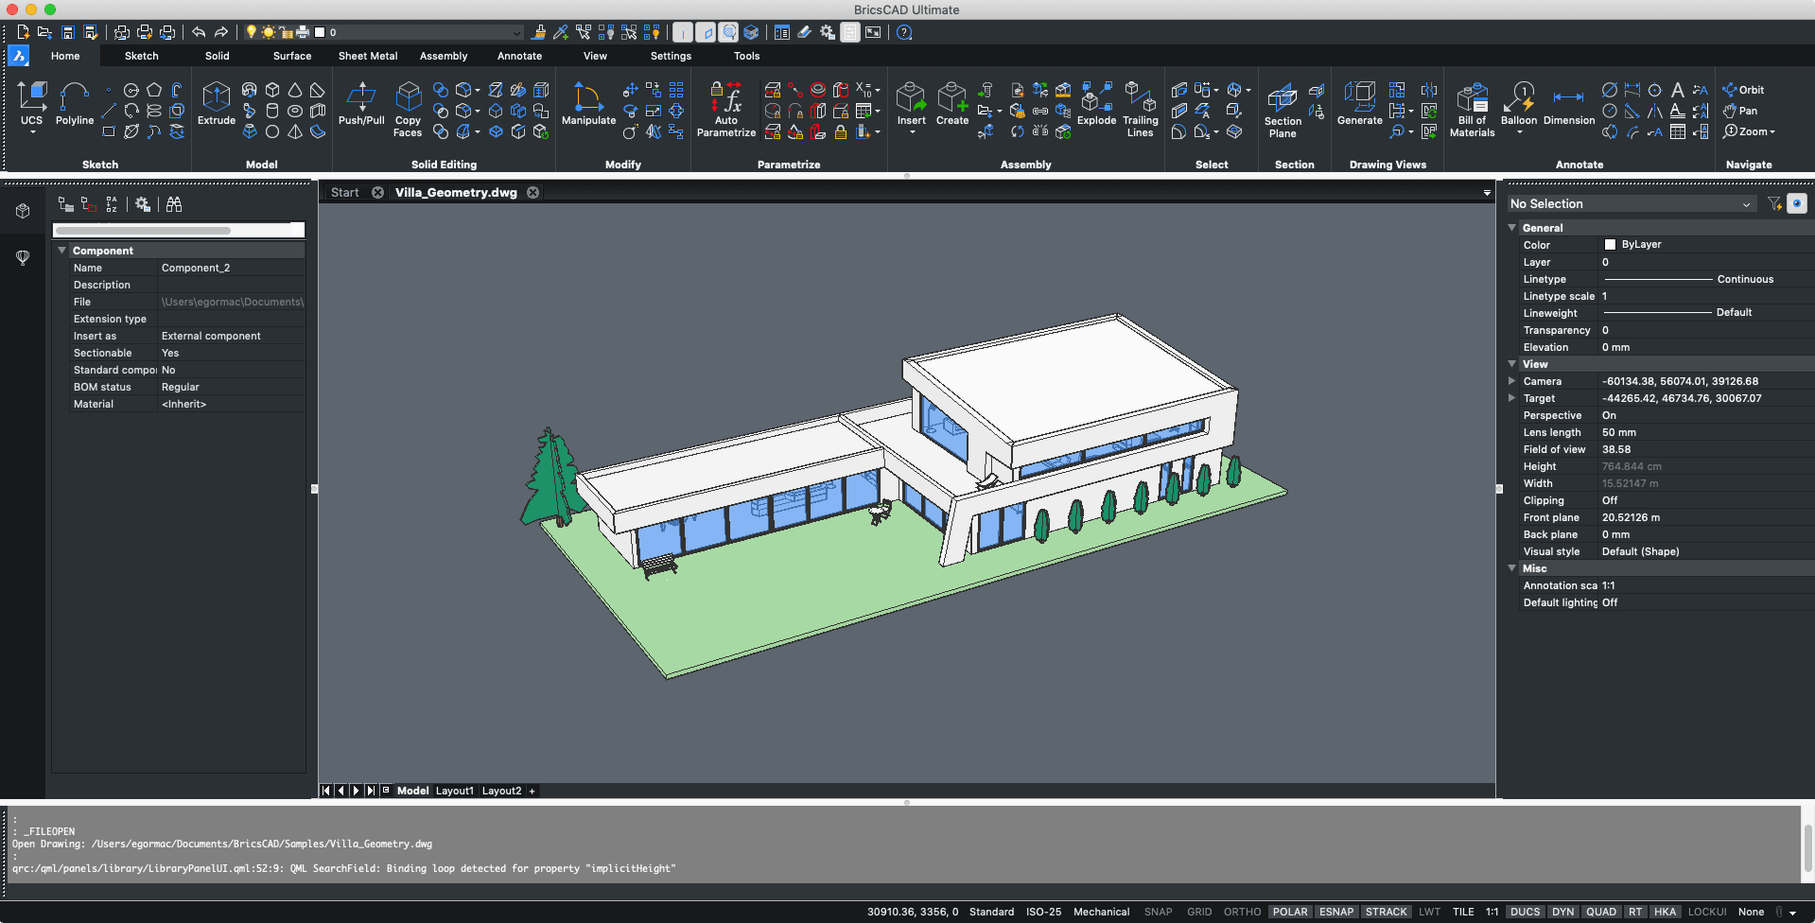
The 3D toolset sits alongside the 2D drafting engine, not in a separate application. Push and pull solids, edit faces, and run mechanical assemblies in the same interface that handles your sheet layouts and annotations.
Running on the Mac you already own
On Intel hardware the application installs directly. Apple silicon Macs run BricsCAD through Rosetta 2, a translation layer built into macOS that translates the Intel code on first launch. The interface languages include Russian and English.
Settings to revisit the first time you launch
Out of the box, BricsCAD leans toward a dark grey workspace that feels more like an evening session than an all-day drafting view. Switching the colour theme under Settings > Program Options > Display > Color theme to the lighter scheme settles the canvas into something closer to traditional paper space. While you are in that panel, bump the crosshair size to 100% of the screen — the full-length cursor makes it easier to catch misalignments in elevation drawings before they propagate across sheets.
Another early change worth making lives in the User Preferences tab: set Startup to New from template and point it at your studio’s DWT file. That skips the stock ISO template and puts your own layer standards, text styles, and layout tabs in place from the first line you draw. If you move between a trackpad and a mouse, enable Right-click customization so a right click repeats the last command instead of bringing up the shortcut menu — a small shift that cuts dozens of extra keystrokes from a long detailing session.
Quad cursor behaviour ships with a generous delay. Reducing Rollover tips delay to 200 milliseconds makes the command palette feel more like a responsive HUD and less like a tooltip that arrives a beat too late. Finally, under File > Drawing Utilities, turn on automatic recovery saves set to a 10-minute interval. Complex 3D assemblies have a way of surfacing the one untested edge case, and a recent recovery file turns a crash into a minor inconvenience rather than a lost afternoon.
DWG veterans resume without retraining
Architects and structural engineers who already think in the DWG ecosystem get the shortest onboarding. They open a consultant’s base file, find their custom tool palettes and LISP routines still working, and pick up where they left off on a Windows workstation. The value is not in learning new software — it is in not having to.
Freelance mechanical designers who alternate between Mac and Windows clients also land comfortably here. A single seat covers 2D part drawings, 3D assemblies with the Mechanical edition’s standard parts library, and sheet sets that export directly to PDF for client review. The interface stays close enough to the industry standard that switching between this and a client’s AutoCAD seat feels more like changing desks than changing applications.
Indie game level designers and prop artists sometimes overlook CAD tools, but the direct modelling kernel rewards anyone who wants to block out hard-surface geometry fast and export it as OBJ or STL for refinement in Blender or Maya. The precision snaps and boolean operations that slow down a polygon modeller are immediate here, so blocking out a sci-fi corridor to scale takes a fraction of the time it would in a mesh-first environment.
From survey file to plotted sheet: a workflow
A measured building survey arrives as a DWG with a couple hundred ungrouped line segments and scattered text labels. The first task is to pull order out of that linework without redrawing anything.
Open the file and immediately run DWGUNITS to confirm the drawing unit is set to millimetres — survey files sometimes arrive in metres and quietly shift dimensions by a factor of a thousand. Once the units match the site, create a set of layers that mirror the office standard: A-WALL-EXST, A-DOOR-EXST, A-GLAZ-EXST, and a reference layer for the original linework that stays locked and screened to 50% grey.
Select all the wall lines with a crossing window, open the Properties panel, and assign them to the existing wall layer in one click. Repeat for doors and windows. Now launch QSELECT to grab every polyline shorter than 900 millimetres — those tend to be door swings, not structural elements — and move them to the door layer. What remains on the reference layer after sorting is mostly text annotations and dimension strings, which stay visible but unselectable while you trace.
With the linework sorted, switch to a layout tab, drop in a title block from the template, and create a viewport scaled to 1:50. Lock the viewport, then run PUBLISH to batch-plot this sheet alongside any others in the set. The entire process — from unsorted survey to a plotted A1 sheet — stays inside one session, and the DWG you send back to the project architect opens on their machine with layers, scales, and plot styles intact.
- macOS 10.15 or later
- Intel processor (Apple silicon supported via Rosetta 2)