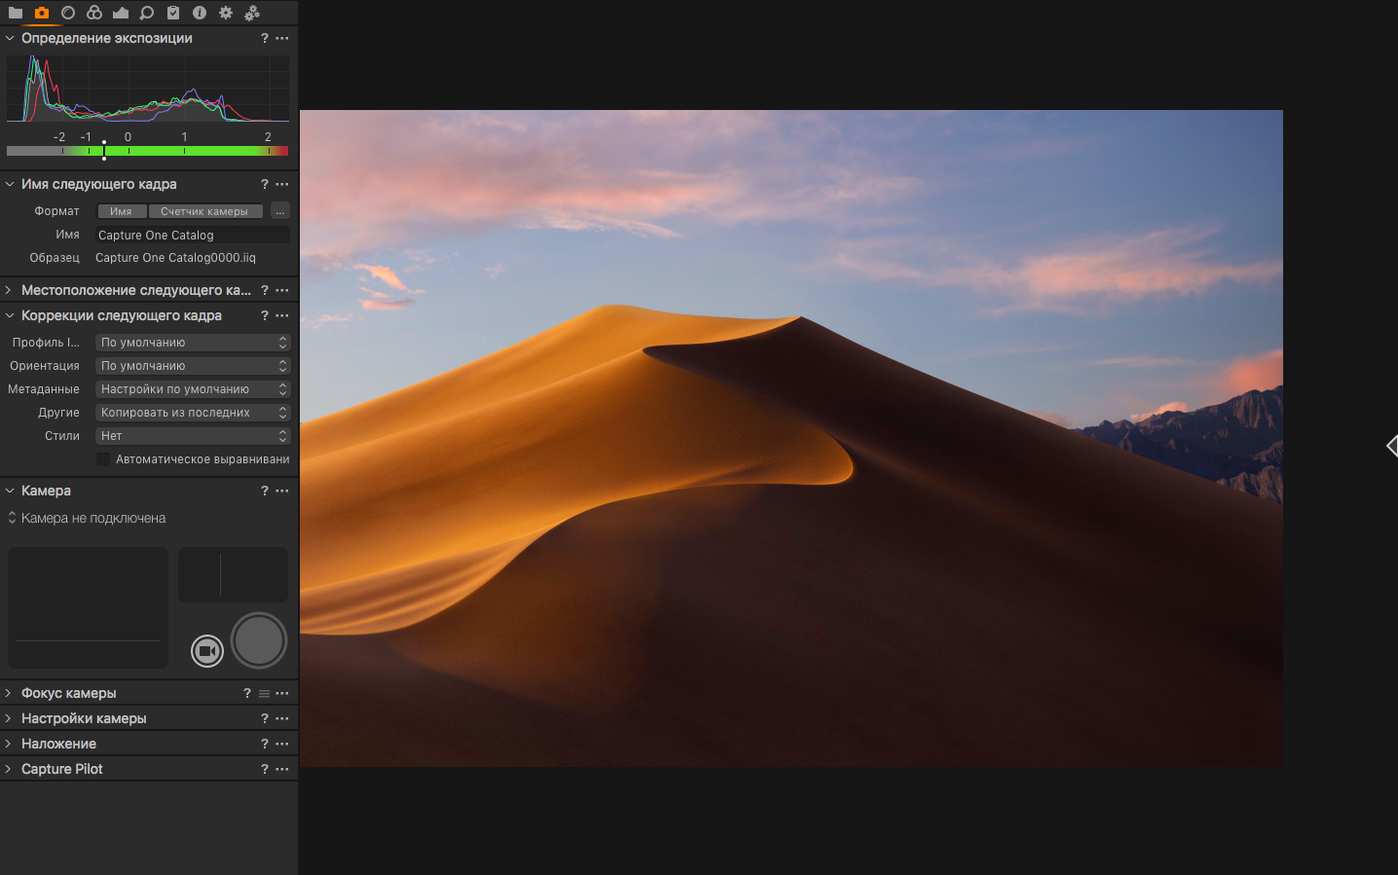
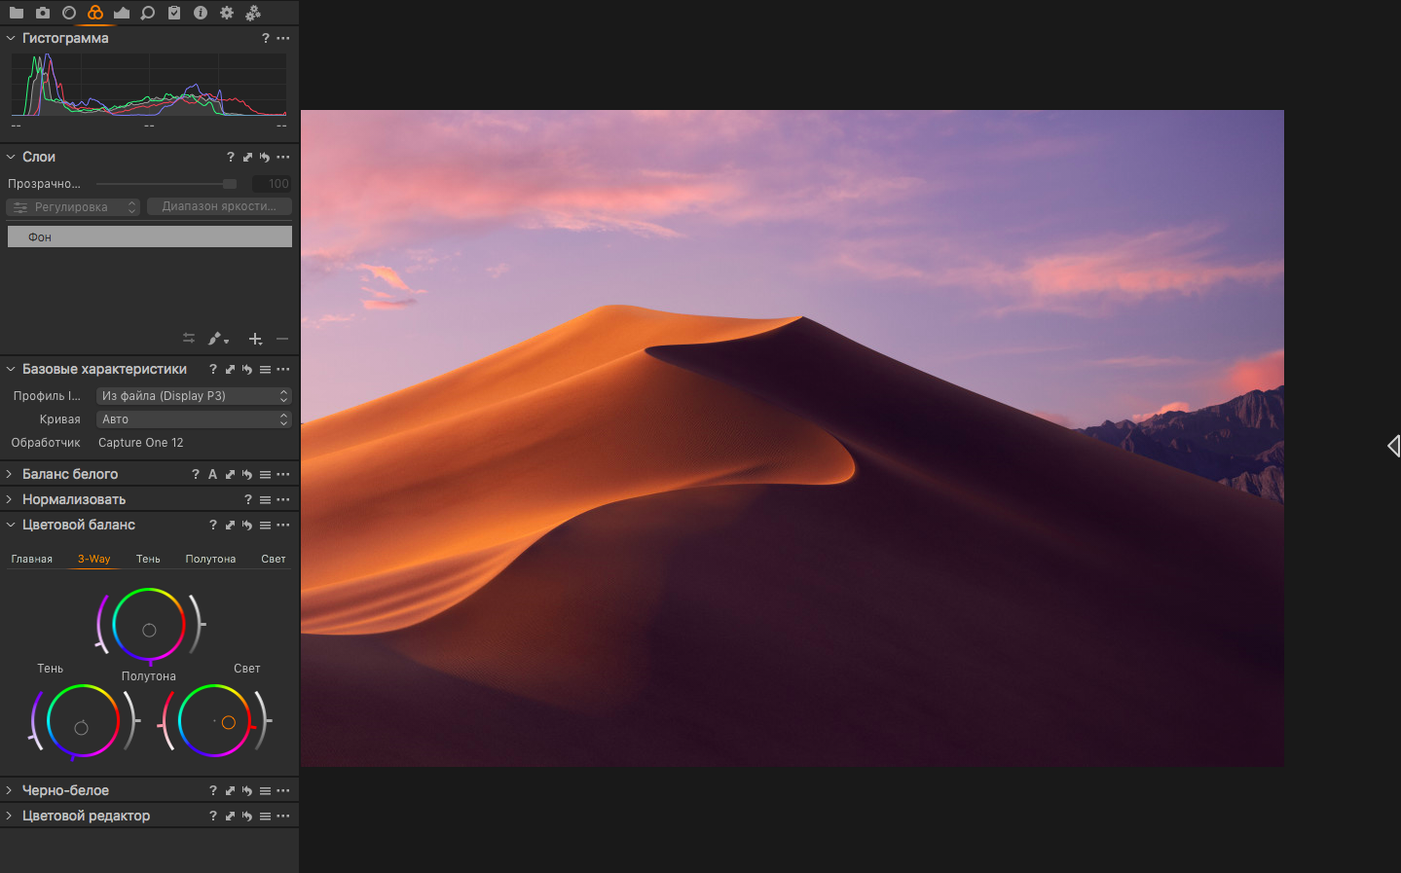
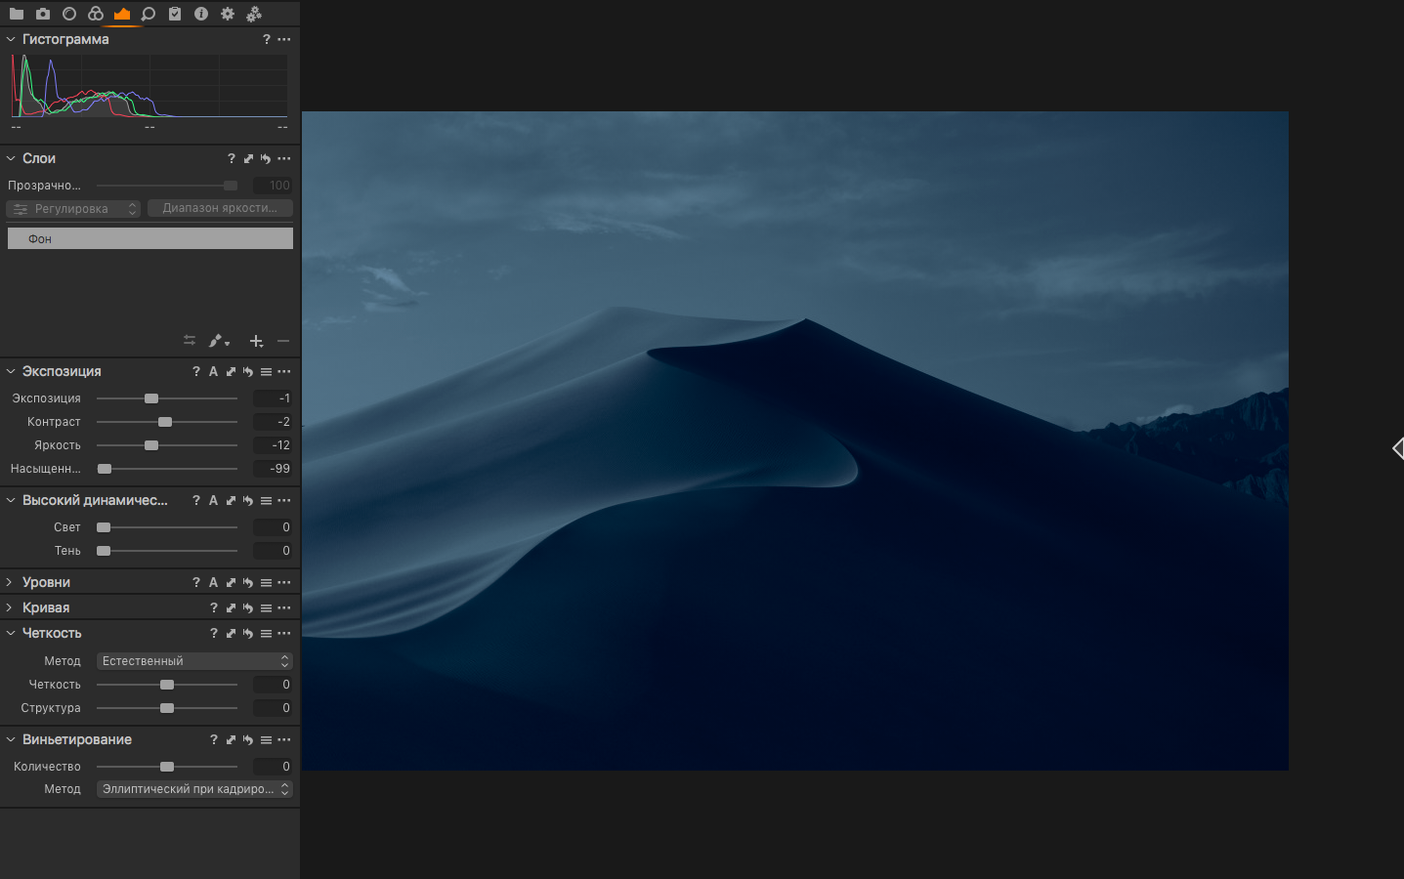
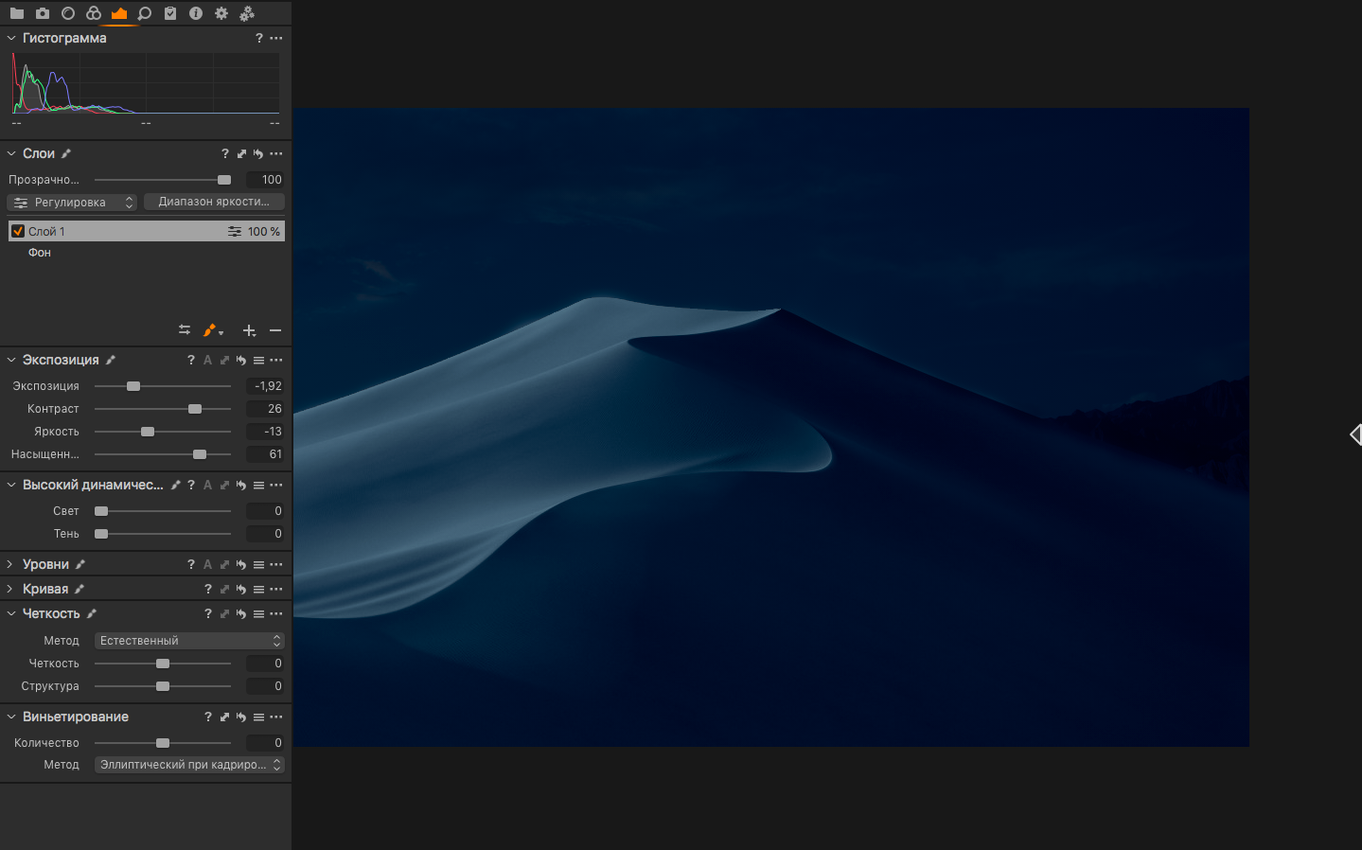
With version 16.8 came a noticeably improved denoise engine, assisted review and new contact sheet layouts, so there has never been a better moment to step inside the application and see how its core tools handle a fresh import.
Correction variants — each adjustment you make to exposure or colour spawns a variant that always reads from the untouched RAW data, so an overexposed frame can be pulled back without discarding a delicate highlight recovery you built on another version of the same shot.
Colour noise reduction — the dedicated slider works independently of luminance detail, cleaning up chroma speckle in high-ISO frames while leaving texture intact.
White balance — temperature and tint controls operate directly on the RAW colour pipeline, giving you the same leverage over mood and neutrality that a cinematographer expects from camera raw.
Export formats — full-resolution TIFF in RGB or CMYK and JPEG are all written from the processed RAW state, ready for print or screen without an intermediate round-trip.
Why dragging folders from the Finder leaves you with missing images
Many people arrive from other RAW converters and treat the library tool as a simple file browser. It is not. Capture One expects you to work inside a catalogue or a session, and dragging folders from the Finder into the interface without first creating a session leads to missing previews and broken adjustments later. The safest habit is to start every project with File → New Session, name it after the shoot, and point it at the folder that holds your RAW files. That way the application writes adjustment data into a subfolder alongside your images instead of scattering it across a catalogue database you might forget to back up.
Another early stumble is stacking every correction onto a single variant. Someone imports a portrait, adds a high-contrast grade, then decides they want a softer version for a different layout and starts overriding the first look. Because each variant always reads from the original RAW, you lose nothing by creating a new one. Right‑click any thumbnail and choose New Variant — the fresh copy inherits nothing except the sensor data, so you can build a second interpretation without unpicking earlier work.
The colour balance tool also catches people out. The eyedropper is precise only when you click a genuinely neutral grey — not a white shirt in shadow, not a patch of pavement that looks grey to the eye but carries a warm cast. Use the White Balance picker on a grey card shot under the same light as your subject, or at least hunt for a mid‑tone area with equal RGB values in the info readout before you click.
Hold Option while dragging a slider to hide clipping overlays
Holding Option while dragging any exposure or colour slider temporarily disables the preview clipping warnings, so you can judge the image itself rather than the overlay. It sounds trivial until you are balancing a wedding dress against a sunlit window and the red warning triangles obscure the very edge detail you are trying to protect.
The Copy Adjustments clipboard holds more than the obvious sliders. When you copy settings from one image, a dialogue lets you tick individual categories — sharpening, noise reduction, keystone, meta‑data — and exclude everything else. Photographers shooting a series under the same mixed lighting often copy only white balance and leave exposure untouched, then paste that partial stack across a hundred frames in the browser with Edit → Paste Adjustments.
In the viewer, pressing G toggles the grid overlay, but holding Shift‑G cycles through aspect‑ratio guides that are genuinely useful for composing a crop to client specifications. The guides are not burned into exports; they live purely in the viewer and disappear when you hide the overlay.
Another quiet helper is the Process Recipe system. Instead of re‑entering export settings every time, you save a recipe that pairs a file format with a colour space, resolution, sharpening amount and naming convention. Switching between a full‑resolution TIFF for print and a down‑sampled sRGB JPEG for a contact sheet becomes a single click in the output tool tab.
The background process that steals your tethered frames
The most common support‑forum post involves tethering. A camera connects via USB, the application sees the body name, but the shutter fires without an image appearing. Almost always the culprit is a conflicting background process — Canon’s EOS Utility, Sony’s Imaging Edge or a previous import session that has not released the port. Quitting every other photo application and restarting Capture One with the camera already switched on resolves it nine times out of ten. For stubborn cases on Apple Silicon Macs, toggling the camera’s USB mode from “Auto” to “PC‑Remote” in its own menu often forces the handshake.
Another frustration is sluggish performance when browsing a catalogue of several thousand images. The application generates previews on the fly, and a folder full of high‑resolution RAW files on a spinning external drive can bring thumbnail scrolling to a crawl. The fix is to let the software finish building previews after import — watch the activity indicator in the top‑right corner — or to relocate the catalogue’s preview cache to a fast internal SSD in the catalogue preferences.
On a fresh install, the viewer occasionally renders images with a brief colour shift before snapping to the correct profile. This is the preview engine falling back to an embedded JPEG while it calculates the full RAW rendering. Switching the default preview size under Preferences → Image to a larger dimension forces a more detailed preview up front at the cost of slightly longer generation time, and the flicker disappears.
Comparable territory: three alternatives
Adobe Lightroom Classic covers the same ground — RAW processing, cataloguing, tethering — but organises everything through a monolithic catalogue. Where Capture One uses sessions that live alongside your files, Lightroom insists on importing into its database, which suits a single‑machine workflow but feels heavier to photographers who move between a studio Mac and a laptop on location. Colour grading in Capture One starts from a different baseline, too: the default rendering of skin tones and foliage tends to feel more neutral straight off the sensor, whereas Lightroom applies a contrast curve that Adobe considers pleasing but some colourists find harder to dial back.
DxO PhotoLab shares the RAW‑first philosophy and adds lens‑specific correction profiles derived from laboratory measurements. Its noise reduction is excellent — arguably the benchmark — but it lacks tethering and the multi‑variant workflow that a studio team relies on. For a photographer who shoots tethered fashion and needs an art director reviewing files live, PhotoLab simply does not play in the same room.
Affinity Photo can open and develop RAW files, but it treats each image as a standalone document in a pixel editor. There is no library, no session structure and no batch variant system that feeds from the same RAW. It makes sense as a finishing tool after a round‑trip from Capture One, not as a replacement for the capture‑to‑export pipeline.
A Phase One IXM‑RS250 tethered into a session named spring‑lookbook
Imagine a cloudy afternoon in a rented studio with a Phase One IXM‑RS250 on a tripod, tethered over USB‑C to a MacBook Pro running the latest build. The photographer creates a session named spring‑lookbook on the desktop and selects the camera from the tethering panel. The first frame arrives within seconds, appearing as a thumbnail in the session’s Capture folder while the full preview resolves in the viewer.
She drags a grey card shot across the white balance picker, locks in temperature and tint, then copies only those two values to the next dozen frames. The art director leans in and asks to see a slightly warmer version; she right‑clicks the hero shot, creates a new variant, nudges temperature up by 400 kelvin and toggles between the two variants with the arrow keys so the director can compare them side by side.
On a backlit dress shot, the highlights are clipping. She pulls the Highlights slider left and holds Option to check whether the fabric texture is returning without the red overlay screaming at her. Satisfied, she opens the Sharpening tool, drops the threshold to avoid sharpening the subtle grain in the shadow areas, then adds a touch of luminance noise reduction — the new enhanced denoise from 16.8 handles the remaining chroma speckle so cleanly that she does not need a separate round‑trip to a dedicated denoiser.
With the selects narrowed to twelve frames, she creates a process recipe for a full‑resolution Adobe RGB TIFF and a second recipe for an sRGB JPEG at 2048 pixels on the long edge, both with a file‑naming token that appends the session name and a three‑digit counter. A single click on Process writes all twenty‑four files into the session’s Output folder while she packs the camera.
Back home, she opens the session on an iMac, pulls the catalogue’s preview cache onto the internal SSD, and the thumbnails scroll without hesitation. The TIFFs go straight into a layout; the JPEGs land in a shared cloud folder for the client. Nothing was imported twice, no sidecar file went missing, and the RAW files remain exactly where they were on the portable drive — the session folder simply contains the adjustments that point to them, ready for the next round of edits.
Enhanced denoise arrived in the 16.8 release alongside assisted review, which helps cull large sessions faster, and freshly designed contact sheets that make comparing selects feel more immediate.
- macOS 12 or later
- Apple Silicon or Intel 64-bit Mac
Questions from the booth
It supports more than 500 camera models and runs natively on both Apple Silicon and Intel 64-bit Macs from macOS 12 onward.