
Who uses it
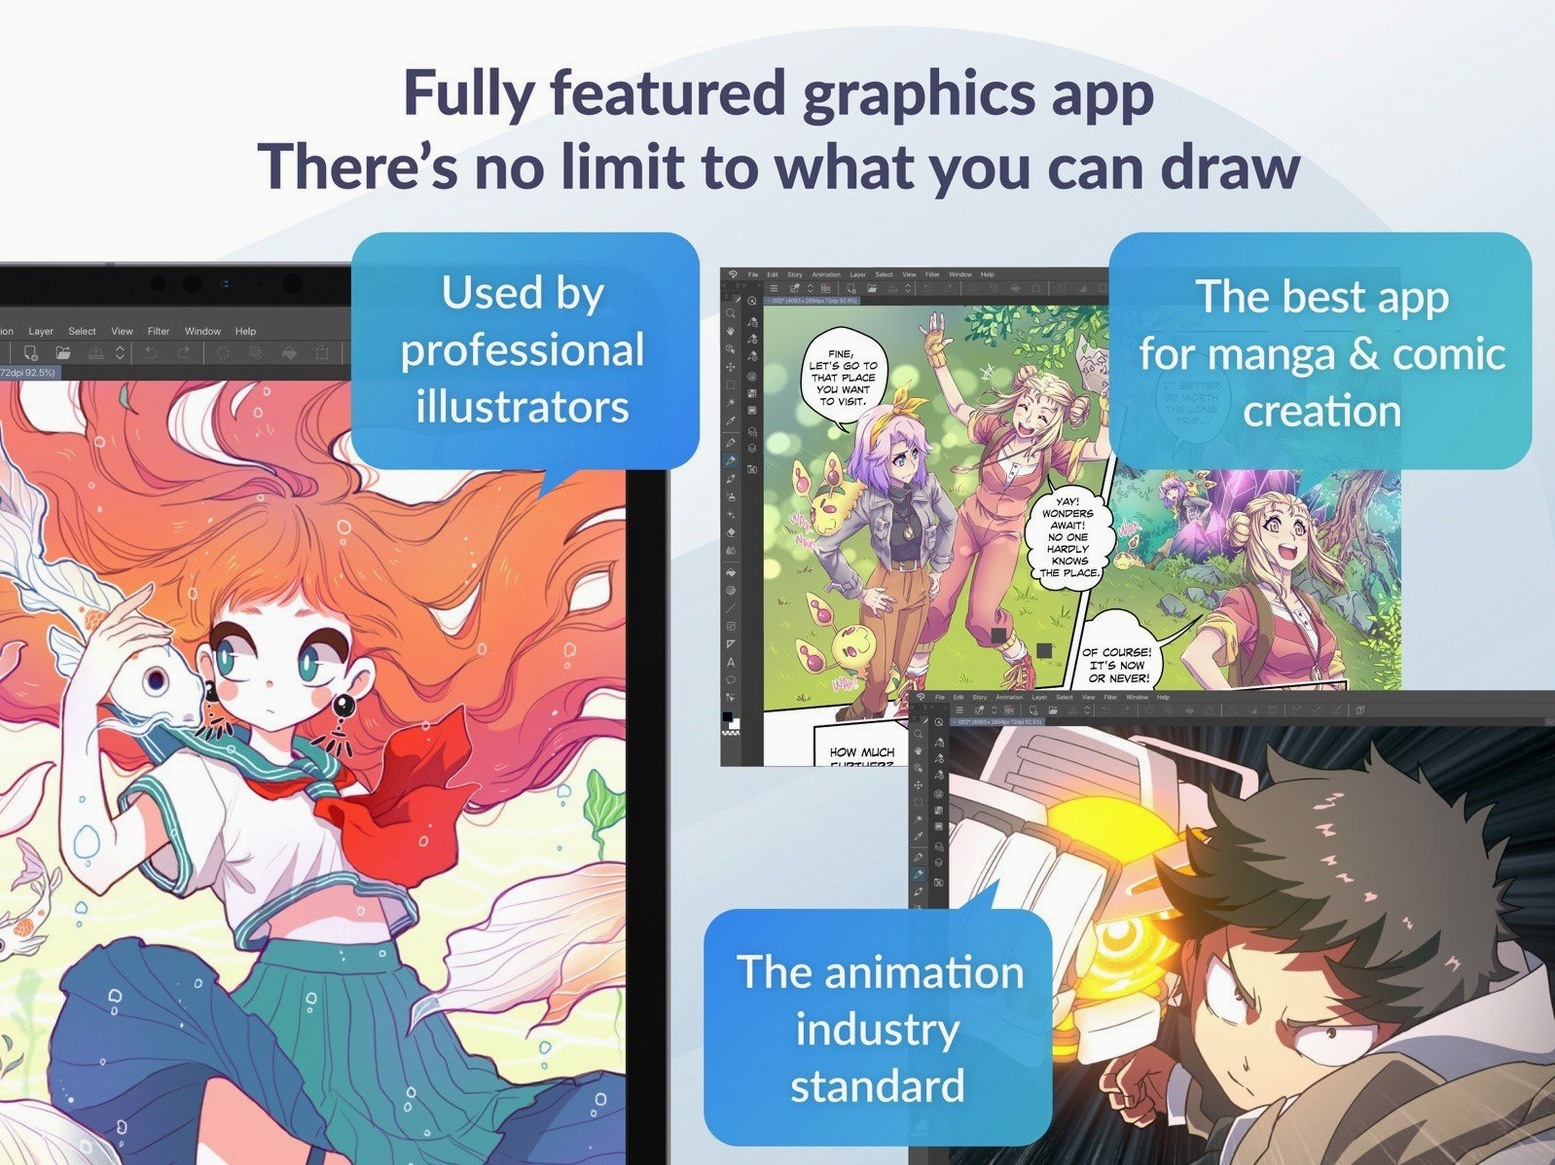
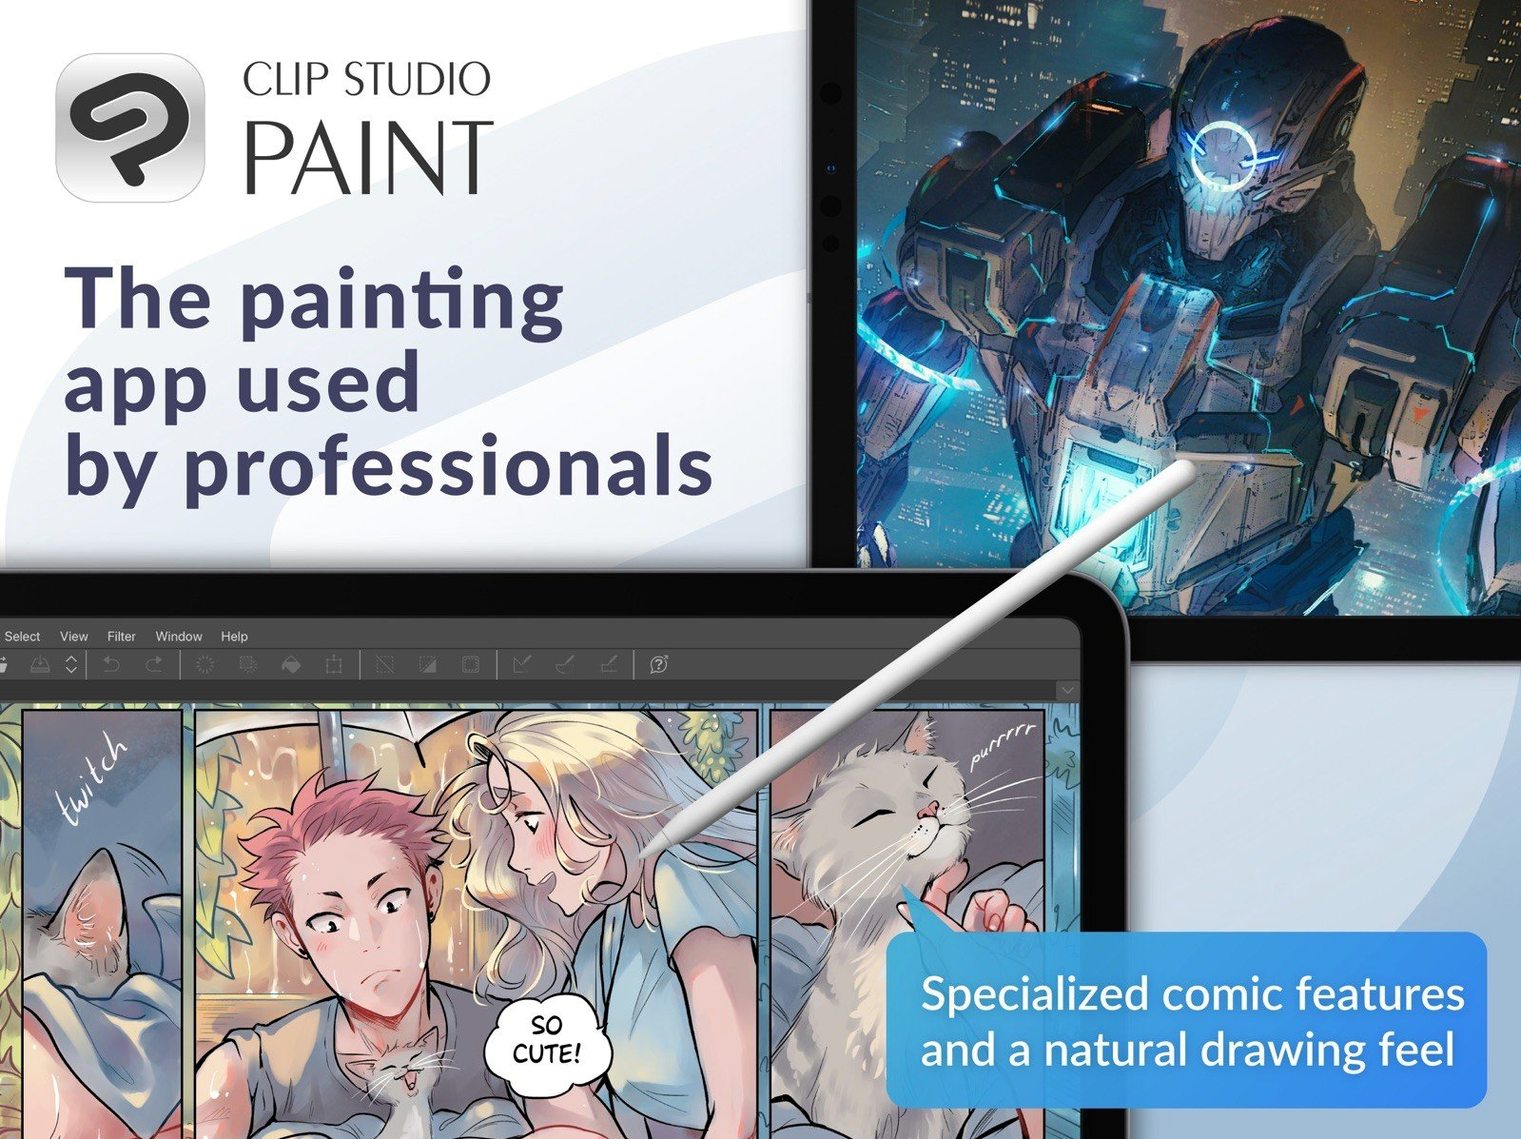
Illustrators, comic artists, and animators who need a single workspace for drawing, inking, and motion work. Manga Studio veterans and storyboard artists tend to gravitate toward it, partly because the page-layout tools were built with sequential storytelling in mind.
What kind of animation work does it handle?
It is built around frame-by-frame animation with a dedicated timeline for timing control. Onion skin display lets you see adjacent frames as translucent guides, and a light table function gives you a traditional animator’s reference right on the canvas.
PSD files travel with layers intact
The application imports and exports layered PSD files, so moving work between it and other software keeps layer structure intact. It can also pull in files from Manga Studio 4 EX and 4 Debut, which helps if you are revisiting older projects.
Quick Look and orphaned cel fixes landed
Simplified Chinese was added as a display language, and Quick Look previewing of .clip files was improved for macOS 15. Several animation glitches were addressed, including a timeline artefact where deleted clips could leave orphaned cels or keyframes behind.
Switching workspaces saves hours of setup
One of the quietest time-sinks I see among beginners is ignoring the workspace switcher. Clip Studio Paint ships with a handful of layout presets — Illustration, Comic, Animation — and each rearranges palettes and shortcuts for a specific task. Someone who starts inking in the default Illustration layout and then tries to storyboard a three-page scene without switching will spend half an hour hunting for the frame border tool. The switcher sits in the top-right corner of the window; it takes two seconds to click and resets the entire workspace for the job at hand.
Another classic stumble is drawing directly on the paper layer. The software treats the paper layer as a background canvas, so anything you paint there cannot be moved, transformed, or reordered without first copying it onto a raster or vector layer. Beginners who ink a full character on paper and then try to shift it behind a foreground element learn this the hard way. Get into the habit of locking the paper layer and creating a fresh raster layer before you put down a single stroke.
Vector layers create their own confusion. The vector eraser has three modes — erase up to intersection, erase whole line, and erase touched areas — and the default is often not what people expect. Someone who grabs the eraser to clean up a stray vector line and watches an entire contour disappear has probably left it on "erase whole line." The mode sits in the tool property palette, and it is worth checking before every cleanup pass.
Small version changes that shift daily habits
The 4.1.4 fix touched a handful of things that break the rhythm of a session. Until this update, exporting a PSD at certain canvas sizes would produce a file that Finder on macOS 15 refused to display correctly — the thumbnail looked garbled or blank, even though the PSD opened fine. That is the kind of thing that eats ten minutes of confusion when you are scanning an export folder for the right asset. Now Finder shows what you expect.
The Quick Look improvement for .clip files is similarly practical. Before, pressing the spacebar on a .clip file in macOS 15 gave you a generic icon or a low-resolution preview that told you nothing. With 4.1.4, the preview is actually legible, which matters when you have a directory full of sequentially named work-in-progress files and need to find a specific page without launching the whole application.
The 3D drag-and-drop behaviour change is subtle but welcome. Previously, dragging a 3D material onto the canvas while a 3D layer was selected outside a frame folder could drop the object somewhere unexpected — sometimes onto a completely different layer stack. Now the drop target logic respects the layer context properly, which saves a few undos every time you pose a reference figure.
Colour mixing can feel like a crash
A force-close tied to the Running color mixing setting was one of the bugs squashed in 4.1.4, but colour mixing still trips people up in ways that look like crashes. If you open the colour mixer and find that blending behaves sluggishly or stalls, check whether you have a massive brush tip loaded. The mixer simulates wet-paint interaction in real time, and large brushes on a high-DPI canvas can choke even a capable GPU. Downsize the brush or lower the canvas resolution temporarily while mixing swatches, then switch back.
Animation beginners frequently discover that resizing a clip or changing the timeline frame rate leaves behind orphaned cels or keyframes. The 4.1.4 fix addressed a specific case of this, but the underlying habit is worth knowing: always collapse your animation folders and scrub through the timeline after any structural edit. If you spot a cel that does not belong, selecting it and choosing "Delete specified cel" from the Animation menu clears it without destabilizing the rest of the sequence.
Tablet pressure suddenly dropping out is rarely a Clip Studio fault — it is almost always a macOS security permission that reset after an update. Head to System Settings > Privacy & Security > Input Monitoring and confirm that Clip Studio Paint (and your tablet driver) are both toggled on. If you installed via a Clip Studio Paint 4.1.4 crack or a Clip Studio Paint torrent, permissions can sometimes need a manual toggle after installation, so a quick check here gets everything flowing smoothly.
Text layers rasterize on export
The PSD round-trip is still the backbone of multi-app workflows. Layered files move between Clip Studio Paint and Photoshop or Affinity Photo with groups and opacity intact, though text layers will rasterize on export — so finalize any lettering after the colour work is done. For animation, exporting as a numbered image sequence lets you pull frames into DaVinci Resolve or After Effects without transcoding, and the timeline’s frame-rate metadata carries over if you use a consistent naming convention.
macOS Handoff does not apply here, but the Universal Clipboard does. You can copy a merged layer image in Clip Studio Paint and paste it directly into a Keynote slide or a Pages document without intermediate files. That is useful for pitch decks and print mockups where you want a quick visual without committing to an export preset.
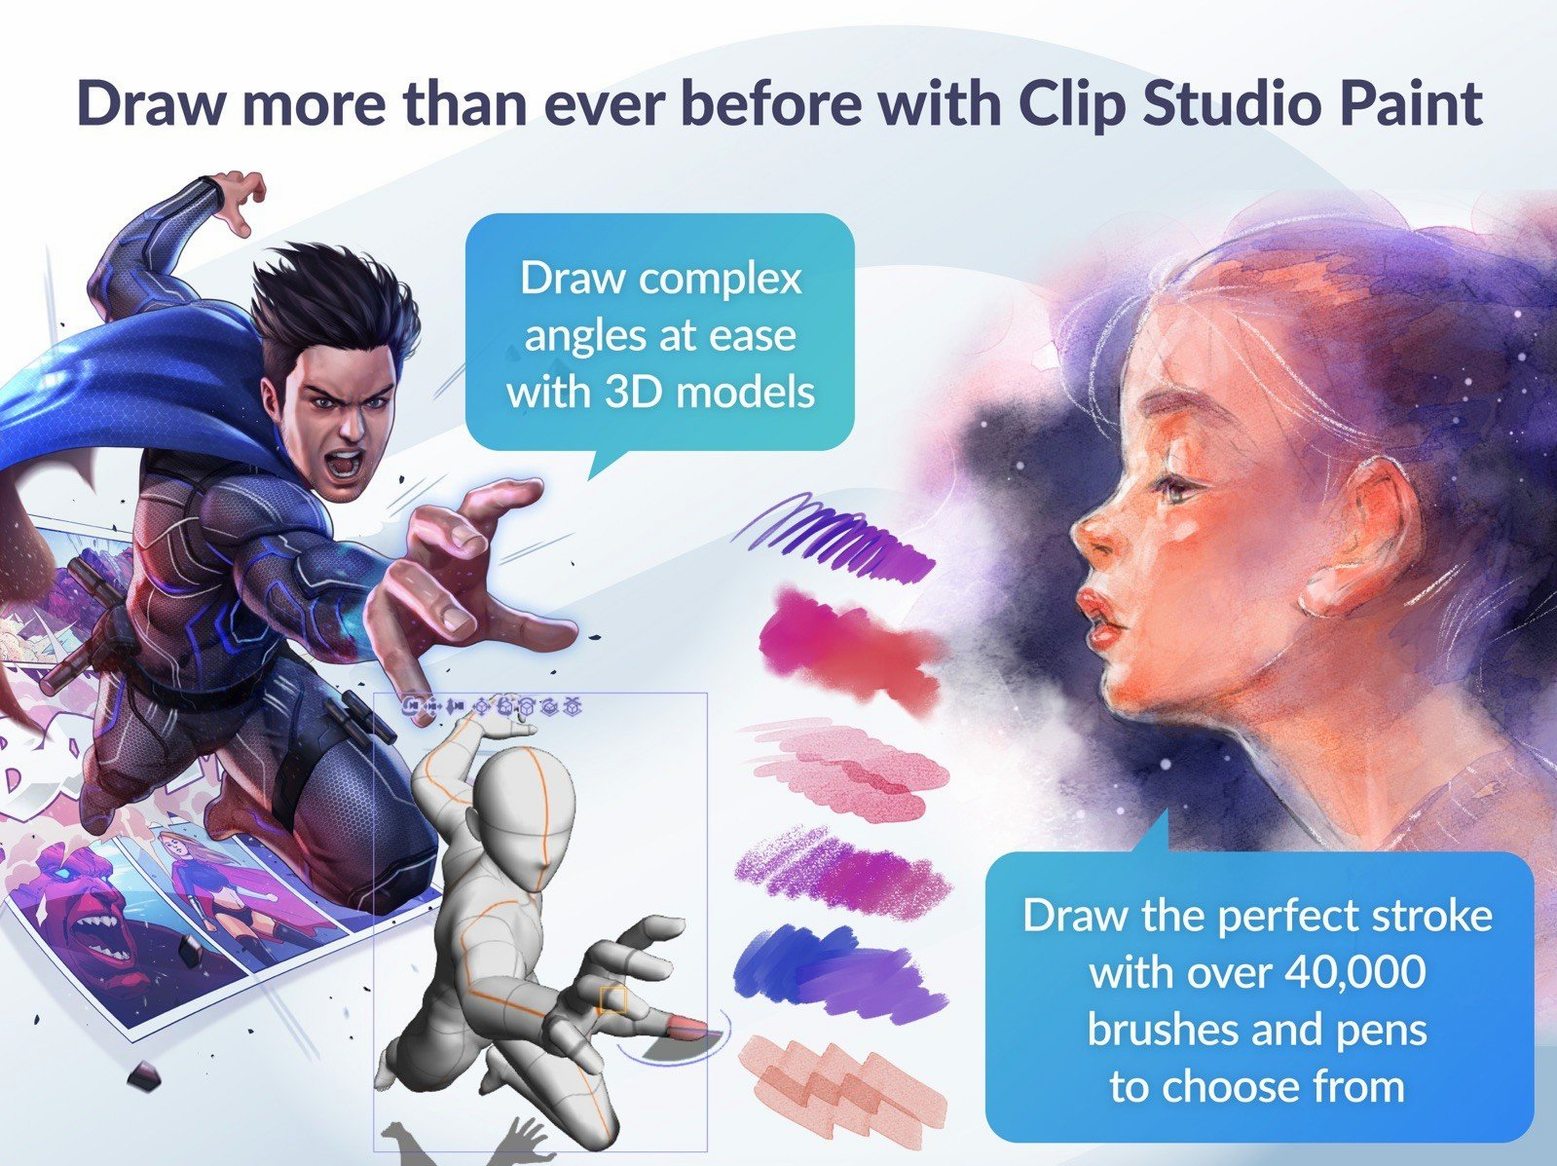
Some artists run Clip Studio Paint alongside Blender for 3D reference work. The 3D figure tools inside Clip Studio are not meant to replace a full modeller, but they are fast for blocking out hand poses and perspective grids. A common pattern is to pose a 3D figure in Clip Studio, trace the rough forms, bring the line art into Blender as a background image, and model the final prop or character there. The two apps do not talk to each other directly, but the export-import loop is short enough to keep the creative flow moving.
If you grabbed a gold clip mac torrent or a standard clip mac torrent, be aware that certain online functions — the asset store, cloud sync, and AI-based pose recognition — still require a one-time internet handshake to initialize. The software works fine offline for core drawing, but those extras stay greyed out until the connection check completes once.
Simplified Chinese joins the display language list. On macOS 15, Quick Look previewing of .clip files works more reliably. A handful of animation and export fixes are also included: one patch resolves an edge artifact that could appear in canvas previews with Quick Filters and Quick Effects, and another cleans up cels or keyframes that could linger after resized clips were deleted or the timeline frame rate was changed.
- macOS 14 or later
- Intel or Apple Silicon Mac
- 2 GB memory (8 GB or more recommended)
- OpenGL 3.3 compatible GPU
- Tablet and stylus with pen pressure sensitivity supported
- Internet connection required for some functions and license verification