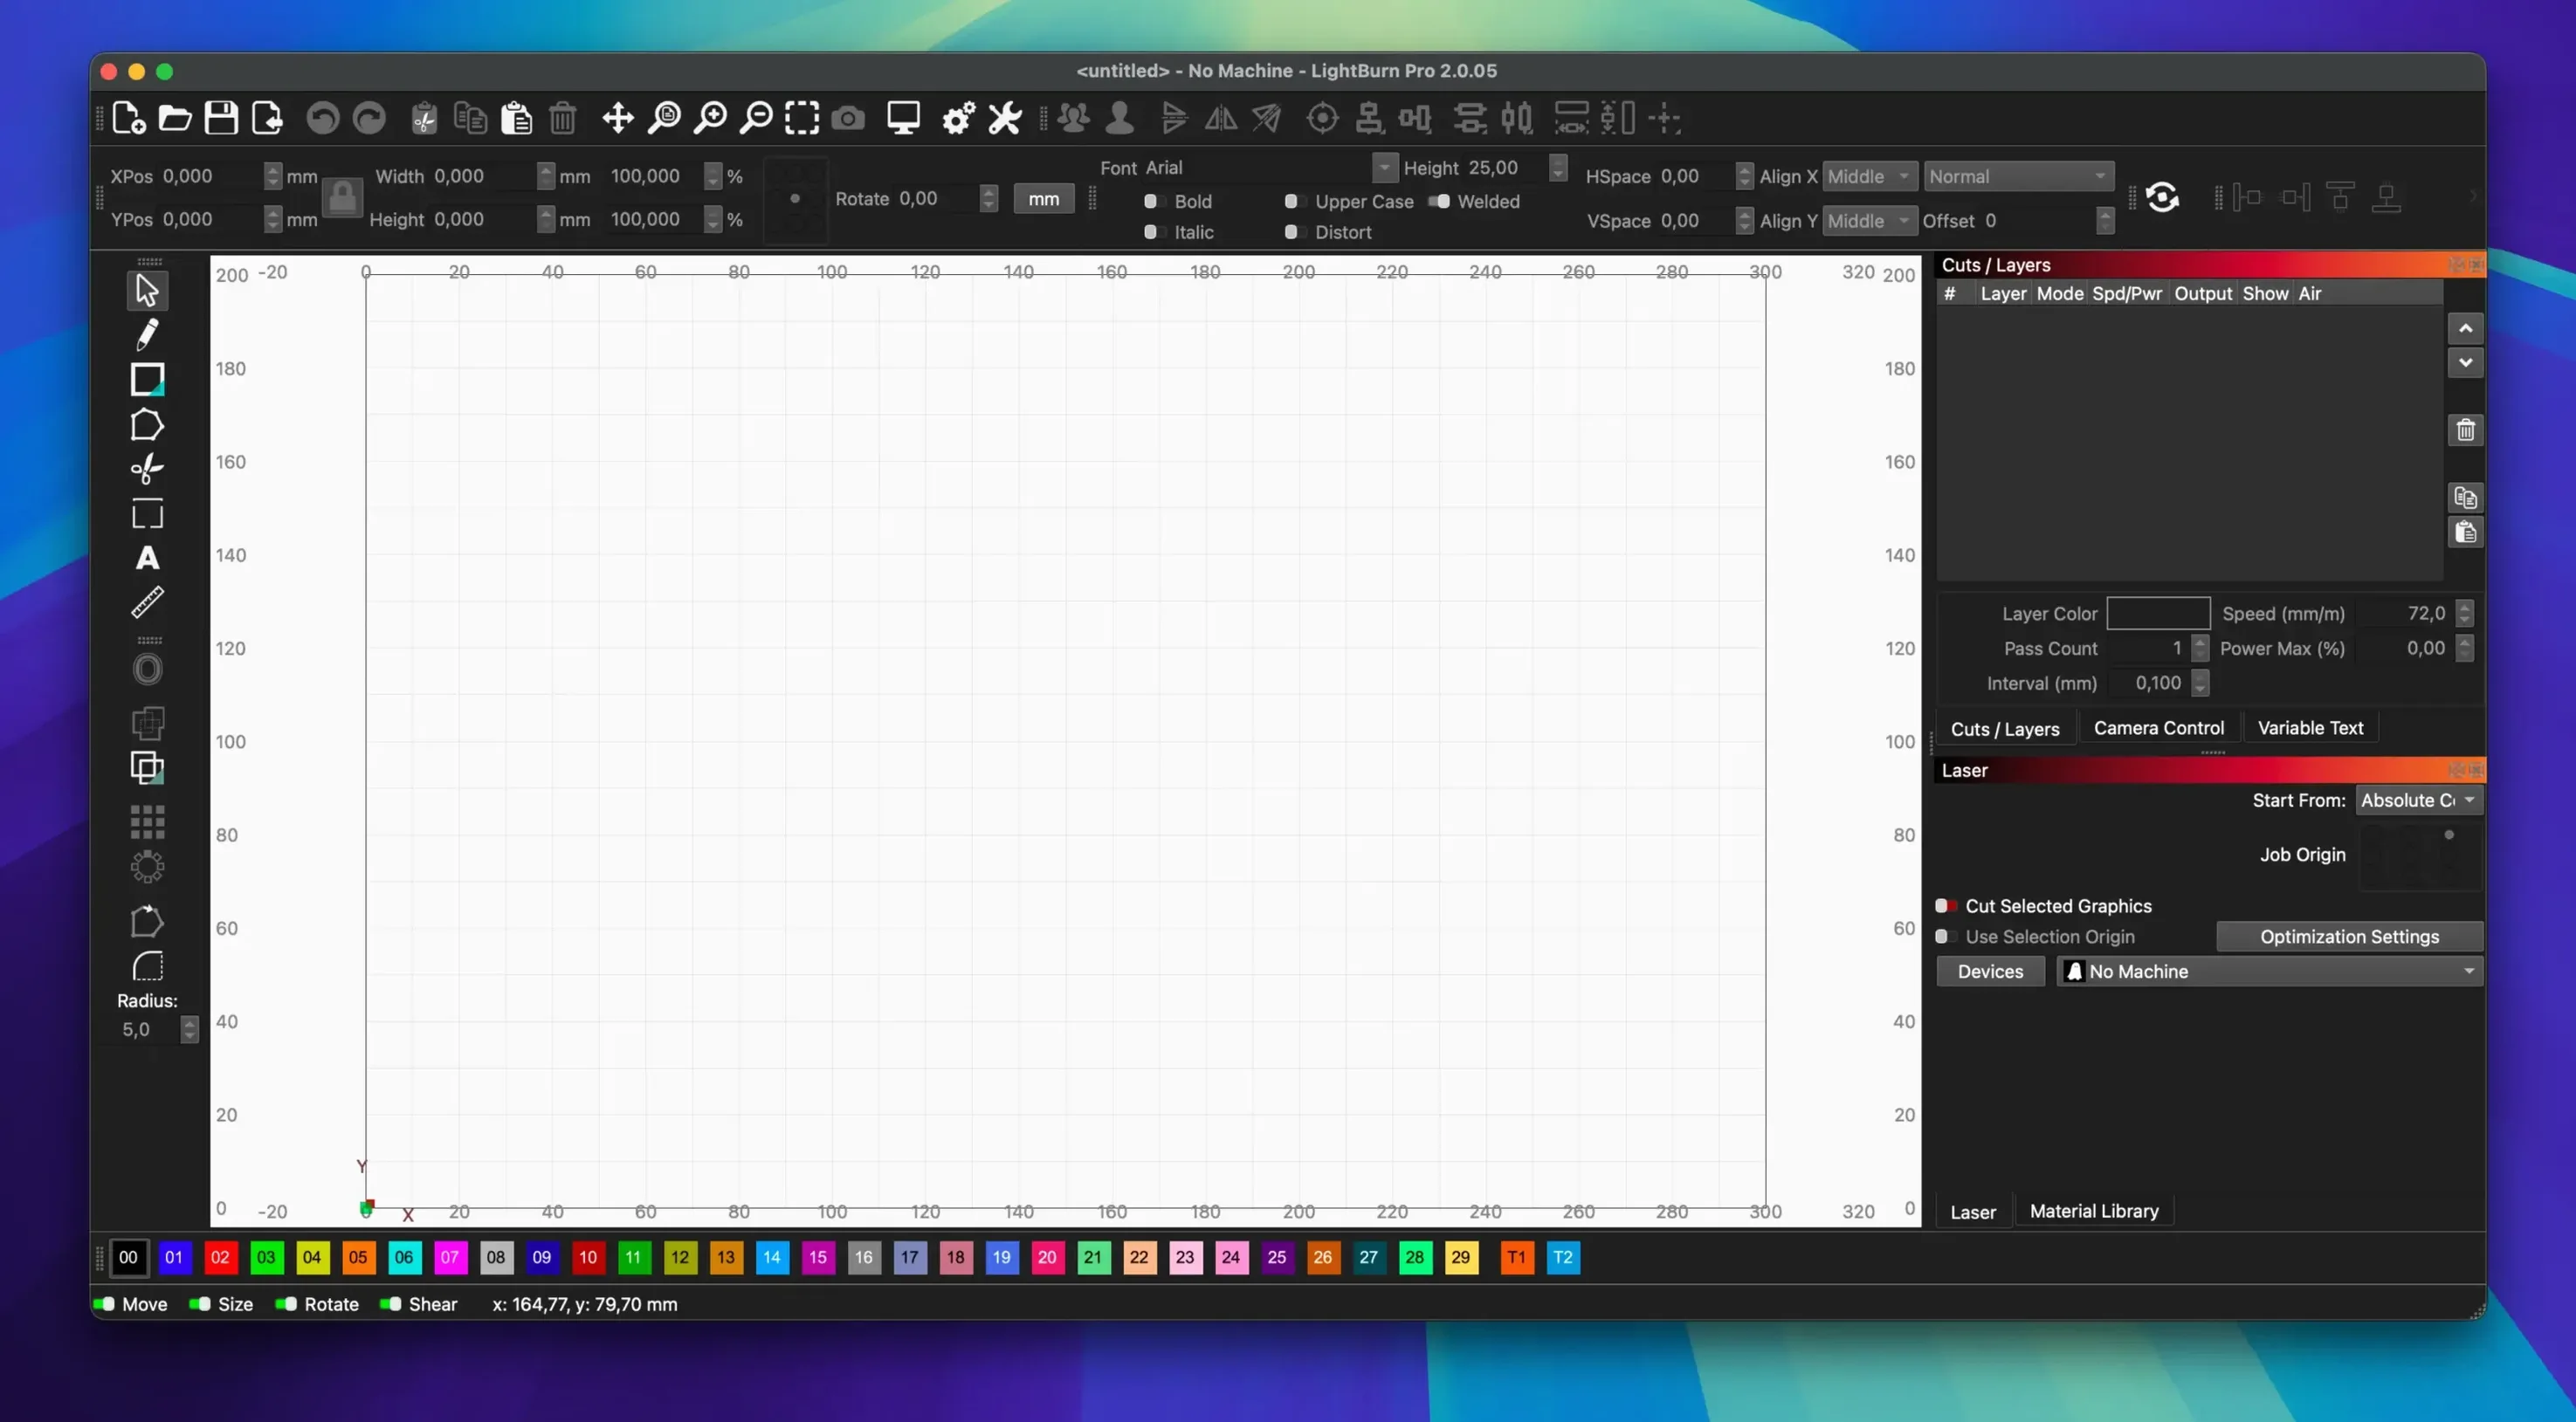
LightBurn speaks a lot of languages — AI, SVG, DXF, PDF, PNG and JPG all land on the canvas without complaint. It was built for a single purpose: to give you a place to draw, edit and then send a job straight to a laser cutter, no intermediate slicer required.
Building a cut from scratch
The vector tools cover the essentials — Boolean operations, node editing, offsetting — and 2.0 added an Edit Nodes toolbar that makes fine-tuning paths feel more direct. If you are starting from a sketch or a photo, the image-to-path tracing gives you a quick vectorisation route with masking and edge enhancement thrown in.
Sending the job to the machine
LightBurn talks directly to a long list of controllers, from GRBL-based boards through DSP units to Galvo heads. On a Mac with Apple Silicon it runs under Rosetta, and once connected you can drive a rotary axis or use a camera for live positioning before the beam ever fires.
Dialing in the burn
Speed, power and order all live in a layered cut panel where you assign colours to passes. The software remembers your machine profiles, so switching between a diode and a CO₂ laser means you are not re-entering parameters from scratch every session.
Where beginners trip themselves up
Most first-time mistakes in LightBurn are not software errors — they are assumption errors. The biggest one I see repeatedly is treating the workspace like a graphics program. People draw a shape, click the laser icon, and expect the machine to know what they meant. It does not. Without assigning a layer colour and giving that colour a speed and power value, LightBurn will simply refuse to send the job. The second common stumble is ignoring the origin setting. By default the machine homes to the front-left corner, but many new users position their material elsewhere and watch the laser travel off into empty space. Set your origin in the Laser window before every session, even if you think you remember where it was last time.
Another early trap is focus. LightBurn will not complain if your material sits an inch below the focal point — it will just produce a soft, ghostly burn and you will waste twenty minutes convincing yourself the tube is dying. Check the focal distance with a gauge before the first job of the day. And if you ever import an SVG and see nothing on the canvas, zoom out. The paths are probably sitting off to the side because the file contains artboard coordinates LightBurn does not recognise.
Over-scanning is a subtler issue. Beginners sometimes set an image to engrave at 1000 DPI without realising the laser is now spending an hour on a postcard-sized area, charring the material past legibility. For wood and leather, 254 DPI is a starting point; for anodised aluminium you can push higher, but the material library presets are there for a reason. Use them as a baseline while you learn what the numbers actually produce.
A sign-maker's first morning with the rotary
Consider someone running a small Etsy shop out of a garage — tumblers, glassware, the odd engraved cutting board. She has been using LightBurn for flat stock for a year, but the rotary attachment sat in its box until a wholesale order for sixty branded water bottles landed. She mounts the rotary on a Tuesday morning, plugs it into the Y-axis driver port, and opens LightBurn to find the Rotary Setup button in the Laser Tools toolbar. The software asks for the roller circumference and the diameter of the bottle, then adjusts the motor pulses so the curved surface reads as a flat plane to the controller. Within forty minutes she has a test pass on a scratched bottle from the reject pile, and by lunch the first dozen are cooling on the rack. The rotary setup wizard inside LightBurn removed the guesswork that usually comes with swapping axis configurations, and the job stayed on schedule.
Build your machine profile before the first burn
Installation is a drag-and-drop DMG, so the app lands in your Applications folder in seconds. The real setup happens after launch. Start by building a device profile for your exact machine — choose the controller type from the list, set the bed dimensions, and run the homing test once to confirm the laser moves in the right directions. Do not skip the homing test. A reversed axis can send the gantry into the frame hard enough to stall a stepper.
Next, create a small test grid on scrap material. Draw a series of 10 mm squares in LightBurn, assign each one a slightly different speed or power, and engrave them all in one pass. Label the squares afterward with a pencil. This gives you a quick visual map of what your machine does at, say, 200 mm/s at 15% power versus 200 mm/s at 20%. Tape that scrap piece to the wall near the laser — you will reference it constantly in the early weeks.
If you plan to use the camera for positioning, calibrate it on day one using the calibration target LightBurn generates. The overlay works best when the camera is rigidly mounted and the lens is focused on the bed surface, not on the machine frame. A blurry camera feed will misalign every job by a millimetre or more.
Settings that change how the software feels
Out of the box, LightBurn defaults to a light interface, but version 2.0 brought a proper dark mode. Switch it on in the Display settings — it reduces glare in a workshop where the only light comes from the laser enclosure and a single fluorescent tube. While you are there, enable Show grid and set the grid spacing to match the most common material size you use. A 10 mm grid with subdivisions at 2 mm makes it easy to eyeball placement without opening the alignment tools every time.
In the File Settings, increase the number of recent files to twenty or more. LightBurn keeps its own file format with layer data intact, and you will want quick access to projects you touched three weeks ago. Also disable Auto-home on startup unless your machine is permanently stationed and squared. If the laser head is resting on a jig or leaned against a rotary, an unwanted homing cycle can damage something.
Under Device Settings, turn on Fire — the test-fire button in the Move window becomes active, and you can pulse the laser at low power to check alignment. Set the test-fire power to 2% or so. Any higher and you risk marking the honeycomb bed before you realise your finger was still on the button.
For anyone still hunting down the right build to match their hardware, it is not unusual to see searches like LightBurn torrent download or LightBurn Mac torrent floating around in workshop forums. The same goes for LightBurn Mac crack queries — people often want to bench-test a piece of software against their specific controller before committing to a full install. A LightBurn Mac full setup that includes the rotary module and camera support tends to be what small-batch makers look for when they are weighing their options. The version sitting on the download page now is 2.0.05, built for Intel Macs on macOS 10.13 or later, and it runs under Rosetta on Apple Silicon without extra configuration beyond what the DMG already handles.
Version 2.0.05 resolves a crash when importing SVG files containing ungrouped DEF shapes, corrects rotary jogging direction in CCW mode, and fixes window title bar placement when stored offsets are off.
- macOS 10.13 or later
- Intel 64-bit processor
- Rosetta required on Apple Silicon Macs