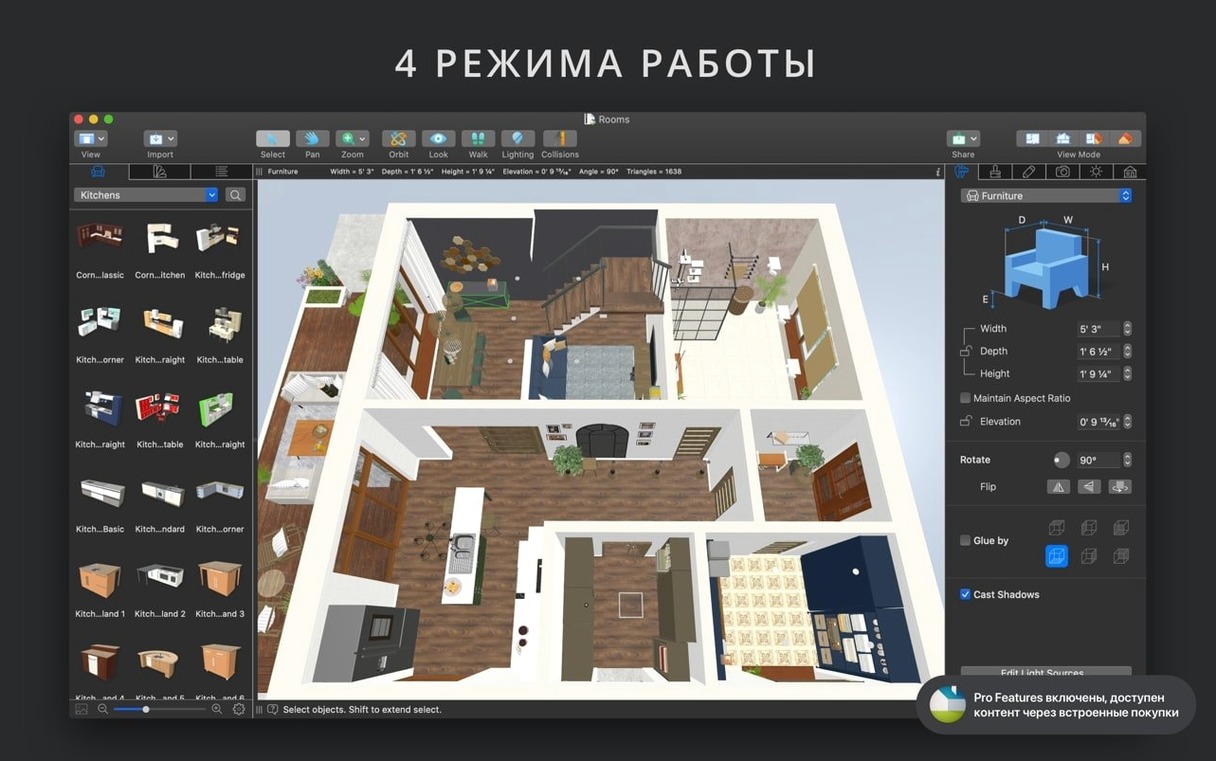
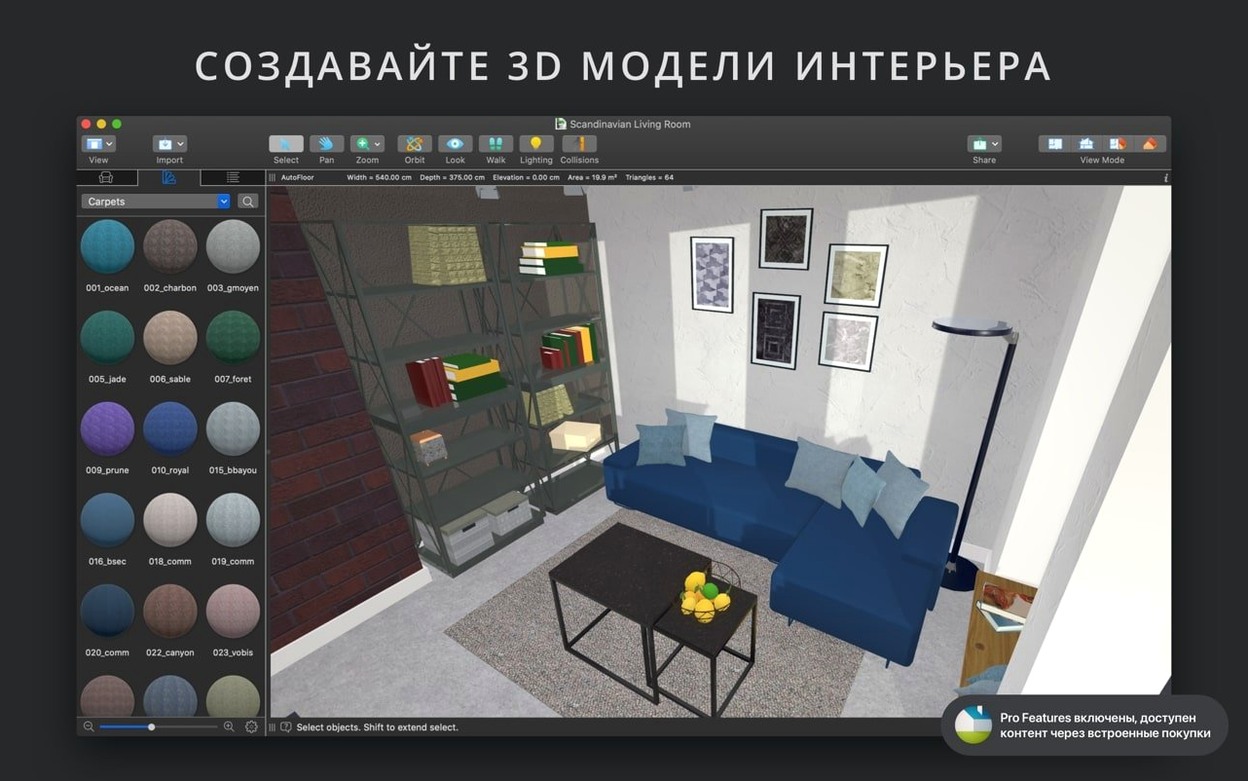
If you have spent any time with Apple's RoomPlan API, you already know the quiet satisfaction of tracing a space into existence. Live Home 3D Pro extends that instinct beyond a single room to entire houses and the land they sit on. Where RoomPlan captures what is, this app imagines what could be — and it does so natively on the Mac, with a toolset that rewards precision without demanding an architecture degree.
The workflow falls into a natural rhythm:
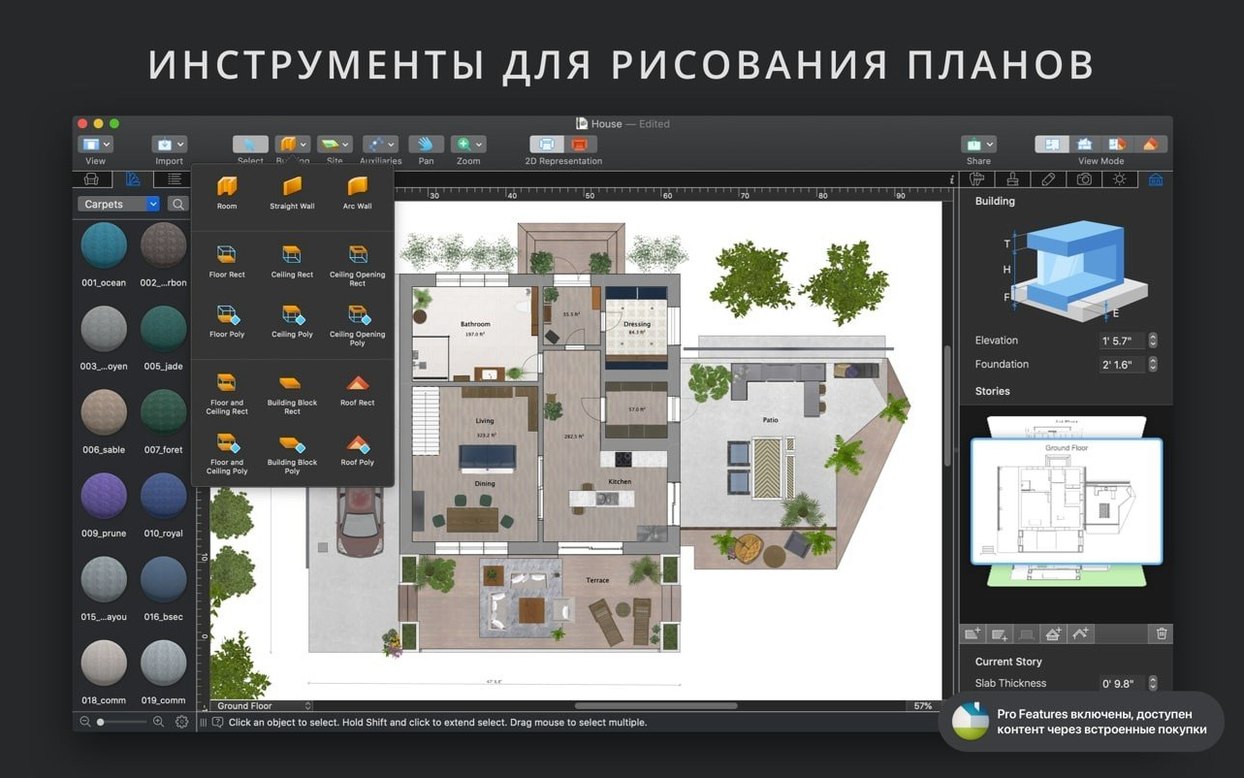
- Draw the bones. Detail rooms with exact dimensions, switch between imperial and metric units as the project demands, and place corner windows or complex openings that ordinary floor planners flatten into compromise.
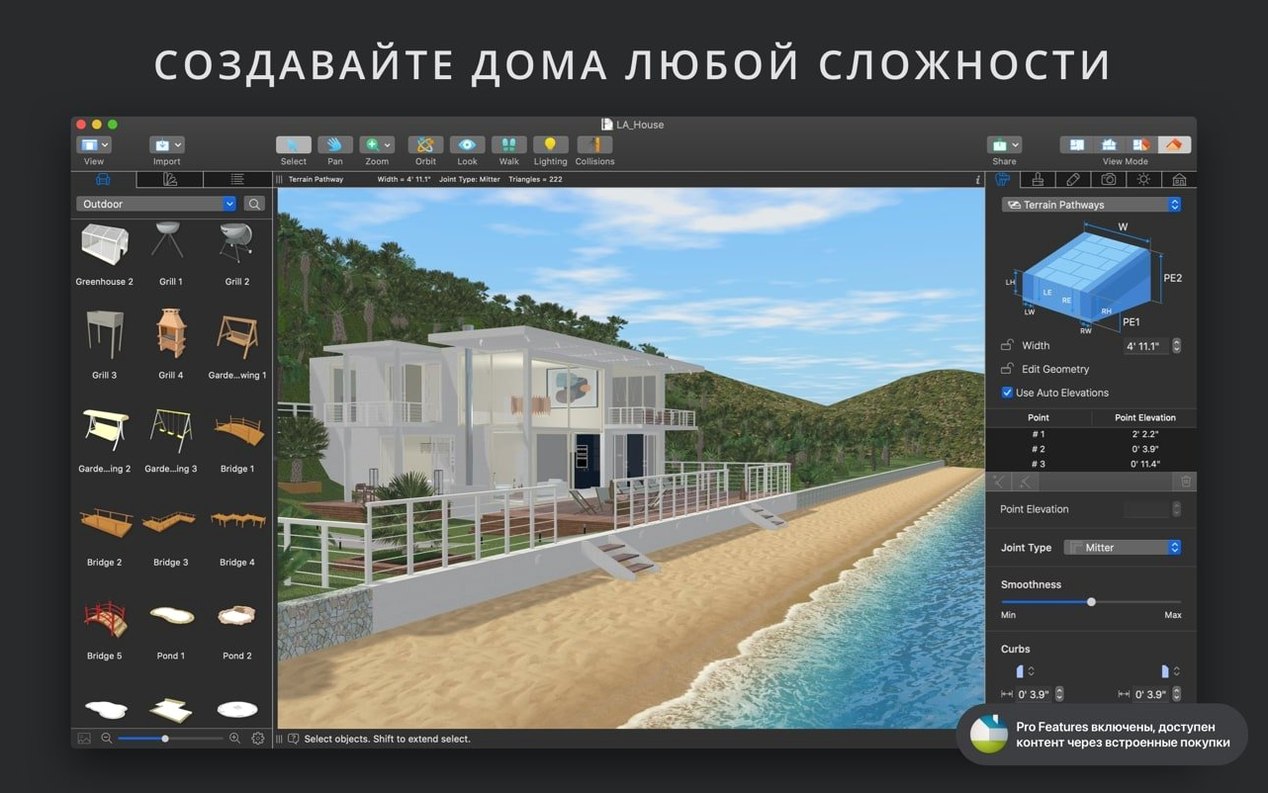
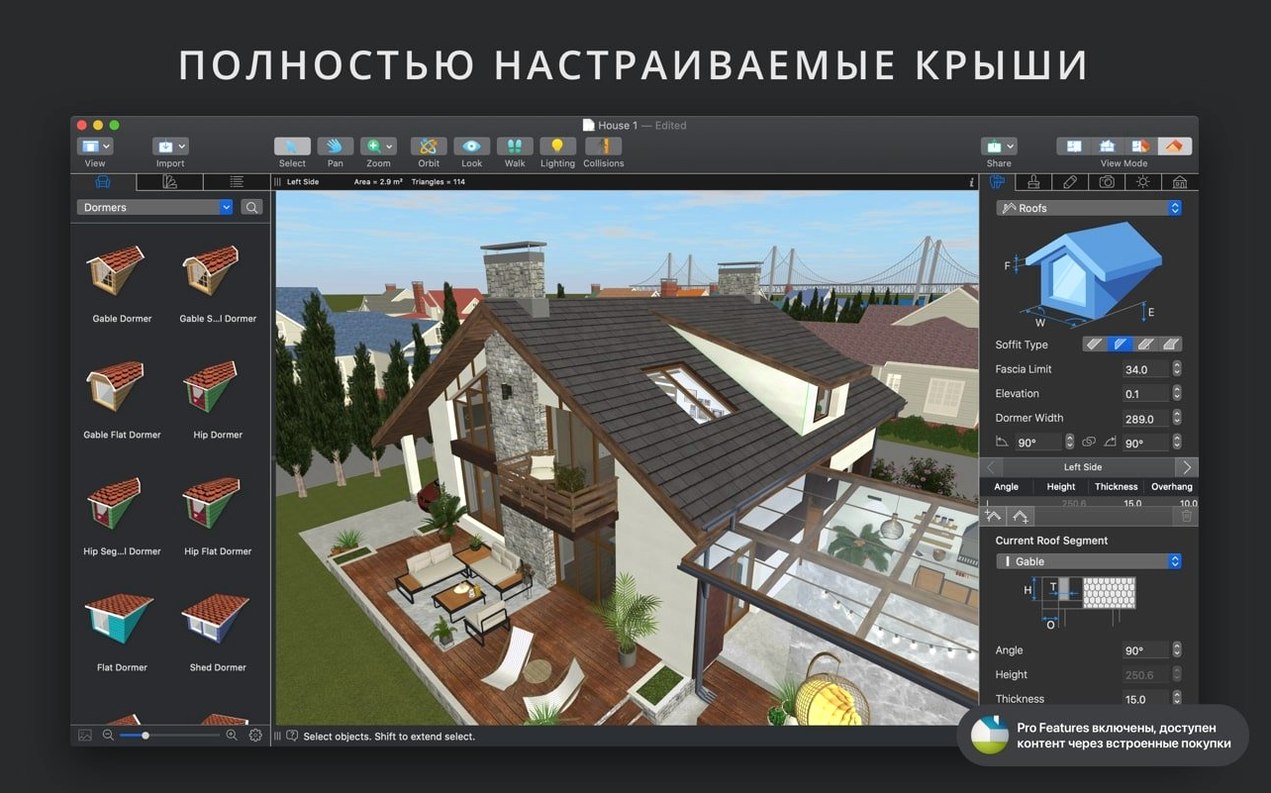
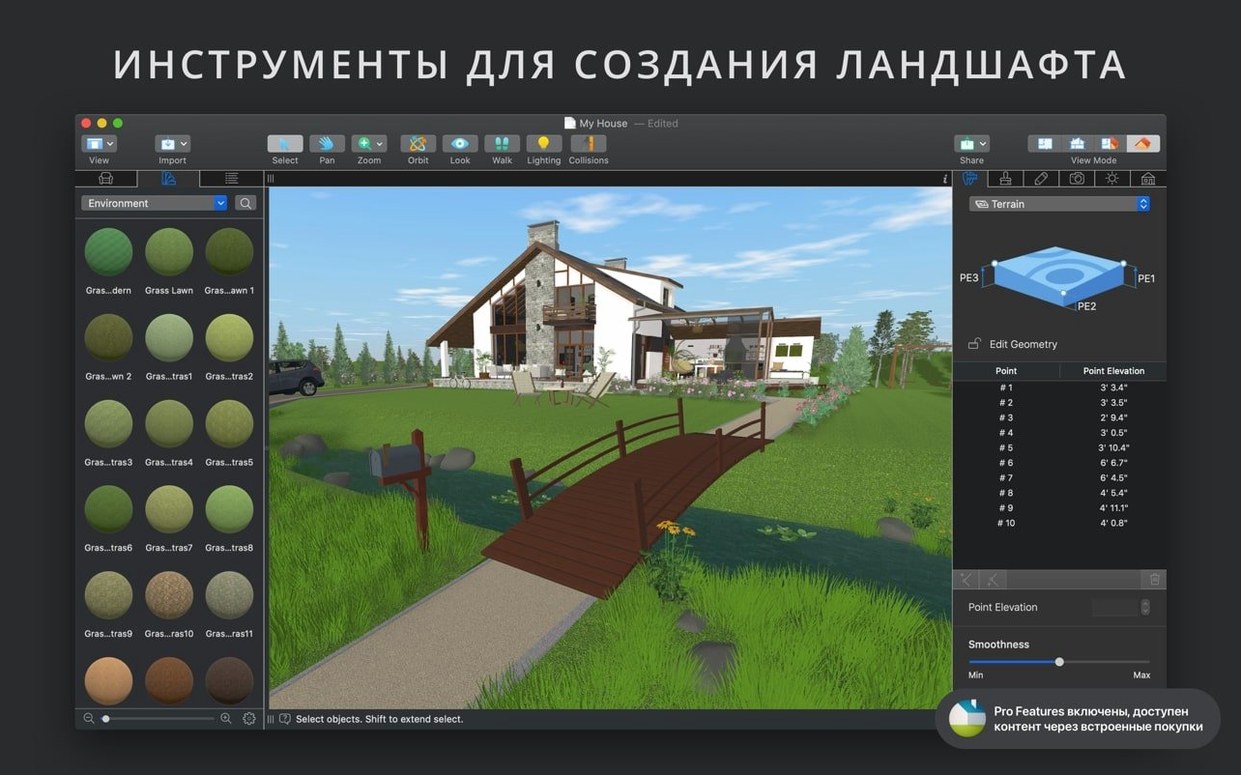
- Shape the roof and terrain. The roof creation assistant offers twelve customizable templates, so a gambrel or a shed roof emerges from a few dragged points rather than painstaking polygon work. From there, pull the landscape around the structure.
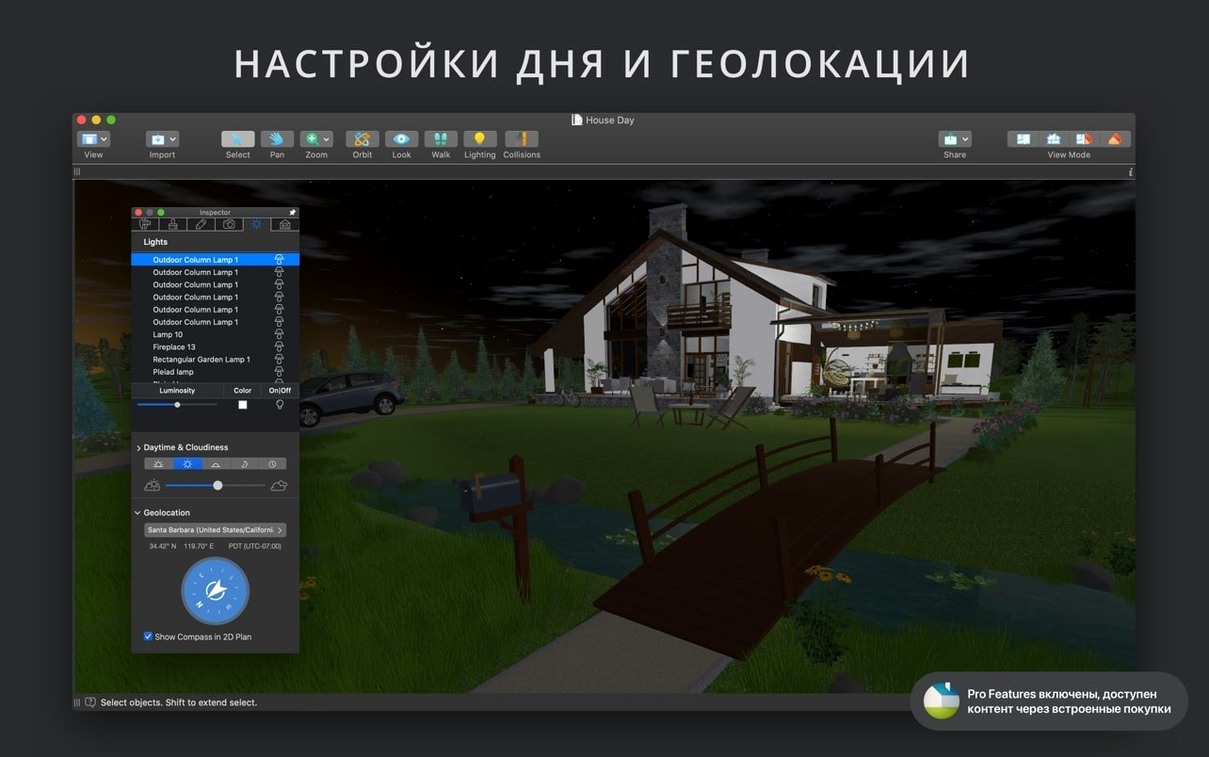
- Furnish with intent. Browse a library of more than 2,000 models, then assign materials, move objects, and adjust lighting — all directly in the real-time 3D view. The lighting changes are immediate, not a preview you wait to render.
- Share the vision. Export the model to COLLADA, SketchUp, FBX, or OBJ for further work, or generate a walkthrough video in Ultra HD. That last step turns a floor plan into something a client can feel, moving through the space before a single brick is laid.
iCloud support keeps the project moving between Mac and other devices without a manual save-and-transfer ritual. The 3D engine stays responsive even as materials and light sources multiply, so you spend more time adjusting and less time watching a progress bar.
Drafting a heritage loft mezzanine before the client arrives
Imagine a designer preparing for a client meeting in a converted heritage loft. The brief calls for a mezzanine sleeping area, a kitchen that doesn't crowd the original brickwork, and a bathroom tucked under the stairs. In Live Home 3D Pro, she blocks out the double-height volume first — straight walls for the perimeter, a curved wall tracing the existing stairwell — then drops a camera at eye level near the imagined kitchen island. With geolocation set to the building's actual latitude and an overcast February morning dialled in, the natural light falls across the rough brick texture she imported from Finder ten minutes earlier. By the time the client arrives, she can walk them through the space in real time, nudging the mezzanine railing forward by thirty centimetres while they watch the shadow shift across the floor below.
First days on your own machine
After dragging the app into Applications and launching it, resist the urge to start your real project immediately. Open one of the sample houses from the built-in gallery instead. Poke at it. Delete a wall, add a dormer, swap flooring materials on the fly — the undo stack is deep, so nothing is permanent. This is the fastest way to learn which tools live where, and you will discover that dragging a material swatch from the palette directly onto a 3D surface feels more natural than the inspector-based approach you might expect.
Spend an hour with the roof assistant early, even if your current project has a flat ceiling. The twelve templates teach you the vocabulary the app uses for eaves, gables, and pitch. When you later need a saltbox roof that merges into a shed dormer, you will already understand how the parameters interact instead of fighting them. While you explore, leave the Help assistant visible — its suggestions change based on the tool you are holding, and it often surfaces a shortcut you would not find by scanning menus.
Quiet conveniences worth knowing
Dimension lines appear automatically while you draw walls, but they vanish the moment you click away. If you want them to persist on the printed plan, select the wall and press Cmd-D — the dimension becomes a permanent annotation you can reposition. The same shortcut works for floors and ceiling edges, so a full set of measurements for a contractor takes seconds rather than a separate drafting session.
When working with imported models from Trimble 3D Warehouse or a SketchUp file a colleague sent, open the Light Source Editor before placing the object in the scene. Many downloaded fixtures arrive dark, but adding an emissive point takes three clicks: select the geometry, assign the light colour, set the intensity. Do this once for a pendant lamp and the 1+3d live preview updates before you close the editor, confirming the throw pattern against the surrounding surfaces.
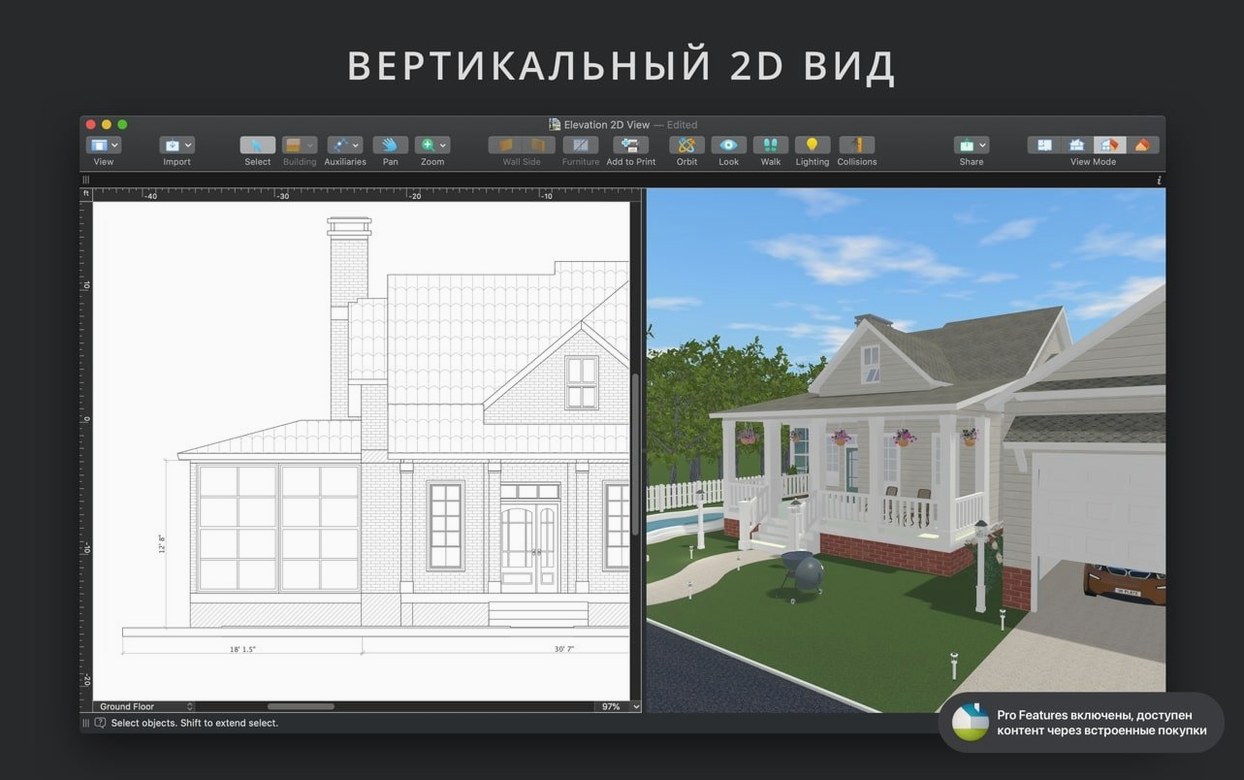
The vertical view mode — toggled from the toolbar, not buried in a menu — flattens any wall into a straight-on elevation. This is how you fine-tune tile layouts, align wainscoting with window sills, or check that a gallery wall of artwork reads well from the doorway. Switching back to the perspective camera restores your previous angle, so there is no penalty for jumping between views mid-task.
Version 5.0.4 resolves an issue that affected sharing standalone Pro app licensing.
- macOS 12 or later
- Apple Silicon or Intel Mac
Questions from the booth
Yes, Live Home 3D Pro lets you assign materials, move objects, and adjust lighting in real time within the 3D view, with changes appearing instantly.