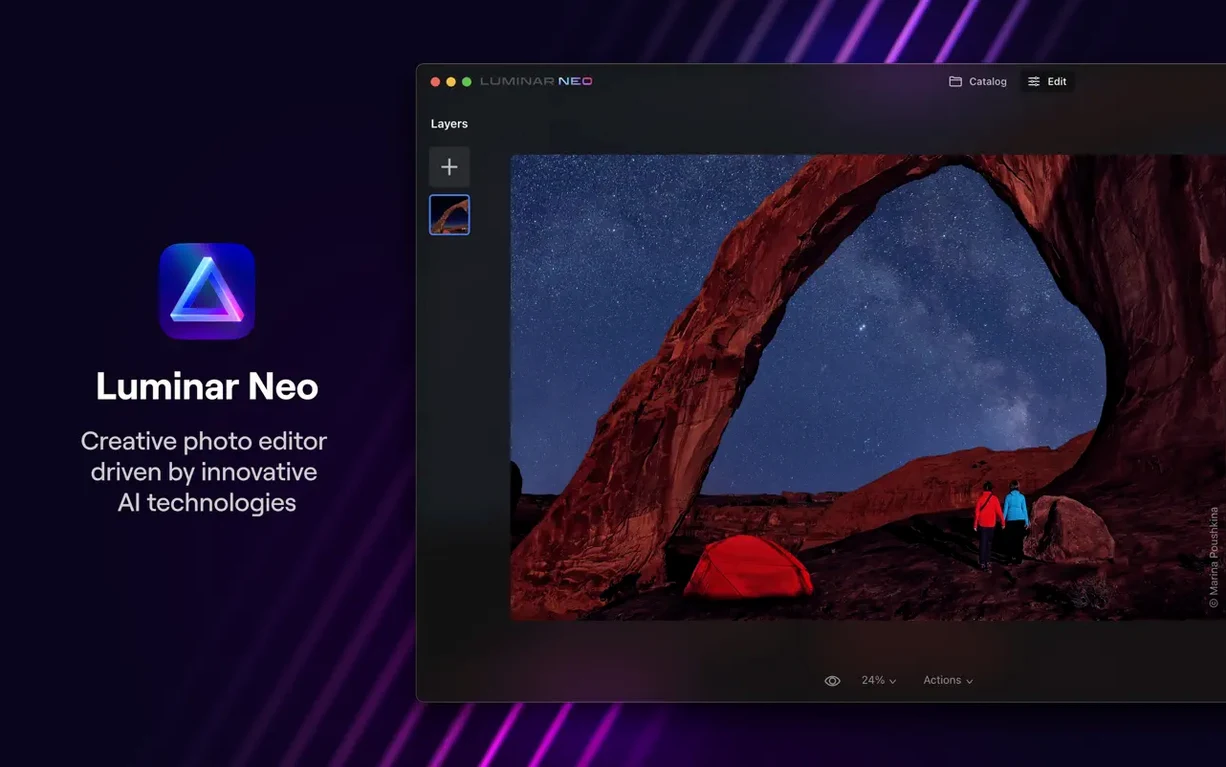
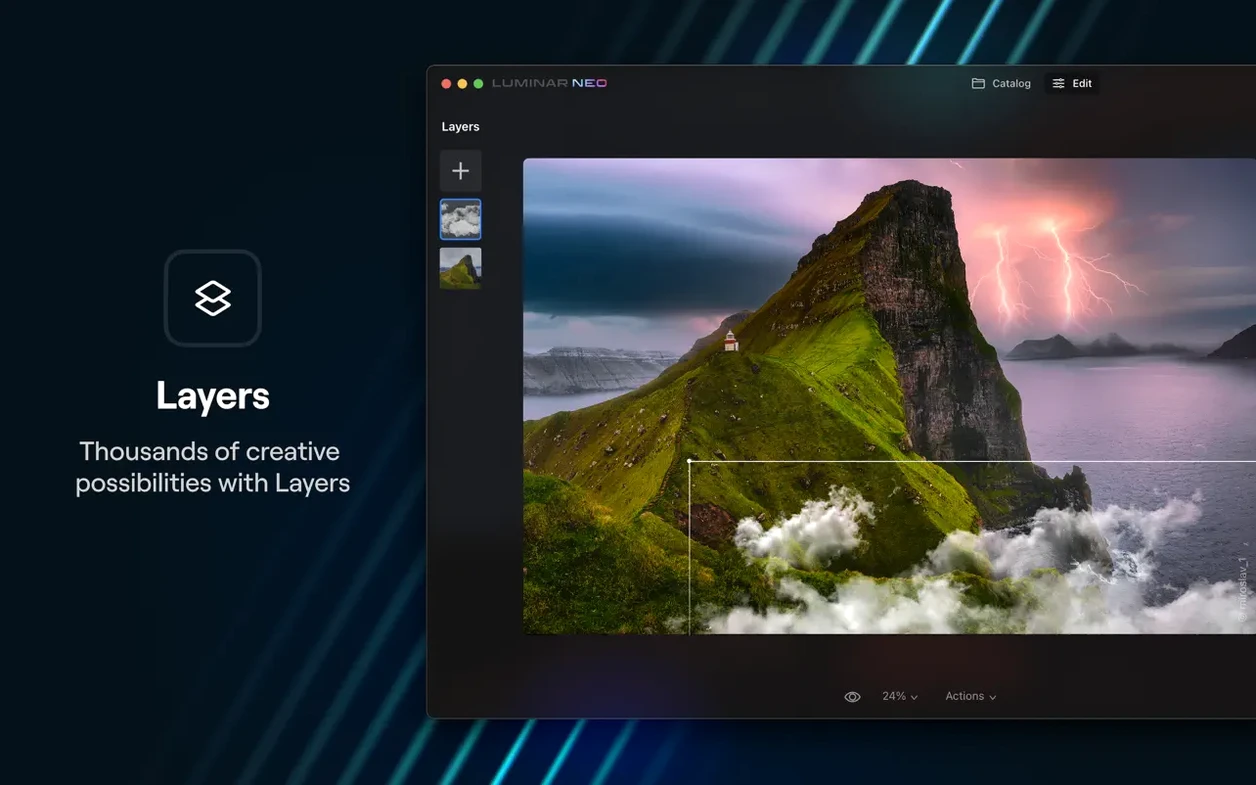
Luminar Neo draws a particular kind of user: someone who edits enough photos to have opinions about how an editor should think. Not beginners chasing one-click fixes, but working photographers and dedicated enthusiasts who have already built a raw processing routine and want to add tools that understand the image before they start. Neo's pitch is that it reads each photo — scene depth, subject placement, where the light falls — and surfaces adjustments that make sense for that specific frame, not a generic preset.
Edits that begin with the photograph, not the slider
The layer-based architecture is where Neo separates itself from the earlier LuminarAI. Rather than stacking filters in a fixed order, you build edits as independent layers with their own masking and opacity, which means relighting a portrait doesn't have to affect the background. The relighting tools map the existing light in a scene and let you reposition it — warming a sidelit face or pulling a highlight across a landscape — without painting masks by hand. Dust removal works on the same principle: it identifies spots against the surrounding texture rather than applying a uniform threshold, so it handles skies and skin with the same pass. These aren't effects laid on top; they're adjustments that respond to what the image already contains.
The next version draws a compatibility line
Skylum has signalled that the release after 1.26.0 will drop support for macOS 12 Monterey. For anyone running a studio Mac that hasn't moved to Ventura or later, this version marks the last window where the full feature set remains available. The current 1.26.0 update also brings the AI Assistant into the Presets and Edit tabs — less as a takeover and more as a starting suggestion you can adjust, dismiss, or build on. On a machine with 16 GB of RAM, the depth analysis runs quickly; 8 GB works, but the heavier relighting calculations benefit from the headroom.
Of all the additions that arrived in the 1.26.0 update, the AI Assistant's presence inside the Presets and Edit tabs changes the rhythm of an editing session most. Earlier versions kept the assistant at arm's length — a separate panel you had to summon deliberately. Now it lives alongside the tools you are already using. Open a raw file from a late-afternoon shoot, and the assistant offers a starting interpretation before you touch a single slider: it reads the scene's depth, identifies a subject, and proposes exposure, colour and tone adjustments tailored to that particular frame. You can accept the lot, nudge individual settings, or ignore it entirely. The point is not that it edits for you; it is that it removes the blank-canvas hesitation, that moment of staring at a flat raw file wondering where to begin. For event photographers working through hundreds of frames, that alone shifts the pace of the morning-after cull.
The deeper change is in how the assistant behaves across tabs. In the Presets tab, it analyses the image and suggests a curated set of presets that actually match the content — a night-cityscape preset for a skyline, not a golden-hour portrait grade. In the Edit tab, it surfaces the specific tools that photograph needs: a relighting suggestion for a backlit subject, a dust-removal pass for a sky with sensor spots. This is the quieter evolution. The assistant no longer applies a blanket recommendation; it differentiates, and that differentiation makes it feel less like a demo feature and more like a considered part of the toolkit.
Where Luminar Neo sits in a wider workflow
Neo does not try to replace a library manager, and that shapes how it fits alongside other apps. Most photographers I know keep it as a secondary editor — the application they round-trip to from Lightroom Classic or Capture One when an image needs something those tools cannot do gracefully. You send a rendered TIFF or PSD out, layer relighting and a sky replacement in Neo, and bring the result back into the catalogue. The layer-based structure means you can keep the original background intact on a hidden layer, so the file that returns to Lightroom is not a flattened compromise; it is a working document you can revisit.
macOS integration is straightforward. Neo reads and writes to the Photos library via the system photo picker, so you can pull an image from Apple Photos, edit it, and save it back without exporting to the Finder first. It respects system colour management — the Display P3 profile on a MacBook Pro screen is recognised immediately — and supports the full range of raw formats that macOS itself can decode. For anyone who uses Sidecar, the interface behaves well on an iPad as a mirrored display; the tools are large enough to tap with a pencil, though the precision of relighting masks still favours a mouse or tablet.
The one gap worth noting is batch processing. Neo can apply presets across a selection of images, but it does not replicate the synchronisation model of Lightroom, where you can tweak a single adjustment and propagate it to a whole set while keeping other settings intact. For a handful of hero images, this is irrelevant. For a wedding photographer with six hundred frames from a reception, it means Neo stays in the hero-image role and does not try to become the sole editor.
A sky replacement, start to finish
Say you have a landscape shot from a coastal walk — decent composition, a headland cutting across the lower third, but the sky is a flat white sheet. The foreground exposure is fine; it is the sky that lets the image down. Here is a workflow that takes it from raw file to finished frame without leaving Neo.
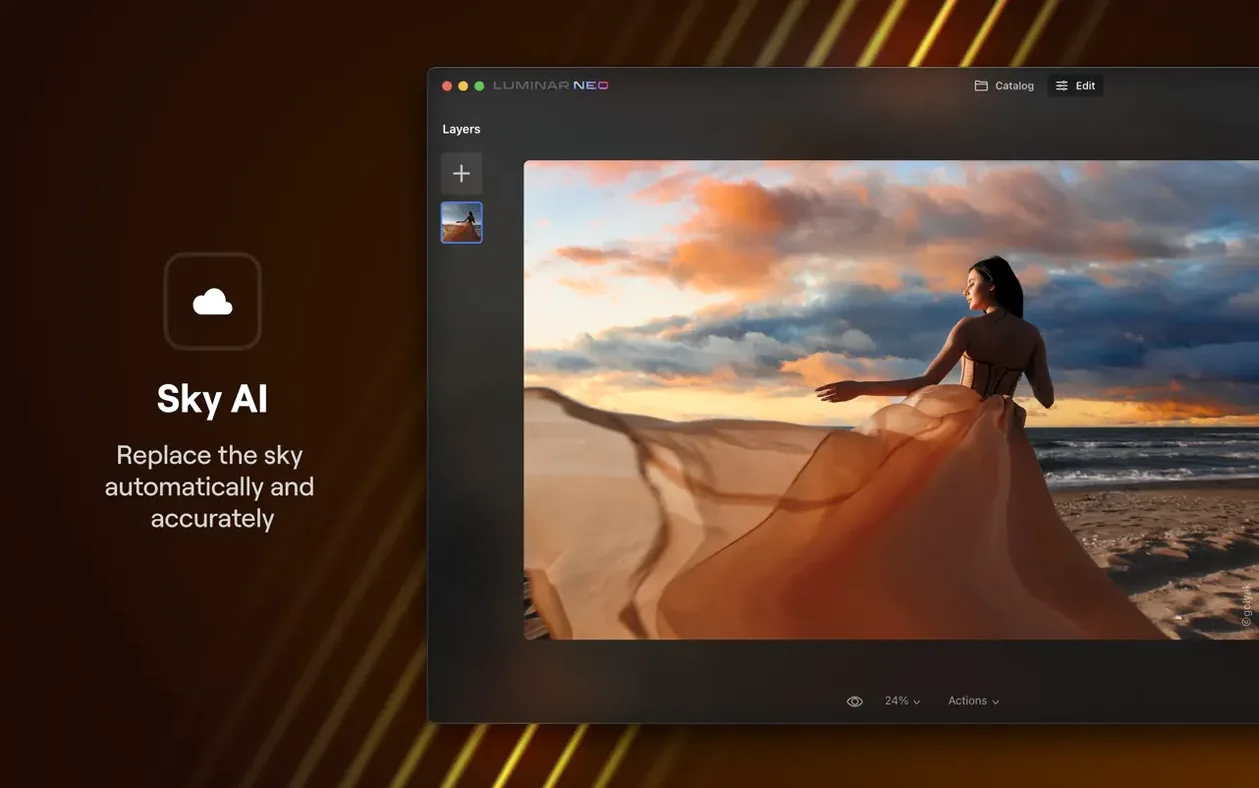
Open the raw file and let the AI Assistant propose a base edit. It usually gets the foreground exposure right and adds a modest contrast curve. Accept that as a starting layer. Next, open the SkyAI tool. Neo has already analysed the scene depth, so the mask separating sky from headland appears almost instantly — a clean edge along the ridgeline, no bleeding into the grass. Browse the built-in skies or drop in one of your own; pick a late-sunset sky with warm cloud edges that matches the light direction in the foreground. The tool re-exposes the whole image to balance the new sky against the land, and you can adjust the blend with two sliders: one for the horizon glow, one for the overall relighting strength.
Now the foreground looks correct but a little flat under the dramatic sky. Open the RelightAI panel and pull the light source toward the top right, where the sunset sky is brightest. The headland picks up a warm edge, and the shadow side deepens. Add a Curves adjustment layer above the relighting layer and lift the midtones slightly on the land only — the mask from the sky replacement is already available, so inverting it takes a click. The final touch is Dust Removal, which catches three sensor spots in the original sky area that the new sky would have hidden anyway. Save as a layered file first, then export a TIFF for the portfolio. The whole process, from open to export, runs under four minutes once the steps become familiar.
A retoucher's evening with the layer system
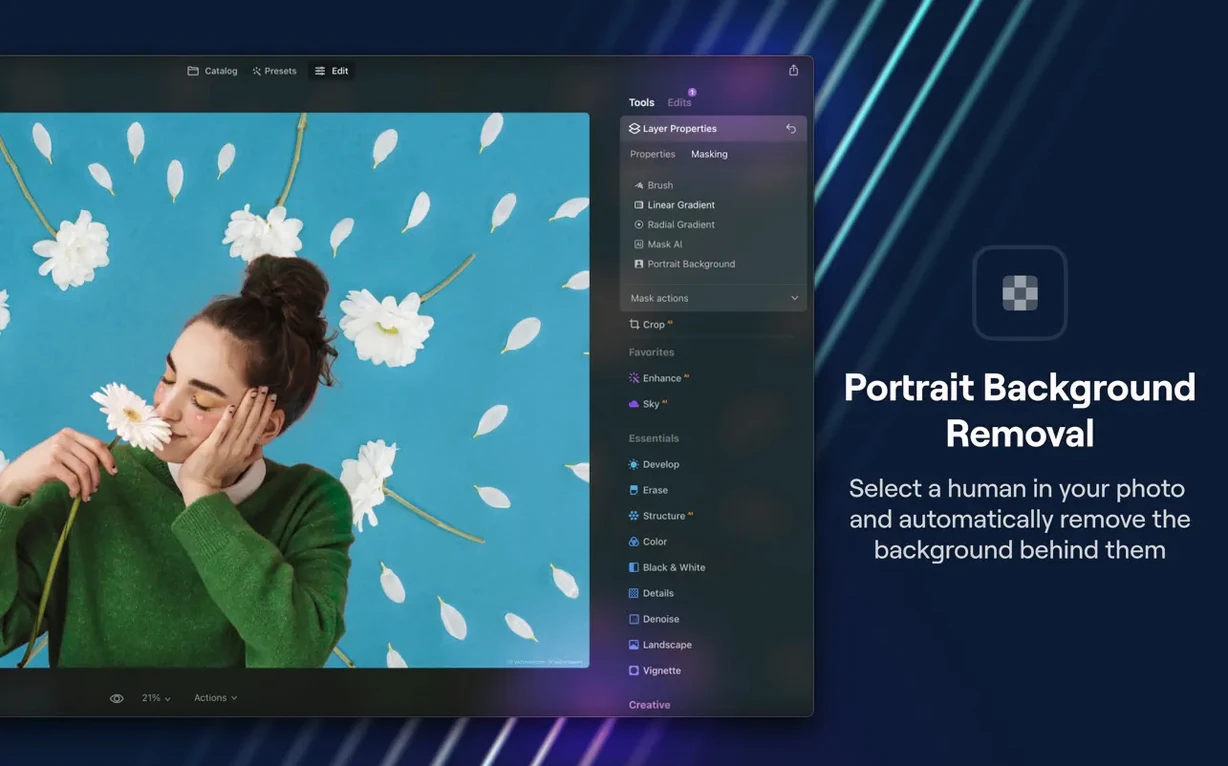
Portrait retouchers who came up through frequency separation and dodge-and-burn will find Neo's layer model familiar enough to be dangerous in the best way. A colleague I know — let us call her Lena — shoots headshots for actors in a converted East Vancouver studio with a single north-facing window. Her Lightroom catalogue handles the initial cull and basic colour, but every keeper goes through Neo for the skin work. She opens the processed TIFF, adds a new layer, and reaches for the Portrait Bokeh AI tool first. It reads the depth map and softens the background behind the subject's shoulders without touching the eyes or hair. On its own layer, the effect is opacity-adjustable; she often dials it back to eighty percent so the texture of the painted backdrop still reads.
Next layer: Skin AI. Instead of painting frequency separation manually, she lets Neo identify the skin areas and smooth them with the texture slider set conservatively — enough to take the edge off afternoon shine, not enough to erase pores. She masks out the lips and the catchlights by hand with a soft brush, which takes thirty seconds. A third layer handles relighting: the window light falls harder on the subject's left side, so she nudges a warm highlight toward the right cheekbone from the RelightAI panel. The result looks naturally lit, not processed. She exports a layered PSD back to her Lightroom catalogue and a flattened JPEG for the client gallery. The layers stay intact in the PSD in case the actor requests a revision — which, in her experience, they always do.
What catches people out and how to work around it
The most common frustration with Luminar Neo is not a bug but a mismatch of expectations. People open a raw file, apply a sky replacement, and then wonder why the foreground exposure has shifted. Neo re-exposes the whole frame to integrate the new sky, and if you are not expecting it, the result looks wrong. The fix is to treat SkyAI as a starting point, not an endpoint: after the replacement, go to the Develop panel and pull the exposure slider back to where the foreground needs to be. The sky remains balanced, and the land returns to its original tonality. You get the dramatic sky without the underexposed rocks.
Another snag: the AI Assistant occasionally overreaches on high-ISO files. In low light, it can push noise reduction too far and leave skin looking waxy. The simplest solution is to accept the assistant's edit, then immediately drop the Denoise slider in the Detail panel to a lower value. You keep the colour and contrast suggestions without the plastic-skin side effect. Some photographers turn the assistant off entirely for high-ISO work and dial in their own noise reduction first; there is no rule that says you must use it.
Performance on Apple Silicon is generally smooth, but the relighting tools in particular want RAM. On an 8 GB M1 MacBook Air, a complex relighting adjustment with multiple masks can stall for a few seconds while the engine recalculates. The workaround is to flatten adjustment layers as you go, or to work on a smaller proxy if you are only testing compositions. On a 16 GB machine — any M-series MacBook Pro or a desktop Mac — the same operation runs without a hitch. Also worth knowing: the Mac App Store page lists macOS 12.0 as the current minimum, but Skylum has already stated that the release after 1.26.0 will require Ventura. If you are holding onto a Monterey system for plugin compatibility or other reasons, this version is the one to settle on for the foreseeable future.
The installer itself is straightforward: mount the disk image, run the Gatekeeper-friendly script that opens a Terminal window, press Enter, and drag the app to the Applications folder. Once launched, Neo takes a moment on first run to build its module cache; subsequent launches are quick. And for anyone searching terms like Luminar Neo or Luminar Neo torrent to understand what the current version actually does, the short answer is that 1.26.0 brings an AI assistant that sits inside the editing tabs rather than off to the side — a small repositioning that makes a large difference to how the application feels in daily use.
The AI Assistant now appears directly in the Presets and Edit tabs, offering a scene-aware starting point you can refine rather than accept outright — a quicker way into the tools without surrendering the decisions.
- macOS 12.0 or later (support for Monterey ends with the next release)
- Intel or Apple Silicon Mac
- 8 GB RAM minimum, 16 GB recommended
Questions from the booth
Luminar Neo uses a layer-based editing architecture that gives you independent control over masks and opacity for each adjustment, whereas LuminarAI applied edits in a fixed filter sequence with less per-tool customisation.