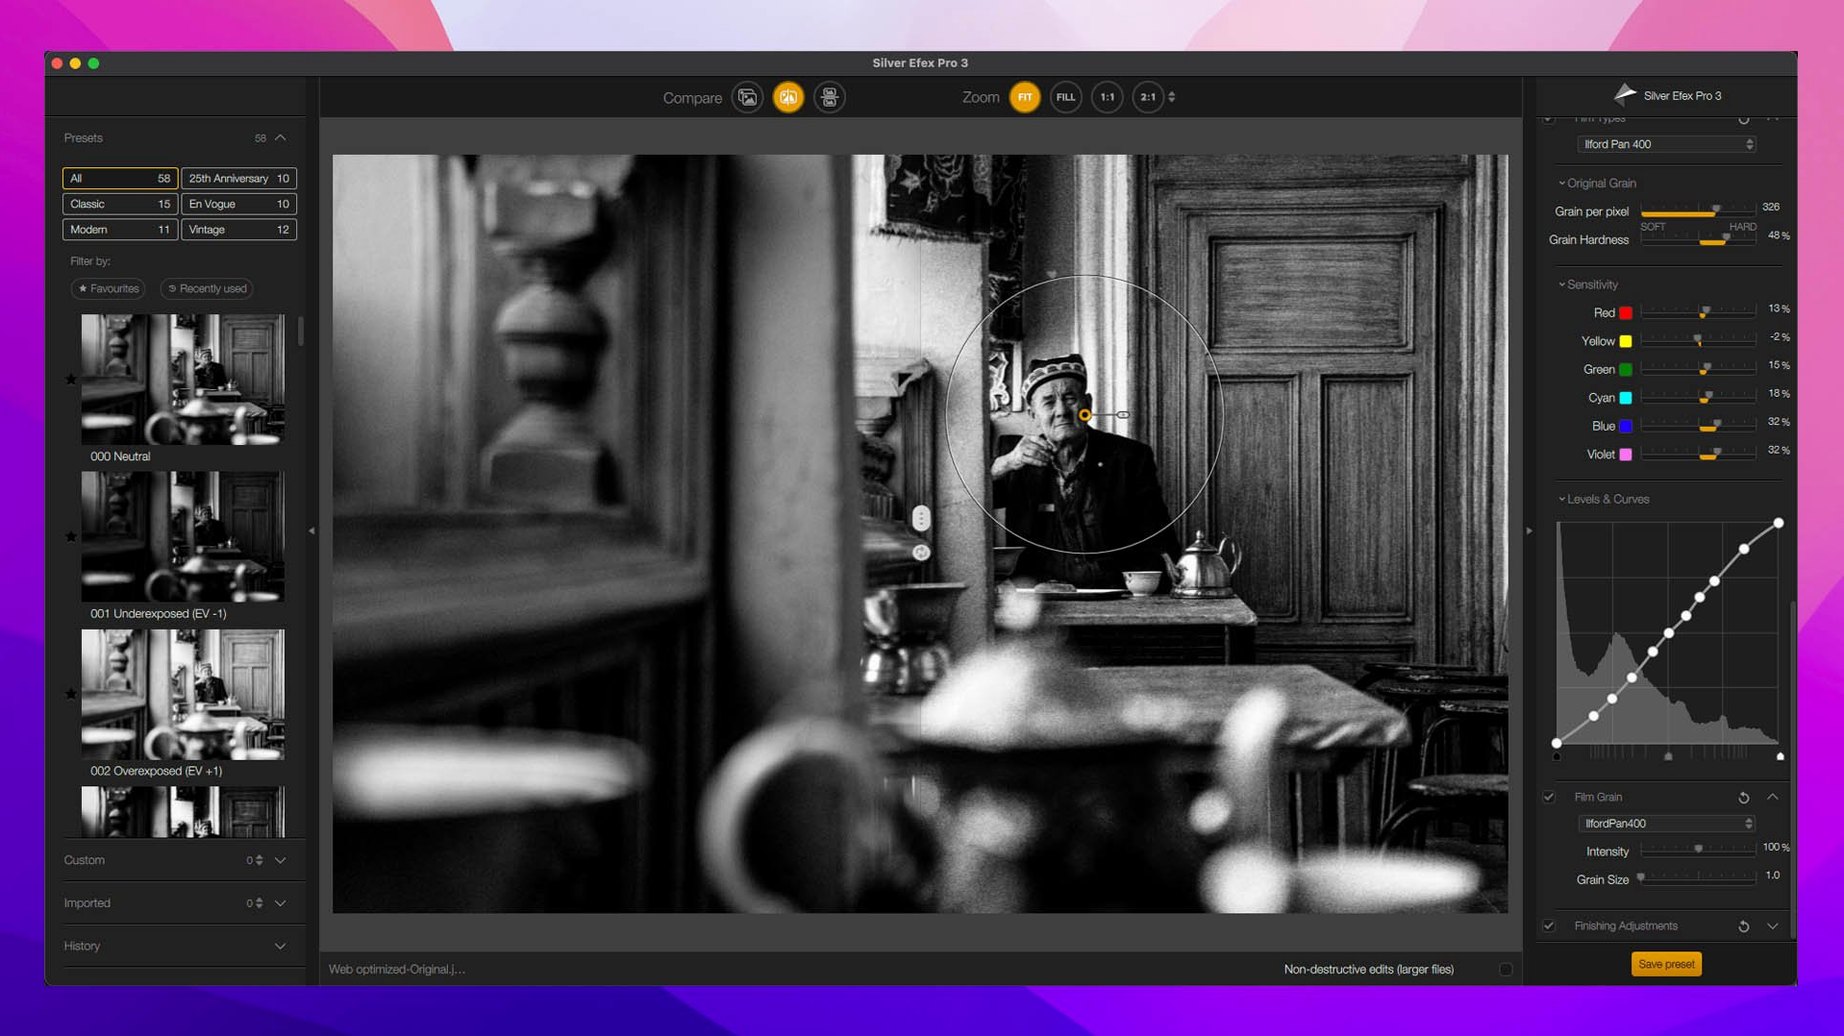
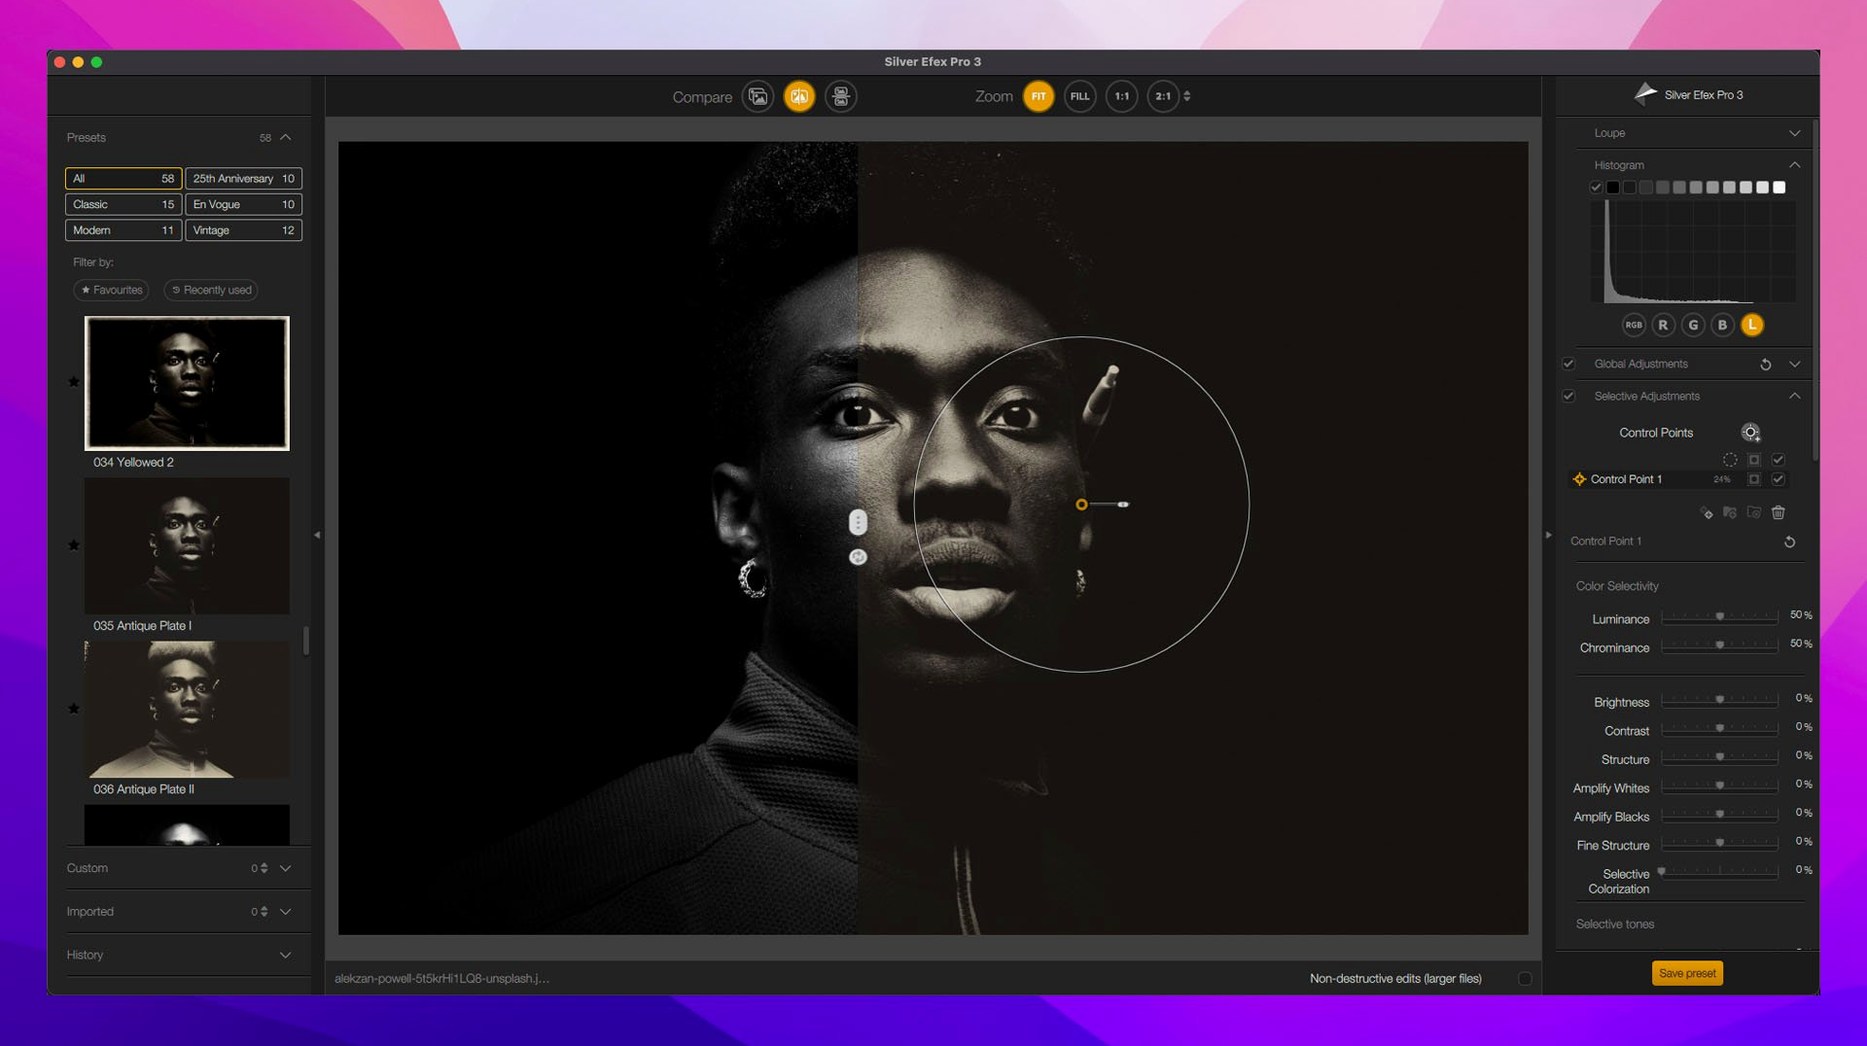
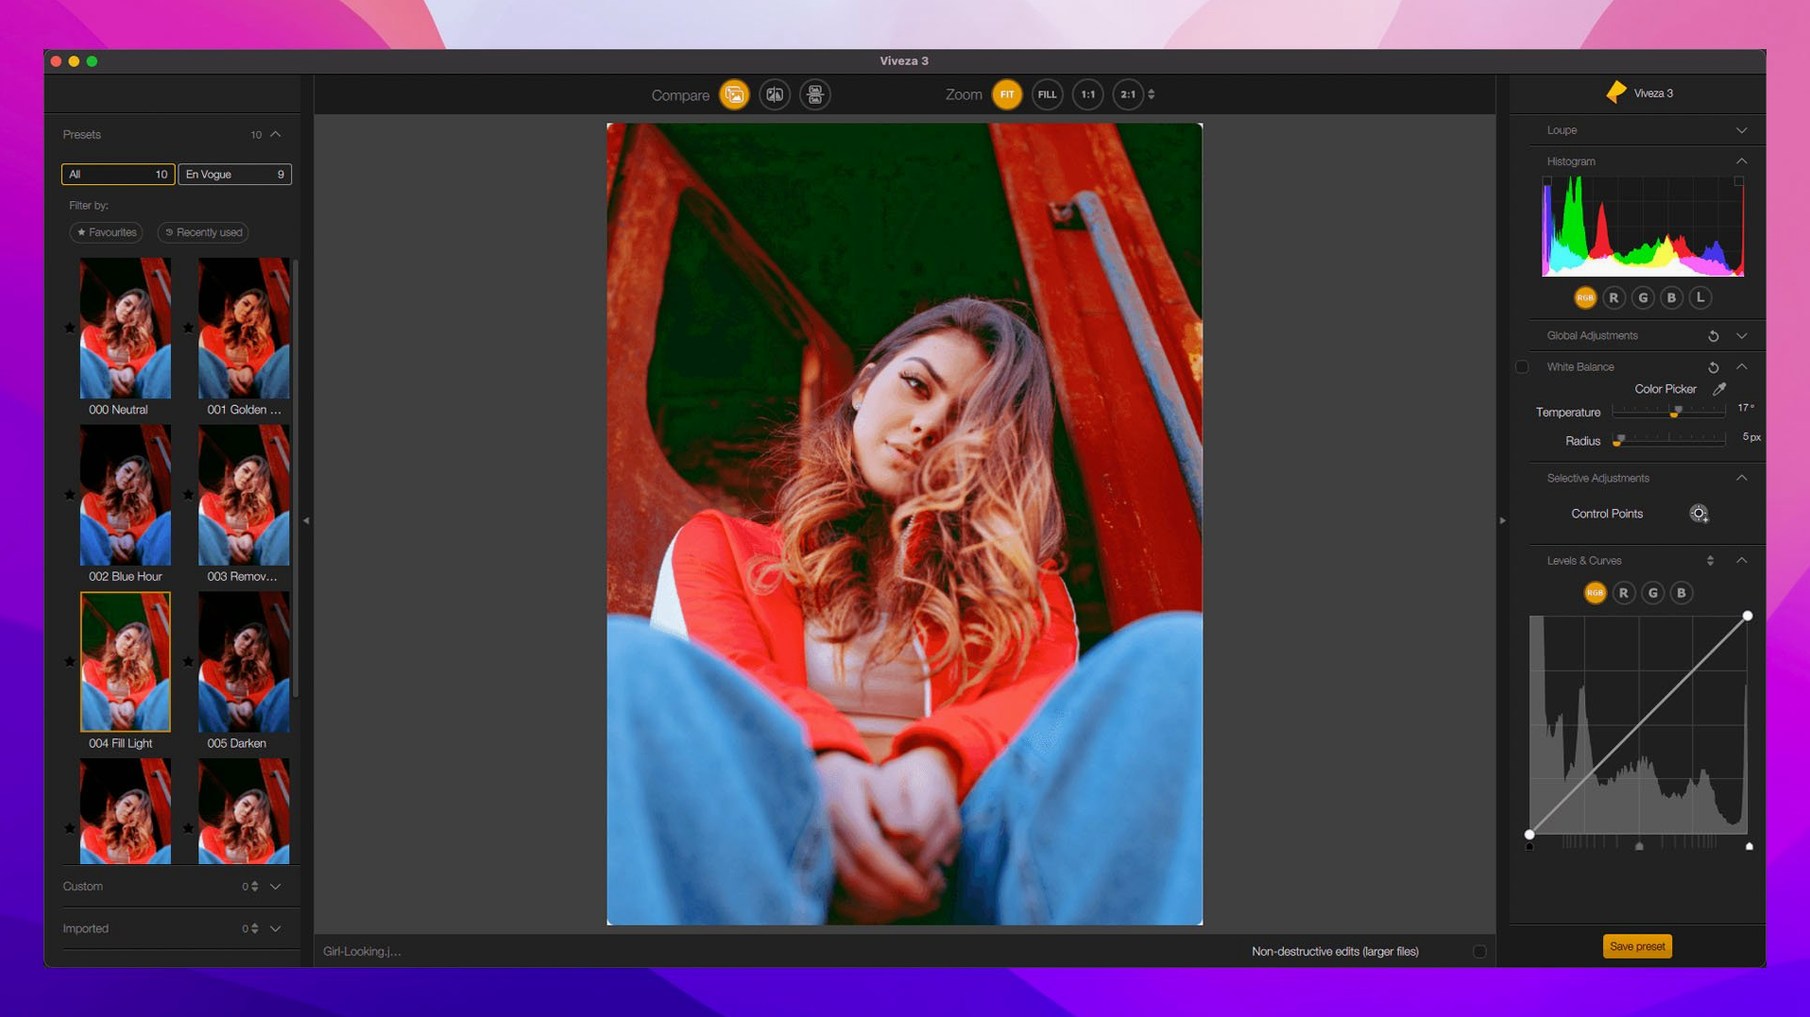
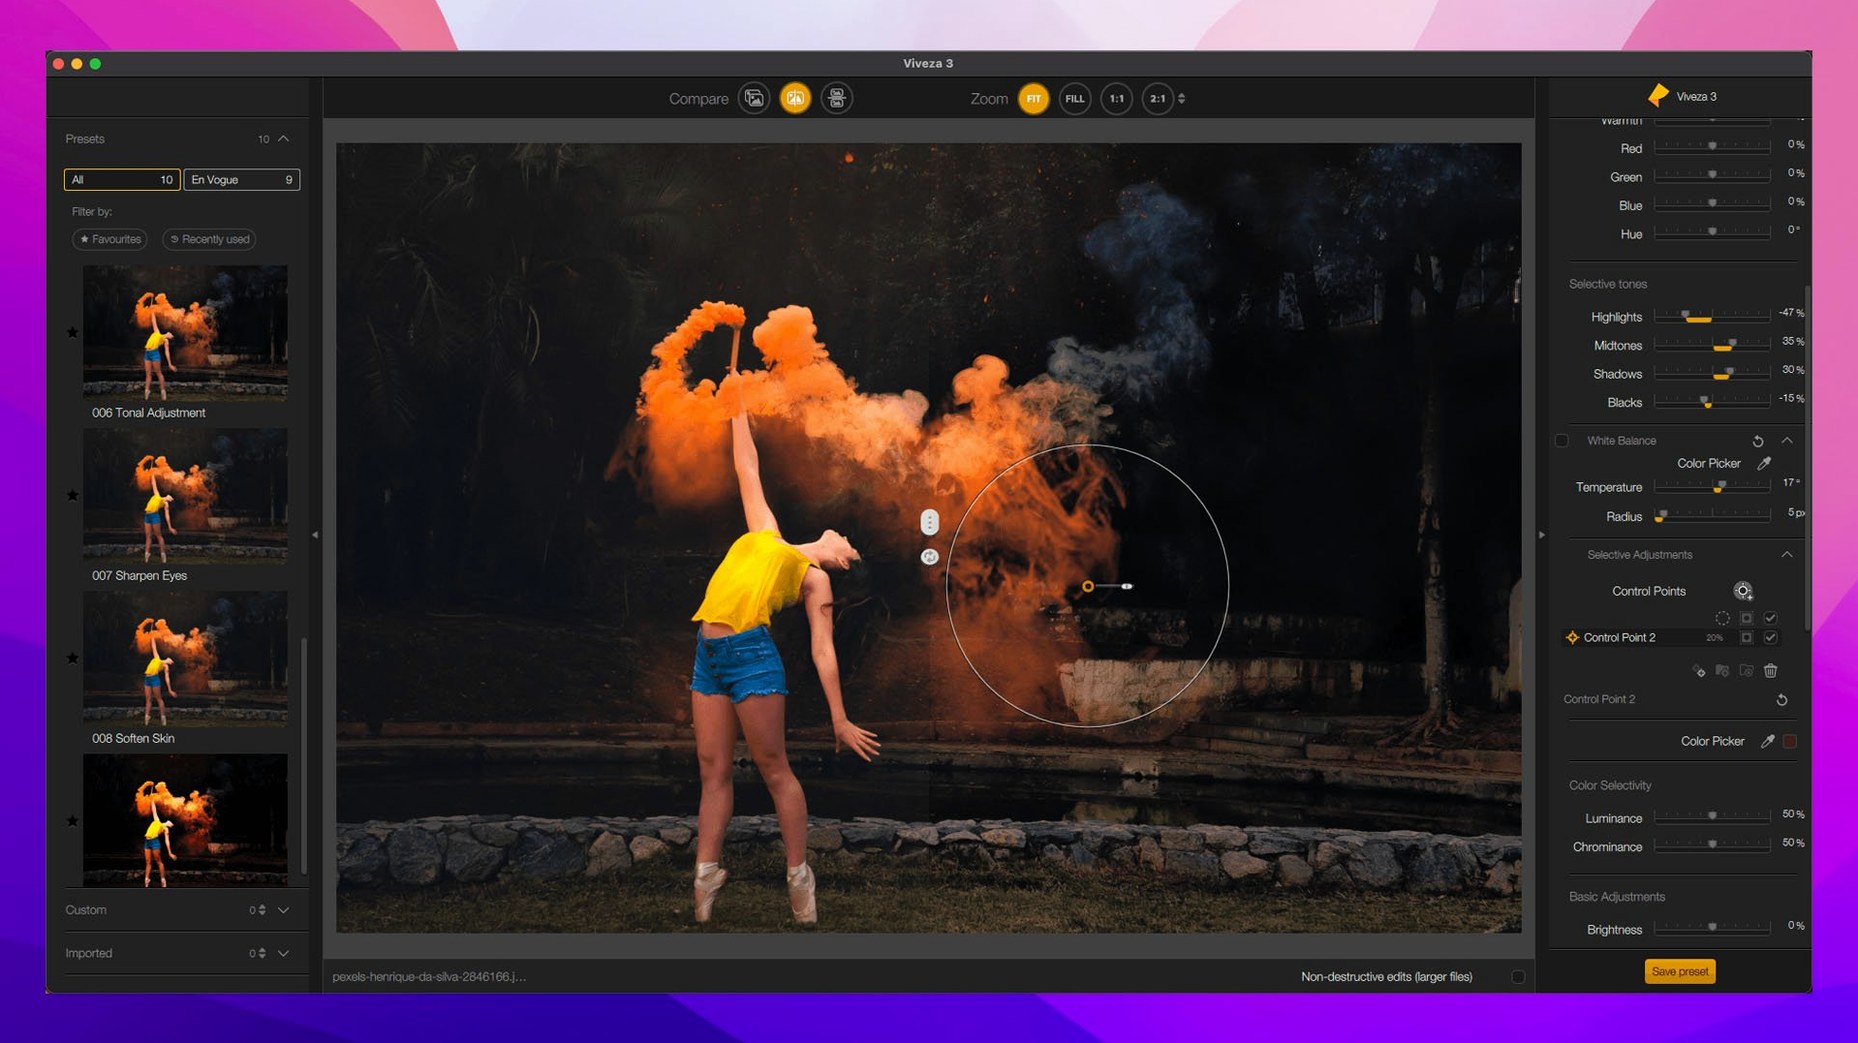
Nik Collection 9 runs on any Mac with macOS 13.3 or later, on both Intel and Apple Silicon machines. It slots into Adobe Photoshop, Lightroom, Affinity Photo and DxO PhotoLab as a plugin panel, so it shows up wherever you already do your stills work.
Where does it live in a grading session?
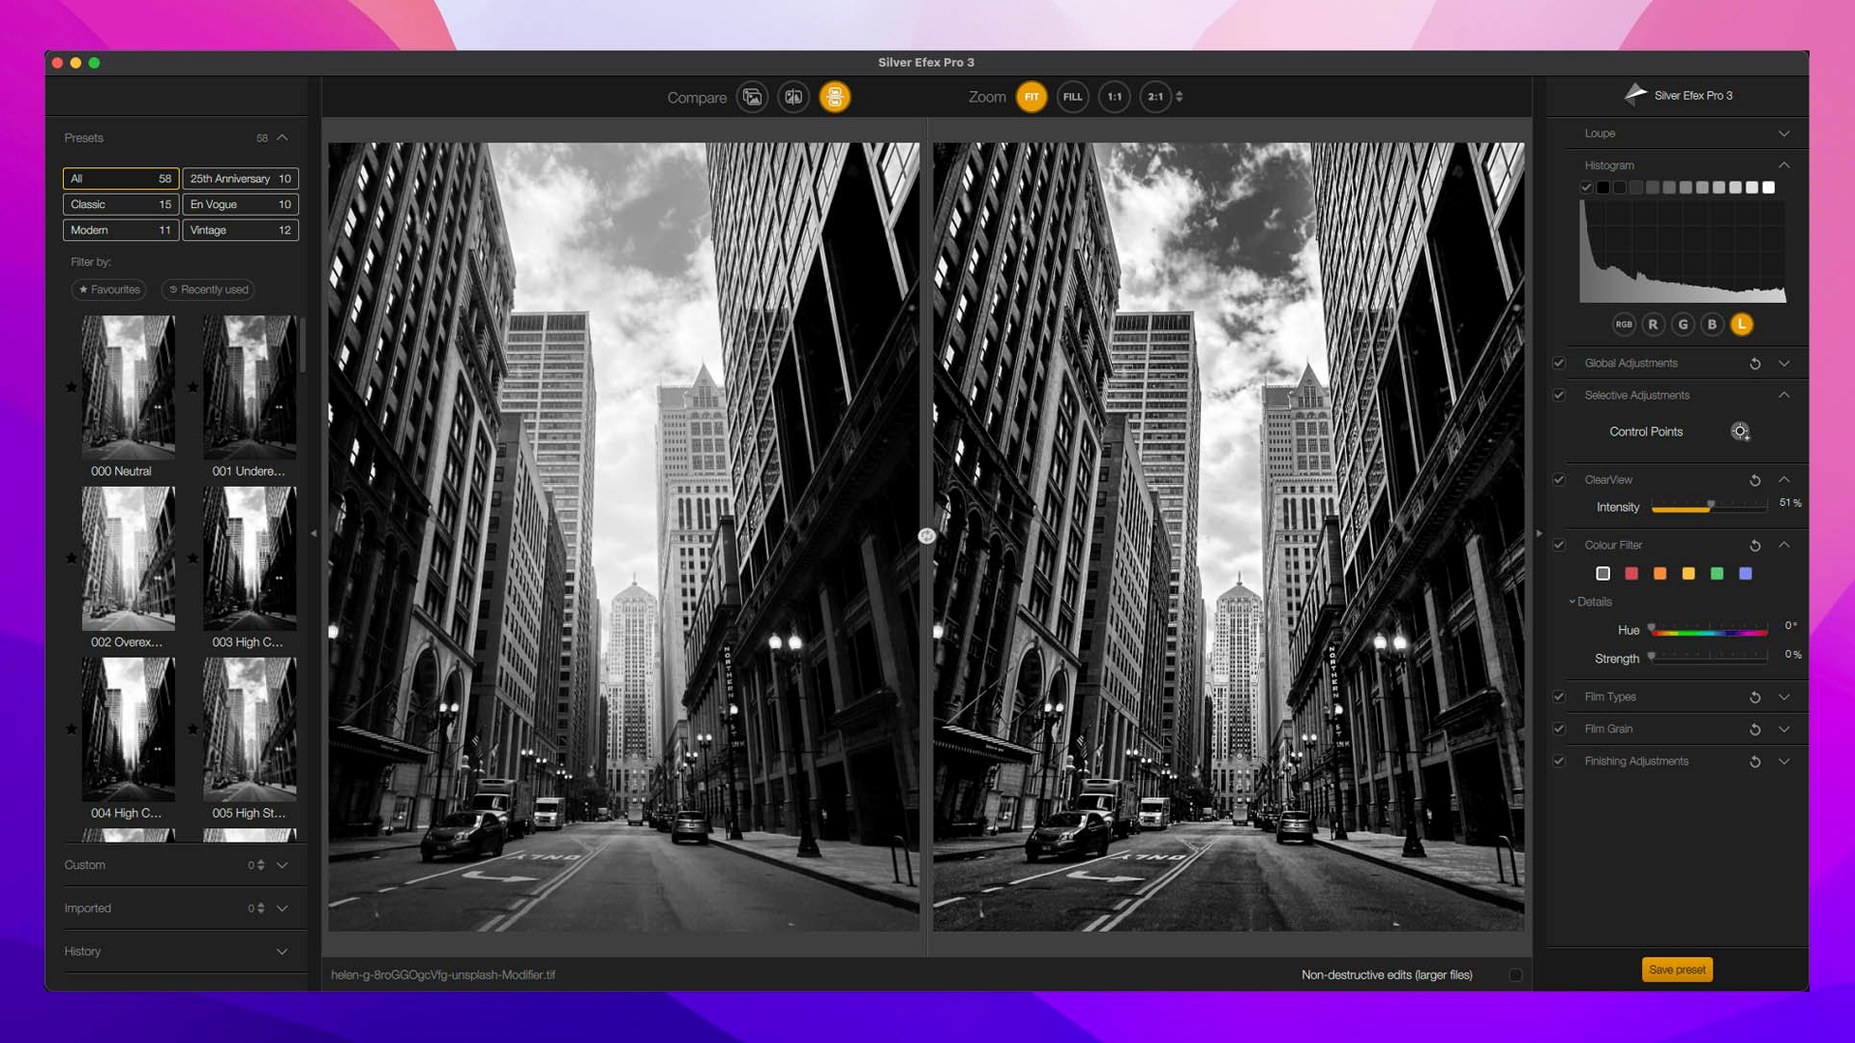
I usually open it after a rough balance pass in the host app. Silver Efex Pro gets the first look if the project calls for black and white — its split preview lets me drag a before-and-after line across the frame, which feels like checking a print under a safelight. Color Efex Pro follows for atmosphere: a touch of Pro Contrast or a selective blur through the new Depth Masks, which read the image without needing me to paint a matte.
How do local adjustments actually work?
Viveza and the U Point control points are the backbone. You drop a point on a face or a sky patch, and the plugin analyses colour, tone and texture around it to build a mask on the fly. Version 9 lets you copy those adjustments between images, so a correction you dialled in on one frame of a sequence can land on the next without rebuilding it.
What about effects that feel tactile?
Analog Efex Pro carries over eighty tools that simulate expired film stocks, wet plate collodion and light leaks. The new Chromatic Shift and Halation filters in Color Efex push that further — halation wraps a soft red glow around highlights the way old cinema stock did, which I have used on key art stills before they go into a poster layout.
Sending a raw file straight to Color Efex Pro
Installation settles the eight plugins into your host app, but the first few sessions shape how naturally they fit your hand. Open a raw file in Lightroom and send it to Color Efex Pro with the Edit a Copy with Lightroom Adjustments command — that keeps your exposure and crop decisions intact so you are not starting from zero. The new Preset Hover Preview saves real time here: wave your cursor over any of the fifty-two filter presets and the preview updates instantly, no clicking through one by one. A habit worth forming early is to save a personal preset stack after your first successful pass. The copy-and-paste local adjustments feature means you can build a library of control-point recipes across a shoot without rebuilding masks for every frame.
Dfine, the noise reduction plugin, benefits from a quiet first test. Run its automatic profile on a high-ISO frame, then switch to the manual mode and study what the noise samples actually look like at 100%. The reduction sliders for contrast and colour noise are independent of each other, and learning that separation early prevents the plastic-skin look that automatic passes sometimes leave behind. Sharpener Pro works best when you resist the urge to sharpen on a full-screen preview; pull the view to 50% and toggle the new Mask Overlays to see exactly which edges the algorithm is touching.
Copying one U Point skin correction across a full series
Photographers who work in series — weddings, editorial shoots, location portraits — get the most from version 9 because the local adjustment copying collapses repetitive work. A single U Point correction on skin tones in Viveza can propagate across a hundred frames. Landscape shooters lean hard into Color Efex Pro's new Color Grading tool, which splits toning across shadows, midtones and highlights in a single panel rather than stacking multiple filter layers. The AI Masks appeal to anyone who has ever dreaded brushing a sky mask by hand; they read a scene in seconds and let you isolate subjects or backgrounds without touching a Wacom pen.
Designers who pull stills into layout apps find Analog Efex Pro surprisingly useful. The Chromatic Shift and Glass Effect filters generate texture plates and background elements that feel organic against clean vector type — a trick I have used for festival programme covers. Black-and-white printers gravitate toward Silver Efex Pro's split preview and its paper-toning presets, which mimic warm-tone fibre papers closely enough to guide darkroom decisions before committing chemistry.
Riding on top of your raw developer for exposure and geometry
Nik Collection 9 does not replace a raw developer; it rides on top of one. The sensible flow is to handle exposure, geometry and basic colour in Lightroom or DxO PhotoLab, then pass a rendered TIFF or a smart object through the Nik plugins for the expressive layer. Perspective Efex can correct keystoning before that handoff, using the host app's lens profile or its own reference lines, which keeps the pipeline inside one family of tools without jumping to a dedicated geometry editor.
On macOS, the suite respects the system colour management path — if you have calibrated your display with a Spyder or i1 profile, the previews in Color Efex Pro and Silver Efex Pro follow it. The plugins also work as external editors in Photos when you set them up through the Edit With menu, though the round-trip is less fluid than the Lightroom-to-Photoshop path. Affinity Photo users can map the plugins to the Filters menu under Plugins, and version 9's Mask Overlays render correctly in Affinity's non-destructive layer stack, which matters if you plan to blend plugin output with pixel layers afterward. For anyone searching Nik Collection 7 full Mac or Nik Collection 8 torrent, version 9's AI-driven masking alone makes the jump worthwhile — older builds required far more manual brushwork to achieve the same isolation.
Video editors who touch stills for thumbnails or title cards will notice that Halation and Chromatic Shift behave like familiar motion-grading concepts, so the jump from Resolve's halation OFX to Color Efex Pro's implementation feels surprisingly legible. The suite does not handle video frames directly, but exporting a reference still from a timeline, grading it in Nik, and bringing the look back as a LUT reference is a lightweight way to prototype a colour decision before committing to a full grade.
Nik Collection 9 by DxO 9.1.0 brings depth-aware masking into the suite. Depth Masks and AI Masks let you isolate subjects or background layers without manual selections. A new Color Grading tool lands in Color Efex Pro, alongside Chromatic Shift, Glass Effect and Halation filters that add optical character to digital frames.
- macOS 13.3 or later
- Intel or Apple Silicon Mac
- Adobe Photoshop, Lightroom, Affinity Photo or DxO PhotoLab
Questions from the booth
No, it is a plugin suite that requires a host application such as Adobe Photoshop, Lightroom, Affinity Photo or DxO PhotoLab.
It shows a live preview of a preset effect on your image as you hover over its name, so you can audition looks without applying them one by one.