
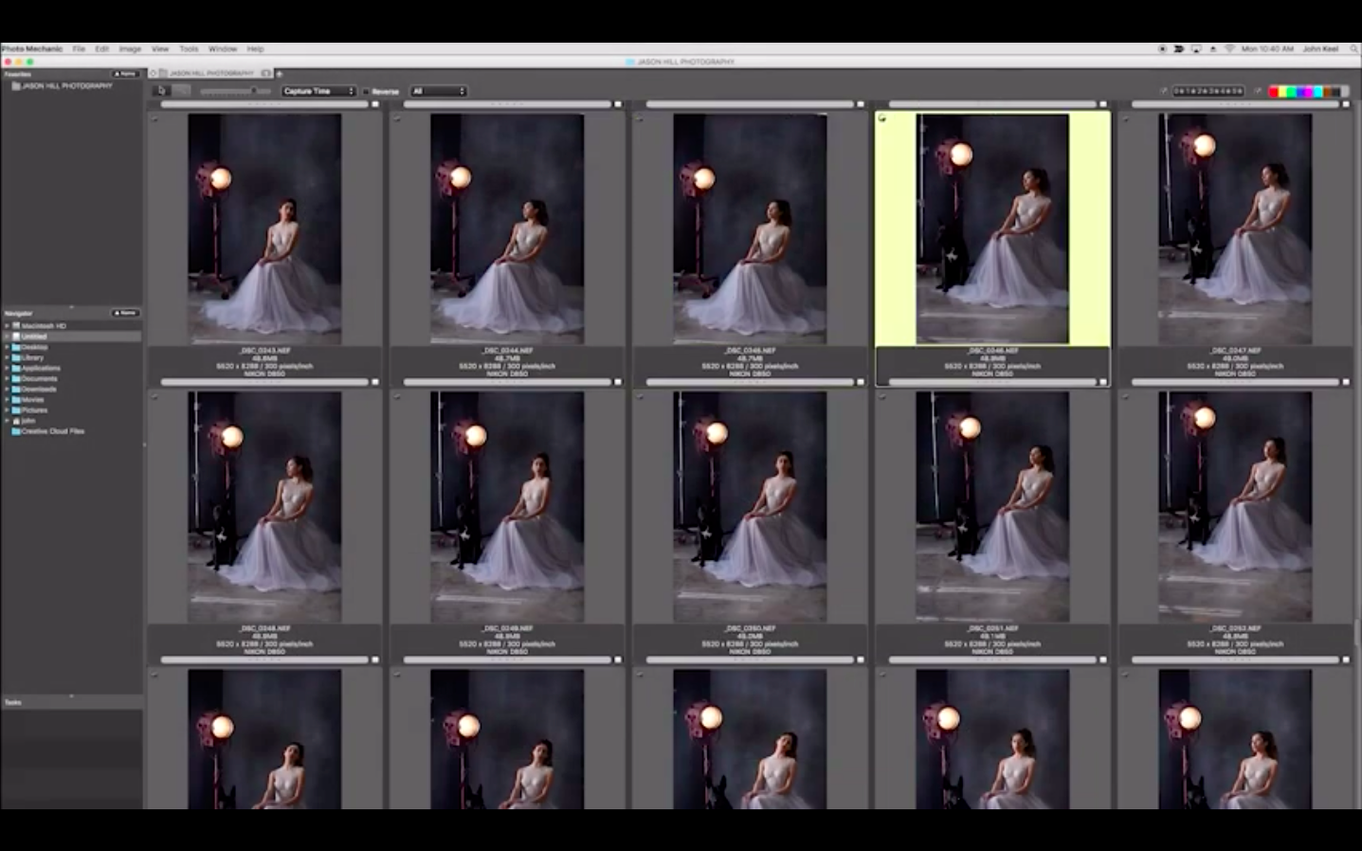
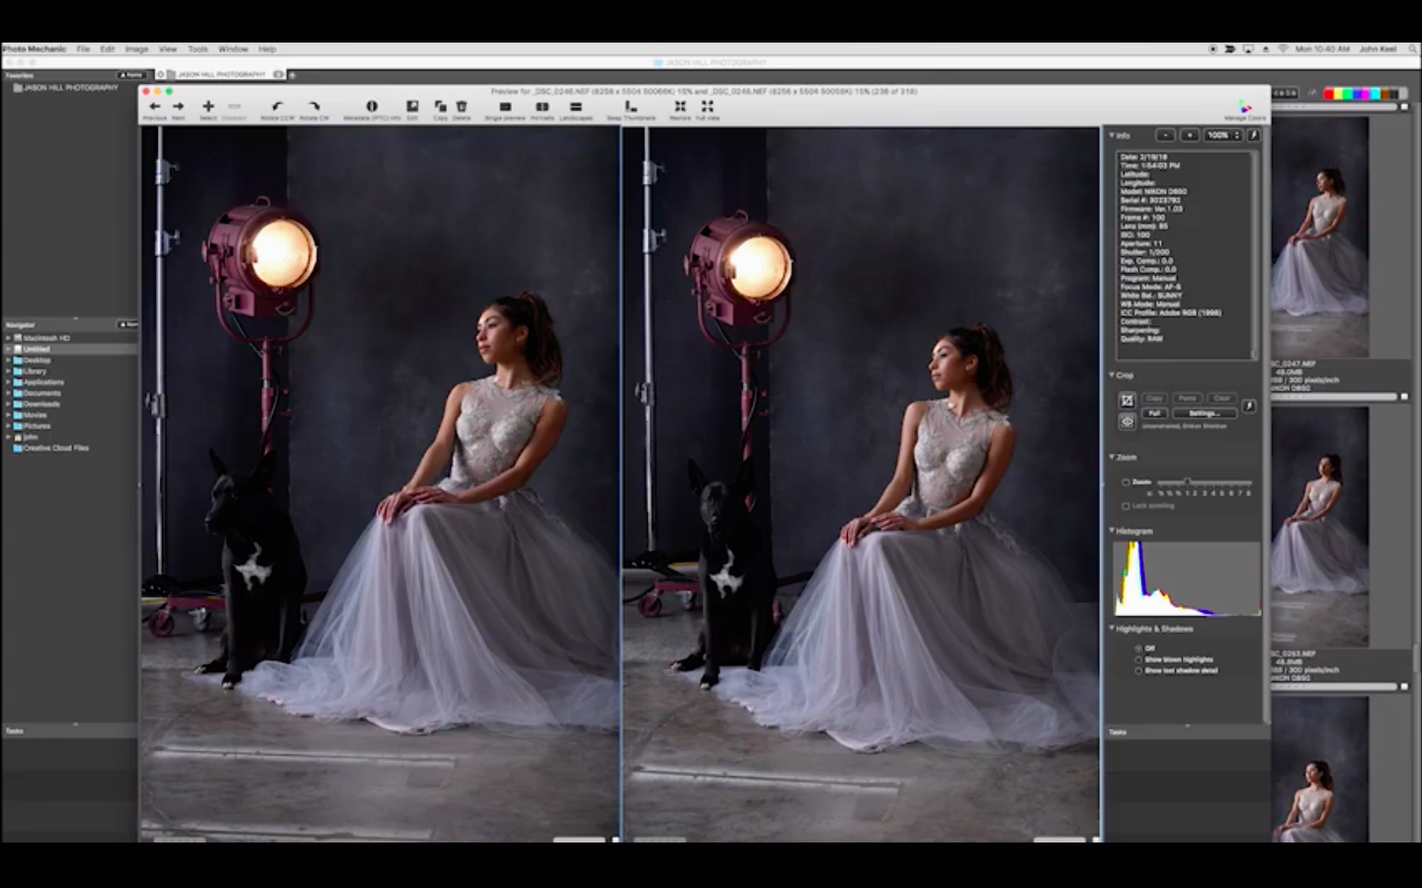
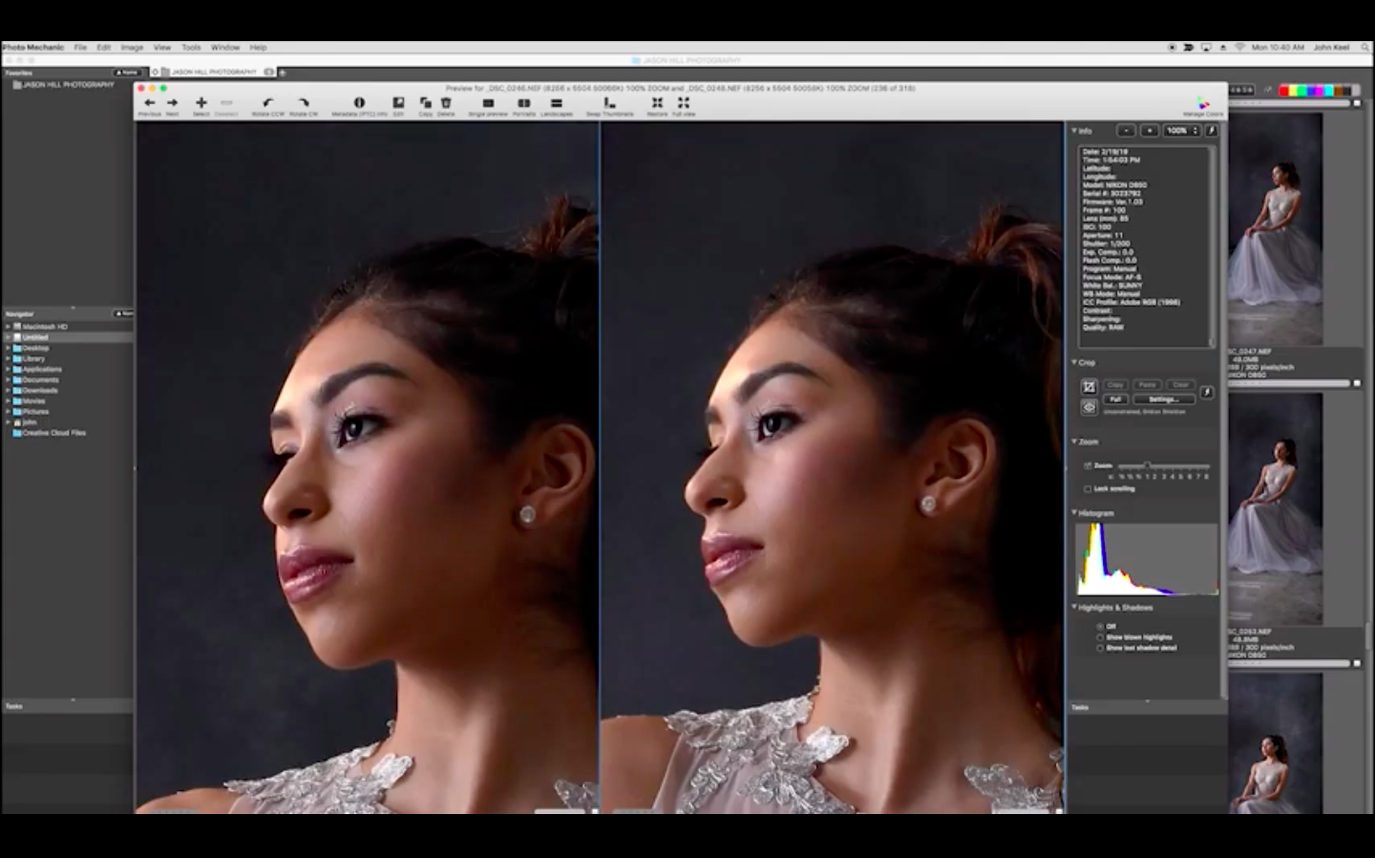
You come back from a shoot with two thousand frames on the card. Before you touch a raw editor, you need to cull, tag, rename, and stamp IPTC data across the take. That first pass — the ingest, the sort, the contact sheet decisions — is where a dedicated browser earns its place on the dock.
Requires Apple Silicon and macOS 13 or later
Photo Mechanic 2025.1.8239 requires macOS 13 or later and runs natively on Apple Silicon. There is no separate Intel build for this version; if your machine is still on Monterey or older, you would need an earlier release from Camera Bits. The application is light on system resources by design — it reads embedded JPEG previews rather than rendering raw files, so an M1 MacBook Air handles a folder of five thousand images without the fans waking up. Installation is a simple drag of the app to your Applications folder from the mounted disk image, then launch and point it at a directory.
A speed-first browser for sorting, rating, and metadata tagging
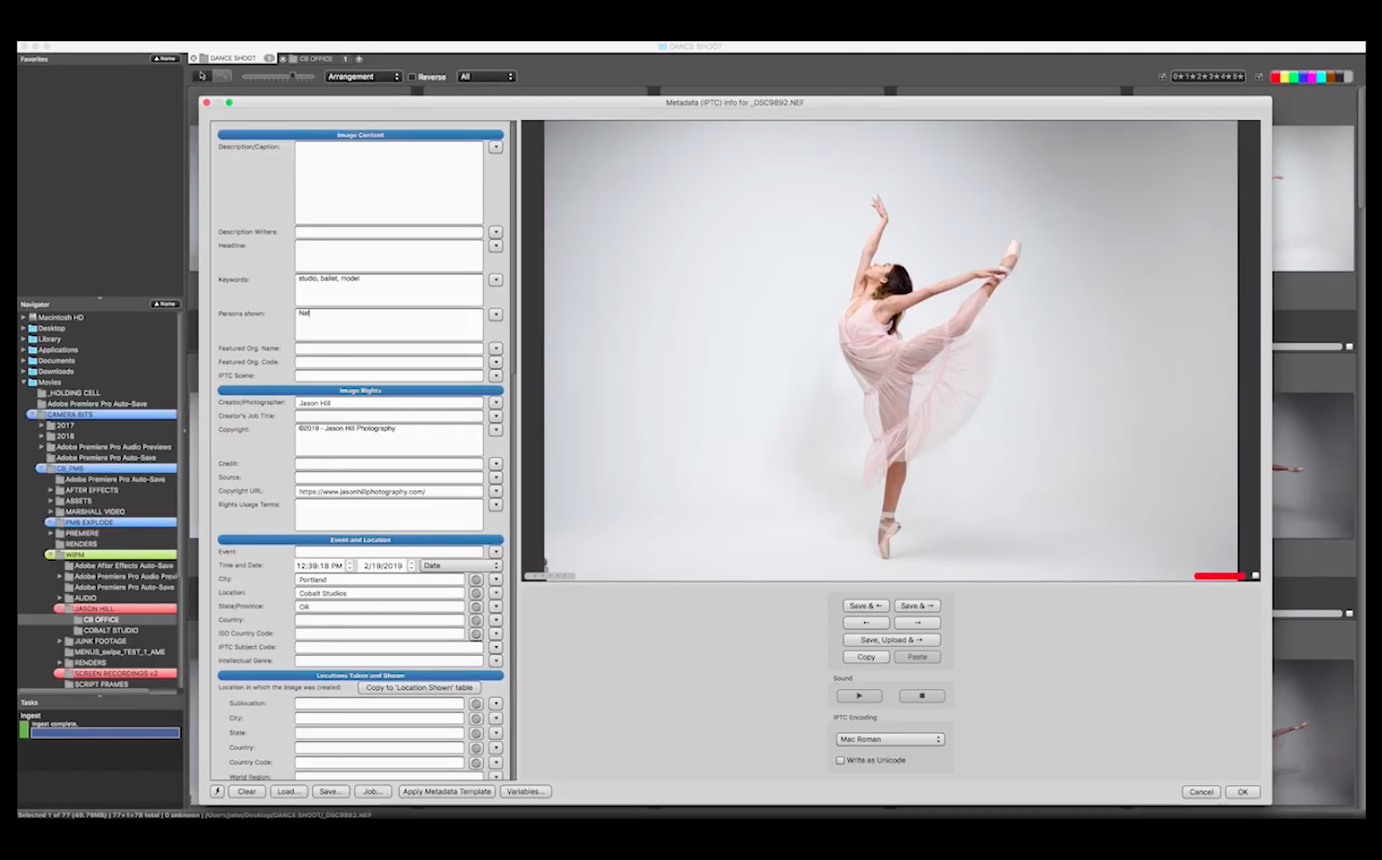
At its core, Photo Mechanic is a media browser tuned for speed. You can sort and search photographs, assign star ratings and colour marks, and write metadata — description, title, keywords, event, location, and contact fields — to single images or entire batches. The batch tools extend to renaming and resizing groups of photos, adjusting capture dates, and embedding tags that travel with the file into any downstream application. From the same window you can print contact sheets, send selects by email, or upload directly to an FTP server. It does not develop raw files; it prepares them for the rest of your pipeline.
Your first instinct might be to open a contact sheet and start dragging sliders. Instead, spend twenty minutes setting up a stationary pad. That single template — with your copyright line, contact info, city, and a short set of reusable keywords — turns a post-shoot tagging session from a clickfest into a two-second operation. Once it is saved, select a hundred images, hit Command-I, tick the fields you want applied, and click Apply Stationery to Selected. The metadata lands everywhere at once.
Another early move that pays off is customizing the Files section of the toolbar. By default you see filename and type. Right-click the header bar and add {date}, {model}, and {rating} as permanent columns. Sorting a chaotic folder by camera body or by the moment a lens was swapped lets you spot patterns — like a back-focusing issue on one body — before you have tagged a single keeper.
Ingest to upload in under ninety seconds
Sports and wire photographers live inside Photo Mechanic because the ingest-to-upload window can be under ninety seconds. The app reads embedded JPEG previews, so skipping through a burst of forty frames feels instantaneous even on a base-model Mac. But the speed is just as valuable for wedding shooters staring at a sixteen-hour day of dual-body coverage, and for photojournalists working in the field on a laptop tethered to a mobile hotspot. Anyone who files images against a deadline, or who simply dreads the Sunday-afternoon cull of a family trip, will notice how much lighter the process becomes when the browser never stalls.
Less obvious is how well it suits the photo mechanic for mac free download crowd who maintain enormous negative scans. A folder of twelve thousand TIFFs from a scanner behaves the same as a folder of raw files — previews snap into view, metadata searches run across the lot, and the batch rename tool can impose a logical date-and-roll structure on files named Scan-001.tiff in seconds.
Launching to a blank grid means missing JPEG previews
The most common frustration is launching the app, pointing it at a folder of raw files, and seeing nothing. Photo Mechanic does not render raw data; it relies on the JPEG previews embedded by the camera. If your body does not embed full-size previews, or you process your files through an external converter that strips them, the contact sheet stays blank. The fix is either to enable full-size preview embedding in the camera menu, or to run the folder through a quick batch conversion that writes a small JPEG alongside each raw — the app picks those up automatically.
Another hiccup is the colour-class confusion. The app ships with a default set of colour labels that may not match the ones you set in Lightroom or Capture One. Spend five minutes in Preferences > IPTC/XMP to align the label text — making Red mean “rejected” in both places — and the tags will travel cleanly. Without that alignment, a red-marked file in Photo Mechanic can show up as unmarked in your editor.
When a Photo Mechanic torrent or similar download arrives without a readme, users sometimes miss that the application keeps an active Cache folder. After a heavy session, that folder can swell. Clearing it from Preferences > Caching reclaims space instantly, and since the cache only stores previews, nothing is lost.
A contact sheet to FTP, end to end
Imagine you are covering a community cycling event and need to deliver thirty captioned images to the organizer’s server before the podium ceremony ends. Here is how the sequence runs inside Photo Mechanic.
1. Ingest with a naming convention. Insert the card and the ingest dialog opens. Set the primary destination to a dated folder on your desktop. Under Rename, choose {datesort}_{frame4} so every file gets a unique, sortable name. Tick Apply IPTC Stationery and pick the pad you built earlier with your credit line and the event location.
2. First-pass cull. Open the contact sheet. Walk through the take with the arrow keys, tapping 1 for a keeper. The tag checkbox appears. When you reach the end, filter by Tagged — everything else drops out of view. You are now looking at your selects in under five minutes.
3. Colour marking and captions. Assign a green label to the absolute best frames, yellow for secondary picks. Select all keepers, open the IPTC Info panel, and write a batch caption into the Description/Caption field. The shortcut Command-Shift-I reveals the full IPTC stationery; here you can append rider numbers, the lap count, or specific quotes to individual frames without retyping the shared body text.
4. FTP upload. Select your green-marked images. Go to File > Upload, pick the FTP template you configured with the organizer’s server details, and set the output size to 2048 pixels on the long edge with JPEG quality at 80. The app resizes on the fly during transfer — no intermediate export step needed. A progress bar sits in the corner while you pack the camera bag, and the files land on the server with captions intact.
- macOS 13 or later
- Apple Silicon Mac
Questions from the booth
Yes, you can change the created date and time for individual photos or across a batch selection.
It does. You can assign colour marks and tags to help sort and identify selects on the contact sheet.
Photo Mechanic includes built-in FTP upload, letting you send photos to a server without leaving the browser.