Version 3.4.15 is a quiet one — no new tools, no interface shifts — just the kind of update that matters when you pull a card after a long shoot. Photomator now reads compressed RAW from the Sony Alpha ILCE-7M5 and the latest medium-format FUJIFILM bodies, plus High Efficiency RAW from Nikon’s Z5II and Z50II, and the dense High Resolution mode files out of the Panasonic LUMIX DC-S1RM2. If your camera arrived in the last six months, you are likely covered.
The editor itself stays close to the Mac. Edits sync through iCloud and the Photos app without export rituals, and the batch engine handles RAW and non-RAW files side by side — useful when a project mixes drone stills, phone snaps, and full-res camera work. The AI tools lean toward practical choices: auto colour matching across a sequence, perspective correction that reads straight lines without flattening depth, and retouching that works with the grain of an image rather than against it.
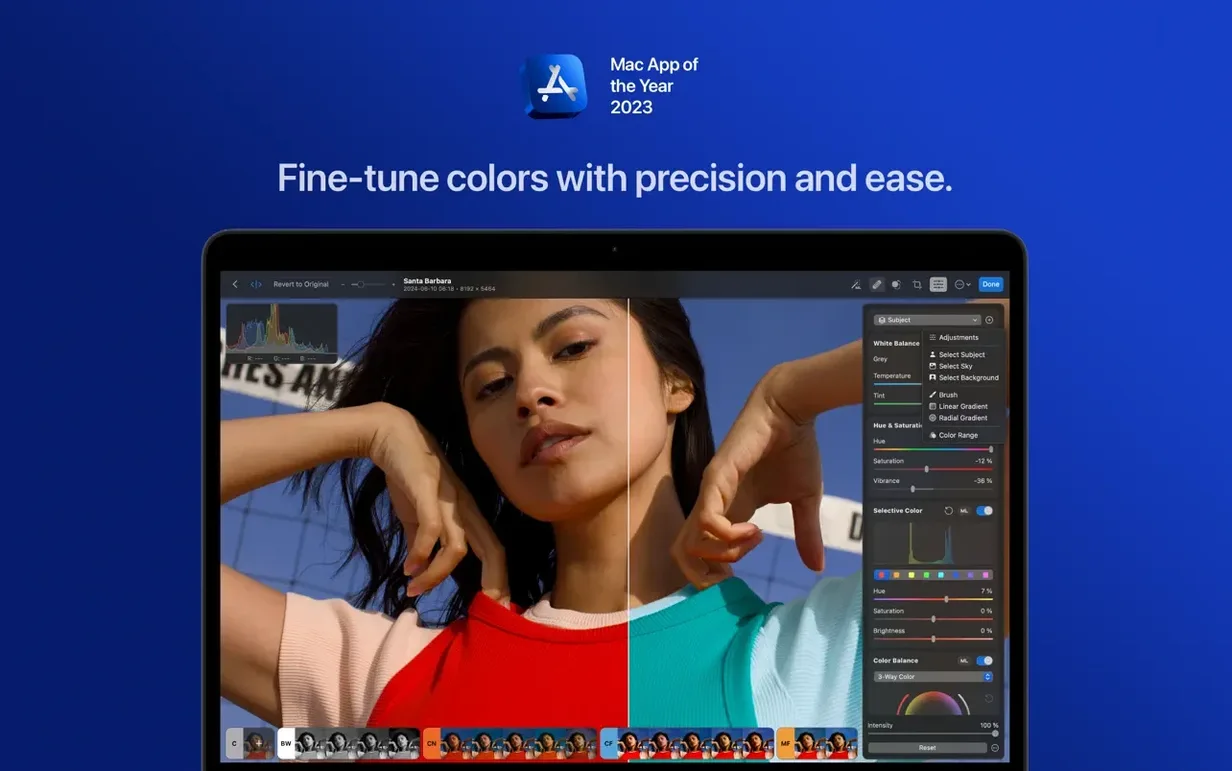
Lift colour and tone across 650+ RAW formats in a few clicks
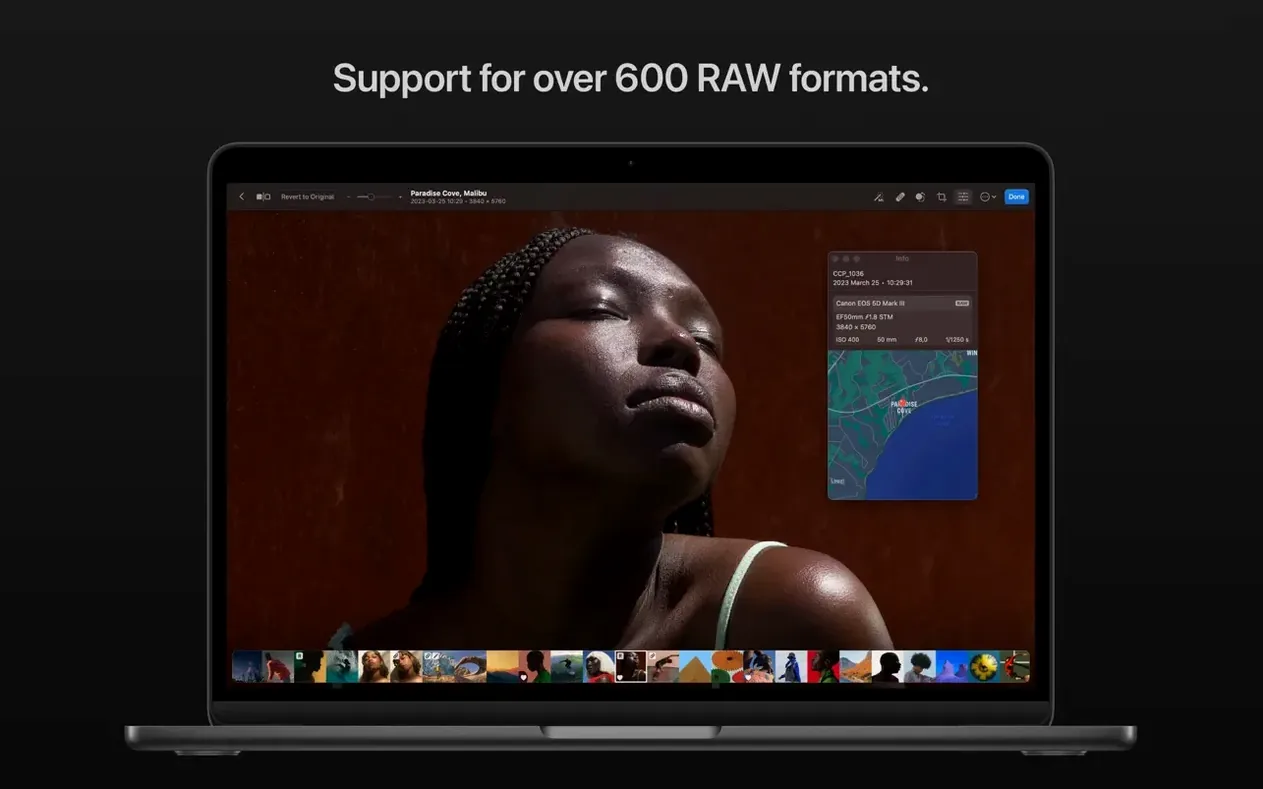
- Working with over 650 RAW formats, including Apple ProRAW and compressed Fujifilm files
- Matching the colour and tone of one photo to another in a few clicks
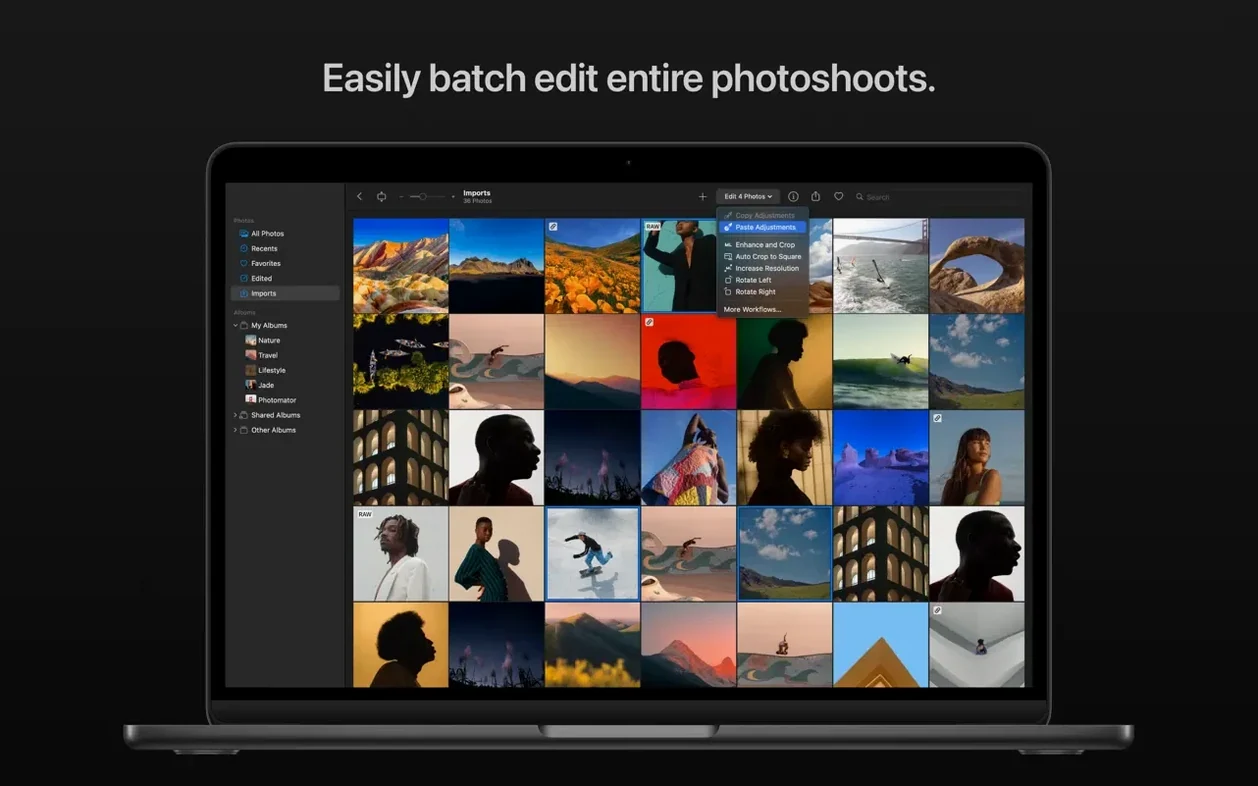
- Batch editing mixed-format shoots without separating RAW files first
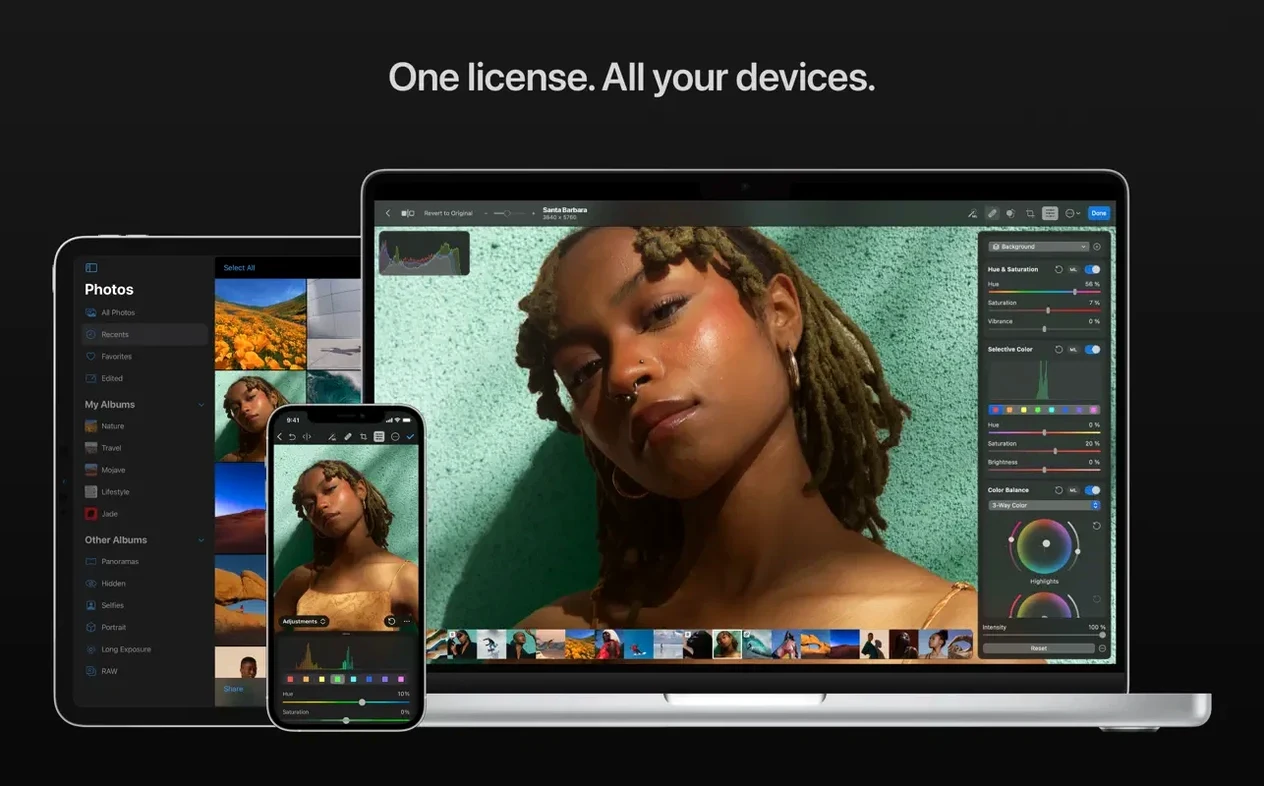
- Keeping a library in sync between Photomator, Photos, and iCloud
- Crop, straighten, and perspective tools that feel built for architecture and landscape
A Mac-only editor that assists adjustments but skips sky replacement
- Requires macOS Ventura or later
- Designed as a Mac-native editor — no iPad or web counterpart
- AI features focus on adjustment assistance, not generative fill or sky replacement
Matching a whole shoot to one keeper, step by step
Say you have just pulled a card with two hundred frames from late afternoon through blue hour — a mix of golden sidelight, open shade, and the kind of cool shadow that drifts in fast. One frame near the middle has the colour balance you want. The rest feel close but not quite. Here is a workflow that turns that single keeper into a template for the rest without flattening the variations that make a sequence feel alive.
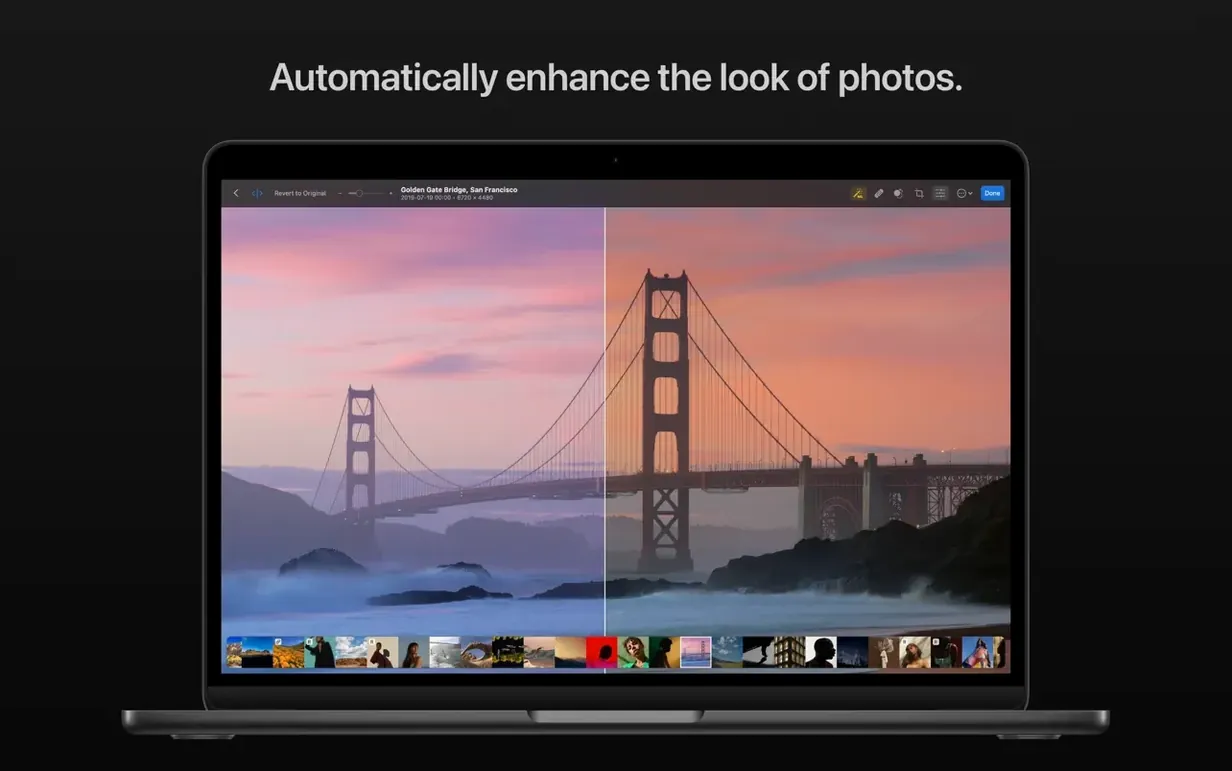
Open the reference photo first. Do not touch anything yet — just let it sit as the active image. Now select the first batch of a dozen frames from the same stretch of light in the filmstrip or browser. With the reference photo still active, choose Edit > Match Edits. Photomator reads the colour distribution, contrast curve, and white balance from the reference and maps them across the selected shots. It does not paste a fixed set of numbers; it analyses each frame and bends it toward the target. So a backlit frame gets a slightly different treatment than one taken under the canopy, but the overall warmth and density hold.
Once the match runs, switch to the Adjustments panel and check two things: the histogram for clipping and the white balance temperature slider. The match is usually close, but for frames with strong colour casts — say green reflections off foliage — you may want to dial the tint a few points toward magenta. If the match lifted shadows too aggressively on a few frames, drop the Shadows recovery slider a touch. The key is to do this per sub-batch, not frame by frame. Group shots that share light, apply the match, then fine-tune the group. The batch engine lets you select all of them, open the adjustment panel once, and nudge one slider. Every selected frame follows.
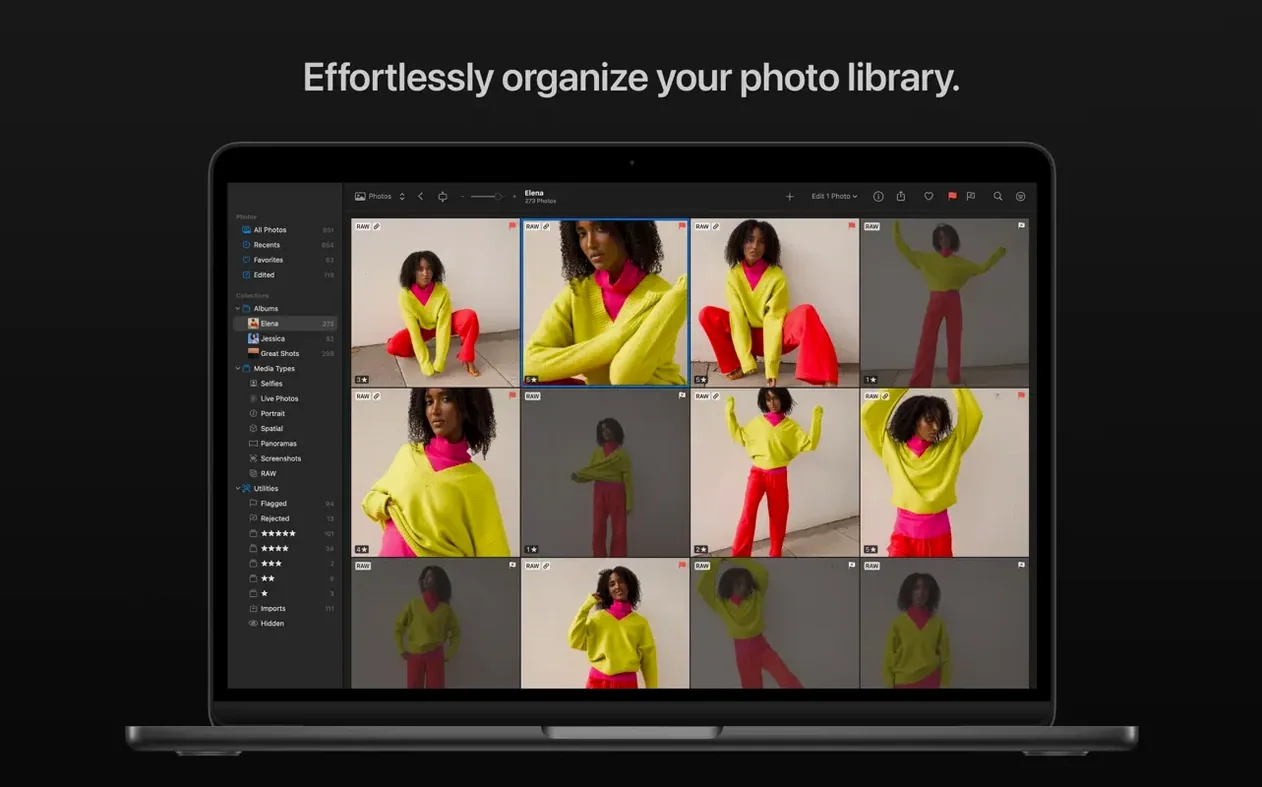
For the culling pass before matching, lean on Photomator’s ability to read the Photos library directly. If your shoot landed in Photos first — through an import from a card or a synced album — you can browse and rate there, then open the keepers in Photomator without exporting a thing. The edits write back to the library as nondestructive versions. This saves a full round trip through Finder and keeps the original RAW files untouched.
Sits beside your existing library without trying to replace it
Photomator is not trying to replace a full digital asset manager, and that turns out to be a strength. Many photographers already have a system: Photos for personal work and quick sharing, Lightroom Classic or Capture One for tethered shoots and heavy cataloguing, Finder tags for client selects. Photomator slides into the gaps — the editor you open when you need fast, precise local adjustments without a catalogue import step.
With macOS Ventura or later, the integration runs a few layers deep. Edits are saved as sidecar instructions inside the Photos library or as separate adjustment data files alongside images in iCloud Drive. If you edit a RAW file stored in iCloud, the edits sync to every Mac signed into the same account — the same way a Pages document would. The file does not get duplicated or re-exported. A photographer on location can cull and rough-edit on a MacBook Air, then later open the same library on a Mac Studio and find every adjustment waiting, pixel for pixel.
For a round-trip with a more complex editor, export a 16-bit TIFF with adjustments baked in, open it in Affinity Photo or Photoshop for compositing work, then save back to Photos or a Finder folder where Photomator sees it. The colour profile stays consistent because Photomator respects the display’s calibrated profile and embeds the working space you set in preferences — Display P3 or a custom ICC profile if you use a calibration device. No silent profile conversion between apps.
Quick note for anyone searching for a photomator mac download and wondering about system requirements: version 3.4.15 runs natively on both Intel and Apple Silicon Macs, with a minimum of macOS 13. If you have an older Mac that cannot go past Monterey, this version will not launch — the framework calls require Ventura’s Metal and Core ML backend.
Option-key previews and other hidden speed boosters
A few things in Photomator are easy to miss in the first week because they do not live in obvious menus, but they reshape how fast you can work once they become habit.
The Option-key preview is one. When you hover over any adjustment slider and hold the Option key, the canvas shows a clipping preview or a split view of the affected channel. With the Blacks slider, for instance, Option shows pure black clipping as coloured speckles against a neutral field — much faster than squinting at the histogram. With Sharpening, Option shows a grayscale edge mask so you can see exactly what the radius and intensity are hitting before any halos appear.
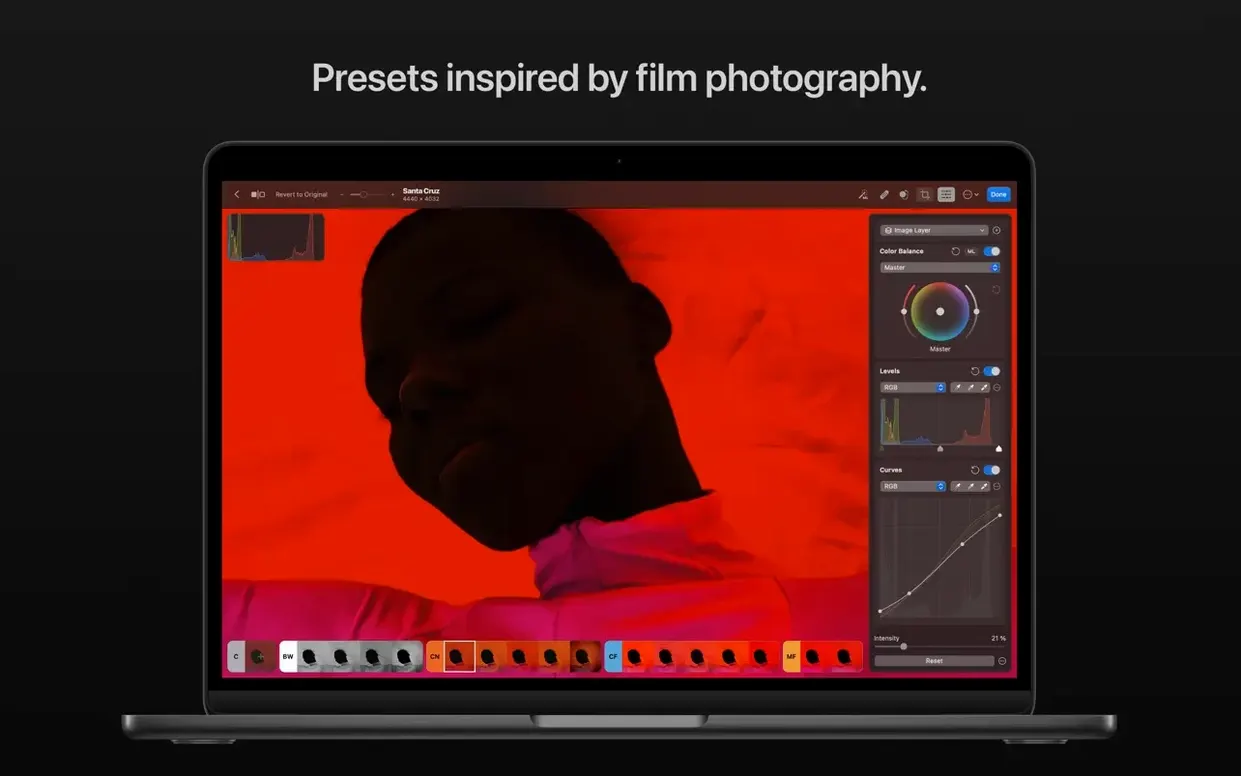
Dragging a preset from the Presets browser onto a batch of selected thumbnails applies it to every one without opening them. This is different from the Match Edits path — presets apply the same values, while Match Edits computes a transform. Both have their place. Preset-drag works well for monochrome conversions across a set where you want identical curve and grain, or for applying the same crop ratio to a grid of shots destined for a gallery wall.
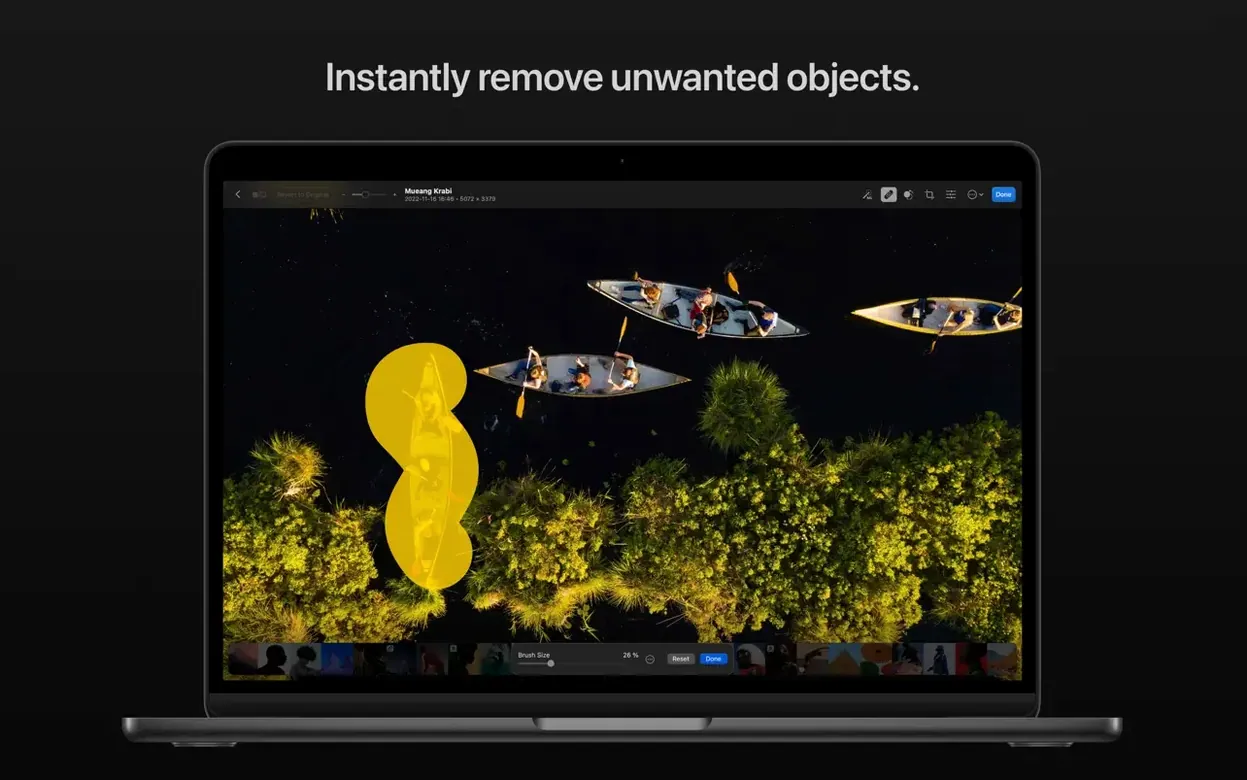
The Repair tool accepts a right-click to sample a source point, but it also works with a simple Option-click. The brush outline shows the source area in real time as you paint, so you can see if the sampled texture drifts out of alignment before you commit. For sensor dust spots against a clear sky, tap the [ and ] keys to resize the brush in small increments; the spot removal becomes almost invisible when the brush sits just a few pixels wider than the dust shadow.
If you downloaded Photomator and are setting it up fresh — perhaps after a photomator download from the developer’s site rather than the App Store — check the preferences for External Editors. You can register another Mac image editor and set a keyboard shortcut to send the current photo there as a TIFF or PSD, with or without adjustments flattened. One shortcut, one round trip.
Lock in your working colour space before the first edit
On day one, do three things before editing anything important. First, open Preferences and confirm the working colour space. Photomator defaults to Display P3 on Macs that support it, which matches the screen gamut but can look different on an sRGB monitor or web export. For work headed to the web, switch to sRGB. For print, talk to your lab about their preferred profile and set that as the default.
Second, in the Photos integration settings, toggle on Save edits to iCloud if you work across more than one Mac. The toggle is off by default. Without it, adjustments stay local to the machine and do not appear on a second Mac even if the image file itself syncs.
Third, open a noisy RAW file shot at high ISO — 6400 or above — and run the Denoise tool once just to see how it behaves. The Denoise is Core ML-based, so the first run on a new machine may be slow while the model loads. After that, it should feel responsive. The slider defaults to a moderate value; push it higher on shots that need to be clean for print, lower for images destined for social feeds where a little grain reads as texture rather than noise.
Force a library update when edits vanish from Photos
One snag that catches people early: edits not appearing in the Photos app after a session. The fix is usually simple — Photomator writes nondestructive versions, but Photos only re-reads them when the library updates. Force the update by switching to another album in Photos and back, or by closing and reopening the Photos app. If edits still do not show, check that the image is not referenced from an external folder that has been moved or renamed since import.
Another: the Repair tool feels sluggish on large RAW files from high-resolution bodies like the Sony ILCE-7M5 or Panasonic DC-S1RM2. This is not a bug — the tool works on the full-resolution data layer, and those files are dense. A practical workaround is to do retouching early in the adjustment stack, before adding layers of local adjustments and gradients that compound the processing load. Or crop in loosely first, then retouch, then finalize the crop.
Batch edits that seem to skip a file usually point to a format mismatch. Photomator batch-edits RAW and non-RAW files together, but some tools — particularly those relying on the RAW decoder for white balance reinterpretation — apply differently to a JPEG than to a RAW file. If you notice inconsistent results, split the batch by format for the final pass, or use the Match Edits route instead of a uniform preset.
Occasionally, a photomator torrent or photomator crack search leads someone to an older build that predates the Ventura requirement or lacks the camera support added in 3.4.15. The symptoms are easy to spot: compressed RAW from a Fujifilm GFX 100S II does not open, or the Denoise tool runs on the CPU instead of the Neural Engine. To get everything firing on all cylinders, verify you're running a current build on macOS 13 or later and grant full disk access in System Settings — Photomator leans on system-level machine learning components that need unbroken sandbox permissions to route through the Neural Engine correctly.
The Smart Deband shortcut few people find
Smart Deband lives in the Adjustments panel under a disclosure triangle, and its default setting is subtle enough that you might think it does nothing. It targets quantisation artefacts — the visible rings
The 3.4.15 release concentrates on camera compatibility alongside the usual bug fixes and performance work. Newly supported are compressed RAW images from the Sony Alpha ILCE-7M5, FUJIFILM GFX 100S II, and FUJIFILM GFX 100RF; High Efficiency and High Efficiency Star RAW from the Nikon Z5II and Nikon Z50II; and RAW captures from the Panasonic LUMIX DC-S1RM2 in High Resolution mode.
- macOS 13 or later
- Apple Silicon or Intel 64‑bit
Questions from the booth
The update adds support for compressed RAW from Sony Alpha ILCE-7M5, FUJIFILM GFX 100S II and GFX 100RF, High Efficiency RAW from Nikon Z5II and Z50II, and High Resolution mode files from the Panasonic LUMIX DC-S1RM2.