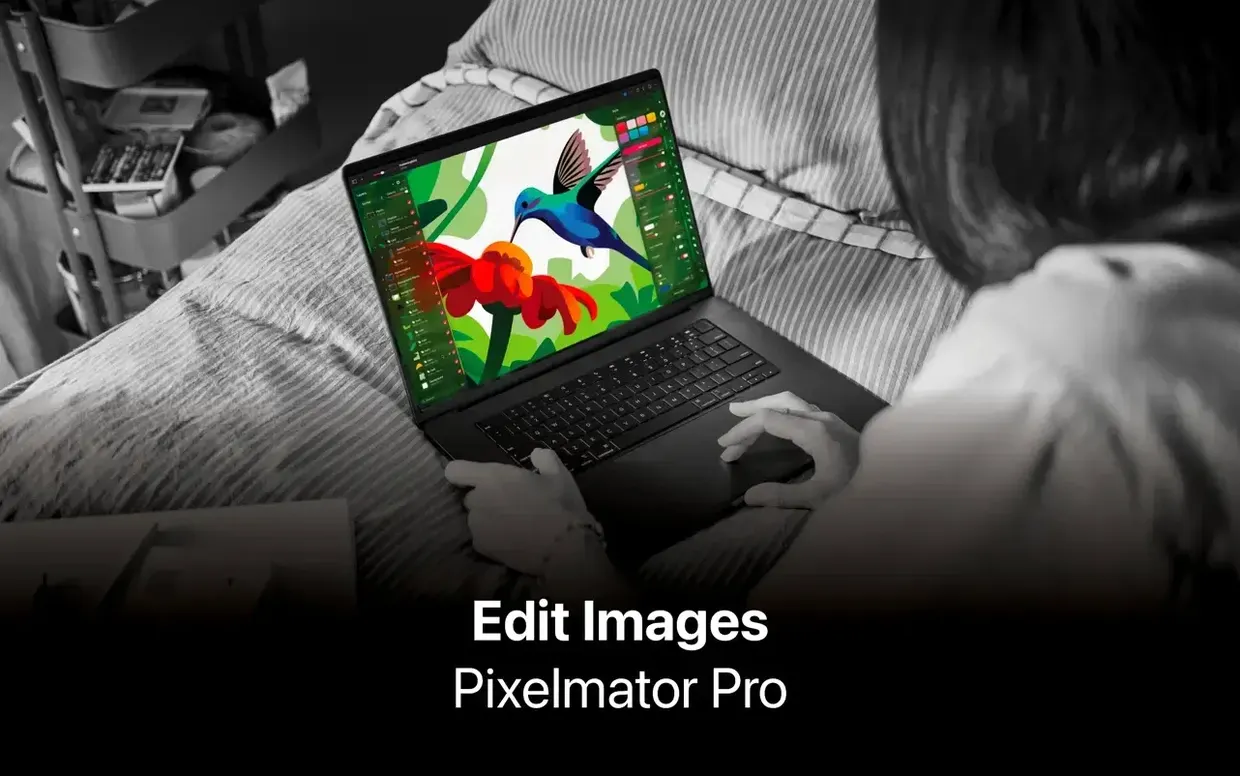
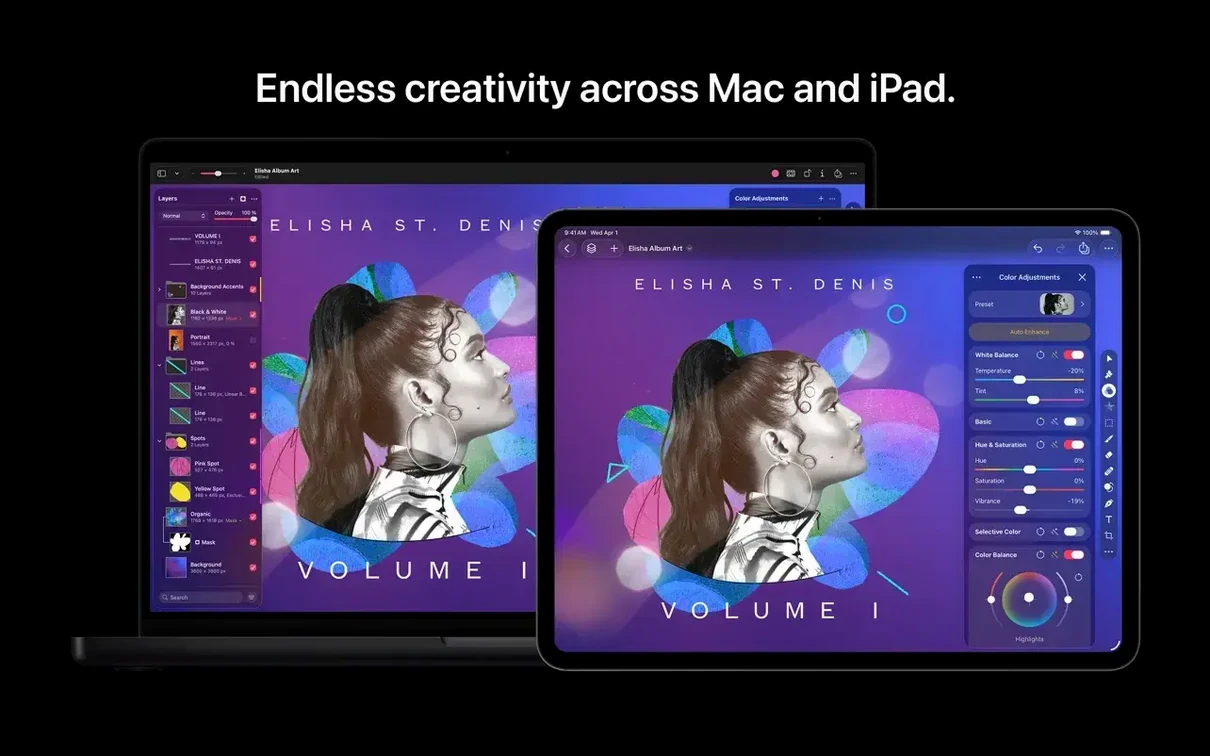
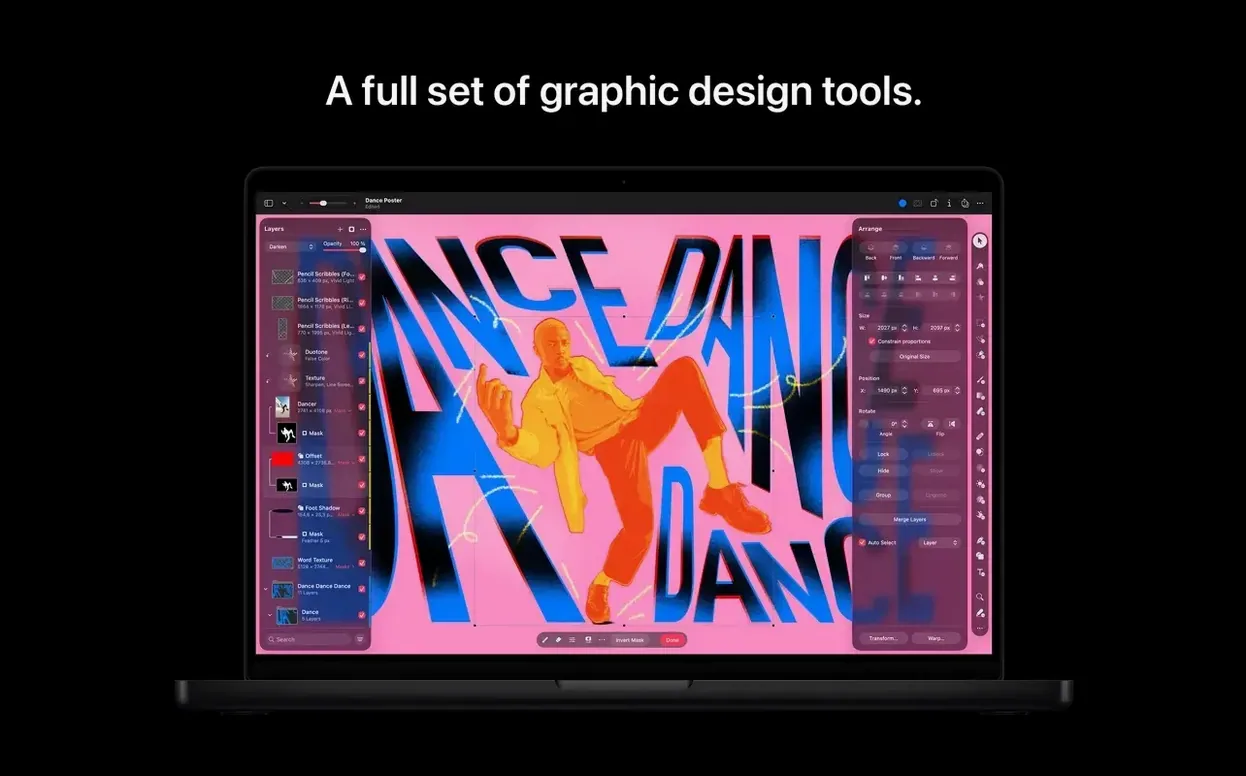
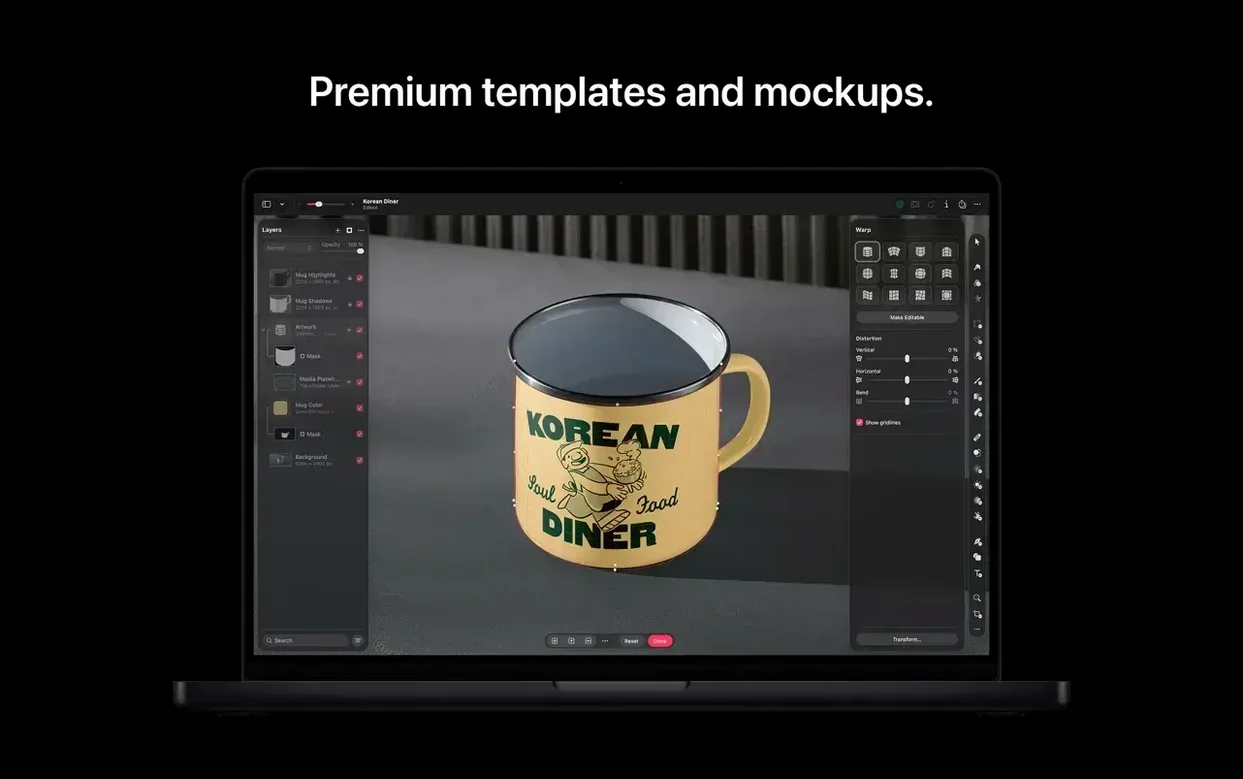
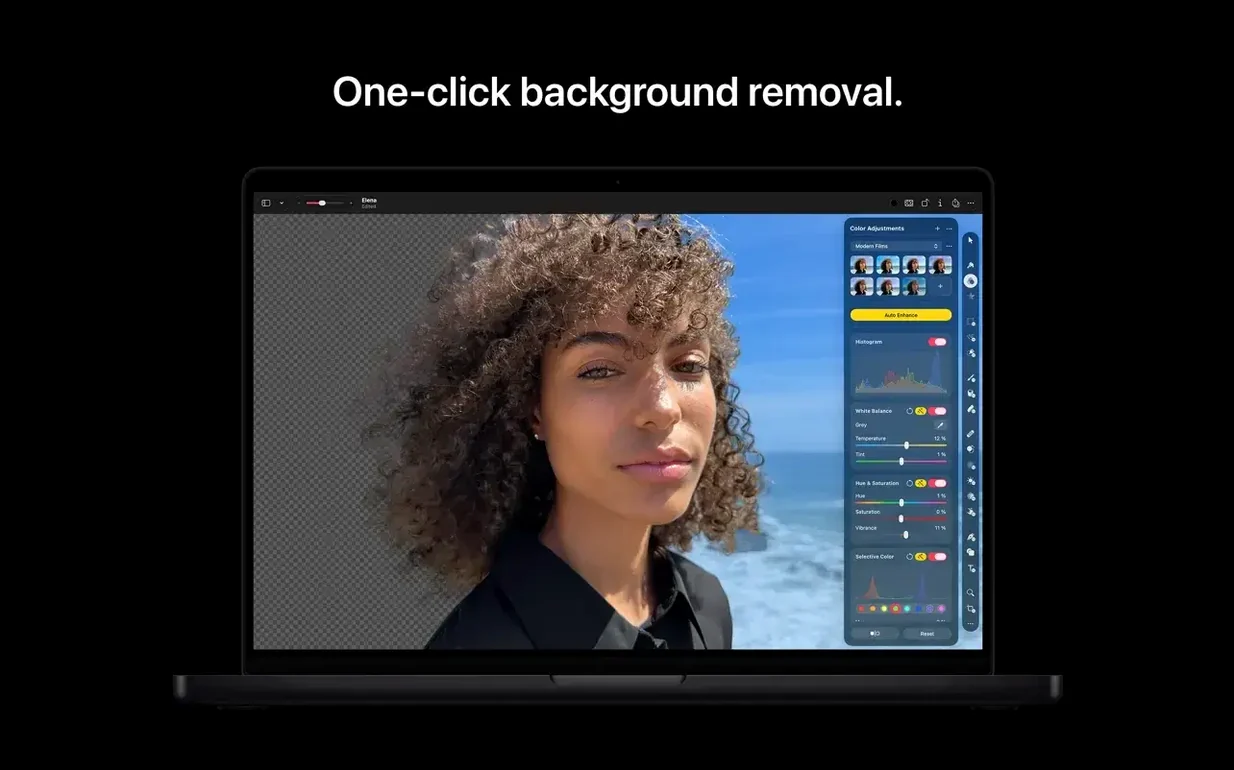
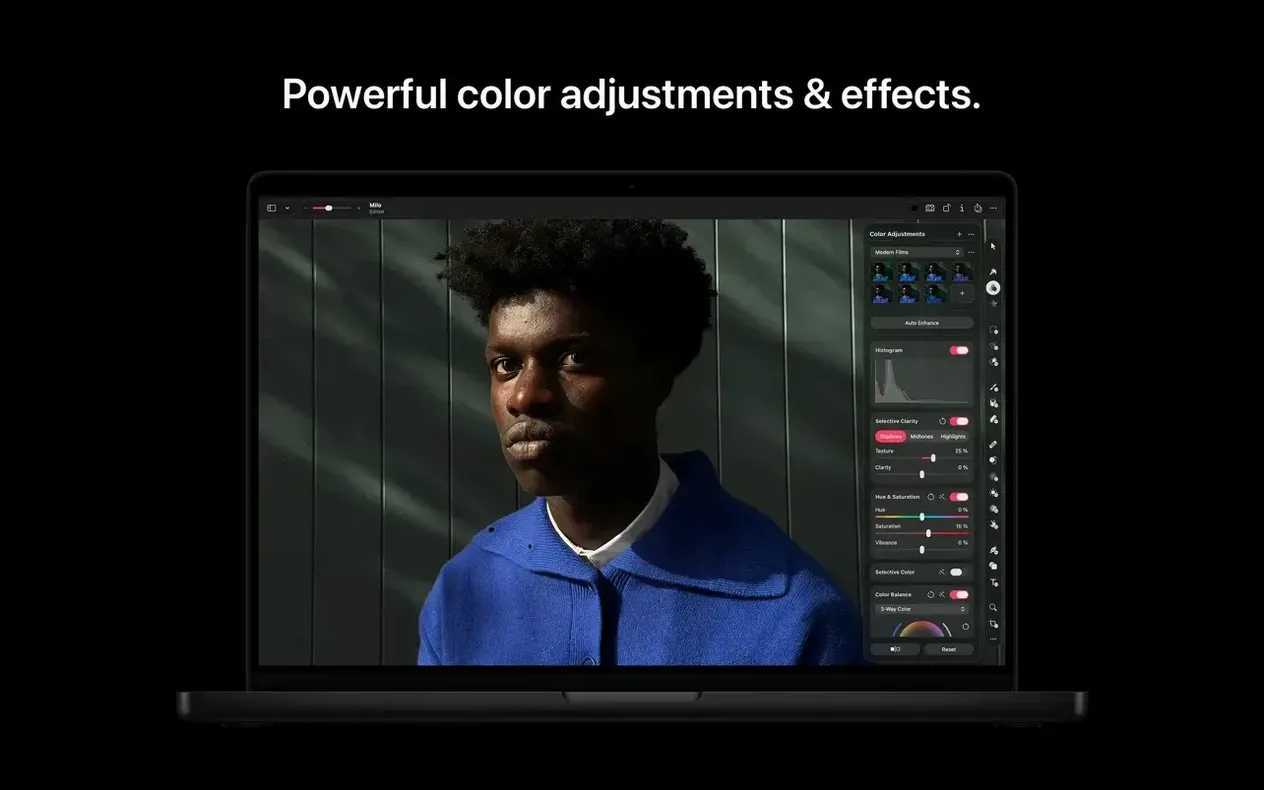
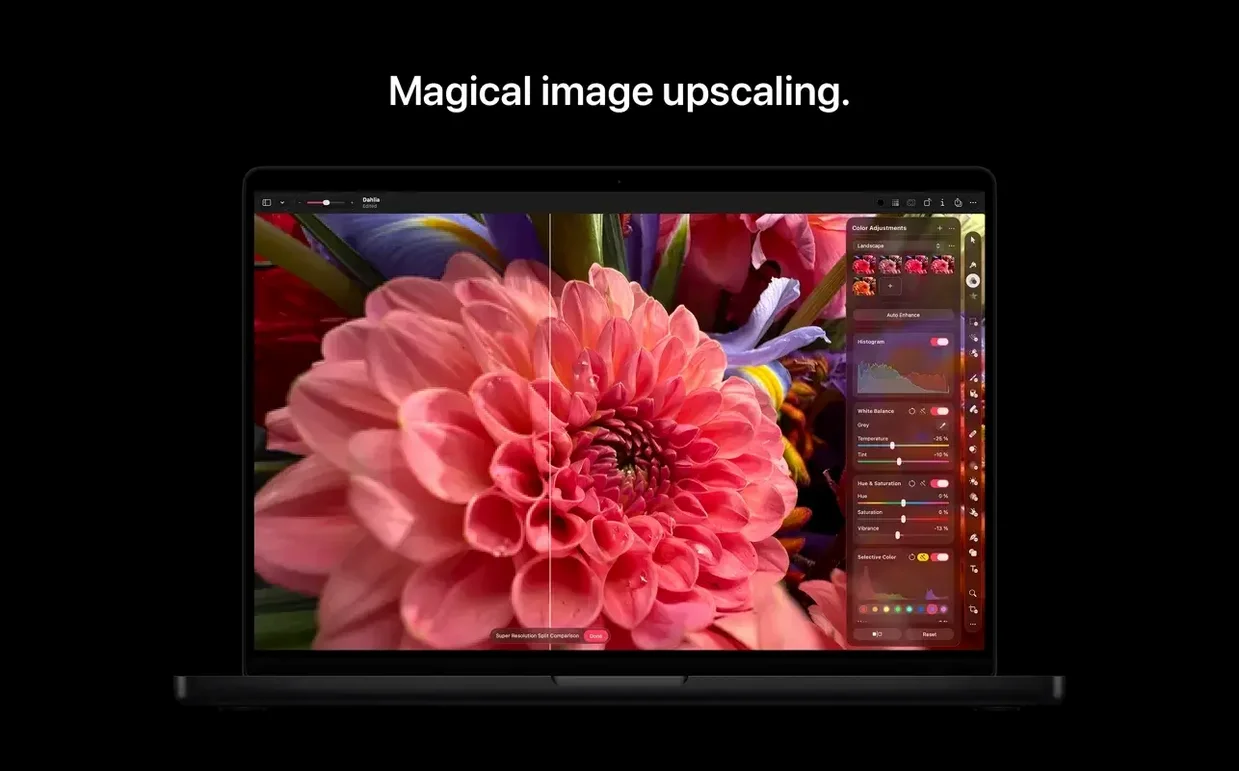
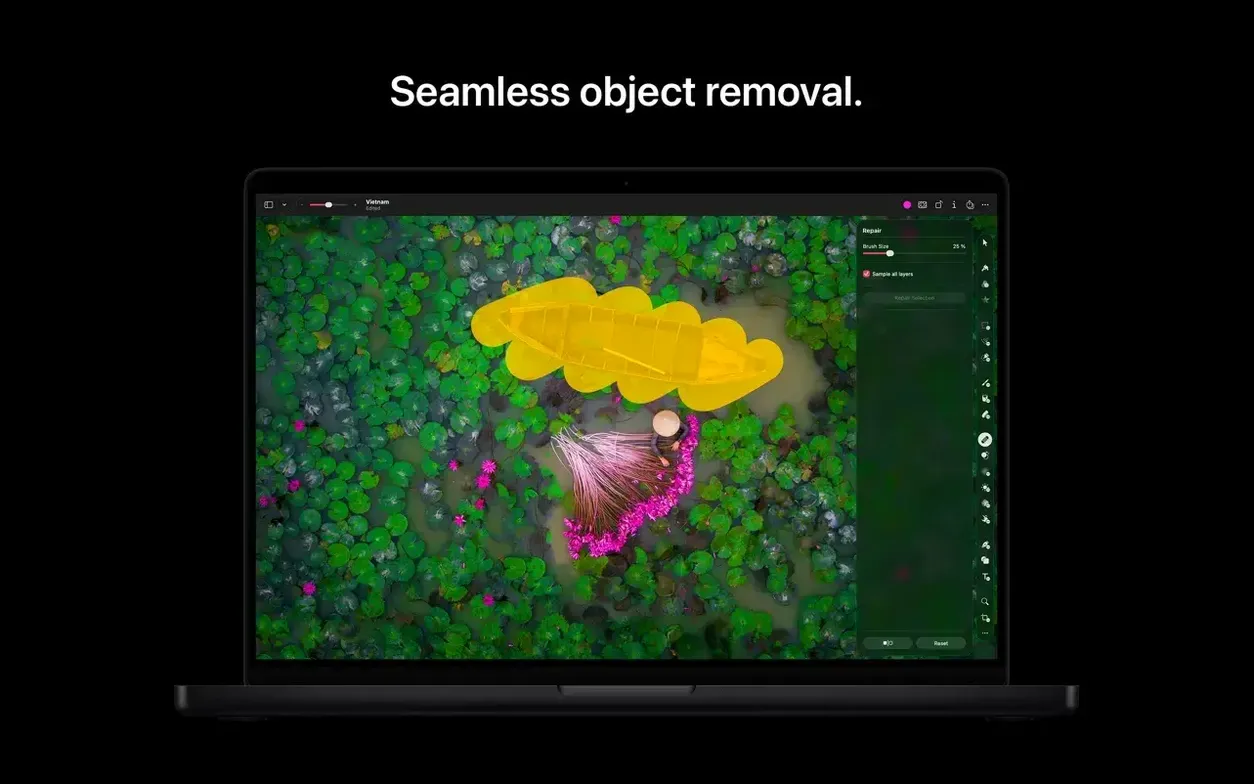
If you know the Photos app on macOS, Pixelmator Pro sits a step away from it. The editor opens from the library, works on the same file, and sends the finished image back where it came from. This walkthrough follows one portrait through a cleanup pass, from first open to saved result.
- Open the image from Photos. In Photos, choose Edit With > Pixelmator Pro. The file opens in a single window with the layers list visible on the left.
- Remove the distractions. Use the Repair tool to brush over blemishes and small objects. The surrounding pixels fill the area, and the change sits on its own layer rather than touching the original.
- Shape the light. Open the enhancement tools and apply the Core ML-based adjustment. It reads the image and pulls the tone and colour into balance without flattening the retouch work.
- Add a small text mark. Keep it quiet: a name or date in a corner. The text stays editable as a layer so it can be removed or rewritten later.
- Save back to the library. Save the edit and return to Photos. The restored version appears beside the original, with the layered Pixelmator file still intact for another pass.
The workflow leans on the non-destructive structure throughout: repairs, adjustments, and text remain separate until you choose to flatten anything. That matters when a portrait needs a second review or a different crop before export.
Start with photos you already know, not a tool tour
Install it, open a familiar photo, and resist the urge to explore every tool at once. Pixelmator Pro rewards a slower start. Spend the first session with three or four images you know well—family snapshots, a favourite landscape, something with skin tones you remember. The point isn't to fix them. It's to learn how the adjustment sliders behave on material where you can judge the result without second-guessing yourself.
Turn off the automatic enhancement for now. The machine learning adjustment is clever, but it can become a crutch. On your first few images, drag the White Balance and Selective Colour sliders manually and watch what shifts. You'll develop a feel for the colour engine that serves you later when the automatic option doesn't quite nail it.
Create a dedicated test folder on the desktop, separate from your Photos library. Drag a few images there and work on copies. The layered Pixelmator Pro document format—it uses its own extension—preserves everything you do, but having a sandbox away from your main library removes any hesitation about trying something extreme and undoing it. The app's non-destructive approach means you can walk back almost anything, but a clean test space still frees the mind.
One evening spent with a handful of intentionally messy edits will teach you more about the tool than a dozen tutorials. Push the saturation until it hurts. Crank the sharpening. Then pull everything back and see what sticks.
Switch the canvas surround before color grading anything
A few defaults are worth adjusting immediately. Open the app preferences—they're under the Pixelmator Pro menu—and check three things.
First, look at the appearance setting. The interface defaults to a mid-grey canvas surround, but you can switch it to a darker charcoal or near-black. If you edit photos late at night or in a dim room, the darker surround reduces eye strain and makes it easier to judge shadow detail. The change is small; the effect on a long editing session is not.
Second, enable Show Rulers from the View menu and set the units to pixels. Photographers think in millimetres, but a screen-bound edit almost always benefits from pixel-level awareness, especially when you're placing text or aligning elements for export. The rulers sit quietly at the edges of the canvas and you can ignore them until you need them.
Third, check the scrolling behaviour. By default, a two-finger scroll on a trackpad zooms the canvas. If you're accustomed to Adobe tools where scroll moves the canvas and zoom requires a modifier, this can feel disorienting. There's a checkbox in preferences to swap it, and it's worth finding early. Muscle memory is stubborn; better to align the app with your hands than fight it for weeks.
One more: under the General tab, set the default colour profile to match your most common output. If you share images online primarily, sRGB is the safe choice. If you print, talk to your lab about their preferred profile and set it here. The app embeds the profile on export, and getting it right at the document level saves a colour-shift surprise later.
Hold Option while dragging a slider to reveal hidden texture
Some of the best features in Pixelmator Pro don't announce themselves. They sit in the interface quietly, waiting for you to stumble across them.
Hold the Option key while dragging any adjustment slider. The canvas switches to a high-contrast preview that isolates exactly what that slider affects—clipping warnings for exposure, a greyscale mask for sharpening radius, a heat-map overlay for colour range selections. Release the key and the normal view returns. It's the fastest way to understand what a slider actually does without toggling previews on and off.
The Quick Fill shortcut is similarly unadvertised. Select any layer, press Shift-Command-F, and the layer fills with the current foreground colour. It sounds trivial, but when you're building a composite with solid-colour backing layers for text or shapes, it eliminates the need to create a separate fill layer or reach for the paint bucket. Three keystrokes, done.
Right-click any layer thumbnail and choose Convert into Clipping Mask. The layer above will now only show where the layer below has visible pixels. This is a compositing staple in other editors, and it works the same way here. The menu item is easy to miss because it's tucked into a contextual menu rather than the main Layer menu, but it's one of the most useful commands for non-destructive texture work.
The Automator actions deserve a mention even if you don't use them daily. Pixelmator Pro installs a set of actions that let you batch-resize, batch-apply colour profiles, or batch-convert formats from Finder. Set up a workflow once—say, resize a folder of product shots to 1200 pixels wide, convert to sRGB JPEG, and rename with a suffix—and save it as a Quick Action. Right-click any folder, choose it from the Services menu, and the whole batch runs without opening the app. It's not flashy, but on a deadline it's the kind of thing that buys you a coffee break.
The Repair tool is not a clone stamp—zoom in to check
The most common early mistake is treating the Repair tool like a clone stamp. People brush over an object, see the fill, and think it worked. Then they zoom in and find a smeared texture or a repeated patch of background that looks like wallpaper. The Repair tool samples from the surrounding area automatically, but it makes assumptions. On high-frequency texture—gravel, foliage, fabric—it often guesses wrong. The fix is to work in smaller strokes, and to use the tool at a brush size barely larger than the blemish itself. For anything structural, like removing a fence post from a landscape, switch to the Clone Stamp tool and manually set the sample point. The Repair tool is for skin, dust spots, and small sensor debris. It's not a general-purpose object remover, despite how capable it looks on a first pass.
Another pattern: people add a text layer, style it, then can't figure out why the font size won't scale when they drag a corner handle. Text in Pixelmator Pro scales as a vector by default—the bounding box adjusts the container, not the glyphs. To resize the actual letterforms, you need to change the point size in the Text tool options bar. When you do want to scale text as if it were a raster element, right-click the text layer and choose Convert to Pixels. Just know that you lose editability when you do. The distinction trips up people coming from apps where text behaves like a shapeless object from the start.
Over-relying on the automatic Core ML enhancement at the end of every edit is another quiet trap. The algorithm reads the whole image and makes global adjustments. It's good, but it doesn't know what you want the image to say. A portrait where you've carefully lifted the eyes and cooled the background can be flattened by an automatic pass that rebalances the whole frame toward a neutral midpoint. If you use it, apply it early in the stack, then build your local adjustments on top. Or skip it entirely on images where you've made deliberate colour choices.
A subtler mistake involves the Photos app integration. People open an image from Photos, edit it in Pixelmator Pro, save, and expect the layered document to live inside the Photos library automatically. It doesn't. The flattened result goes back to Photos as a rendered version. The layered file stays wherever you last saved it—usually the Pixelmator Pro sandbox folder, unless you explicitly saved it elsewhere. If you think you'll return to the layers, save the document to a known folder before closing it. The integration is smooth, but it's not a sync; it's a one-way render.
Editing a handmade ceramic bowl in late window light
Late afternoon light through the kitchen window. You've got a photograph of a ceramic bowl you made—uneven rim, glaze pooling in the bottom, specks of kiln dust still visible on the surface. The bowl sits on a wooden cutting board, and in the corner of the frame, a tea towel bunches up in a way that now bothers you. You open the image from the desktop, not Photos, because you want the working file nearby.
First pass: composition. You hit C for the Crop tool and pull the right edge in, just enough to lose the tea towel entirely. The bowl now sits slightly off-centre, which works for the shape. You look at the new frame for a moment, then press Return to commit.
Second pass: cleanup. Zoom to actual size—Command-1—and start panning across the bowl's surface. The kiln dust specks are tiny, white against the celadon glaze. You take the Repair tool at about twenty pixels wide and click each speck individually rather than brushing. Click, gone. Click, gone. Ten specks in forty seconds. Brushing would have smeared the subtle crackle texture beneath; individual clicks leave the glaze pattern intact.
Third pass: light. The cutting board is warm wood, but the shadows feel heavy. You open the adjustment layers and add a Curves adjustment. You lift the midtones slightly—just a point dragged up near the centre of the line—and then mask the adjustment so it only affects the board, not the bowl. A quick gradient mask drawn with a soft brush keeps the transition invisible.
Fourth pass: a vector shape, just to see how it feels. You open the Content Hub—this is new in version 4.3—and browse the shape library. A simple circular badge, dropped into the top-right corner of the frame, opacity at forty percent. You type the glaze name inside it. The text is small, six points, and you colour-pick a tone from the bowl's rim so it feels like it belongs. The badge layer stays separate, fully editable, in case you change your mind about the placement tomorrow.
You lean back. The image looks like the bowl, not like an edited version of the bowl. That's the bar. You save the layered document to the project folder, then export a full-resolution JPEG to the desktop for sending to the kiln's Instagram account. The session took eighteen minutes. The bowl speaks for itself.
Version 4.3 brings a Content Hub for pulling in photos, graphics, shapes, and illustrations from one place. Generate Image creates pictures from text descriptions, while Generate from Image applies text-based edits and transformations to an existing image. Custom vector shapes can also be described in words, and Switch Control and VoiceOver receive better support.
- macOS 26 or later
- Works on Intel and Apple silicon Macs
- Interface languages: Russian, English, German, Spanish, Italian, Traditional Chinese, Simplified Chinese, Korean, Portuguese, French, Japanese
Questions from the booth
Yes, it can open and edit layered Photoshop files, which makes it useful when moving between applications.
Apple lists native support for Apple silicon Macs, so the app runs without Rosetta translation on those machines.
Yes, edits such as repairs, adjustments, and text sit on separate layers and leave the original image untouched.