

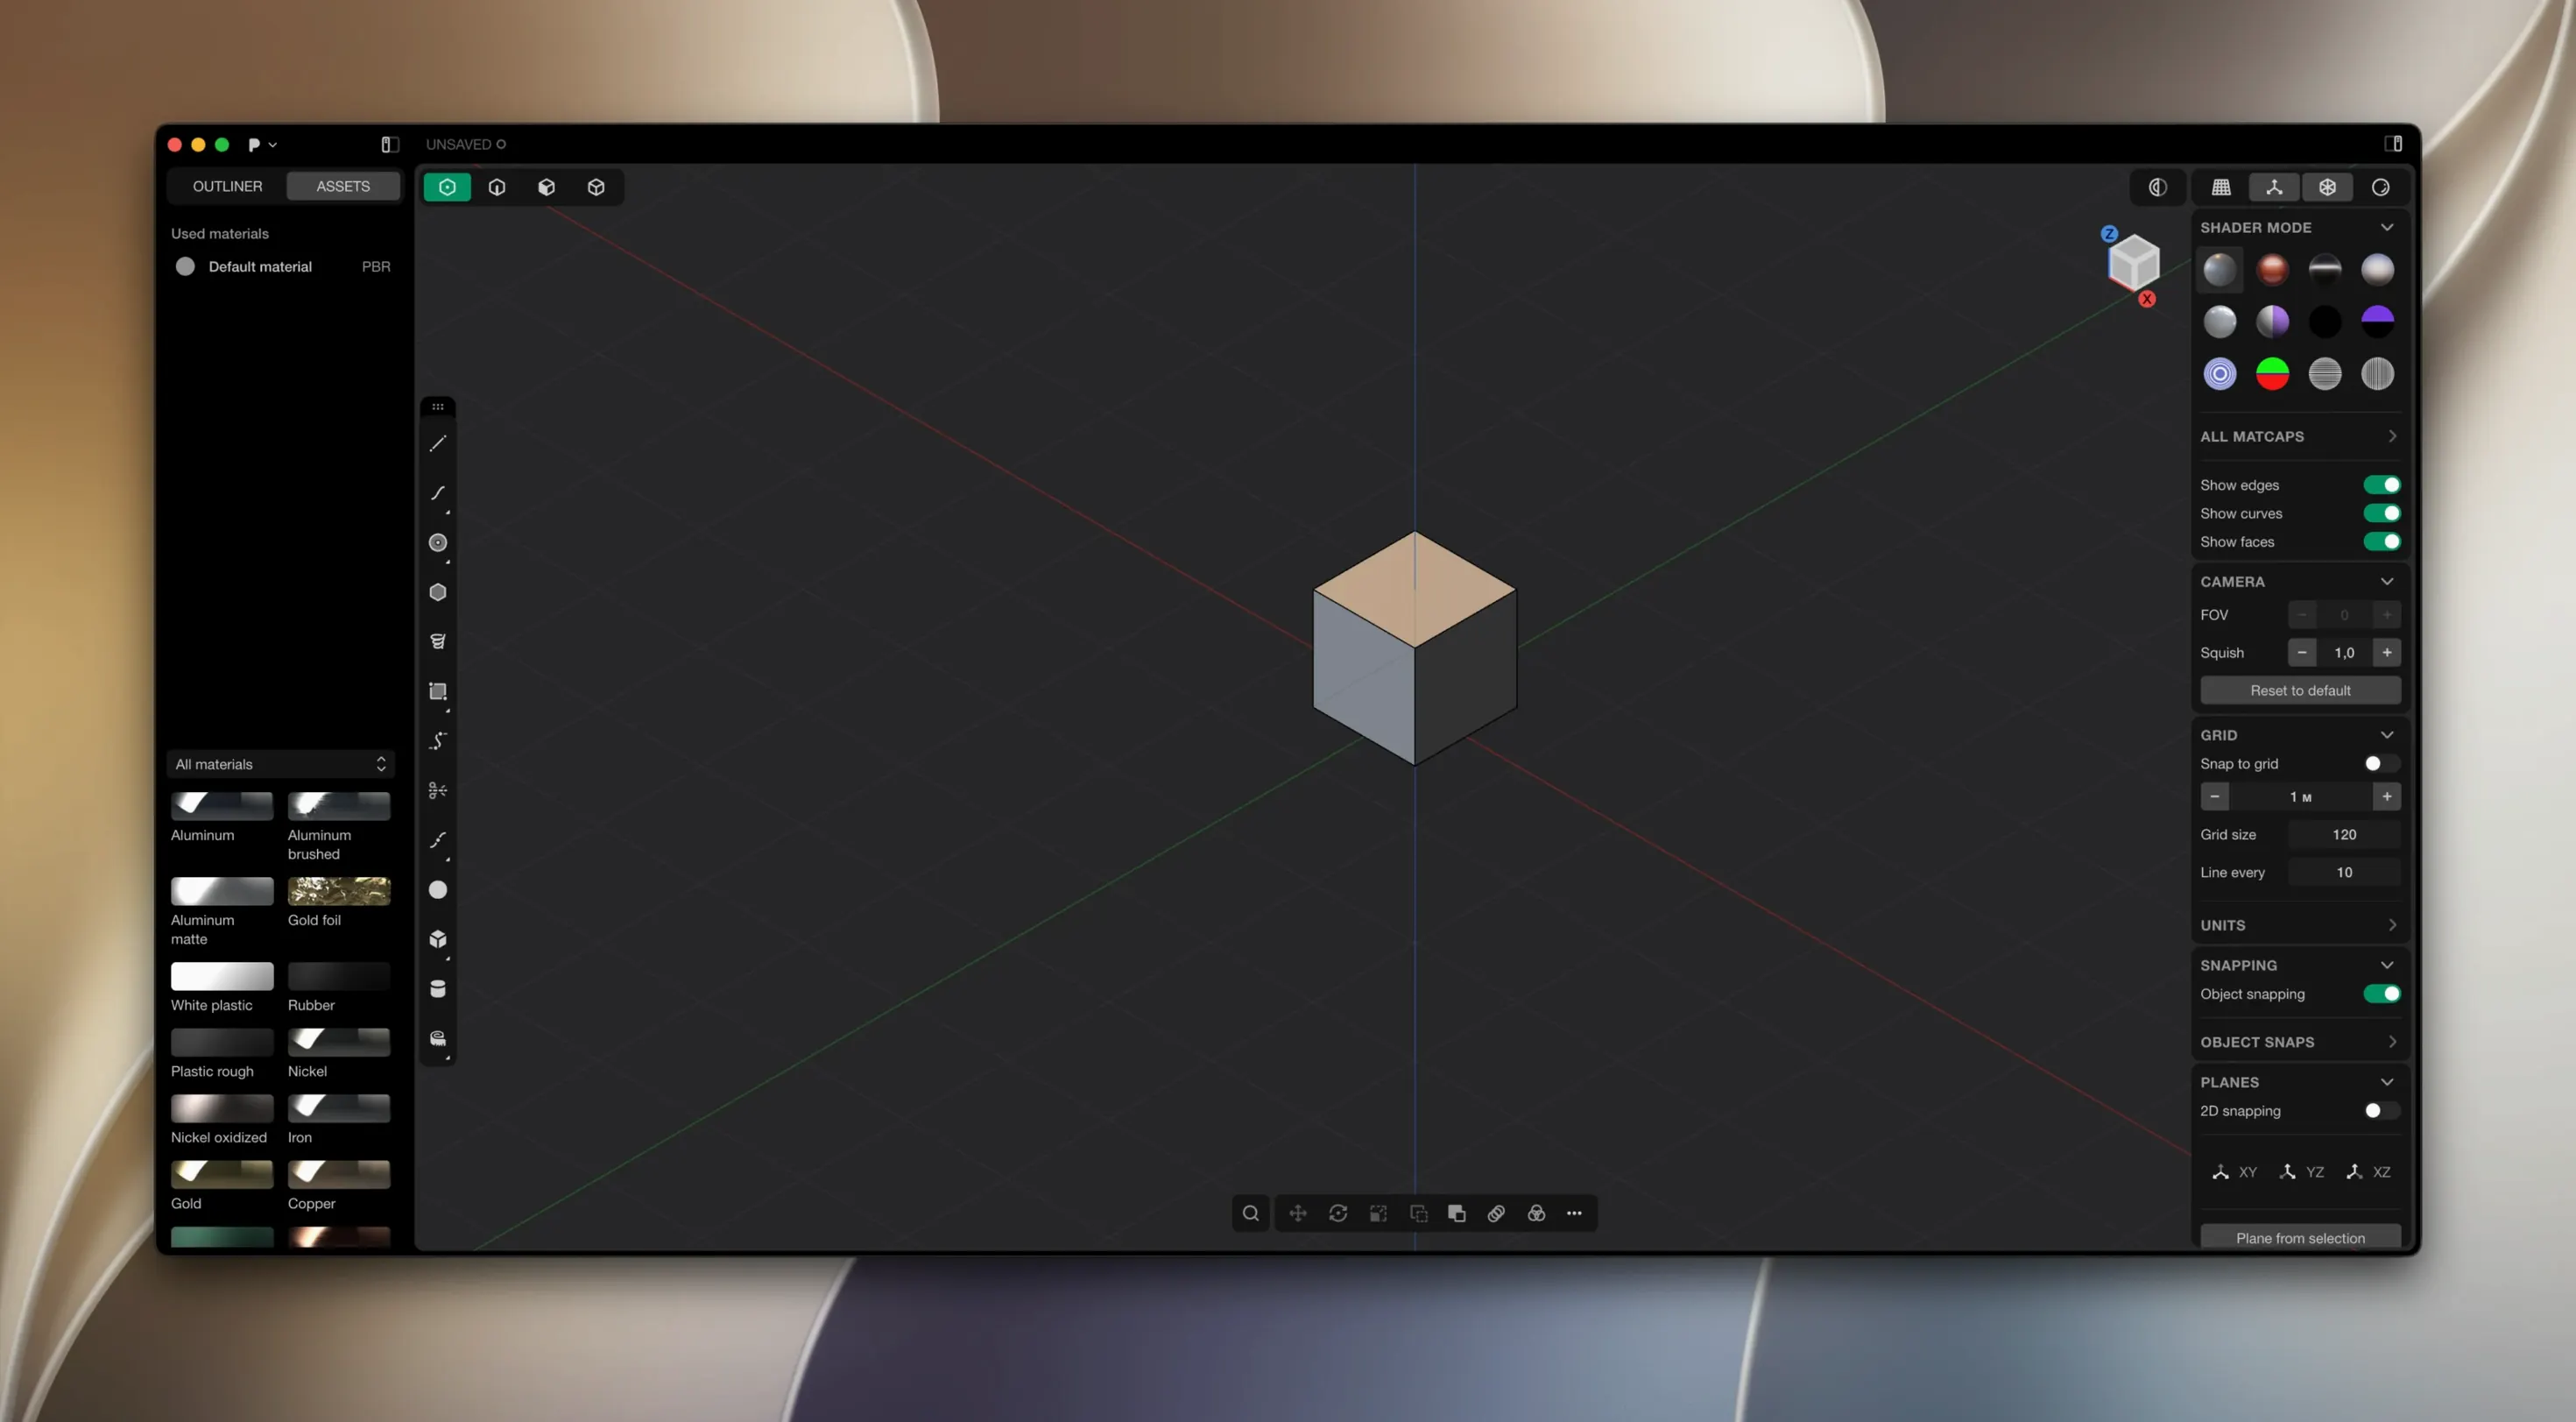
Most 3D tools ask you to choose between the precision of CAD and the feel of direct polygon modelling. Plasticity 26.1.3 for Mac steps into that gap with a hybrid approach that keeps both sides talking to each other.
Solids and surfaces — the app handles both paradigms in a single workspace, so a solid body can borrow a curved surface when the design calls for it.
Watertight booleans — union, subtract and intersect operations produce closed, manifold results you can send straight to a slicer or a renderer.
XNURBS Surface blending — generates G2-continuous transitions between faces, which matters when reflections run across a car body or a product housing.
Live dimensions — click a face and type a number; the geometry shifts immediately rather than waiting for a rebuild. The current release also carries forward Export Hidden Line, letting you pull clean technical SVG line drawings from the viewport without leaving the app. Everything runs natively on Apple Silicon, and the Studio edition extends the toolset with PolySplines conversion and expanded CAD translation for production pipelines.
Hard-surface focus leaves Blender’s universe behind
Plasticity doesn't try to replace Blender, and that is the first thing worth understanding. Blender is a universe — sculpting, animation, compositing, simulation nodes, a non-linear video editor. Plasticity ignores all of that and stays focused on hard-surface modelling with industrial precision. If you are blocking out a character or rigging a creature, Blender remains the obvious choice. If you are designing an enclosure, a bracket, or a consumer product with fillets that have to be exactly 2 mm, Plasticity gets you there faster because the geometry kernel was built for it.
Compared with Fusion 360, the difference is mostly about history. Fusion 360 ties every operation to a parametric timeline; change an early sketch and the whole tree recalculates. That is powerful when a design evolves through iterations with a team, but it also means you spend time managing dependencies and waiting for recomputes. Plasticity opts for direct editing — push a face, drag an edge, type a dimension, and the solid updates in place. No timeline to scroll through, no yellow warnings when a fillet breaks because a parent face shifted. The trade-off is that you lose parametric editability, but you gain a modelling session that feels closer to sculpting clay than to filling out a spreadsheet.
Moi3D shares the most DNA with Plasticity. Both are lightweight Nurbs modellers, both favour direct manipulation, and both feel comfortable in the hands of someone who wants to sketch in 3D rather than engineer a feature tree. Plasticity distinguishes itself with the Parasolid kernel under the hood — the same one that powers SolidWorks and NX — which makes its booleans and fillets remarkably tolerant of messy edge cases. It also wraps the experience in a modern viewport with real-time curvature analysis and a UI that doesn't feel like it was ported from Windows XP. Moi3D rewards a certain kind of patience; Plasticity rewards the impulse to grab geometry and see what happens.
Shift-drag keeps edges glued to their faces
A few shortcuts live just below the surface and tend to surface in forum threads rather than the manual. Holding Shift while dragging an edge constrains movement along its connected faces, which saves you from accidentally pulling a vertex into empty space. Double-tapping G repeats the last command — surprisingly useful when you are filleting a dozen edges across a part and don't want to keep reaching for the toolbar.
The Alt + click behaviour on the viewport rotates around whatever is under the cursor rather than the scene origin. Small thing, but once you get used to it, going back to a modeller that always orbits around world centre feels like driving with the handbrake on. The viewport also supports a quick isolate command: select what you want to keep visible and press Ctrl + I. Everything else vanishes until you tap it again. For assemblies with overlapping parts and tight internal corners, this alone cuts a lot of zooming and squinting.
One less obvious convenience is the way the app handles unit switching. You can start a project in millimetres, type an imperial dimension like 3/8" into any input field, and it converts on the fly. The model stays metric, but you don't have to do mental math at the keyboard.
Coplanar faces make booleans vanish silently
The most common frustration new users report is a boolean operation that produces nothing — no error, no crash, just an empty result. Almost always, the culprit is two objects whose faces are exactly coplanar. If a subtract body sits flush against the surface it is cutting, Parasolid can't decide what is inside and what is outside. The fix is a tiny offset: move the cutting body by 0.001 mm along its normal and the boolean resolves cleanly. You can also use the Offset Face command on the cutting solid before the boolean.
Fillet failures are the other regular visitor. A fillet radius that exceeds the available surface width will simply refuse to generate, and Plasticity won't always tell you which edge is the problem. The fastest triage method is to select half the edges, apply the fillet, and if it fails, halve the selection again until you isolate the bad edge. Break the fillet into two smaller operations with different radii, or adjust the surrounding geometry slightly — a 0.05 mm shift on an adjacent face is often enough to give the solver room to breathe.
If the app feels sluggish on an Apple Silicon machine, check whether you have inadvertently left Curvature Analysis running on a dense surface. The zebra-stripe shader recalculates every frame and can drag the viewport on complex parts. Toggle it off from the Analysis menu when you are done checking tangency.
Break a cube on purpose to find the limits
Start by building something simple and wrong, on purpose. Grab a cube, push faces around, boolean it with a cylinder, fillet every edge at once just to see which ones break. Better to learn where the limits live on a throwaway shape than on a deadline model.
Set your default units before the first real project. Plasticity remembers the last unit system you used, so if you open it fresh and start modelling, you may end up with an inch-based file that you meant to be metric. The setting lives under File > Scene Settings and is worth checking before you draw anything.
Organise parts with the outliner early. Plasticity doesn't enforce a hierarchy, but naming solids as you create them — "housing_base", "battery_tray", "button_blank" — makes boolean selections much faster when the model grows past ten bodies. The outliner also supports grouping with Ctrl + G, and groups can be hidden or locked as a set. For anyone moving between Blender and Plasticity, the muscle memory transfers directly.
Finally, get comfortable with the Patch workflow for surface modelling. Rather than trying to loft everything from profile curves, try building a coarse cage of surfaces, stitching them with XNURBS blending, and then filling gaps with the Patch command. The results come out G2-continuous more often than not, and the process feels closer to patching a physical clay buck than running a CAD feature script.
- macOS 10.14 or later
- Apple Silicon native