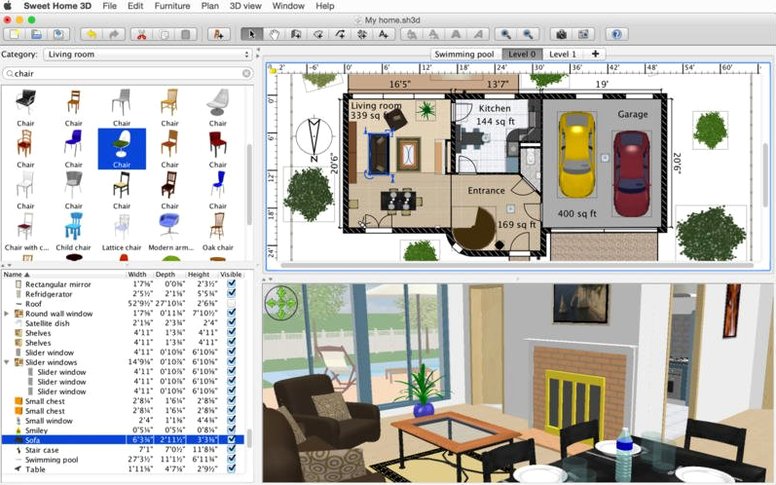
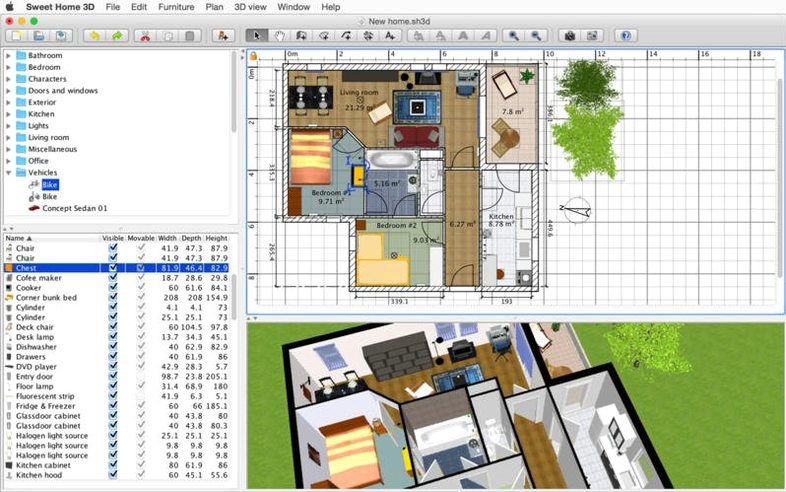
If you have ever nudged rectangles around in a floor-plan editor and wished you could just step inside the drawing, Sweet Home 3D closes that gap. Emmanuel Puybaret’s app keeps the familiar drag-and-drop layout of a 2D drafting tool but pairs it with a real-time 3D view that updates as you work — switch between an aerial perspective and a first-person walkthrough without leaving the project.
Draw and furnish a floor plan
Walls snap into place as you trace rooms, and a library of furniture sits ready to drag onto the canvas. Every item can be resized, rotated, raised off the floor and recoloured, while walls, floors and ceilings accept their own textures or paint tones.
View the space as a visitor would
The 3D pane lets you orbit the house or drop to eye level and walk through doorways. Changes you make in the plan appear immediately in the rendered view, so proportions and sightlines become obvious long before anyone lifts a hammer.
Share plans and video tours
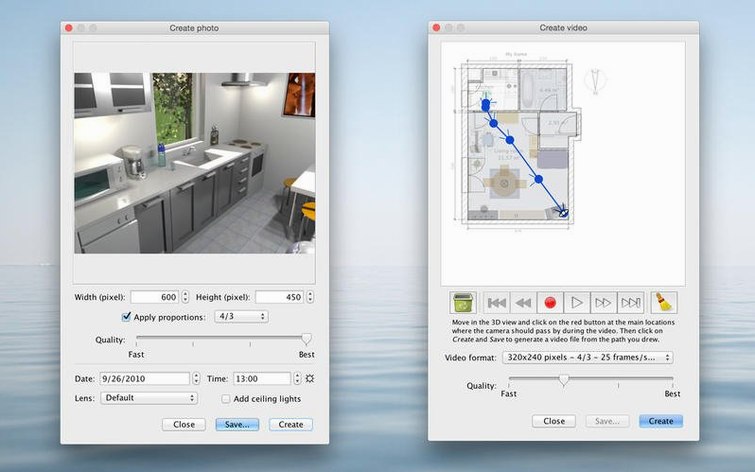
Export finished layouts as PDF, PNG, JPEG, SVG or OBJ files straight from the menu. A video-creation tool captures a moving camera path through the rooms, giving you a short walkthrough clip without needing a separate screen recorder.
A renovator's Saturday morning
Picture someone who just bought a 1970s bungalow with a kitchen that hasn't seen an update since the Trudeau years. They've measured the room twice, sketched it on graph paper, and now they're staring at a stack of IKEA catalogues wondering if an island will fit without blocking the patio door. The 2D plan in Sweet Home 3D takes about ten minutes to trace from those measurements — walls snap to length as you type, and the grid keeps everything square. Dragging in a base cabinet, a fridge and a peninsular counter from the default catalogue gives an immediate sense of scale. Switching to the visitor viewpoint and standing where the sink would go reveals that the window is off-centre relative to the counter run, something the paper sketch completely hid. A quick shift of the plumbing wall in the plan, and the whole layout balances. That one catch, spotted before demolition started, probably saved a weekend of swearing.
Walls that look closed but won’t fill a room
The most common frustration is walls that refuse to form a closed room. Sweet Home 3D calculates room surfaces automatically, but only when walls connect at their endpoints. If a corner looks joined in the 2D view but the floor texture doesn't fill in, zoom right in — there's often a tiny gap where one wall end sits a pixel or two past the other. Drag the endpoint until it snaps to the adjacent wall's centreline and the room will register.
Another head-scratcher is furniture that disappears after resizing. The app respects elevation, so if a table gets set to a height of zero and the room's floor level is slightly above that, the object sinks out of sight. Select the item, open its properties and check the elevation field — setting it to match the floor height brings it back. The same logic trips people up with ceiling lights, which need a positive elevation to hang down from the ceiling plane rather than sitting on the floor.
Performance chugs on older Macs when the 3D view is set to high quality and the plan has dozens of detailed imported models. Dropping the rendering quality in the 3D view preferences or hiding furniture on levels you aren't currently editing keeps navigation smooth. Imported OBJ models with huge texture files are the usual culprits — the built-in catalogue items are far lighter.
Shift-rotate snaps chairs to the table
Double-clicking a wall colour or texture in the furniture list opens the texture editor without needing to right-click. Holding the Shift key while rotating furniture constrains rotation to 15-degree increments, which lines up chairs around a table in seconds. The arrow keys nudge a selected item by one grid unit — tap for fine adjustments without dragging. If you need the same custom-coloured cabinet in six rooms, set one up, copy it with Command-C and paste it wherever it belongs; the colour, size and elevation all carry over.
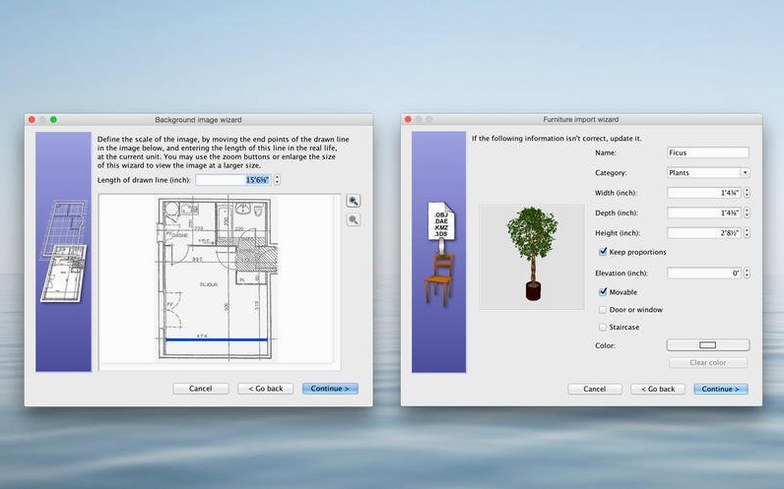
The furniture catalogue has a search field that works across the entire hierarchy. Typing "stool" shows bar stools, piano stools and workshop stools from different subcategories at once — no need to browse through kitchen, living room and miscellaneous folders separately. And for anyone who leans heavily on imported models, the furniture library editor lets you add your own folders and categories so downloaded OBJ files don't clutter the default catalogue.
Set wall thickness to match real walls before you draw
Under File > Preferences, the default wall thickness is set to 15 cm. Most North American interior walls are closer to 12 cm and exterior walls run thicker — changing this before drawing saves re-selecting every wall later. The magnet toggle is switched on by default, and it's genuinely useful for snapping furniture to walls, but turning it off temporarily makes placing angled items against diagonal walls far less twitchy.
The 3D view pane can be detached into its own window through the menu, which is essential on a single-display setup where the plan and the render compete for screen space. The separate window can be resized and placed on a second monitor if one is available. Also worth ticking: the "Display room ceilings" option in the 3D view menu is off by default, so rooms appear as open boxes from above. Toggling it on gives a much truer sense of enclosure when walking through at eye level.
Version 7.5 resolved sync issues that could appear when the 3D view was detached into its own window. Rendering of underground levels set at the same elevation now works correctly, and Thai interface fonts display as expected.
- OS X 10.9 or later
- Apple Silicon or Intel 64-bit
Questions from the booth
Yes, it includes a tool that records a 3D walkthrough along a path you define, so you can share a moving tour of the space as a video file.
You can export floor plans and 3D views to PDF, PNG, JPEG, SVG and the OBJ 3D model format.