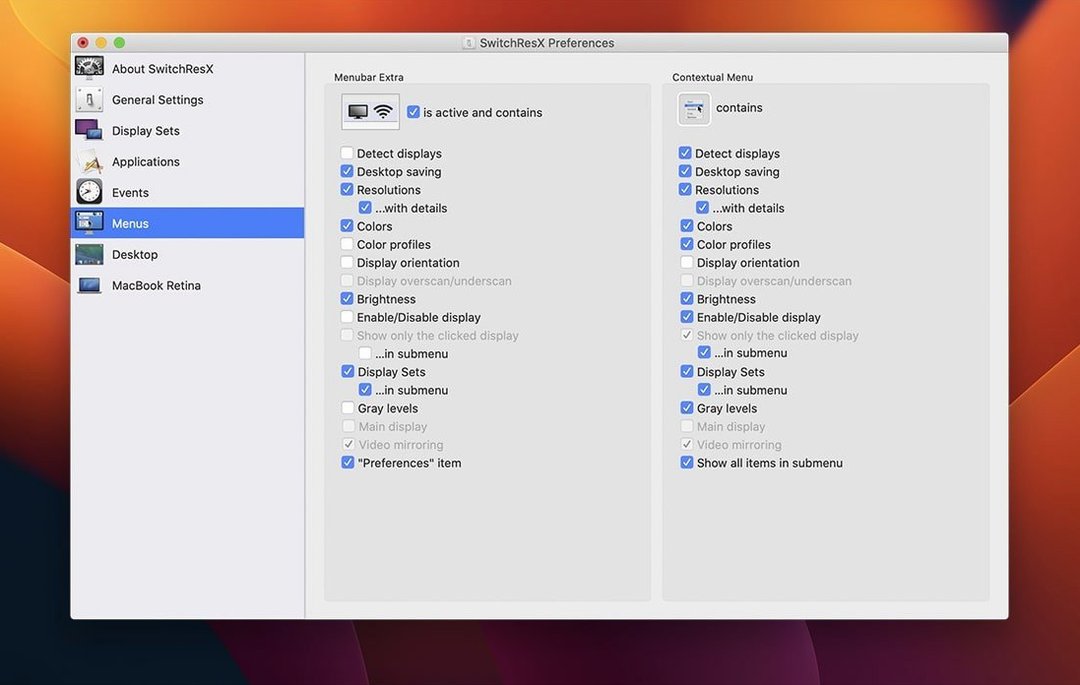
SwitchResX runs on any Mac from OS X 10.10 onward, on both Intel and Apple Silicon machines. A colourist I know keeps a SwitchResX full preset called Grade monitor that sets her Flanders to 1920×1080 at 24 Hz with a calibration LUT active and the GUI display dimmed—one click, no diving through System Settings. The tool’s vocabulary can feel a little dense on first launch, so here are the terms that matter on a grading day.
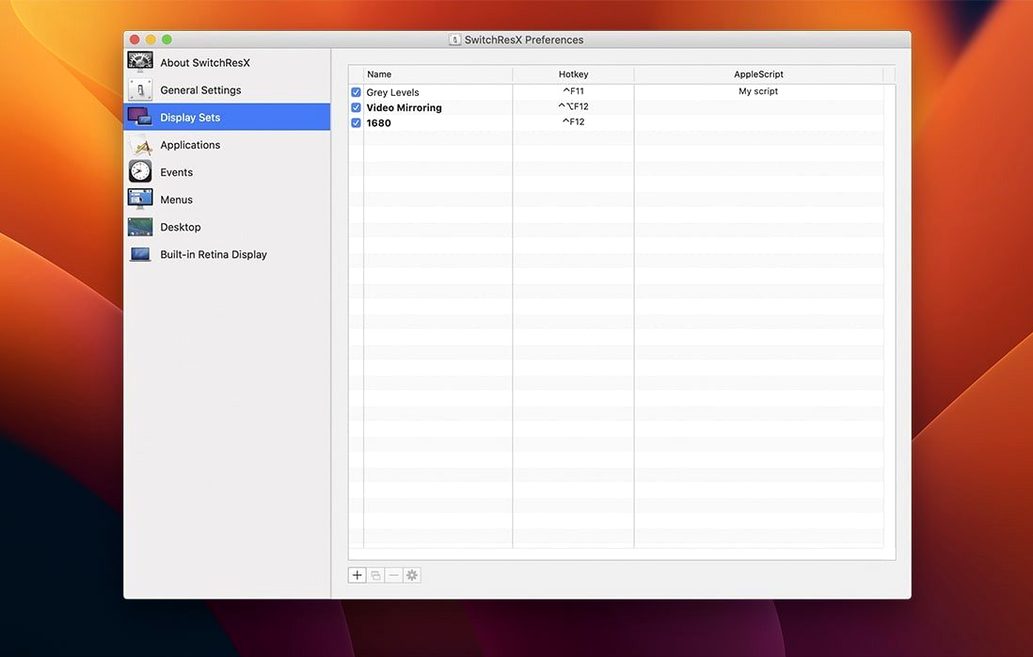
Display Sets — Named collections of resolution, bit depth, refresh rate, colour profile, and rotation. You build one for each working scenario and switch between them from the menu bar without reopening panes.
Custom Resolutions — Scaled modes you define yourself, even ones macOS hides from its own list. Useful when a client monitor insists on an odd pixel clock.
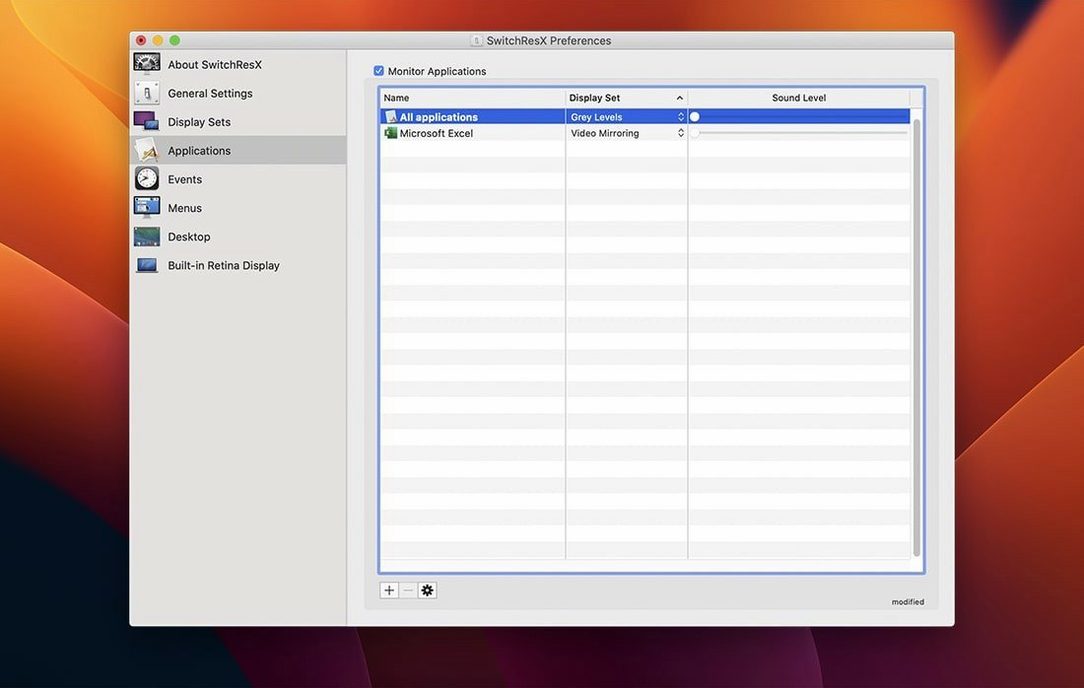
Application linking — A rule that says “when DaVinci Resolve is frontmost, activate the Rec.709 Display Set.” The screen shifts the moment you click into the app.
Colour & resolution profiles — A single file that bundles a display mode with a specific .icc profile. Drop it onto a second screen, and both the signal and the colour pipeline change together.
First days with SwitchResX — a quiet setup routine
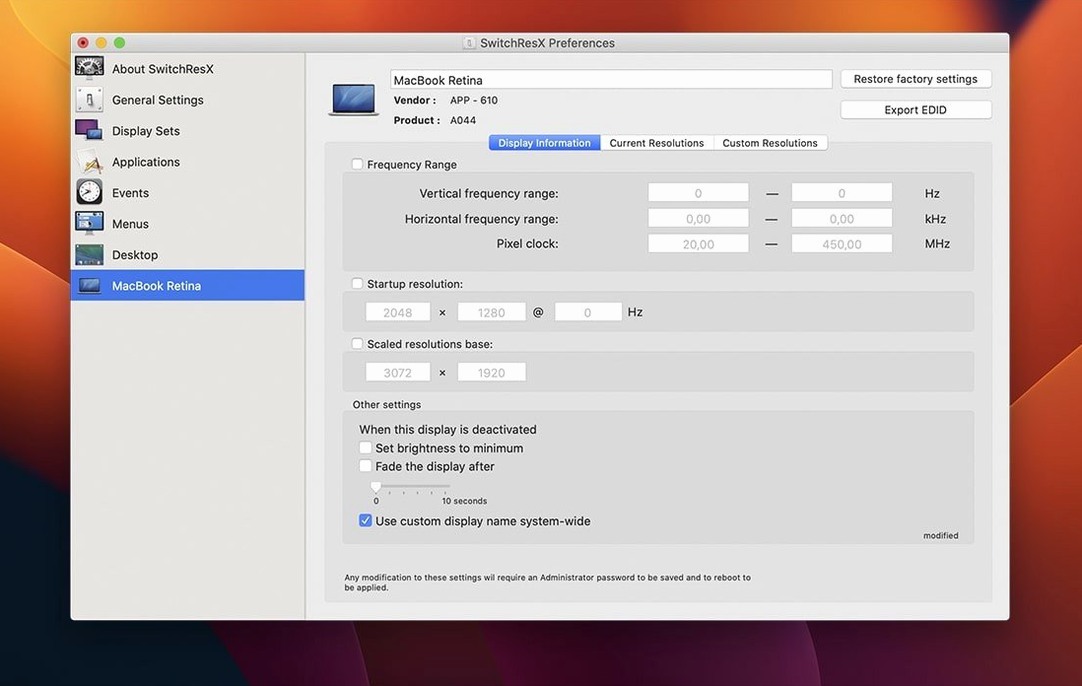
The pane that opens after installation looks nothing like System Settings, and that’s deliberate. Before you create a single custom resolution, spend twenty minutes naming your displays in the left column. macOS often labels two identical LG or Dell panels as “Display (1)” and “Display (2),” which becomes unreadable once you start building Display Sets. Click a monitor in the list, type a name that matches how you think about it — “Breakout monitor,” “Client screen,” “Flanders CM171” — and suddenly every dropdown in the app makes sense.
Leave the Save changes automatically checkbox enabled for the first few days. It’s easy to untick later for purely experimental sessions, but early on it prevents the frustration of building a careful resolution, switching away, and losing the work because you never hit Save. The app warns you when a custom resolution is unsaved, but the warning is quiet — a small yellow dot next to the mode name, easy to miss when you’re focused on pixel clocks.
Another habit worth forming early: take a screenshot of any custom resolution’s timing parameters before you test it. If a mode blanks the screen and never returns, macOS will fall back to a safe resolution after fifteen seconds, but the params you just typed are gone with it. That screenshot has saved me more than once on a Sunday night with a client monitor that wanted 2048×1080 at 47.95 Hz.
Things buried in menus that repay the digging
Hold Option while clicking the SwitchResX menu bar icon and you get an expanded list that shows every resolution the display reports as valid, not just the ones macOS deems “recommended.” On a BenQ projector I use for test screenings, that reveals 2048×858 — a DCI 2K container the standard menu hides. It’s been there all along; SwitchResX just stops filtering it.
The Command-S shortcut works inside the Custom Resolution editor to save the mode you’re building without leaving the dialog. It’s not listed in any menu, but it’s faster than aiming for the Save button when you’re iterating on a timing that keeps dropping sync.
If you’re using Application linking, drag an app onto the rule list rather than browsing for it through the file picker. The drag accepts anything in your Dock or Finder — even a game launcher or a DaVinci project file — and it populates the bundle identifier correctly, which avoids the “app moved or renamed” error that the picker sometimes introduces. A small thing, but it makes the feature feel less fragile.
Common hiccups and how to walk them back
The most frequent support-thread question is a black screen after testing a custom resolution. Don’t force-restart. Wait the full fifteen seconds — macOS reverts automatically. If it doesn’t (rare, but it happens on older Intel machines), plug in a second display or connect via Screen Sharing from another Mac. Both give you a live desktop where you can open SwitchResX and delete the offending mode.
A subtler snag: you create a Display Set, it works, and then a week later it’s greyed out in the menu. Nine times out of ten you’ve unplugged the display the Set was saved for and plugged it into a different port on the same Mac. macOS sees that as a new display with a new UUID. To fix it, reconnect the display to the original port, export the Display Set (right-click it in the Monitor pane), then import it onto the display’s new port entry. It’s a quirk of how the operating system identifies hardware, not a SwitchResX bug, but it catches people who hot-desk with a single Thunderbolt dock.
Another one: HiDPI modes vanish after a macOS point update. The operating system sometimes resets its override list. Go to the Display Information tab for the monitor and click Apply System Updates — that re-inserts SwitchResX’s custom definitions into the plist that macOS reads on boot. No need to recreate anything.
What new users often get wrong
Treating custom resolutions as “the one the monitor should use all the time” is the big one. A mode you define is a signal you’re asking the GPU to output; it says nothing about whether the panel can scale it nicely. Always cross-check the display’s EDID report — SwitchResX shows it under the Monitor tab — to see the pixel clock range the panel actually supports. Pushing a 4K display into a 5K scaled mode with a 600 MHz pixel clock will blank the screen reliably, and no amount of tweaking the sync width will fix it.
Another mistake is enabling Start at login for the helper daemon while still in an experimental phase with custom timings. If a bad resolution gets saved and set as default, the helper will apply it on boot and you’ll stare at a dark screen before you’ve had coffee. Hold the Shift key during login to suppress login items, then open the app and delete the problematic mode before re-enabling the helper.
People also overlook that Display Sets can be triggered via AppleScript and shell commands. A one-line osascript call can switch to your grading set at the top of a Pomodoro timer or when a specific Wi‑Fi network joins. The script dictionary is sparse but documented in the Help menu, and once you’ve wired a Set to a Stream Deck button or a Keyboard Maestro macro, you’ll wonder why you ever opened the menu bar dropdown manually.
Finally, new users sometimes go hunting for a switchresx crack or switchresx torrent when the preference pane asks for a licence on first launch, assuming the serials file didn’t take. Many builds found through a SwitchResX torrent or crack come bundled with that file already in place—just verify it lands in /Library/Application Support/SwitchResX/ before the app launches. Quit the helper daemon, place the file, relaunch, and the registration dialog won’t appear again.
Version 4.14.2, released October 23, 2025, stops the app from repeatedly rewriting its own settings when no display is attached—a quiet fix that ends a lot of background churn. Displays that previously showed up nameless in macOS now carry a proper identifier, and deleting a Display Set that another set depends on no longer cascades into errors. On Apple Silicon machines, you can now quit the Dock cleanly when disabling a display.
- macOS 10.10 or later
- Intel and Apple Silicon Macs
Questions from the booth
Yes, version 4.14.2 explicitly allows the Dock to be quit when a display is disabled on Apple Silicon Macs, which helps avoid phantom window placement on headless setups.