Version 36.8 arrived quietly, carrying the kind of structural changes that reshape a daily drawing habit. Layer groups and subgroups landed alongside merge, reorder, and move actions — small words that mean you can finally organize a sprawling sketch without flattening your history into a single surface. The rest of the update is housekeeping: bug fixes and stability work that keep the app feeling responsive on Apple Silicon Macs.
Apple silicon only, no Intel path
Sketches Pro asks for a Mac with an M1 chip or later and macOS 12.0 Monterey at minimum. There is no Intel build, no Rosetta fallback mentioned — the app is native to Apple Silicon from the ground up. If your machine fits that description, the download is straightforward and the interface opens in English.
Unlimited layers and eight core brushes
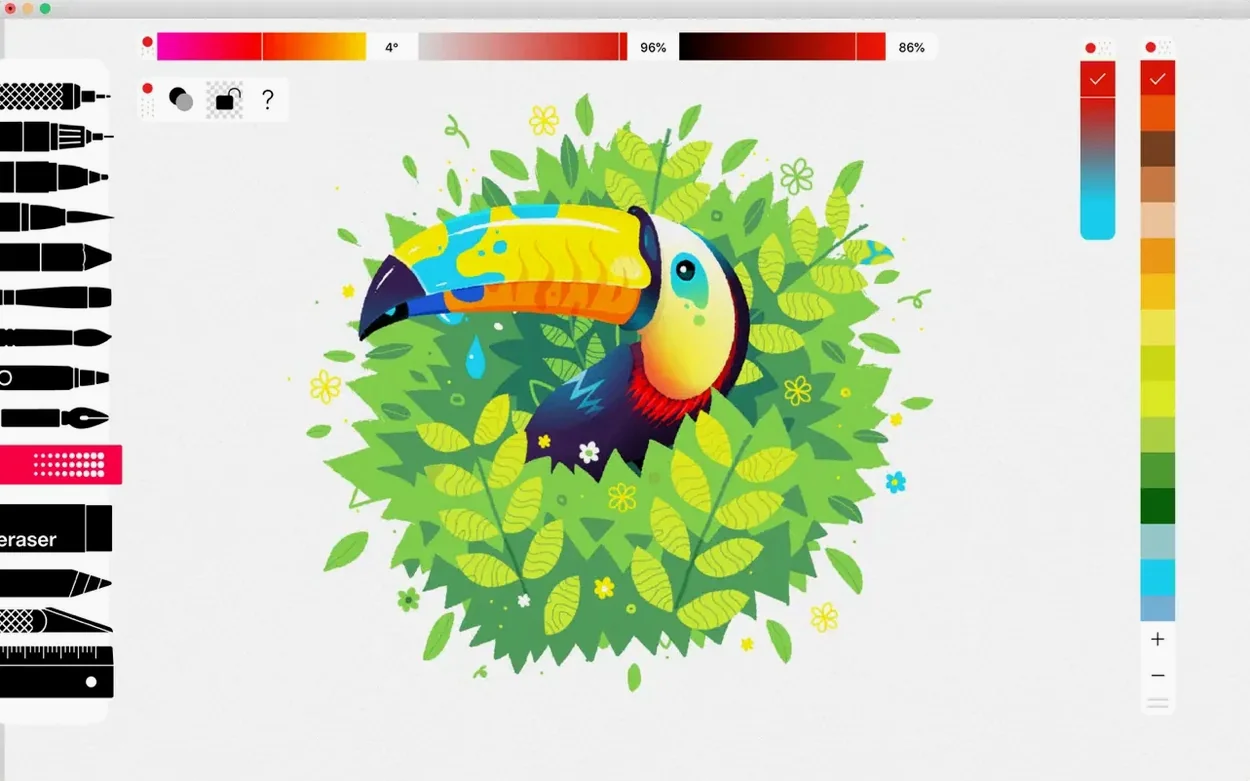
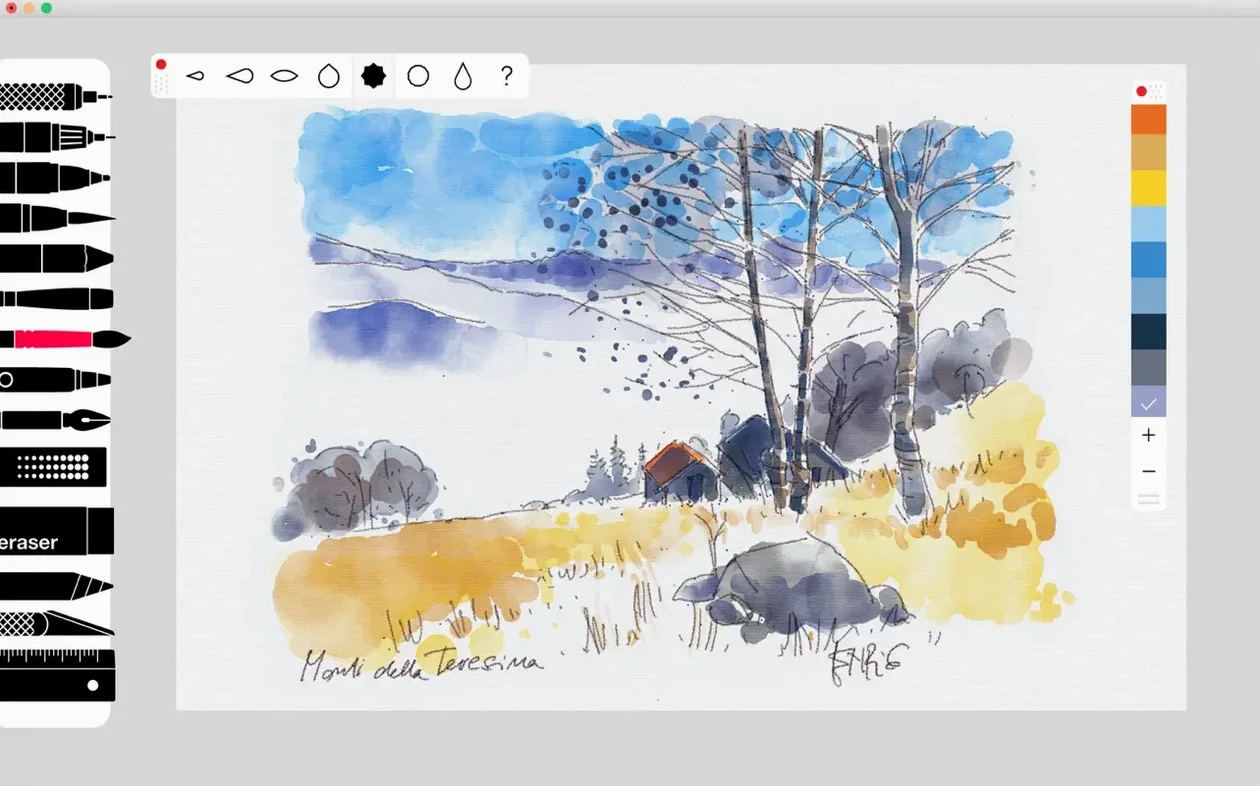
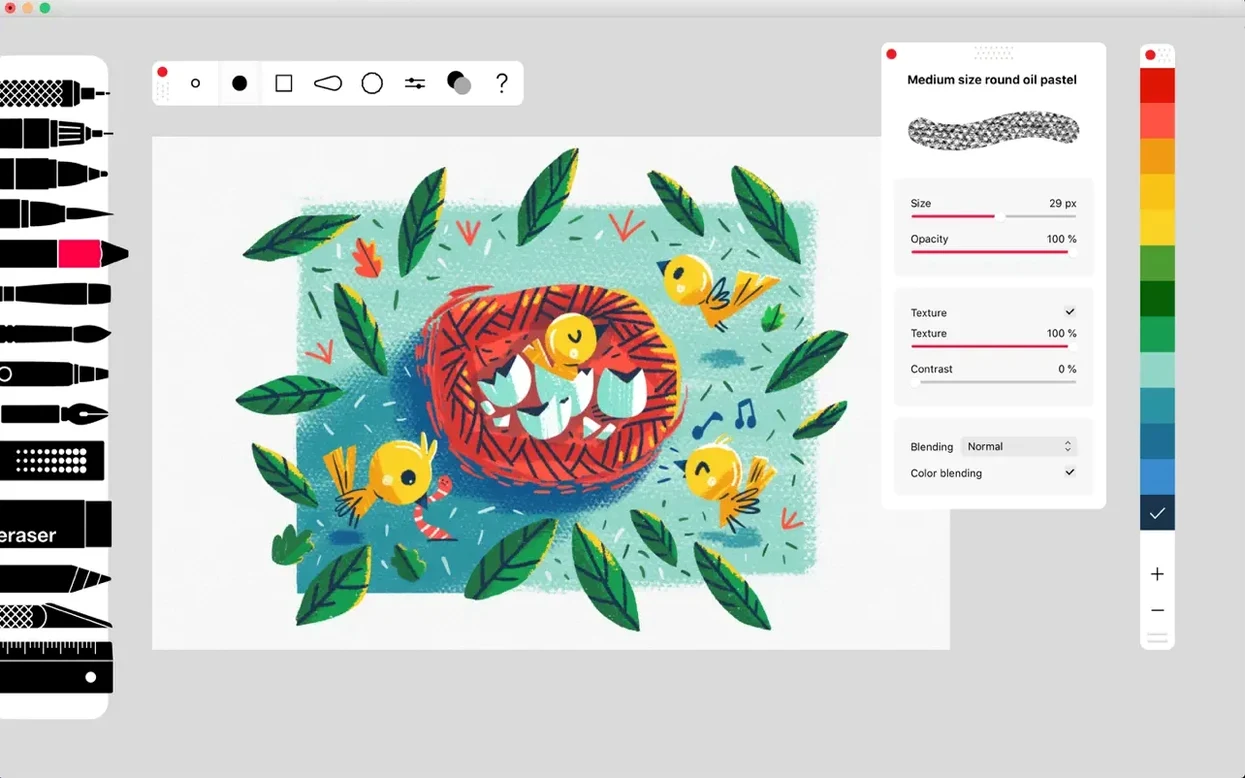
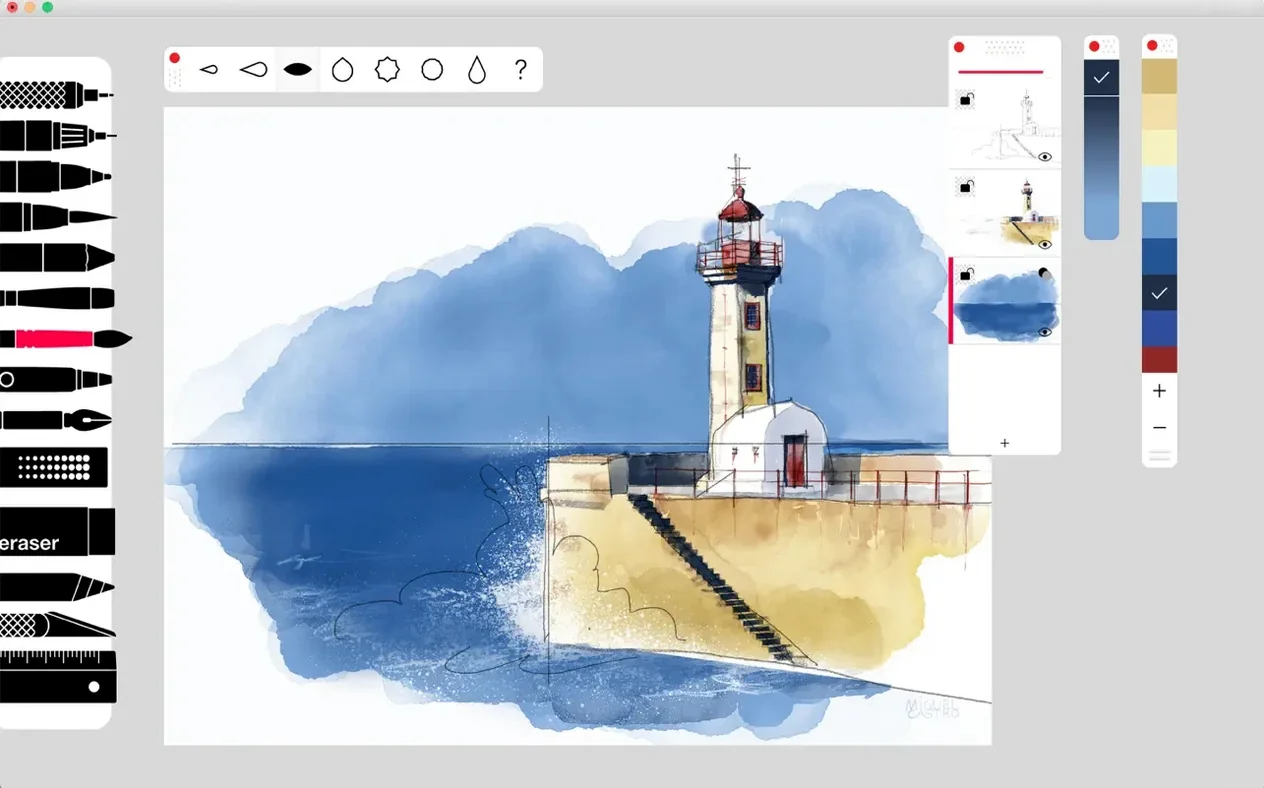
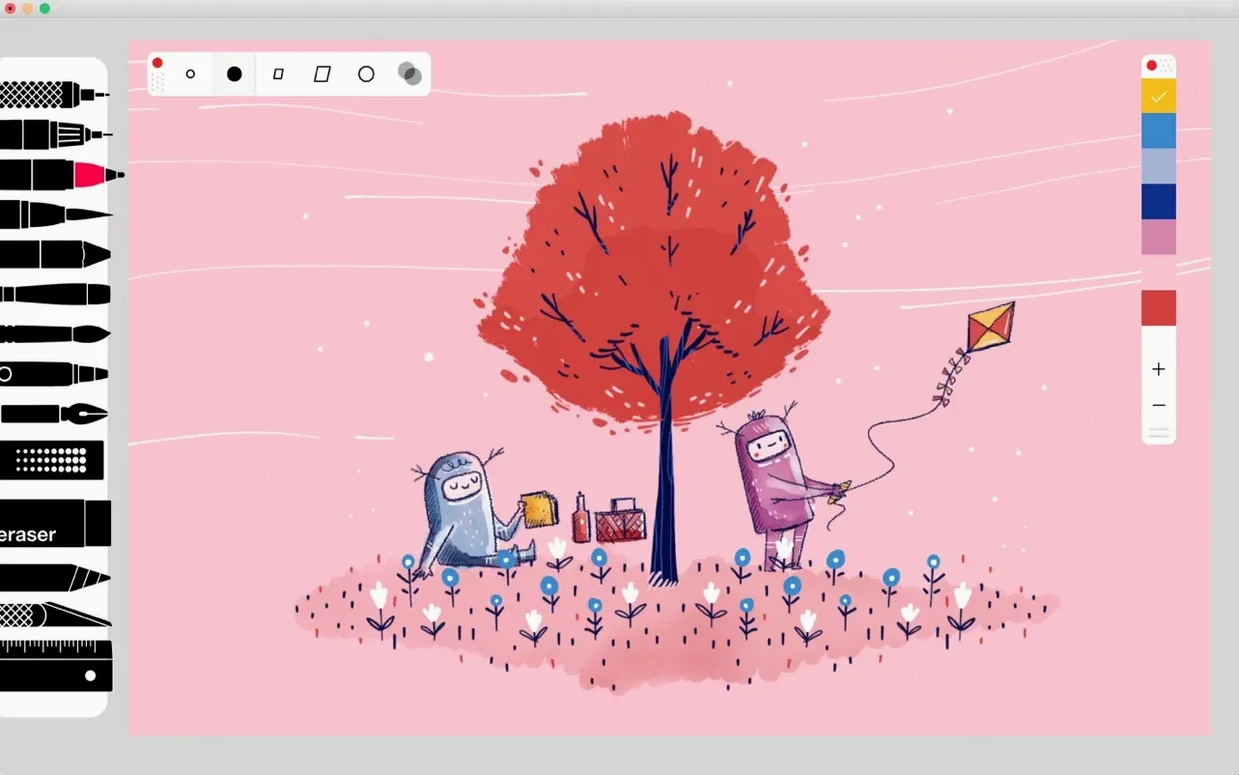
At its core this is the Pro bundle of Sketches, with unlimited layers and a brush set that covers a lot of ground: Pen, Rotring, Felt Pen, Pen Brush, Oil Pastel, Acrylic brush, Airbrush, and an Eraser. Each tool has a brush editor with a live preview, so you can watch the stroke change as you adjust pressure or texture rather than guessing from a settings panel. Colour palettes let you save and reuse mixes across sessions, and when a piece is finished you can export it as a layered PSD file. Everything syncs through iCloud, which keeps your drawings moving between devices without much thought.
Plenty of the app's best sketching moments happen in small gestures that are never explained during the first launch. Double-tapping the tool icon resets its size and opacity to default, which saves you from the slow drag back to centre when a brush has drifted into extremes. A two-finger tap anywhere on the canvas triggers undo — far quicker than hunting for the arrow in the toolbar, and it becomes muscle memory within a day. The colour picker holds your last six used shades as swatches without asking; you only notice it when you reach for yesterday's grey and it is already there. If you work with the Ruler, dragging from its edge creates a guide line that snaps your stroke into perfect straightness, but holding Shift while drawing does the same thing without the ruler visible, which keeps the screen cleaner during quick ink work.
Layers respect parent-child logic in ways that go deeper than the release notes suggest. Once you nest a subgroup inside a group, the parent group's opacity and blend mode cascade down to every child layer silently — no extra settings, no toggles. That means you can build a shadow pass across five layers, group them, and dial the whole cluster back with one slider. Merging layers now pulls their names into a single editable label instead of defaulting to "Merged Layer," a detail that matters when you export a PSD with fifteen layers and need the person opening it in another app to understand what they are looking at.
Turn off paper grain for a smooth white canvas
The default canvas opens with a paper texture that some illustrators find distracting. In the canvas settings, sliding the paper grain to zero gives you a flat white surface that behaves more like smooth hot-press stock — useful when you plan to colour digitally and want no texture baked into the export. The pressure curve lives under the brush editor's advanced tab, not in the general preferences where most people look for it. Dragging the curve gently upward at the midpoint makes light strokes register sooner, which helps if you are used to Wacom or iPad Pencil sensitivity and find the default a little stiff on a Mac trackpad.
If you use iCloud sync, the app defaults to syncing every sketch immediately. Turning on the manual sync toggle in preferences stops it from uploading rough thumbnails and half-finished gesture drawings you would rather keep local. The autosave interval is not exposed in the interface, but the app saves on every stroke by default — there is nothing to tweak, which is reassuring once you know it.
A standalone Pro app, not an add-on to the free version
The most common question is whether the Pro bundle replaces the freemium Sketches or sits alongside it. Installing Tayasui Sketches Pro gives you the full toolset in a single app; it does not layer on top of the free version as an in-app purchase, and the two can coexist on the same Mac without conflict. People also ask if a Tayasui Sketches Pro for Mac download requires an account. It does not. You open the app, the canvas appears, and you start drawing — no sign-in screen, no registration form. iCloud sync is opt-in, not a gate.
Another recurring question concerns PSD export fidelity. Layer groups, opacity settings, and blend modes survive the round trip to Photoshop and back intact. Layer names carry over as well, which means the organization you built in Sketches Pro is not lost when the file moves into a different pipeline. One limitation worth knowing: text layers do not exist in Sketches, so there is nothing to rasterize or lose on export — but vector shape layers are rasterized at the canvas resolution when saved as PSD. That is consistent with the app's raster-first architecture, and the export dialog warns you with a resolution summary before writing the file.
Quiet interface versus Fresco’s live paint simulation
Compared to Adobe Fresco, Sketches Pro keeps its toolset narrower and its interface quieter. Fresco leans heavily on live brushes that simulate watercolour bleeding and oil mixing in real time; Sketches does not attempt that simulation and instead gives you fast, responsive raster brushes that feel tuned for quick iteration rather than natural-media mimicry. Fresco requires a Creative Cloud account and an active subscription for the full brush library, while Sketches Pro opens to a complete set of tools without further gates. If you need watercolour physics, Fresco earns its place. If you want a sketchbook that opens instantly and never interrupts you with an account prompt, Sketches is the more direct route.
Next to Linearity Curve, the distinction comes down to vector versus raster. Curve builds everything as editable paths, which makes it excellent for logo work, icons, and anything that needs to scale across billboard sizes without a pixel penalty. Sketches Pro is a raster engine through and through — your lines are pixels the moment you lift the stylus. That sounds like a limitation until you spend an afternoon in Curve trying to shade with a soft pastel and realize vector gradients do not smudge the way your fingers expect. Sketches Pro gives you the Smudge tool and the Oil Pastel brush, and they behave like physical media in a way that a vector app cannot replicate without enormous complexity.
With Procreate, the comparison is inevitable but slightly off-target, since Procreate remains iPad-only. Artists who split their time between an iPad and a Mac often use both: Procreate for the bulk of painting and Tayasui Sketches Pro for quick colour studies, layout thumbnails, or PSD clean-up on the desktop. Sketches feels lighter than Procreate's desktop equivalent would likely be — fewer brush parameters, no animation timeline, no liquify or warp tools. But the trade-off is an app that launches in under two seconds on an M1 Mac and never shows a loading bar. For someone who just wants to sketch without managing a studio-sized tool palette, that brevity is the point.
Layer groups and subgroups arrived in version 36.8, along with merge, reorder, and move actions that make complex sketches easier to manage. The release also includes bug fixing and stability improvements.
- macOS 12 or later
- Apple Silicon or Intel 64-bit processor
Questions from the booth
Yes, Sketches Pro can export drawings as PSD files, preserving your layers for further work in Photoshop or similar editors.
It supports cloud sync through iCloud, so your drawings and palettes stay current across devices.