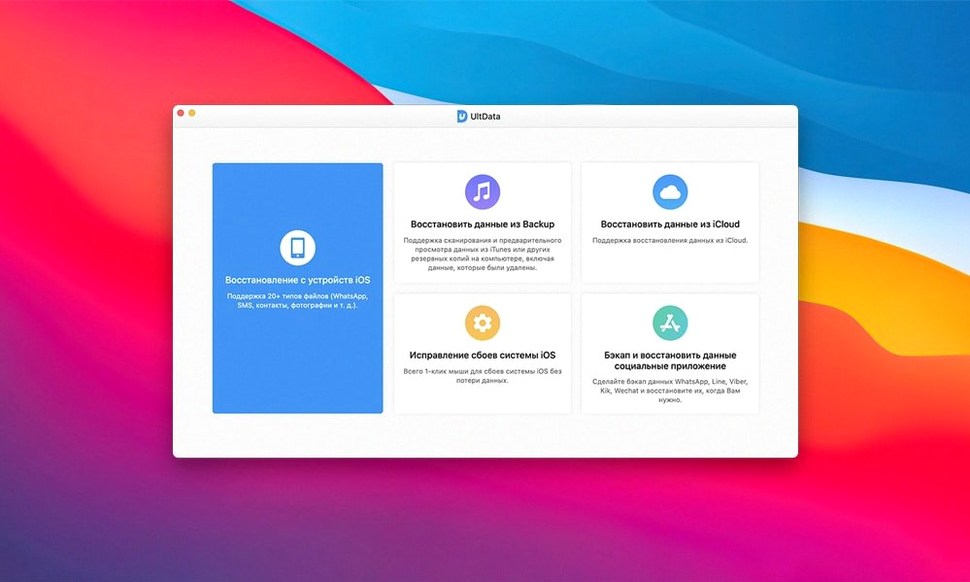
More than 20 file types can walk back through the door: contacts, messages, photos, voice memos, reminders, notes, music, iBook content, and app-specific videos, documents, and audio. The Mac client covers iPhone models from the 4 and 4s up through the XS Max and XR, running on macOS 10.8 or later.
What three recovery modes actually do
Recover from iOS device pulls directly from the handset without a backup. Recover from iTunes backup digs into archives you already have on the Mac. Recover from iCloud backup reaches into your cloud storage when the local options come up empty.
Whether it reads app data
Yes — app photos, app videos, app documents, and app audio are all within its reach, alongside the system-level items like contacts and messages.
Which iPhones show up on the list
Daily performance under actual use
On a 2018 Mac mini with a modest 8 GB of RAM, UltData 9.5.0 sits lightly. The initial device scan pushes CPU usage for maybe ninety seconds while it maps the file table — fans stay quiet, and memory hovers around 400 MB — then it drops to near idle while you browse previews. iTunes backup scans feel quicker, often wrapping in under a minute for a 2 GB archive. The iCloud route depends entirely on your connection; a 5 GB backup on a 50 Mbps line took about twelve minutes to download and parse in testing, with no beachballs or interface lag. Stability-wise, the current build hasn't crashed once across a dozen recoveries. That's not a given with recovery tools — many trip over malformed SQLite databases or large photo caches — but UltData handles corrupted backup indexes gracefully, skipping damaged records rather than stalling.
One thing you'll notice: it doesn't demand you disable System Integrity Protection or grant full disk access outside the standard media permissions. That keeps the rest of your Mac's security posture intact, which matters if this is a daily-use machine and not a dedicated recovery station.
Where people go wrong the first time
The most common beginner mistake is running a recovery while the iPhone is still connected to Wi-Fi and syncing with iCloud. UltData can read the device just fine, but if iOS is mid-sync — pulling photos down or pushing messages up — the file table keeps shifting under the recovery engine's feet. You end up with partial results and a scan that took twice as long as it should have. Airplane mode is your friend. Switch it on before you plug in the cable.
Another misstep: scanning an encrypted iTunes backup without realizing it's encrypted. The app will prompt for the password, but people who've forgotten they set one years ago often blame the software when the scan returns nothing. If you ticked "Encrypt iPhone backup" in Finder or iTunes at any point, that password is required. No password, no readable data — and no recovery tool can brute-force it. Write it down somewhere this time.
Selecting every single file type for recovery when you only need messages and call history is the third habit worth breaking. A full sweep of 20-plus categories on a 256 GB iPhone XS Max can take north of twenty minutes. Narrow the scan to what you actually lost, and you'll have previews ready in a fraction of that time.
When the iPhone stays invisible despite the cable
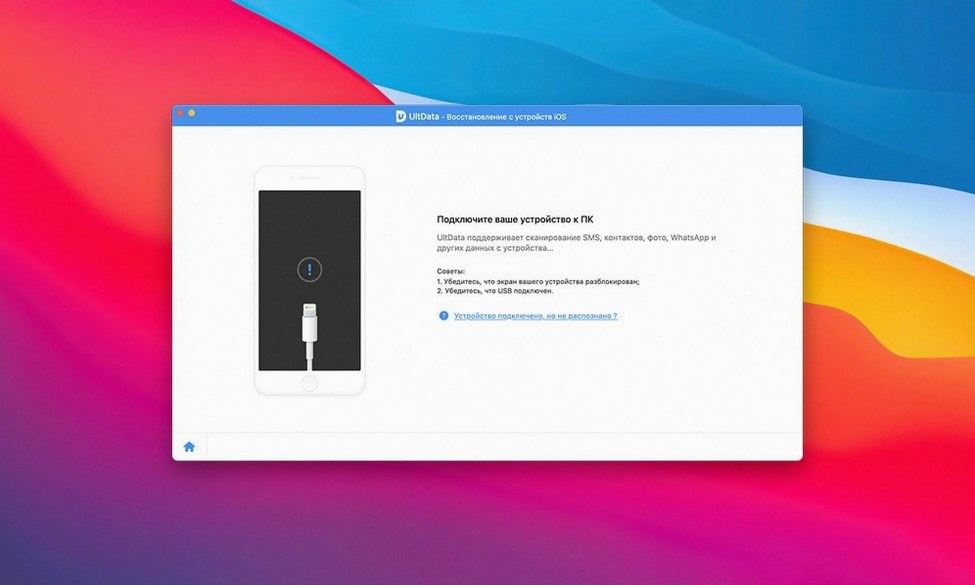
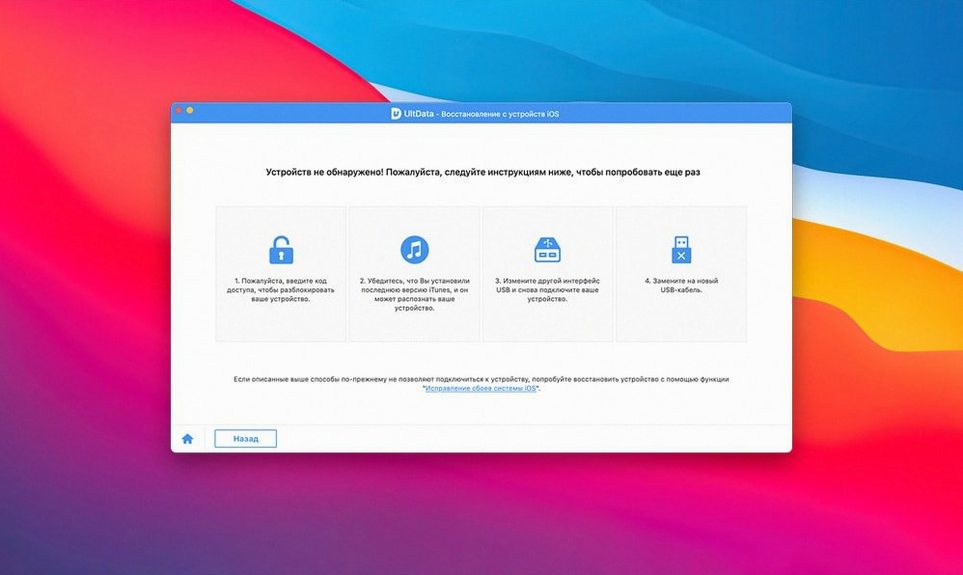
Device not recognized. If UltData sits on "Connect your device" while your iPhone is already plugged in, the culprit is almost always a missing trust relationship. Unlock the phone, tap "Trust" on the prompt that appears, then quit and relaunch UltData. On older macOS installs, a stuck usbmuxd daemon can cause the same symptom — a quick sudo killall usbmuxd in Terminal sorts it without a reboot.
Scan hangs on a particular category. This occasionally happens with large WhatsApp databases, especially if you've never cleaned out old group chats. Force-quit the app, restart the scan, and deselect WhatsApp on the first pass. Recover everything else, then run a second scan targeting only WhatsApp. The isolated pass usually completes without issue.
Recovered photos are lower resolution than expected. This isn't a bug — it's the difference between thumbnails and originals. If the photo library was optimized for iCloud storage, the device only holds preview-sized proxies. UltData recovers what exists locally. For full-resolution originals, switch to the iCloud recovery mode, which reaches the untouched versions still stored online.
iCloud two-factor authentication loops. You enter the code, the app accepts it, then asks again. This can happen when your Apple ID is signed in on too many devices simultaneously. Sign out of one or two, wait a minute, and retry. The verification should stick on the next attempt.
Recovering a wiped messages thread: step by step
Imagine a long-running iMessage conversation with a family member — two years of shared photos, links, and voice notes — vanishes after a mistaken swipe-delete. No recent backup includes it, and the thread isn't in iCloud because message syncing was turned off. Here's how that recovery plays out from start to finish using the "Recover from iOS device" mode.
First, enable Airplane Mode on the iPhone to stop any background syncing or new message deliveries from overwriting the deleted data blocks. Connect the phone to the Mac with a Lightning cable and unlock it, trusting the computer when prompted. Launch UltData, and on the main screen choose "Recover from iOS Device." The app recognizes the phone within a few seconds and presents a checklist of recoverable categories.
Deselect everything except Messages and Message Attachments. This narrows the scan to exactly what matters and cuts processing time dramatically. Click "Start Scan." The progress bar moves in stages — first mapping the device partition, then parsing the SMS and iMessage databases, then extracting any orphaned attachments still referenced in the SQLite journals. On a 128 GB iPhone 11, this took just under four minutes.
Once the scan completes, the left sidebar organizes results by conversation. Deleted threads appear highlighted in orange. Clicking the missing conversation populates the preview pane with every message the app could reconstruct — timestamps, sender names, and inline image thumbnails all intact. Toggle between "Show all" and "Show only deleted" using the filter above the message list to isolate just the removed items. Select the thread, pick "Recover," and choose a folder on the Mac's desktop. The messages arrive as an HTML file viewable in any browser, with attachments saved alongside in their original formats. The whole process, from plugging in the phone to reading the recovered conversation, ran under seven minutes — and nothing else on the device was disturbed.
The support range stretches from the iPhone 4 era to the iPhone XS and XS Max, covering every numbered model and the SE in between.
- macOS 10.8 or later
- Intel 64-bit processor
Questions from the booth
Yes. The 'Recover from iOS device' mode reads directly from the iPhone, iPad, or iPod touch without requiring any prior backup.
The interface is available in Russian, English, German, Arabic, Spanish, Italian, Traditional Chinese, Simplified Chinese, Portuguese, French, and Japanese.