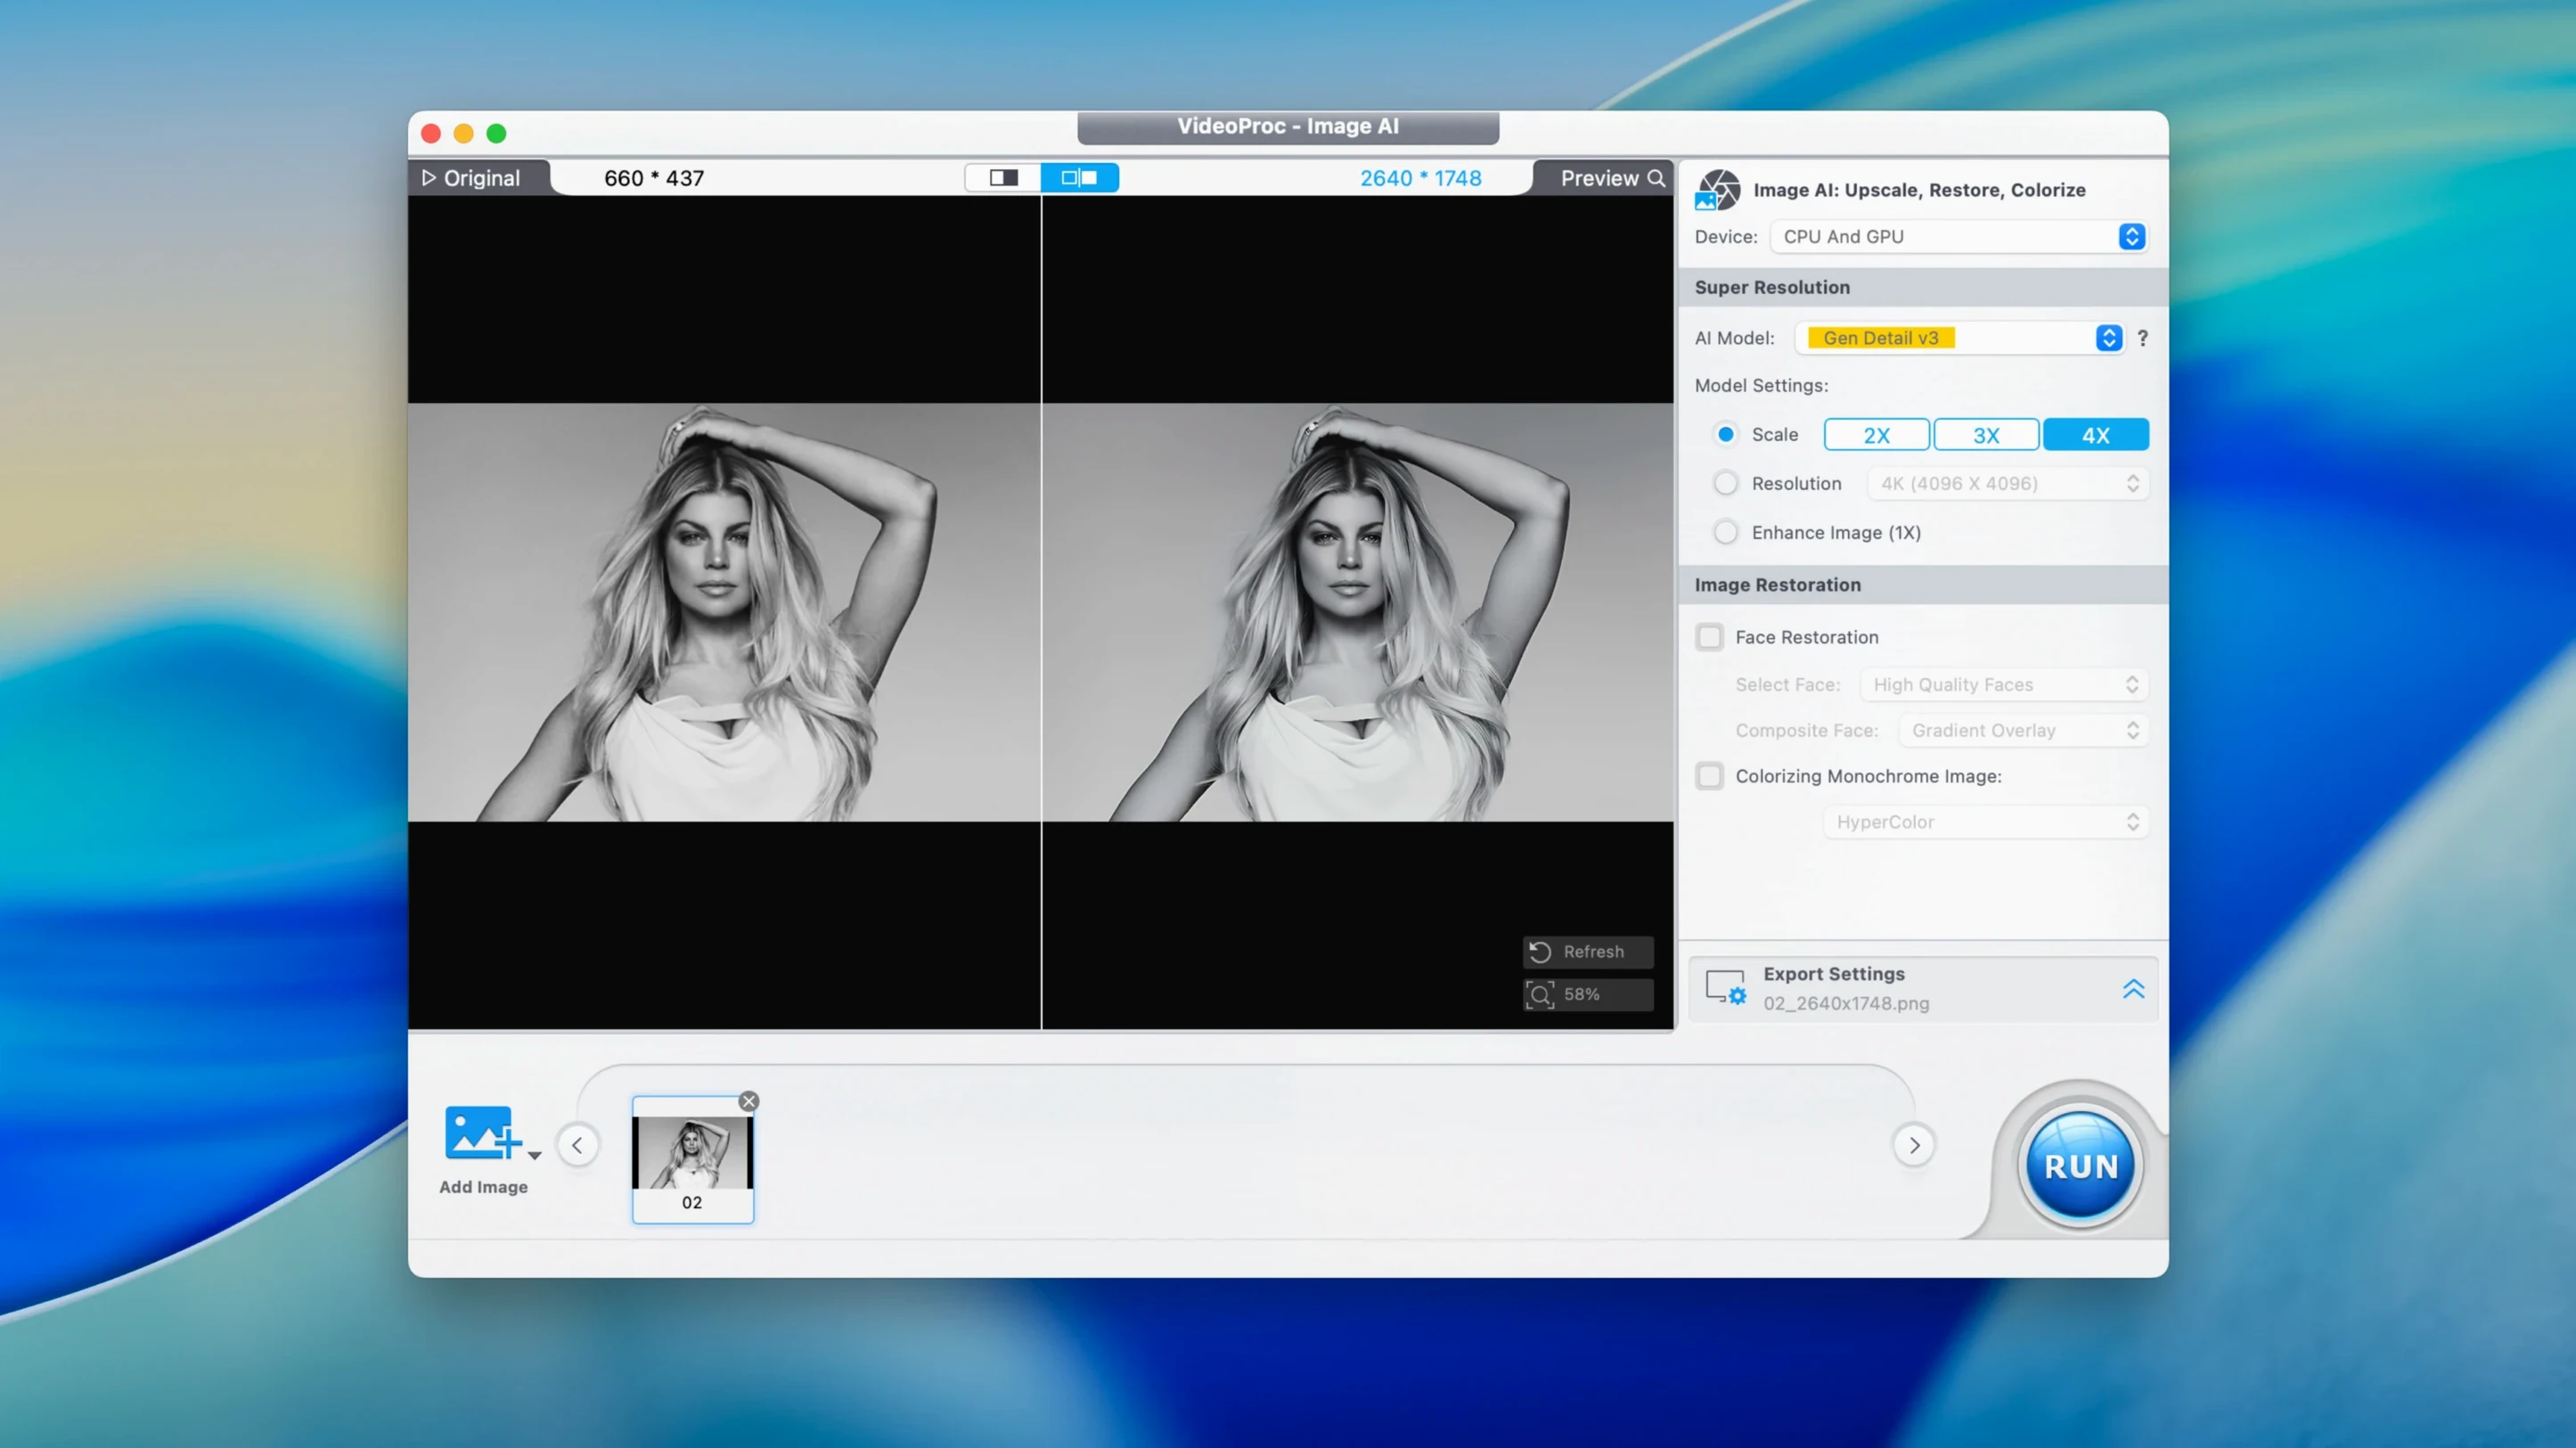
Over a thousand formats sit under one roof, from 8K HDR footage to the MP4 file you shot on a phone five years ago. VideoProc Converter AI remains that kind of Swiss-army device for Mac media — conversion, compression, downloading, and recording all living in the same window. The editing tools are light but useful: trim, merge, split, pull audio from a video clip, or stabilize shaky handheld footage until it breathes a little easier.
iPhone 18 footage lands without format friction
- iPhone 18 support so footage from the newest device lands without format friction.
- macOS 27 readiness for anyone already running Apple's latest desktop environment.
- A smaller installer that gets out of your way faster.
- Quieter, more responsive downloader performance when you're pulling video from the web.
The tools that haven't changed — and why that matters
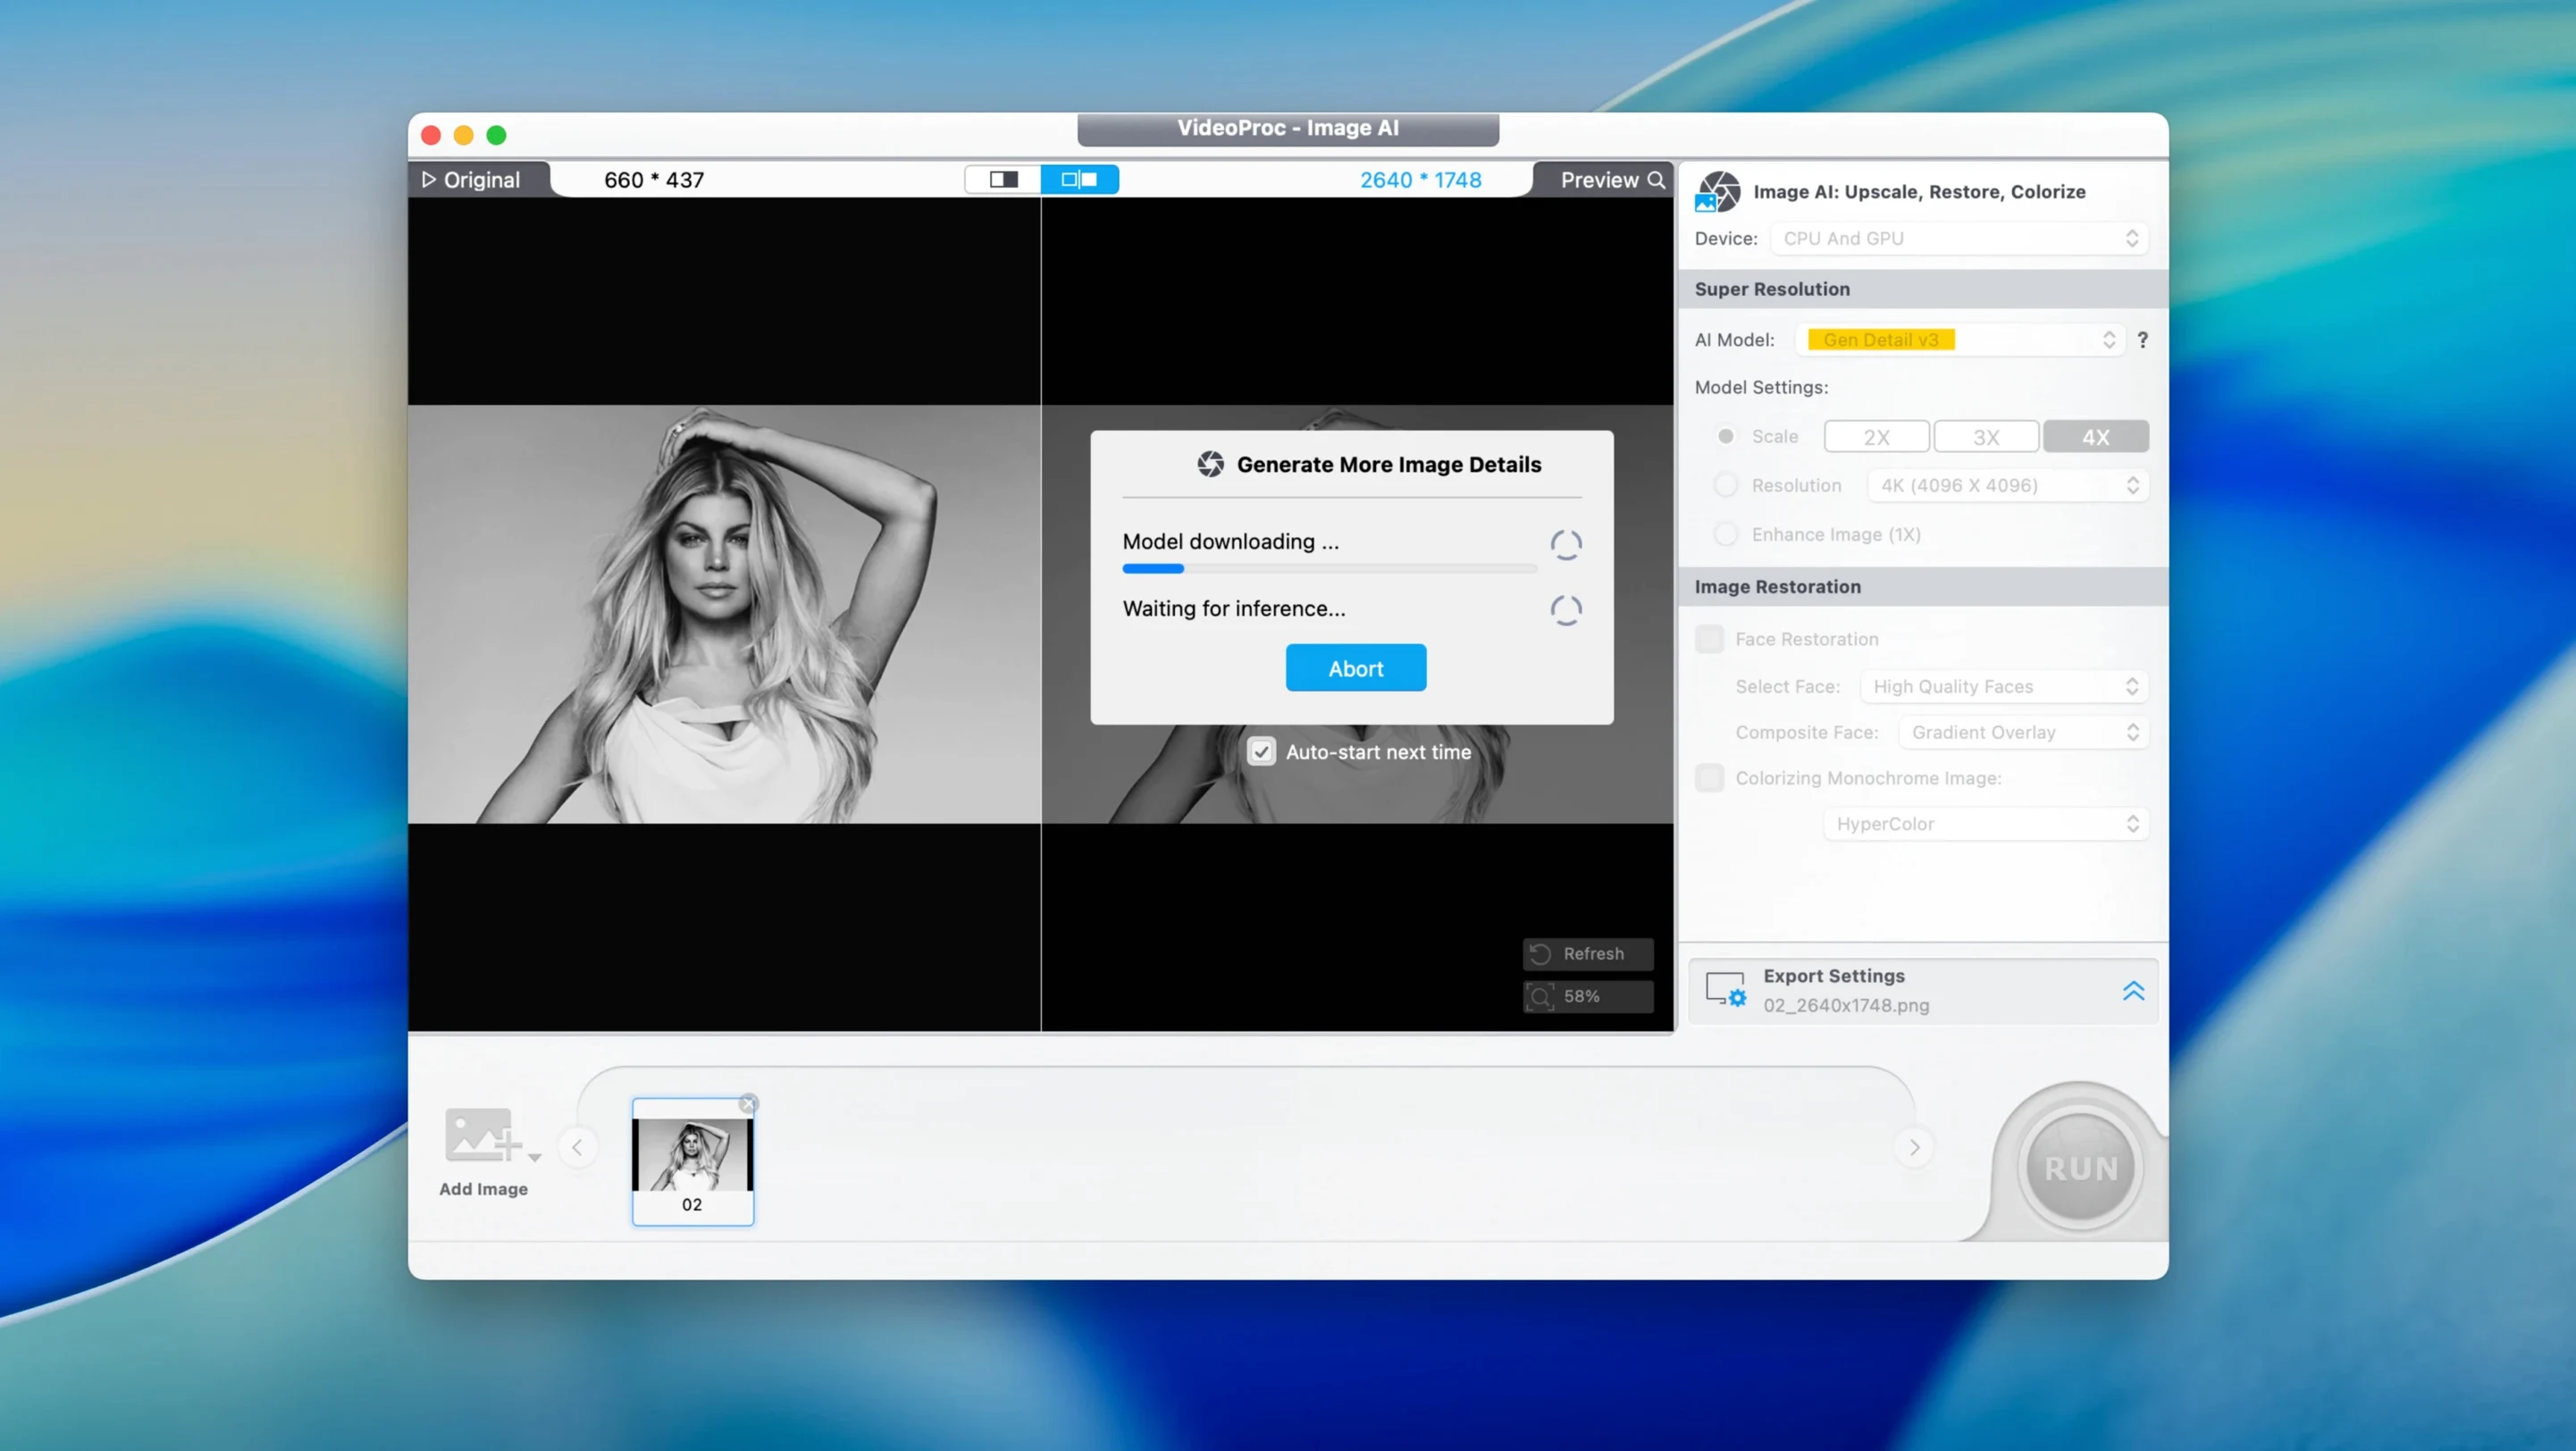
Old recordings don't age gracefully. VHS tapes develop a shiver, DV footage looks soft on a modern screen, and colour drifts toward some unintended tint. The AI enhancement engine still targets exactly that kind of material, sharpening details and pulling noise out of the shadows without turning faces into plastic. Colour, brightness, and contrast sliders give you manual control when the automatic pass needs a second opinion. Underneath it all, the codec support hasn't shrunk — ProRes, HEVC, AVI, MKV, MOV, and dozens more still appear in the export dialog, and the app continues to run natively on both Apple Silicon and Intel Macs back to Catalina.
Small touches that hide in plain sight
Most people open VideoProc, drag a file in, pick a format, and hit run. That works, but the interface has a few quiet shortcuts that save real time once you know they exist. The output format dropdown is searchable — start typing "ProRes" or "HEVC" and it filters instantly instead of forcing you through nested menus. Right-clicking any file in the queue reveals a Show in Finder command that opens the source location, handy when you are pulling clips from scattered folders and trying to keep a project organized. The hardware acceleration indicator sits in the bottom-right corner of the conversion window; a green checkmark means Metal or Apple Silicon encoding is active, and clicking it toggles between software and hardware paths for troubleshooting stubborn codecs. On the downloader side, pasting a URL and waiting for the auto-parse is standard, but hitting Enter twice skips the preview and drops you straight into the format picker — a small thing that becomes muscle memory after a week.
Start in Preferences instead of clicking every module
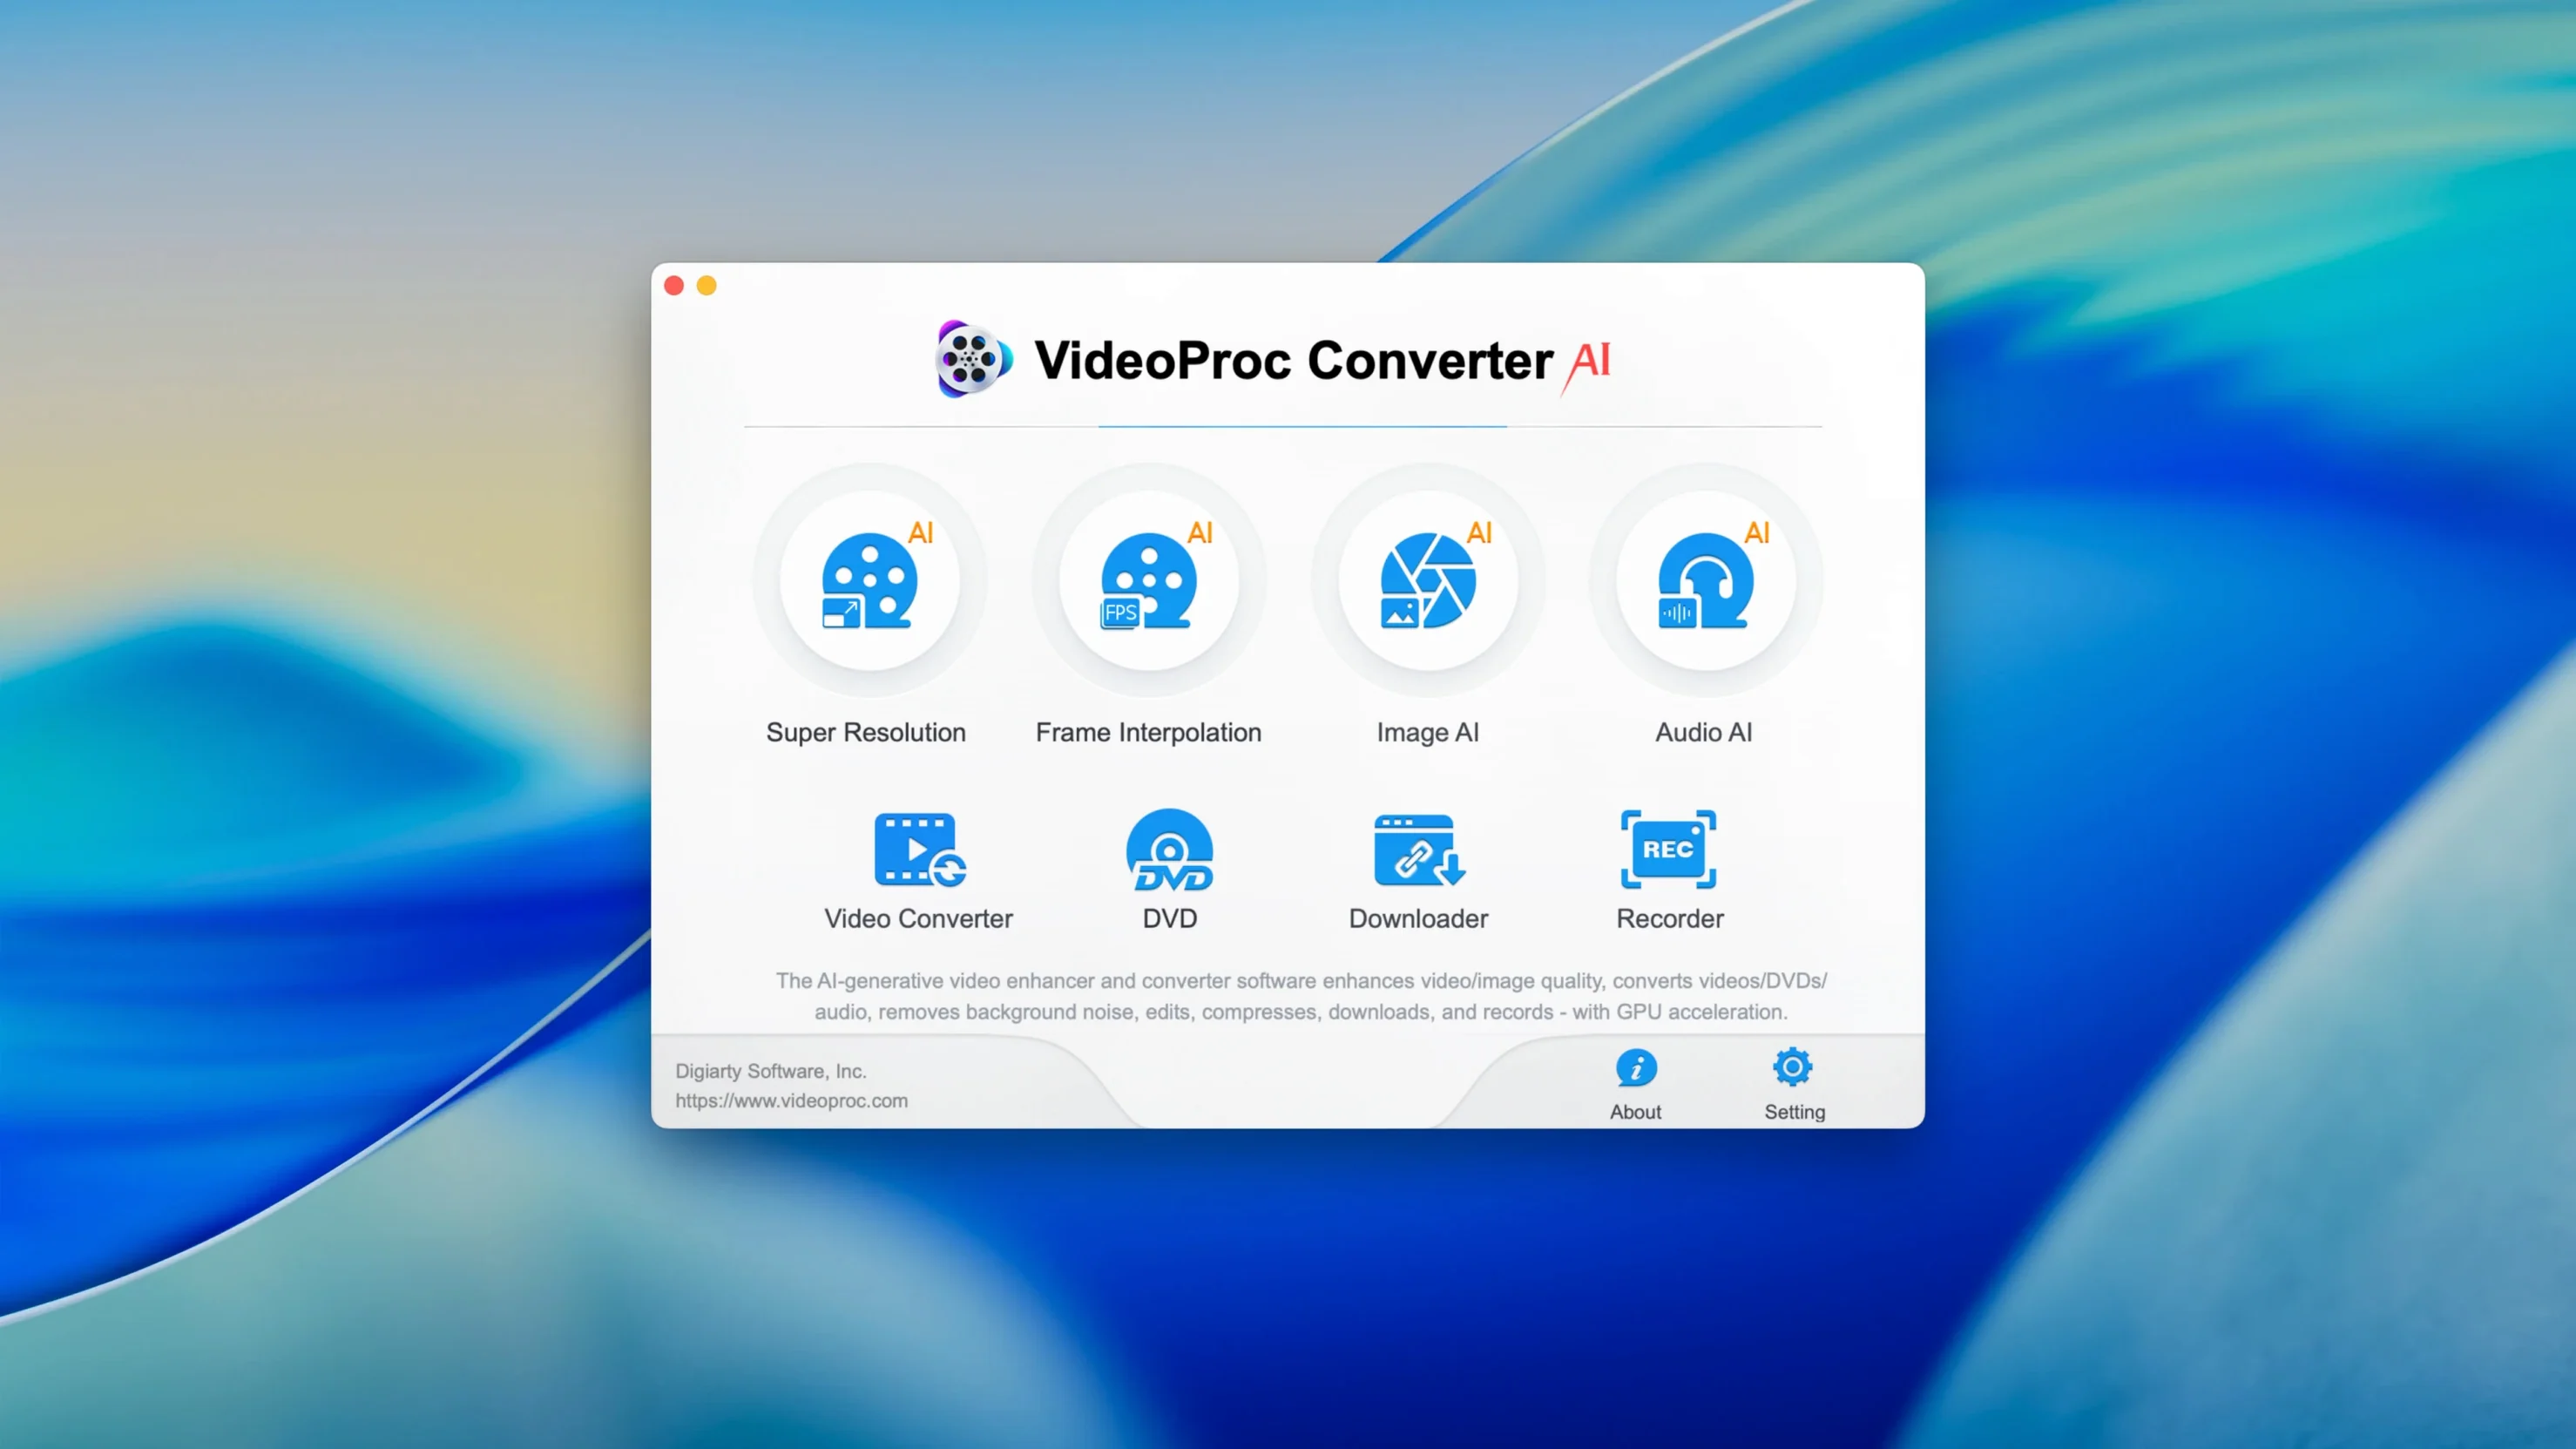
After installing, the app presents a full grid of modules — Converter, Downloader, Recorder, DVD, and the AI tools — and the temptation is to explore everything at once. A calmer approach pays off. Start by opening Preferences and setting your default output folder to something close at hand, not the system Movies folder buried three levels deep. Under the General tab, enable hardware acceleration if your Mac supports it; the app usually detects this correctly, but confirming it now prevents a surprise software fallback during a long batch conversion later. The Downloader module benefits from an early visit too: open it, drop in a test URL from YouTube or Vimeo, and let the engine install its helper components while you are not in a hurry. Those components update silently in the background under version 8.12, so this first run is the only time you will notice a brief wait. Ignore the DVD section unless you actually have an external drive connected — it will sit idle otherwise, and that is fine.
Downloader handles throttled connections more gracefully
Version 8.12 did not rewrite the interface. The changes land where they matter during a long session: the trimmed installer means less time staring at a progress bar before the first launch, and the downloader engine handles throttled connections with fewer dropped frames or stalled parses. The iPhone 18 preset addition keeps the device list current, but the practical effect is simply one fewer moment of wondering which HEVC variant a new phone expects. macOS 27 support is forward-looking — if you upgraded early, the app already speaks the system's media frameworks without waiting for a compatibility patch. Earlier 8.x releases had already tightened the AI upscaling queue so that multiple 1080p-to-4K jobs run sequentially without the memory creep that could slow a machine down after the third or fourth clip. Those incremental fixes accumulate into an app that feels less fragile during marathon conversion sessions, the kind where you queue twenty files and walk away.
A stabilization and export walkthrough, shot by shot
Suppose you have handheld footage from a windy afternoon — a couple of minutes of 4K HEVC shot on a mirrorless camera, visibly shaky but with a moment you want to keep. Load the clip into the Converter module. Before touching the output format, switch to the Edit panel and enable stabilization; the preview window splits to show the original and the stabilized version side by side, and you can scrub through to check how much of the frame gets cropped. The default strength works for most breeze-induced shake, but dial it back if the crop eats something important near the edge. While you are in the edit tools, lift the shadows slightly — a nudge of five or six points on the brightness slider — to bring back detail in the darker parts of the frame that the overcast sky flattened. Hit Done and return to the main conversion screen.
Now set the output. If the destination is a timeline in Final Cut, choose ProRes 422 LT under the Apple ProRes family; if it is headed straight to YouTube, pick the 4K YouTube preset and let the app handle the bitrate ceiling. Check that hardware acceleration shows green, then add the clip to the queue. While it processes, the status line displays real-time frame rate and estimated time remaining — on an M-series Mac, a two-minute 4K clip with stabilization and a brightness adjustment typically finishes in under a minute. The stabilized file lands in your output folder, ready to drop into an edit without a round trip to another app.
Version 8.12 folds in iPhone 18 support and macOS 27 compatibility, trims the installer down, and tightens up the downloader's performance.
- macOS 10.15 or later, including macOS 27
- 64-bit app, runs natively on Apple Silicon and Intel
Questions from the booth
Yes, the AI enhancement tools are built to sharpen soft footage, reduce noise, and bring older SD material closer to a watchable modern standard.