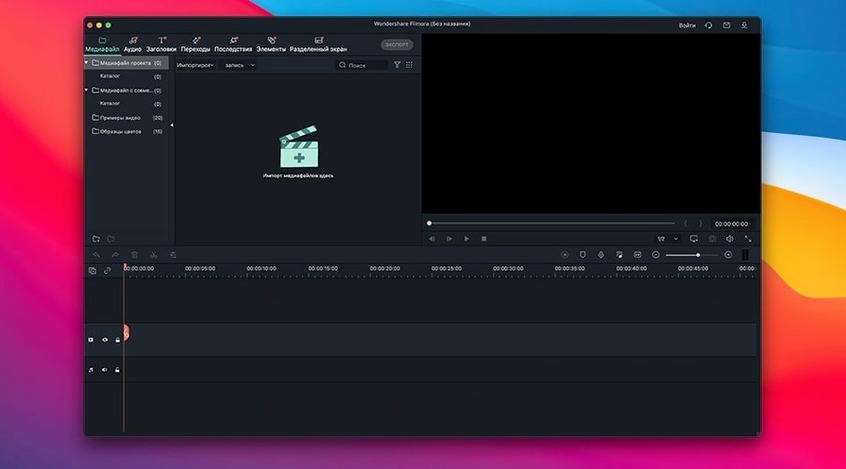
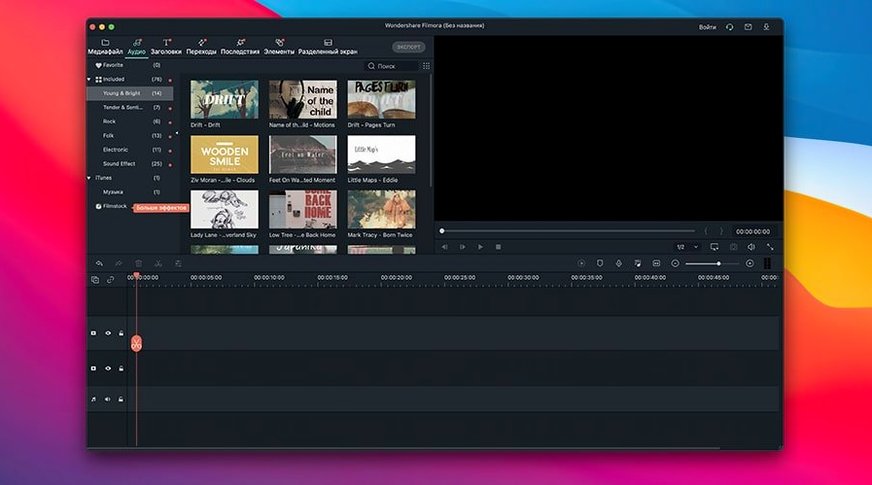
Split Clip is where most of my rough assemblies start. You drop footage onto a fairly unopinionated timeline and start cutting — not with a scalpel, but with a knife that knows the joint. Filmora treats video as something you shape in broad strokes first: trim, split, rotate a phone-shot clip that arrived sideways, then layer on a fade that doesn't call attention to itself.
What the workspace gives you
The toolset covers the fundamentals without burying them. You get a standard array of transitions, filters and overlays — the kind that stitch scenes together or give a talking-head piece a subtle texture. Text handling includes titles and subtitles, and the positioning tools make it easy to keep words readable against moving backgrounds. When the cut is locked, the export panel offers multiple output formats saved straight to your machine, so a rough cut for the sound designer and a finished screen for a festival submission can live in the same session.
Built for storyboard thinkers who sequence first, learn tools later
This is an editor for people who think in sequences. If you storyboard on paper or in your head and need a Mac app that translates those frames to a timeline without a steep learning curve, Filmora fits. It runs on everything from macOS 10.14 onward, on both Intel and Apple Silicon machines, and the interface speaks Russian, English, German, French, Japanese and several other languages — a practical detail when collaborators work across different systems.
A short film editor’s Thursday evening
Imagine someone cutting together a three-minute festival submission on a borrowed MacBook Air. They shot it last weekend on a mirrorless camera — mostly handheld, a few locked-off tripod shots, one clip that arrived upside down because the cage was mounted wrong. They have until midnight to send a rough cut to the composer. Filmora’s timeline lets them drop everything in, rotate the inverted clip with a single click, then split the longest take into three pieces so a reaction shot can breathe between lines of dialogue. A simple cross-dissolve bridges the jump cuts, and the text tool places the title card exactly where the light falls darkest in the opening frame. By eleven they have exported an HD file to the desktop and gone to make tea. The workflow never asked them to read a manual.
Lock your tracks before nudging clips, or overlays will drift
One of the quiet traps in Filmora is treating the timeline like a word processor — dragging clips around without locking the tracks you are not working on. A nudge on the primary track can ripple through overlays and title placements, and the undo history is generous but not infinite. Beginners often overlook the timeline magnet toggle, which snaps clips to neighbours; turning it off for fine adjustments saves a lot of frustration when you are sliding a sound effect three frames left.
Another habit worth catching early: ignoring the project save file. Filmora lets you save a project and return to it, but people accustomed to iOS-style auto-save sometimes close the window and expect everything to be waiting. It is a desktop app with a manual save step, and losing two hours of subtitle timing because you clicked “Don’t Save” is the kind of lesson you only need once. Finally, newcomers frequently export at the default bitrate without checking whether their footage was shot at a higher one — the preset is serviceable, but a little time in the export settings panel brings the grain structure of low-light footage closer to what the camera actually captured.
AI Denoise now quietly cleans up grainy footage as you edit
The current build sits at version 14.8.17, and while the release notes for this specific revision are thin, the 14.8 cycle brought changes you feel more than read about. The AI Denoise improvements that landed in 14.8.10 mean footage shot at ISO 3200 in a dim venue now cleans up without turning faces into wax — a practical win for documentary and event work. The same release optimized the NewBlueFX plug-in set, so transitions and filters from that bundle render with fewer dropped frames during preview playback. None of this changes the shape of the application, but it shifts the rhythm of a session: fewer trips to the export dialog just to check whether a noise reduction pass actually held up.
Quick highlight reels and interview cuts for creators shipping on deadlines
Filmora earns its keep for people who need to deliver cuts without living inside the edit suite. A photographer adding a sixty-second highlight reel to a client gallery, a podcaster cutting video versions of interviews for a Patreon feed, a small museum’s communications person assembling a trailer for an upcoming exhibition — these are the scenarios where the app’s restraint becomes its strength. It runs on Intel machines still chugging along on macOS 10.14 and on M1 through M4 Macs without a performance gap that trips you up, so a team with mixed hardware can share project files without translation layers.
It also suits anyone working in a multilingual environment. The interface switches between Russian, English, German, Japanese and a dozen other languages without restarting, which matters when an editor in Berlin hands a project file to a colourist in Tokyo for finishing touches. The subtitle track keeps its timing across language swaps, so a festival cut with bilingual captions does not need to be rebuilt from scratch.
Split-screen presets hide in the overlays panel, ready for comparison reels
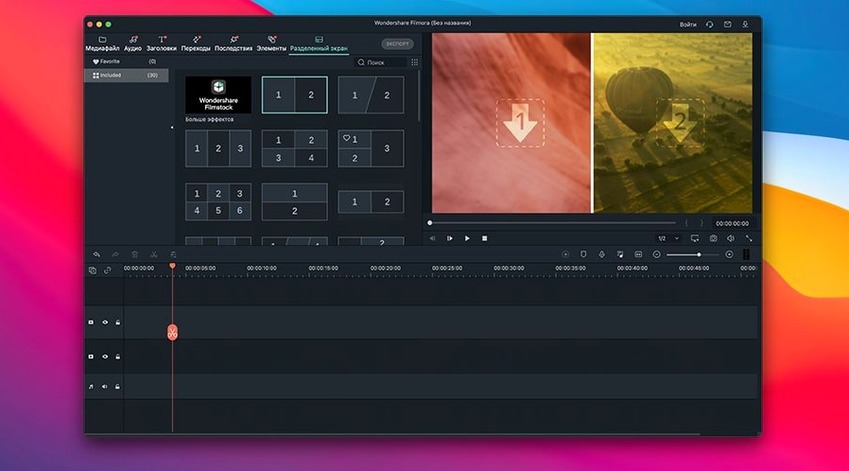
A few things in Filmora are easy to walk past. The split-screen presets are tucked inside the overlays panel and let you place two or four clips side by side without manual scaling — useful for comparison reels or a quick “before and after” sequence. Holding the Option key while dragging a clip creates a copy instead of moving the original, a shortcut that speeds up building parallel edits of the same footage. The J-K-L keyboard navigation (reverse, pause, forward) works on the timeline exactly as it does in heavier NLEs, and the playback speed ramps up when you double-tap L, so scrubbing through a long interview is less of a chore.
When you are deep in a project and the interface starts feeling crowded, the full-screen preview mapped to a single keystroke hides every panel and plays the timeline against a black background — a small thing that changes how you judge pacing. And for anyone who has ever wrestled with a misaligned soundtrack, the audio waveform display on the timeline can be toggled on with a right-click; seeing the shape of a voice or a music cue makes it much easier to place cuts where the sound breathes rather than where it fights the picture.
- macOS 10.14 or later
- Supports both Intel and Apple Silicon Macs