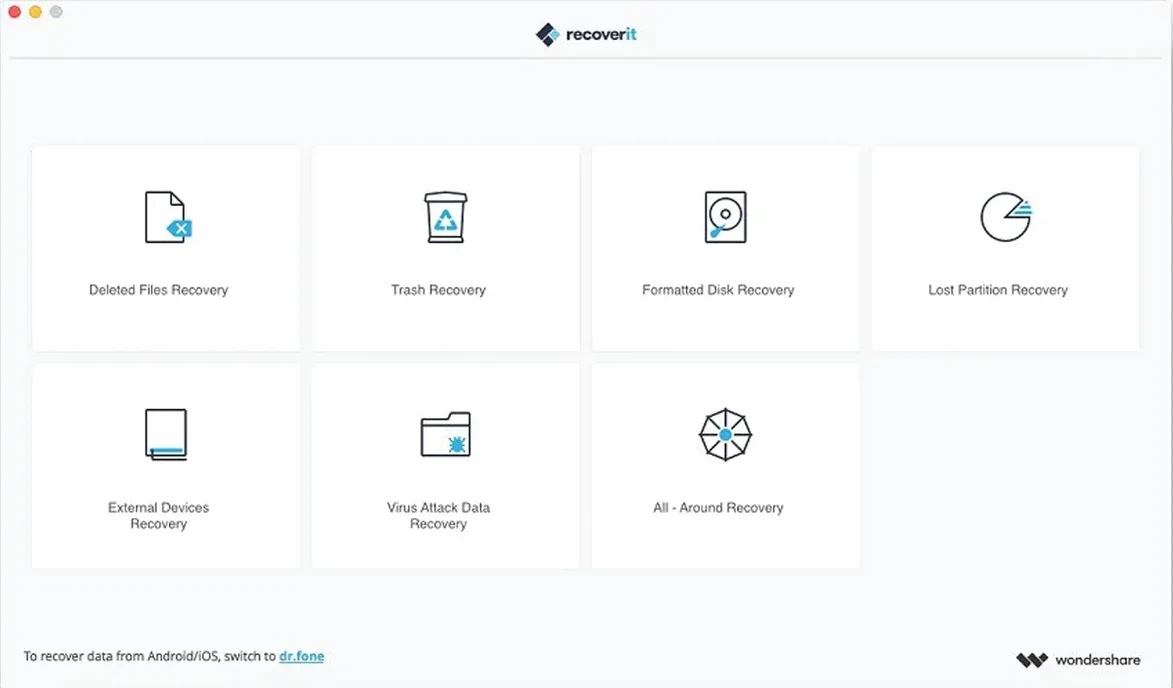
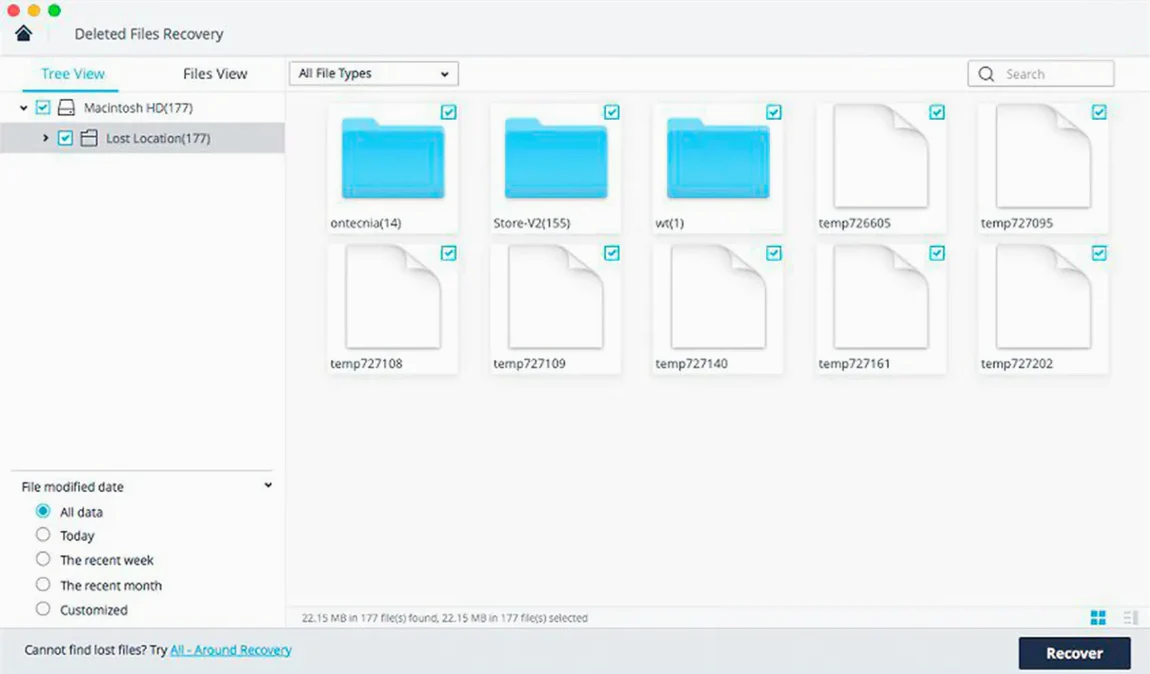
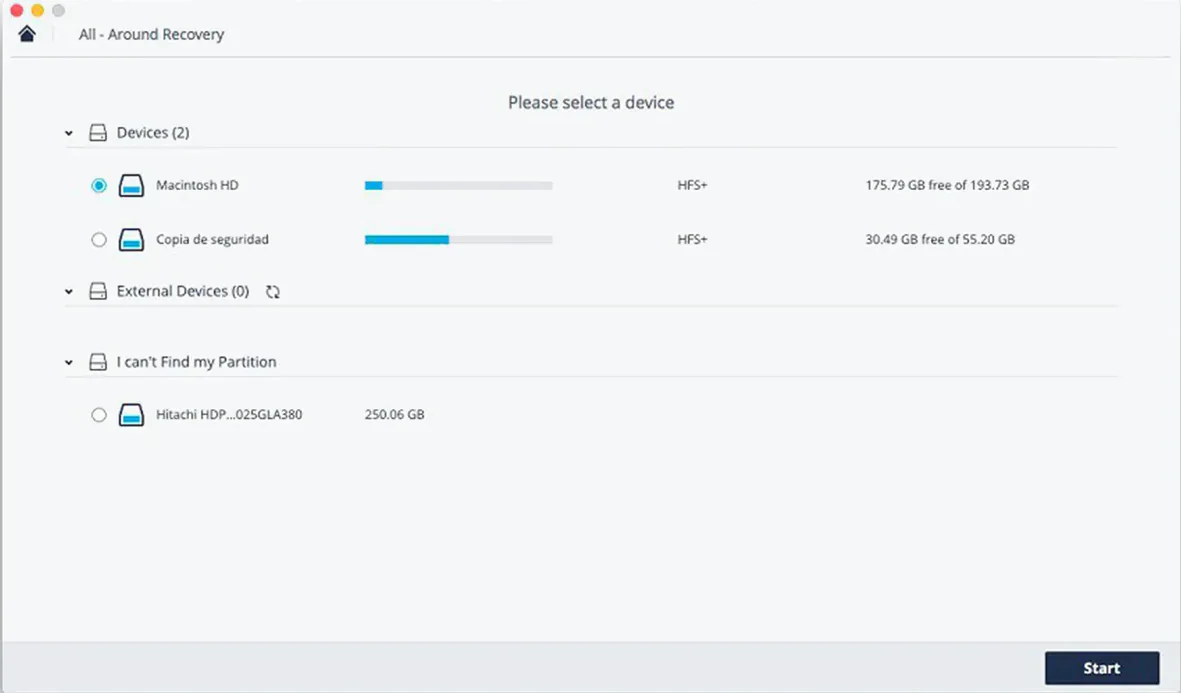
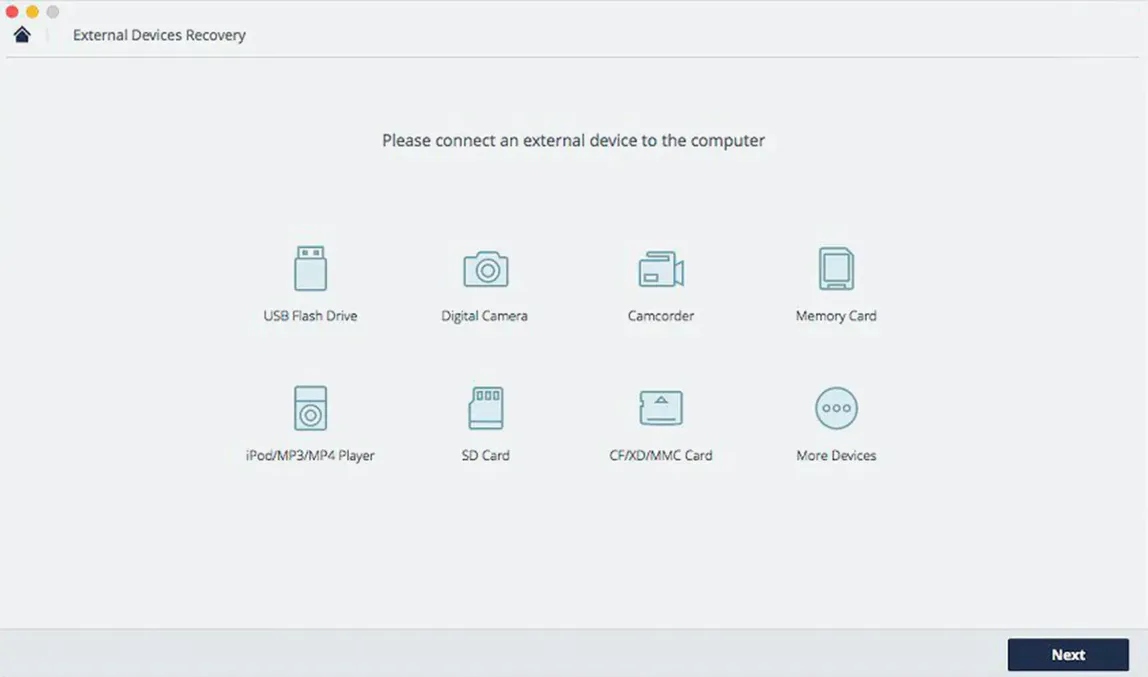
The quick scan is where most successful recoveries happen, so point it at the device that lost the files and let it map what’s still retrievable. Recoverit reads internal disks, external spinning drives, SSDs, USB sticks, and memory cards without much distinction — if it mounts on your Mac, it shows up as a source.
When the quick scan isn’t enough
A formatted drive or a partition that vanished after a bad unmount calls for a deeper pass. Switch to the advanced scan, which works through the storage block by block, pulling up fragments the quick pass overlooks. It takes longer, but it’s the only way to surface files from a reformatted volume or a card that was wiped in-camera.
Video that came back broken
Corrupt footage is a particular frustration — the file returns, but it won’t play. The built-in video repair tool stitches damaged or truncated clips back together using a reference file shot on the same device. Feed it a healthy sample and the fragment, and it rebuilds the stream so the timeline opens cleanly in your editor.
Where Recoverit fits alongside your other tools
Data recovery doesn't happen in a vacuum. Recoverit plays a specific role in a chain that often includes Disk Utility, a cloning tool, and whatever app created the lost files in the first place. Before you even open Recoverit, Disk Utility's First Aid can tell you whether the drive is physically mounting correctly — a step that saves you from scanning a device the system can't read. If the volume appears but acts sluggish, cloning it with something like Carbon Copy Cloner to a stable drive before scanning shifts the recovery work onto hardware that isn't failing under your feet. Recoverit then reads that clone as if it were the original.
Once files come back, the handoff matters. Restored DOCX and XLSX files open directly in Pages and Numbers; PSD files land in Affinity Photo or Photoshop with layers intact when the recovery catches the full file structure. RAW files from a formatted SD card — TIFF, CR2, NEF — import straight into Lightroom or Capture One without the catalogue blinking. Video clips that went through the repair tool drop into Final Cut Pro or DaVinci Resolve as standard MOV or AVI files, and the repaired stream usually holds sync better than a clip pulled from a fragmented drive without the extra pass.
macOS itself offers a quiet integration: recovered files carry their original creation and modification dates, so sorting by date in Finder places them back in the timeline they came from. Spotlight indexes them normally after recovery, which means searching for a file name you remember from weeks ago still works. And because Recoverit doesn't install kernel extensions or background daemons that linger after you quit, it doesn't interfere with Time Machine's own backup schedule — a small mercy when you're already juggling external drives.
Lands between a full toolkit suite and a bare-metal scanner
Disk Drill and PhotoRec sit at different ends of the recovery spectrum, and Recoverit lands somewhere between them in approach. Disk Drill leans hard into its extra toolkit — it bundles disk health monitoring, duplicate finders, and backup features that go well beyond recovery. That breadth can feel like reassurance or clutter, depending on whether you want one app to handle everything or a focused tool that does one thing. Recoverit keeps its interface narrow: select a drive, run a scan, preview, recover. The repair tools for video and photo files live inside the same window, not in a separate utility you have to find and launch.
PhotoRec, part of the TestDisk suite, is the opposite proposition. It's command-line driven, deeply capable, and asks for no graphical overhead at all. It recovers an extraordinary range of file signatures, and it runs on hardware that barely breathes. But the trade-off is legibility — recovered files arrive with generic names and no folder structure, and you sort through them later by extension. Recoverit preserves folder hierarchies and original file names when the file system metadata is intact, which matters when you're pulling back a whole project directory rather than a handful of loose images. If you know exactly what you're doing and you're comfortable in Terminal, PhotoRec gives you raw power. If you want to see a thumbnail of a PSD before you commit to recovering it, Recoverit's preview pane makes that call faster.
EaseUS Data Recovery Wizard for Mac is the closest parallel in both interface and intent. It offers the same scan tiers — quick and deep — and a similarly structured preview system. The differences are subtle: Recoverit's video repair tool has no direct equivalent in EaseUS, and EaseUS tends to surface slightly different results from the same formatted drive, likely due to differences in how the two apps parse file signatures. Neither is universally better at catching everything; running one after the other on a stubborn drive sometimes turns up files the first pass missed. Recoverit's preview handles a wider range of raw camera formats without needing external codecs, which saves a step when you're scanning a card full of footage from a shoot.
Bringing an unreadable in-camera card back to the desktop
Consider someone shooting a weekend wedding on two SD cards — one for the ceremony, one for the reception. The ceremony card imports fine. The reception card, formatted in-camera the week before, shows up on the Mac as unreadable. The photographer has no backup because this was the backup card; the primary filled up halfway through the speeches. Disk Utility sees the card but can't mount it. First Aid reports an invalid node structure and gives up.
At this point, the quick scan in Recoverit is the first sensible move. The card is physically intact, so the scan runs in under ten minutes and returns a list of CR2 and MOV files with their original folder structure — DCIM, the subfolder with the camera's naming convention, everything where it should be. The photographer previews a few frames, confirms the files are whole, and recovers them to an external SSD. Lightroom imports the batch without complaint. What could have been a catastrophic call to the couple becomes a quiet restart of the editing timeline, and the card goes back into the camera bag with a note to reformat it properly before the next job.
A workflow for recovering a formatted external drive
Start before you start: stop using the drive the moment you realize it was formatted. Every write operation risks overwriting the data you want back. If it's an external drive, unplug it. If it's an internal secondary drive, quit every app that might write logs or temporary files to it.
Plug the drive back in and let macOS attempt to mount it. If it mounts but appears empty, that's fine — Recoverit can read it. If it doesn't mount at all, open Disk Utility and check whether the physical device appears in the sidebar. As long as the hardware shows up, Recoverit will list it as a source. Launch Recoverit, select the drive from the device list, and choose the advanced scan. The quick scan works for recently deleted files, but a format wipes file system references, so the deep pass is necessary.
While the scan runs — and on a large drive, it might run for an hour or more — don't let the Mac sleep. Turn off Energy Saver's automatic sleep in System Preferences for the duration. Recoverit populates results as it finds them, so you can start browsing recovered folders before the scan finishes. Switch to the file type filter and narrow to the formats you actually need: select Images and Video if it was a media drive, Documents if it held work files. Preview a handful of results from different folders to check integrity, then select everything you want and choose a recovery destination on a different physical drive — never back to the one you're scanning.
After recovery, eject the formatted drive and run Disk Utility's First Aid on the destination drive to confirm the copied data landed cleanly. Open a few files across different apps to verify they're complete, then back the recovered folder up to your normal backup system before you start reorganizing.
First days with Recoverit: practical moves
Before you ever need it, open the preferences and set the default recovery destination to an external drive or a folder on a secondary internal disk. This removes the temptation to recover files back to the same volume, which is the single most common mistake that turns a recoverable situation into a permanent loss. The setting persists between sessions, so you set it once.
Learn the file type filter on a low-stakes scan. Plug in a USB stick you don't mind wiping, delete a few files, and run a quick scan just to see how the preview pane handles different formats. Pay attention to which files show a full thumbnail and which appear as generic icons — that preview quality tells you what you can verify before recovery and what you'll need to recover blind. Video files, especially long ones, preview in a small player window that lets you scrub through to check for corruption at specific timestamps.
If you're working with a drive that's physically failing — clicking, disconnecting randomly, slow to read — don't scan it directly. Clone it first using a tool built for unstable hardware, then scan the clone. Recoverit scans are read-only, but a drive on its last legs can die completely during a long scan, and no software brings data back from a drive the system no longer sees. The clone buys you time.
Finally, remember that the advanced scan can be paused and resumed if you need to shut down the Mac overnight. The session saves its progress, and you pick up where you left off. On a multi-terabyte drive, that's the difference between a scan that finishes and one you abort because you need the computer back.
- macOS 10.14 or later
- Intel-based Mac
Questions from the booth
Yes, the advanced scan is designed to find data on drives that have been reformatted or have lost their partition table.
It supports internal disks, external HDDs, SSDs, USB flash drives, and memory cards.