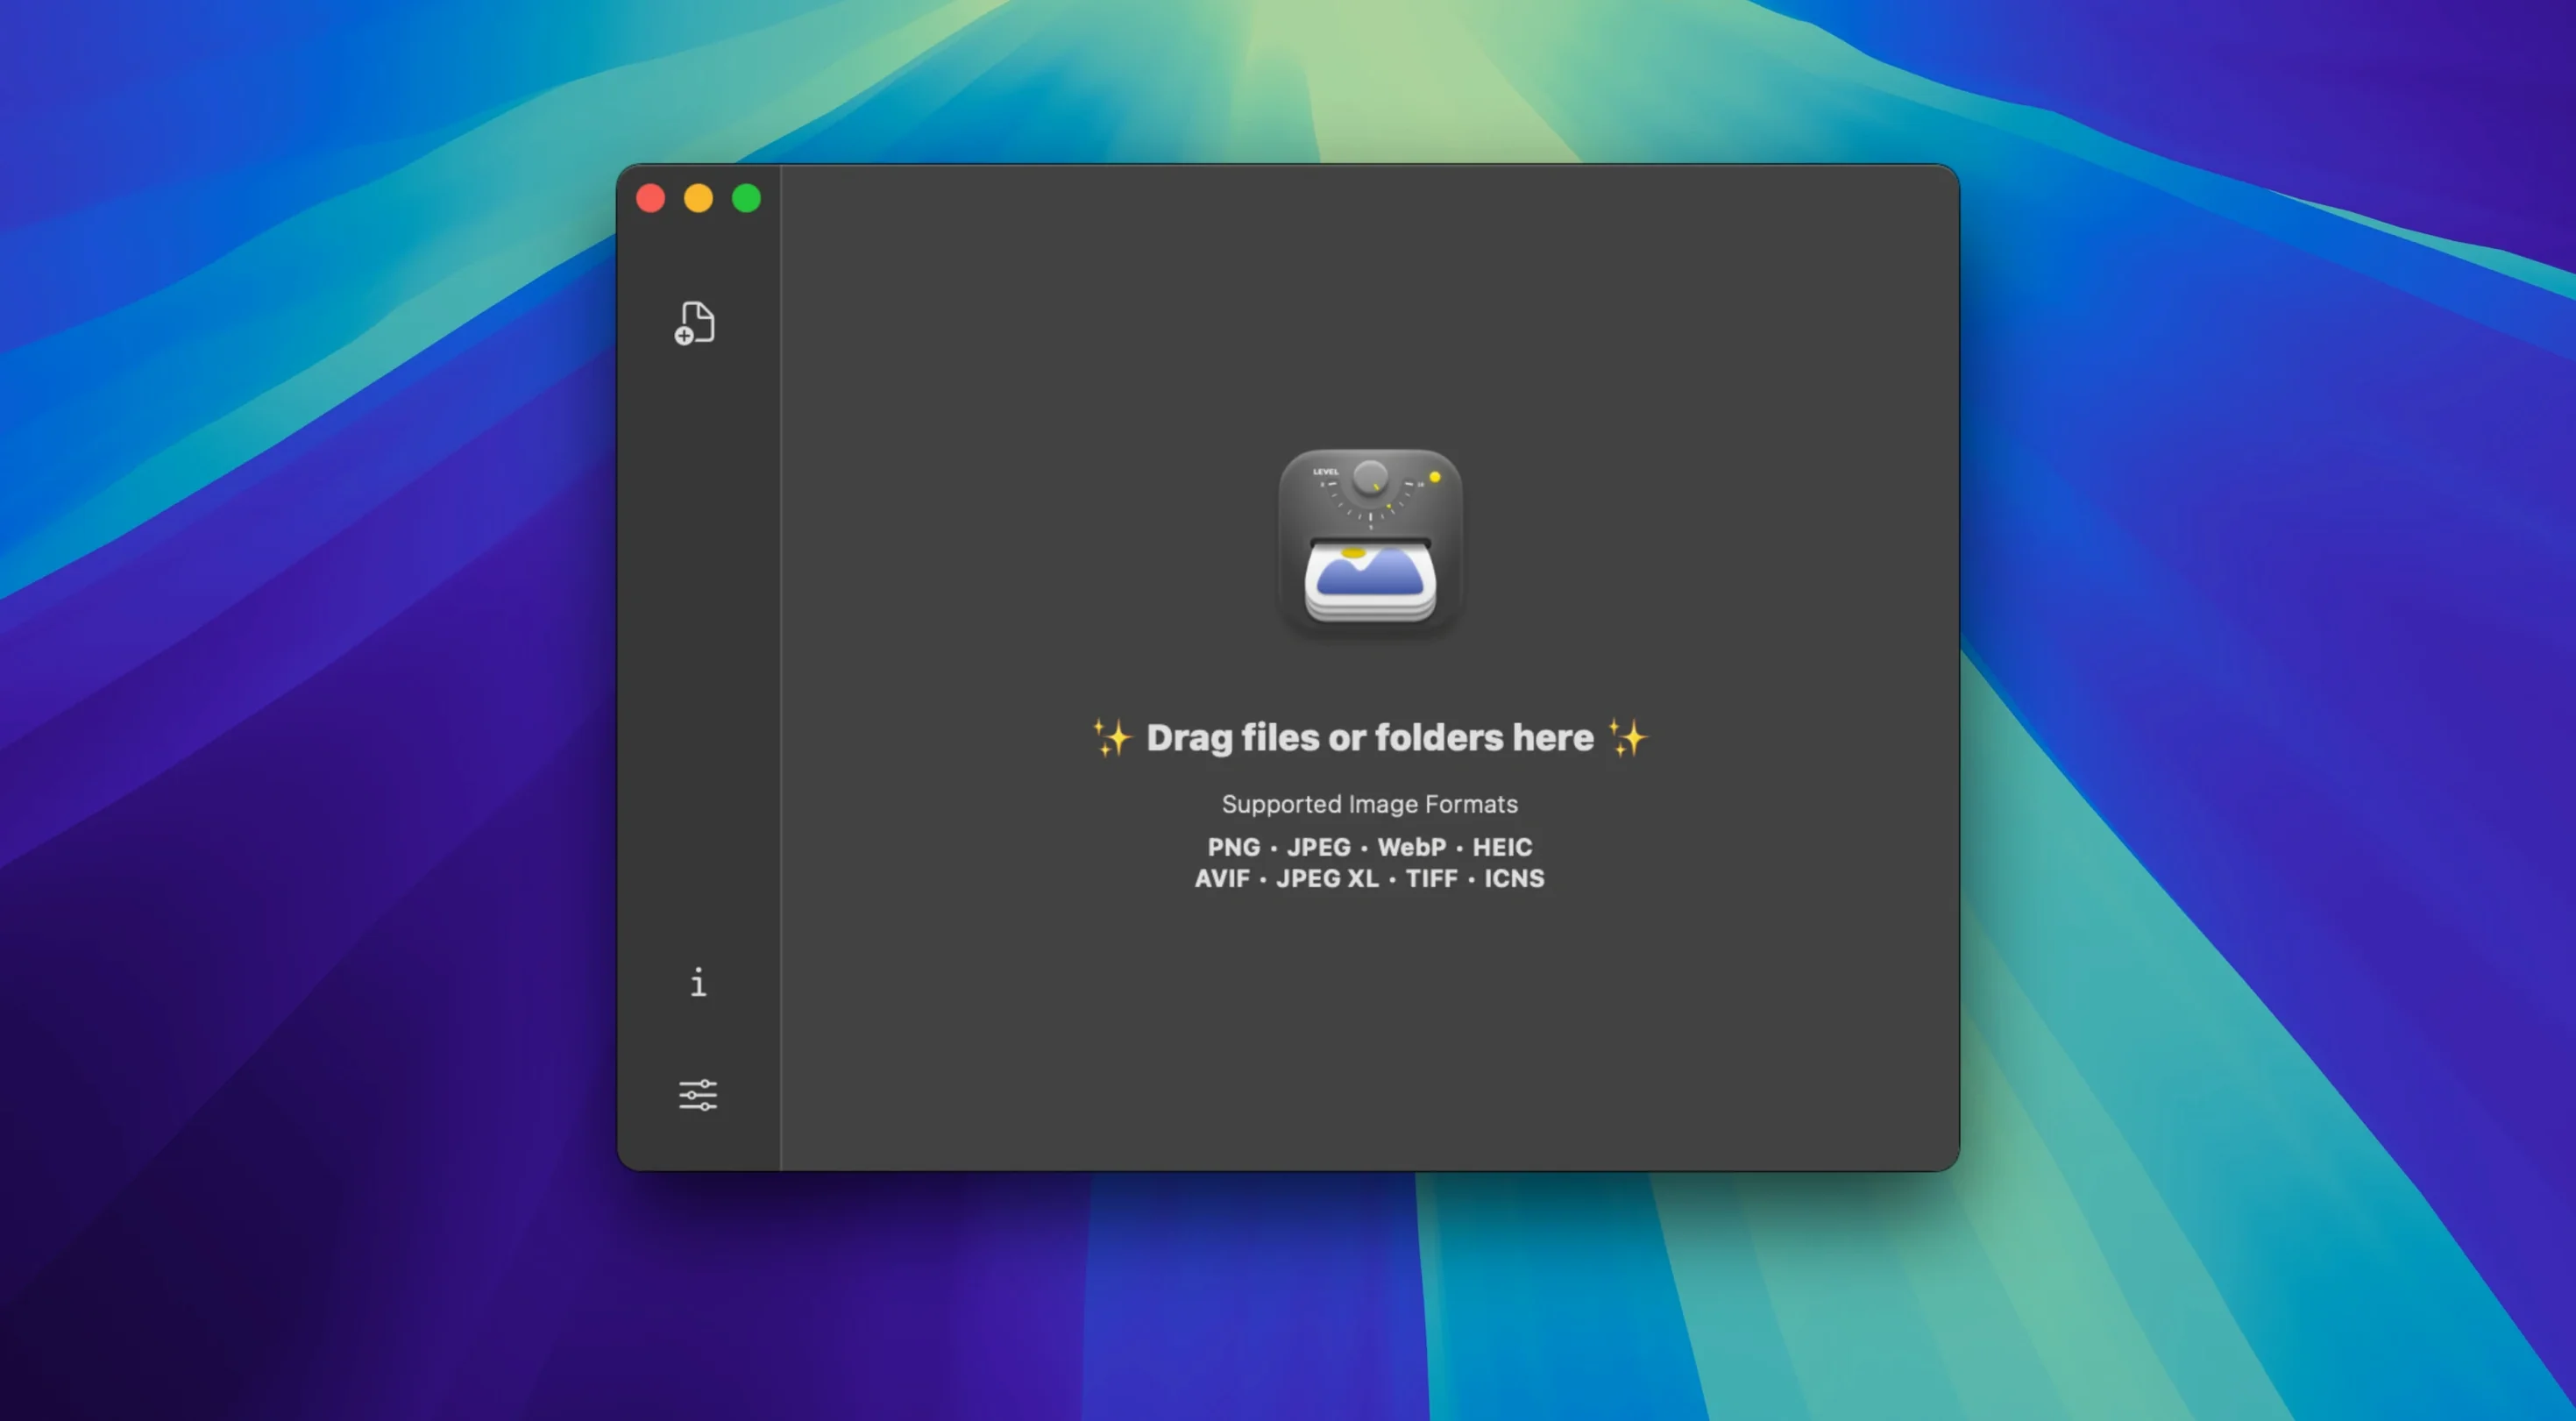
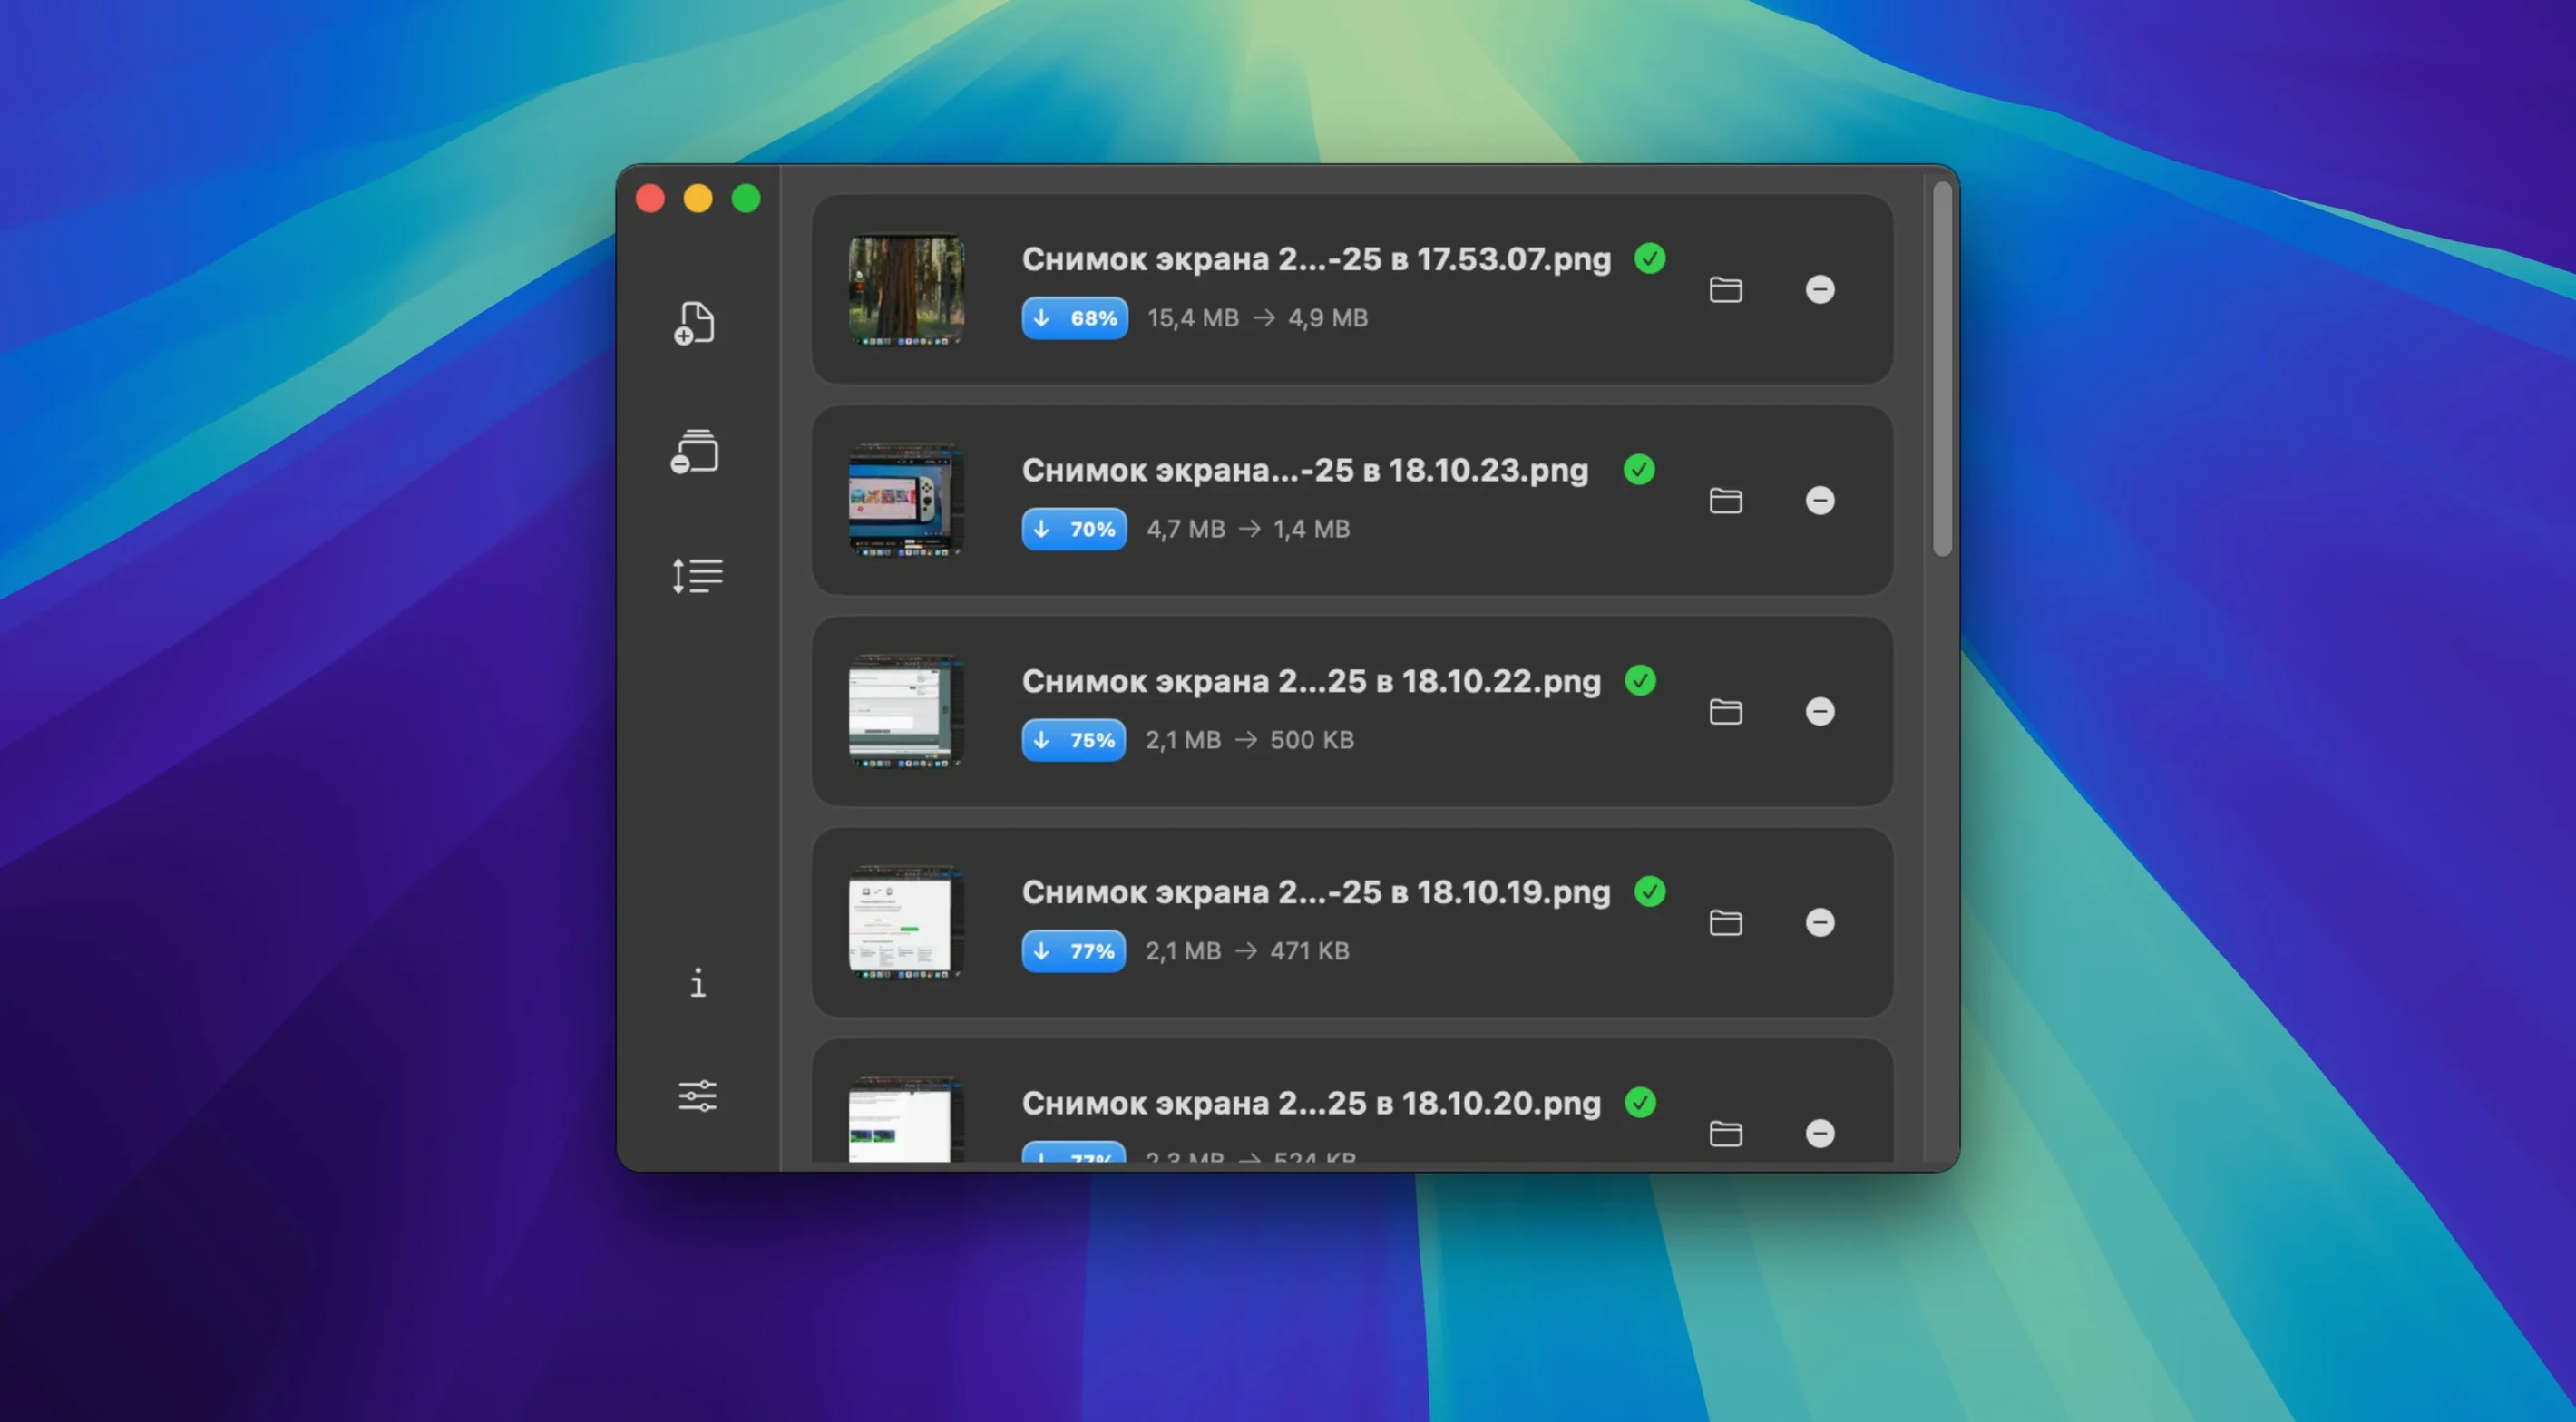
Zipic compresses over a dozen formats, but its SVG support is the one that catches my eye — lightweight vector files often slip past batch tools. The current version keeps the core promise intact: local compression, conversion and resizing without sending files to a server. It reads JPEG, PNG, HEIC, WebP and SVG, and it handles them all on your own Mac.
Pixel compression — the app reduces file size by re-encoding image data, not by stripping metadata alone. You choose the output format and quality, and Zipic does the math.
Batch processing — drag a folder of production stills or UI exports and let it work through the queue. No per-file dialogs, no watching a progress bar for each image.
Finder Quick Actions — right-click any image in Finder and compress or resize it without opening the main window. The action runs in place and respects your last settings.
Shortcuts and Raycast — call Zipic from a keyboard-driven workflow. I run it from Raycast when I'm pulling frames from a timeline and need them compressed before they hit the edit suite.
System theme aware — the interface follows your Mac's light or dark setting without fuss. On a late-night colour grade session, that matters more than I'd like to admit.
Version 1.10.1 focuses on the Windows beta, so the macOS experience stays steady. The app still requires Ventura or later and runs on both Intel and Apple Silicon machines. If you've been using it for months, nothing shifts under your feet.
the first forty-eight hours
After dragging Zipic into Applications, give it a folder to watch before you do anything else. Open preferences and add your desktop screenshots directory or whatever folder catches your stray exports. The watch folder runs quietly in the background — files land, Zipic acts, and you never touch a dialog. This single setting turns the app from a manual tool into something that just happens.
Next, spend five minutes setting your default output. Pick a format and a quality slider position that fits most of your work, then save it as the preset Zipic falls back on. Every Finder Quick Action and Raycast call will use that preset unless you override it, so those first choices ripple through every right-click compression you trigger later. I keep mine at WebP 80 — small enough for a portfolio site, clean enough that I don't wince when I zoom in.
If you batch-process a mixed folder on day one, pause before hitting the button and check the resize toggle. Zipic will happily shrink a 6000-pixel panorama and a 400-pixel icon to the same dimensions unless you tell it otherwise. The app remembers your last settings, so a quick glance now saves a folder of regret.
shortcuts worth memorizing
The Raycast integration is the obvious power move, but the small things add up faster. In the main window, you can drop a folder onto the format selector to change every queued file at once — no need to select them first. The app reads the folder structure and applies the change across all items already loaded.
The resize controls accept arithmetic. Type 1920/2 into the width field and Zipic calculates 960. Type 800*1.5 and you get 1200. It's a tiny parser trick, but when you're resizing storyboard frames to half-resolution for a treatment document, it saves opening a calculator or doing the mental math at the end of a long editing day.
On the Finder Quick Action side, hold Option while right-clicking an image and the action runs with your last-used settings but skips the confirmation overlay. It's the fastest path from a raw export to a compressed file on your desktop, and the app never steals focus from whatever you were doing.
The interface handles drag-and-drop reordering inside the queue, too. If you need a specific PNG converted before the rest of the batch finishes, drag it to the top of the list and Zipic reprioritizes without stopping the current file. Small detail, but it means you never cancel a running batch just to reshuffle it.
folding it into a real workflow
Zipic sits comfortably between your export tools and wherever the files land next. I run screen captures through it before dropping them into a Notion page, and the size difference between a raw PNG and a compressed WebP means the page loads before I finish typing the caption. The app never opens — Quick Action, done.
The Apple Shortcuts support is deeper than a one-step trigger. You can chain a Zipic action with a Move File step and a Rename step to build a single shortcut that compresses a batch, renames the output with a date prefix and files it in a project folder. Once that shortcut lives in your menu bar, the whole pipeline is two clicks from any Finder window.
If you're working with SVG assets, the format support pairs well with vector tools like Sketch or Figma — export at native size, run through Zipic for a final squeeze, and the file is ready for a production site without an extra optimization pass. The local processing means your unoptimized vectors never touch an online compressor you don't control.
The 1.10.1 update centres on the Windows beta. The installer size for that version shrinks from about 103 MB to 59 MB, and JPEG compression on non-ASCII file paths no longer fails. The macOS build sees no feature changes this round — just a quiet maintenance release that keeps the tool reliable.
- macOS 13 Ventura or later
- Intel or Apple Silicon Mac
Questions from the booth
Zipic works with JPEG, PNG, HEIC, WebP, and SVG files for compression and conversion.
Yes. Zipic integrates with Finder Quick Actions, Apple Shortcuts, and Raycast so you can compress images directly from the right-click menu or a keyboard launcher.
Zipic requires macOS 13 Ventura or later and runs natively on both Intel and Apple Silicon Macs.