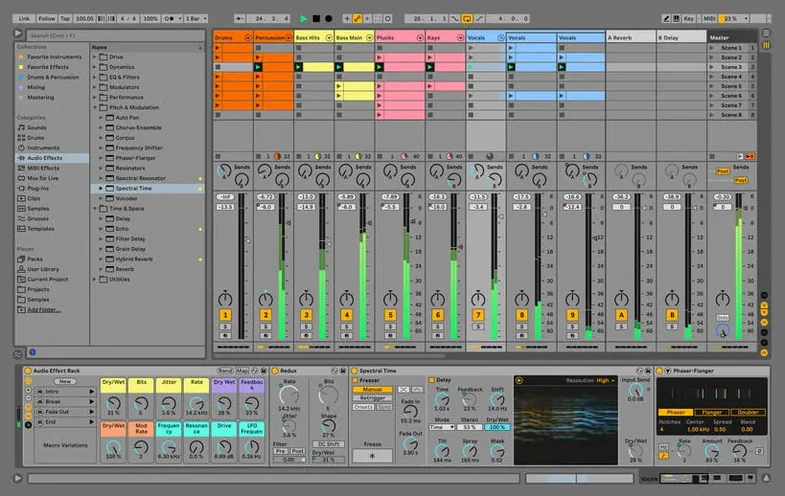
If you have spent time in a conventional DAW, Ableton Live feels like a different species. Where most linear environments treat the timeline as a fixed score, Live's Session View turns clips into building blocks you can trigger, swap and reshape while the transport keeps rolling. It is a tool built for a particular kind of musical thinking—one where composition, improvisation and performance blur together.
Mac compatibility and system requirements
The current release, version 12.4.6, runs on macOS 12 and later and supports both Apple Silicon and Intel 64-bit Macs natively. The latest update fixes a hang that could occur when rendering, bouncing or consolidating in large Sets with audio clips using Beats Warp Mode and Transients Granular Resolution—a specific but welcome stability improvement for anyone pushing high track counts.
A non-linear playground where sound shaping never stops playback
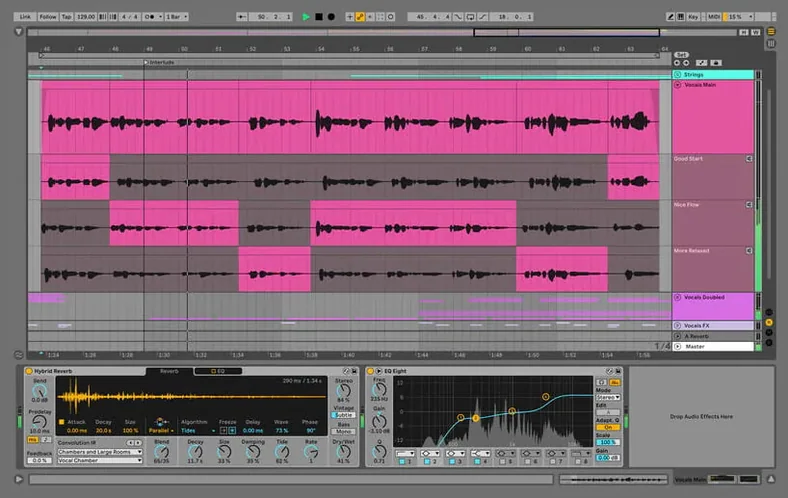
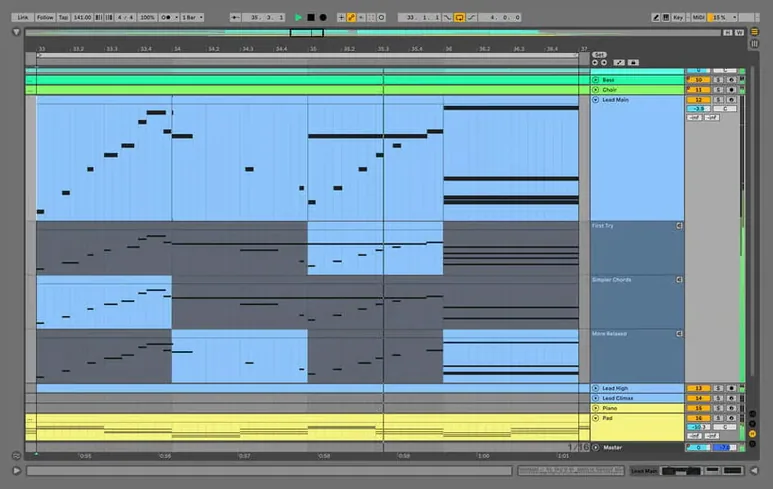
Live 12 Suite pairs its non-linear workflow with a deep collection of effects for sound shaping and processing. Content syncs across the interface in real time, and changing musical ideas mid-flow never forces you to stop playback. The result is a workspace that stays out of the way, letting you follow an idea until it turns into something worth keeping.
Treat a fresh install like an empty warehouse, not a furnished room
A fresh install of Live is more like moving into an empty warehouse than a furnished room. The software gives you space, light and a few essentials, but the character of the place comes from what you bring and how you arrange it. Spend the first afternoon building your User Library with intention. Drop your favourite kick samples into a Drum Rack, save it, and name it something you will actually recognize six months later. Do the same for a handful of synth patches you reach for often. The goal is not to organize everything at once—it is to build a small, fast-access toolbox that keeps you in the flow when an idea arrives.
Set aside an hour to learn one warp mode deeply. Beats mode handles drum transients with precision, but the Transients Granular Resolution option that was part of the 12.4.6 stability fix exists because people push it hard with complex material. Drop an acoustic guitar loop in, cycle through the modes from Beats to Complex Pro, and listen to what each one does to the transient detail and stereo image. You will hear the difference before you understand it, and that ear training pays off every time you drag audio into a Set.
Record a short jam—four bars, nothing precious—and export it as an audio file, then drag that file straight back into a new track. Resample, stretch, reverse. Live rewards this kind of casual experimentation more than most DAWs, and the muscle memory of bouncing audio out and pulling it back in opens up a workflow that sidesteps option paralysis.
Session View is a sketchpad, not a rough draft of the Arrangement
The most common early misstep is treating Session and Arrangement Views as two halves of the same thing. They are not. Session View is a sketchpad built for live triggering and clip-based exploration; Arrangement View is where those ideas get sequenced into a finished piece. Beginners often record everything into Arrangement directly, then wonder why the grid feels rigid. Start in Session, build eight or twelve scenes, jam with the scene-launch buttons until a structure emerges, then hit the global Record button and perform the arrangement in. The recording captures your clip launches, stop buttons, and mixer moves as automation. It is closer to mixing a live set than drawing a map, and it teaches you to trust your ears over the grid.
Another habit worth breaking early: leaving the global quantize at one bar for everything. It makes clip launches safe, but it also smothers the kind of off-grid phrasing that gives electronic music its human pulse. Try setting the launch quantize to 1/8 or even none while you are building drum fills or vocal chops. You can always tighten things later, but you cannot inject looseness that was never recorded.
New users also tend to ignore the browser's colour-coded labels and the Collections feature, then complain they cannot find anything. Assign a colour to your go-to packs, your own sample folders, and a few key device presets. It takes two minutes and changes how fast you move from searching to playing.
A targeted render fix that rescues dense, warp-heavy Sets
The 12.4.6 release brings one targeted fix—a hang during render, bounce or consolidate in large Sets with audio clips set to Beats Warp Mode at Transients Granular Resolution—but the practical difference it makes is real for anyone working with dense projects. Before the fix, hitting render on a sixty-track Set at 48 kHz could mean crossing your fingers. Now that particular failure mode is gone, which means one less reason to bounce stems in stages just to get a rough mix out the door.
The broader Live 12 cycle has quietly reshaped everyday workflow in ways that become second nature. Meld, the new bi-timbral synthesizer introduced with Live 12, rewards sound designers who layer textures quickly; its oscillator engines cover wavetable, granular and subtractive territory without pulling you into a separate window. The browser overhaul added similarity-based search for sounds, so dragging in a snare and right-clicking to find "similar" pulls up alternatives from your own library—not just the factory content. On a practical level, that means less time scrolling through folders and more time auditioning options that actually fit the palette you are building.
How Live fits with other apps and macOS features
Live does not try to be an island. It works alongside other tools in ways that feel native to macOS once you set up a few habits. The built-in Link protocol syncs transport across apps on the same machine or over a local network, so you can run a drum pattern in Live while a synth arpeggiator plays in another application and both stay locked to the same tempo. It is fast to set up—enable Link in Live's preferences, turn it on in any compatible app, and the tempo bar glows to confirm the connection.
For sound design sessions, many producers route audio between Live and a standalone synth or effects processor using BlackHole or Loopback, both free or low-cost virtual audio drivers. Set Live's master output to the virtual device, set the other application's input to the same device, and you can record processed audio straight back into a Live track without leaving the box. It is a workflow that turns the Mac's Core Audio routing into a modular patchbay.
Live also integrates cleanly with macOS accessibility and file management conventions. The Live Set format is a self-contained package, so you can right-click any Set in Finder, choose Show Package Contents, and pull out individual audio samples or device presets. If you use iCloud Drive for backup, pointing Live's User Library to a synced folder keeps your custom racks and presets available across machines—though you will want to exclude the Cache folder from sync to avoid conflicts.
AUv2 and AUv3 plug-ins load alongside Live's own devices, and the AU version often performs better on Apple Silicon than the VST3 equivalent because macOS handles the audio unit hosting directly. If you have a plug-in available in both formats, try the AU first and check Activity Monitor for CPU differences. Some third-party instruments show a measurable gap.
Set your buffer size before you place a single note
Open Preferences the first time you launch Live and change a handful of things before you place a single note. Under the Audio tab, set the buffer size according to what you are doing: 128 samples or lower for recording and live performance, 512 or 1024 for mixing and sound design. Live's audio engine handles low buffers gracefully on Apple Silicon, but pushing it to 32 samples on a complex Set will still crackle. Leave the driver type on Core Audio unless you have a specific reason to switch.
In the Record/Warp/Launch tab, set Loop/Warp Short Samples to "Unwarped One-Shot." This stops Live from time-stretching every short sample you drag in, which preserves the transient punch of drum hits and keeps vocal chops from warping when you do not want them to. While you are there, change the Default Launch Mode for new clips to "Trigger" if you perform live, or leave it on "Toggle" for studio work—the choice depends on whether you want clips to stop when you press them again.
Under Look/Feel, turn on "Show Peak Level" so the mixer displays numerical peak values, and enable "Follow" behaviour set to "Scroll" rather than "Page" if you prefer the playhead to stay centred during playback. The difference is small but it shapes how you read the arrangement as it moves. Set the Auto-Warp preference to "Off" unless you work primarily with tempo-matched loops from sample packs; for field recordings and live instruments, manual warping is faster than fixing bad automatic guesses.
The File/Folder tab deserves attention too. Set a dedicated folder for temporary recordings so they do not clutter your main project directories, and increase the Maximum Cache Size to at least 10 GB if you have disk space to spare. Live caches decoded audio for warped clips, and a larger cache means fewer dropouts when you scroll through a Set with dozens of long audio files. The Temporary Folder should live on your fastest internal drive—never on an external spinning disk—because Live reads and writes to it constantly during recording and playback.
Live 12.4.6 resolves a hang that could appear during rendering, bouncing or consolidating in large Sets with audio clips set to Beats Warp Mode and Transients Granular Resolution.
- macOS 12 or later
- Apple Silicon or Intel 64-bit processor
Questions from the booth
Yes, Live 12.4.6 runs natively on Apple Silicon and Intel 64-bit Macs with macOS 12 or later.
Version 12.4.6 resolved a hang during rendering, bouncing or consolidating in Sets with many audio clips in Beats Warp Mode and Transients Granular Resolution.
Absolutely. Live is designed so you can play and change musical ideas in real time without interrupting the creative flow.