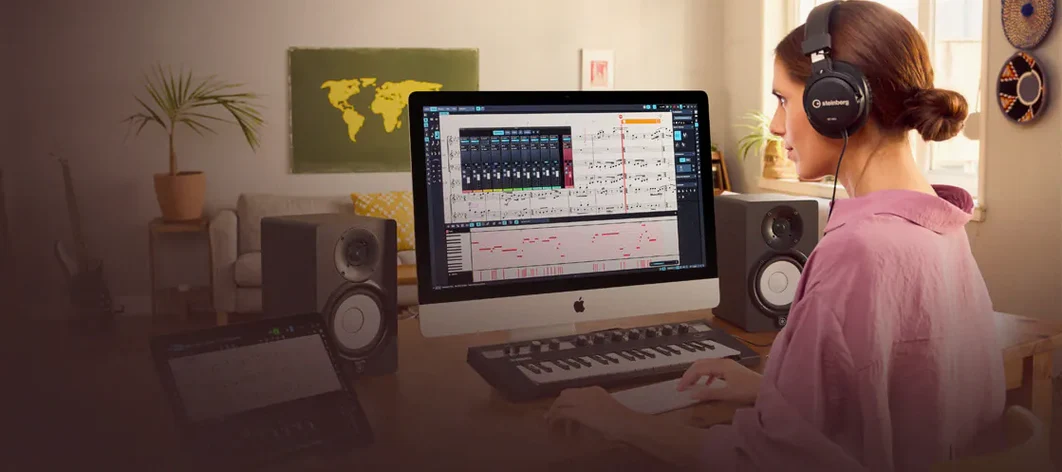
Cubase is a digital audio workstation built for the long arc of a record, from the first rough vocal to the final stem export. The version 15 release doesn't tear up the blueprint that carried it through decades of macOS releases — instead it tightens the tolerances across tools that producers already reach for daily.
What ships with the 15.0.30 update
Steinberg wrapped the June 2026 maintenance build around a few practical additions rather than a conceptual overhaul. The update landed on macOS 13 and newer, arrived as a package just under 1.3 GB, and kept the architecture native for both Intel and Apple Silicon machines. Among the changes that matter to a working session:
- Novation Launch Control Series 3 hardware maps directly into the mixer and transport without a manual MIDI learn pass.
- MIDI Remote API 1.3 support broadens the surface of what custom controllers can address inside the project window.
- A scatter of fixes aimed at playback stability and plug-in hosting rounds out the build notes.
Unlimited tracks and 192 kHz sessions still open without conversion
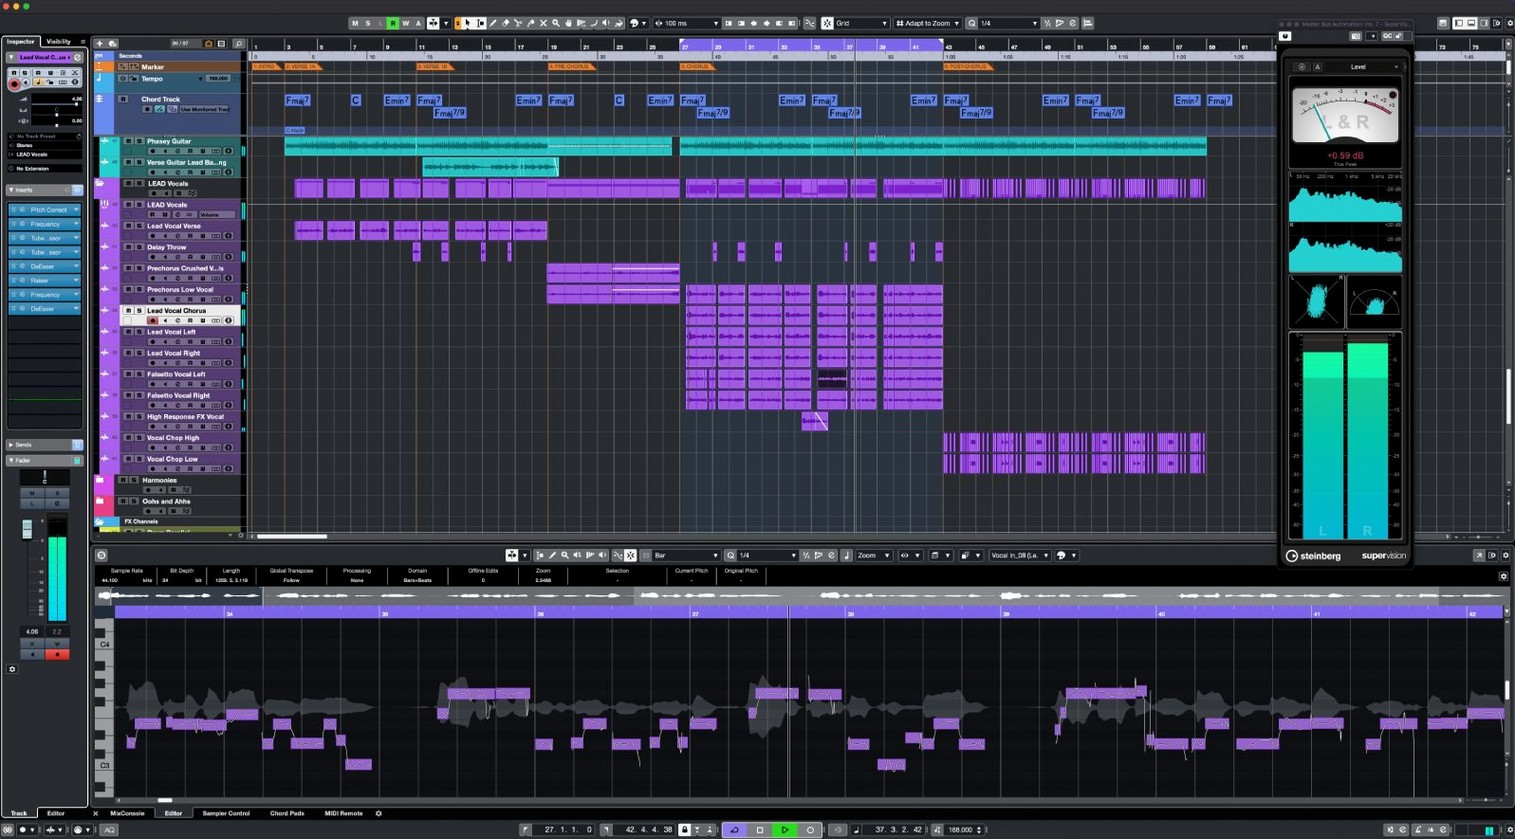
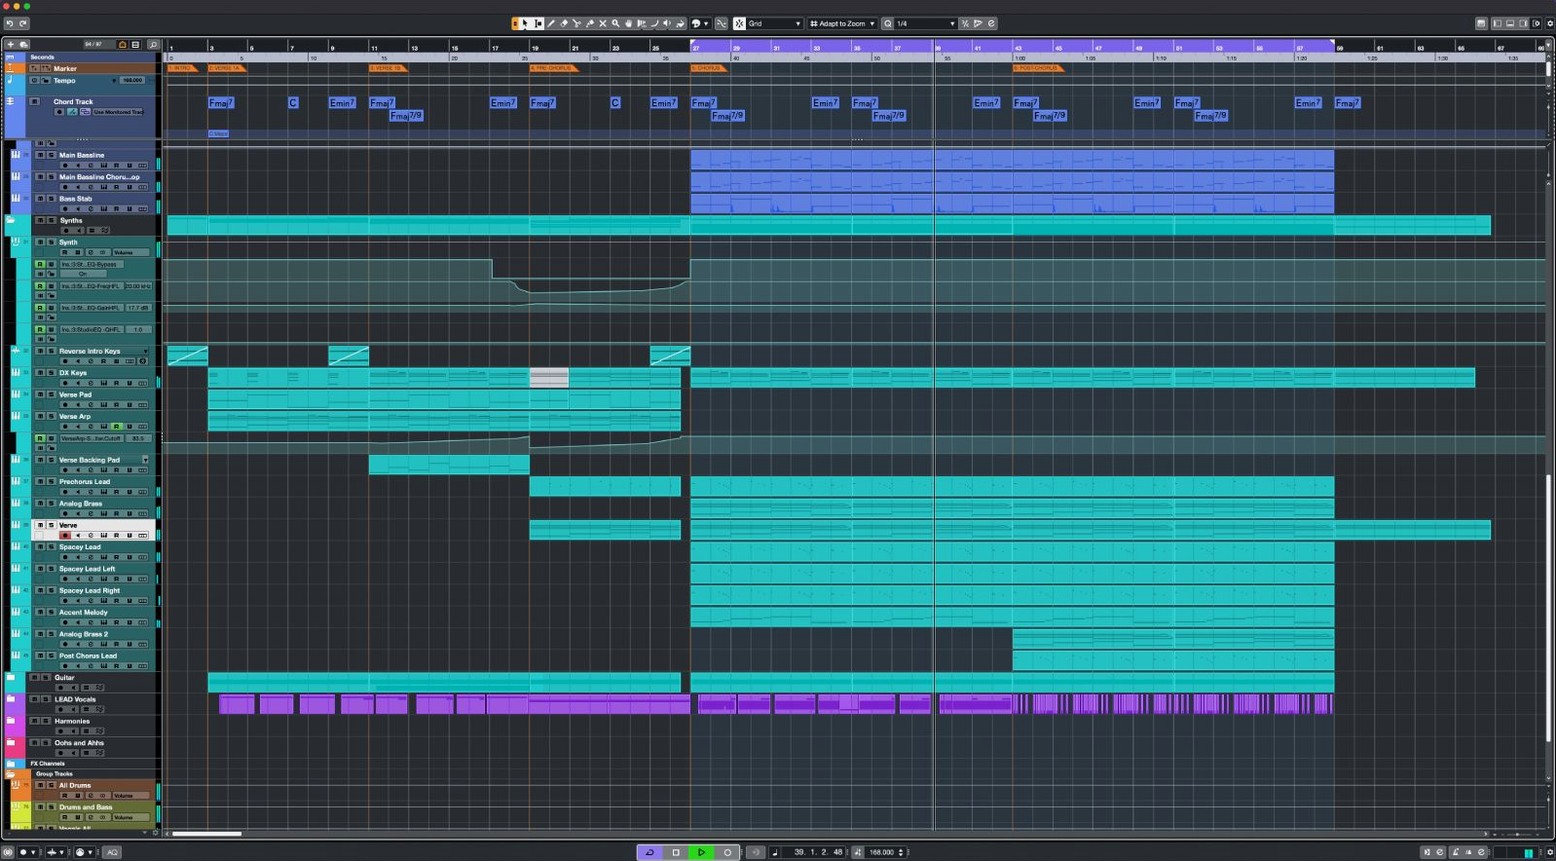
The engine underneath hasn't shifted — unlimited audio, MIDI, and instrument tracks still spill across the arrange window without artificial ceilings, and the 192 kHz ceiling remains the sample rate ceiling. That continuity means an old session folder opens without drama. The tools that define a Cubase workflow are intact: VariAudio for vocal pitch correction, AudioWarp for tightening a slack bass take to the grid, and Audio to MIDI chords that can listen to a jazz voicing and hand you back the notes as a MIDI region. Sixty-four VST instrument slots sit alongside the 8 send and 64 return channels, so a large orchestral template doesn't run out of routing headroom. What the 15 cycle offers is a quieter proposition — a version that doesn't ask you to relearn muscle memory, just a slightly more fluid surface for the work you were already doing.
Turning a blank arrange window into a locked picture cue in three hours
A composer staring down a 90-second cue for a documentary has about three hours to turn a blank arrange window into something that makes picture lock feel inevitable. She drags the reference video into Cubase, sets the project to 48 kHz, and marks hit points on the tempo track — a sting at the cut to the interview subject, a swell where the drone footage tilts over the estuary. The template loads with 40 disabled instrument tracks: strings on one folder, brass on another, a muted piano and two instances of HALion waiting for a patch change. She enables only what the cue asks for, keeping the session light as the idea solidifies.
By midnight the rough stems are printed and the director has a wet link in their inbox. What filled the hours between was not grand inspiration so much as a thousand small decisions that the DAW absorbed without complaint — time-stretching a cello sustain to land on the exact frame, swapping a snare sample across thirty bars with a single drag, nudging the mod wheel data for the french horn swell until the curve felt like breathing. Cubase didn't invent the cue, but it never got in the way of it either. That is the quiet bargain you make with a tool built for this particular grind: the interface recedes, and what stays on screen is the music taking shape.
Five mistakes that trip up new users
I have watched enough friends move their first project from a sketch to a crashing mess to spot the patterns. None of these are failures of the software — they are habits that a forgiving DAW lets you form before punishing you on a real session.
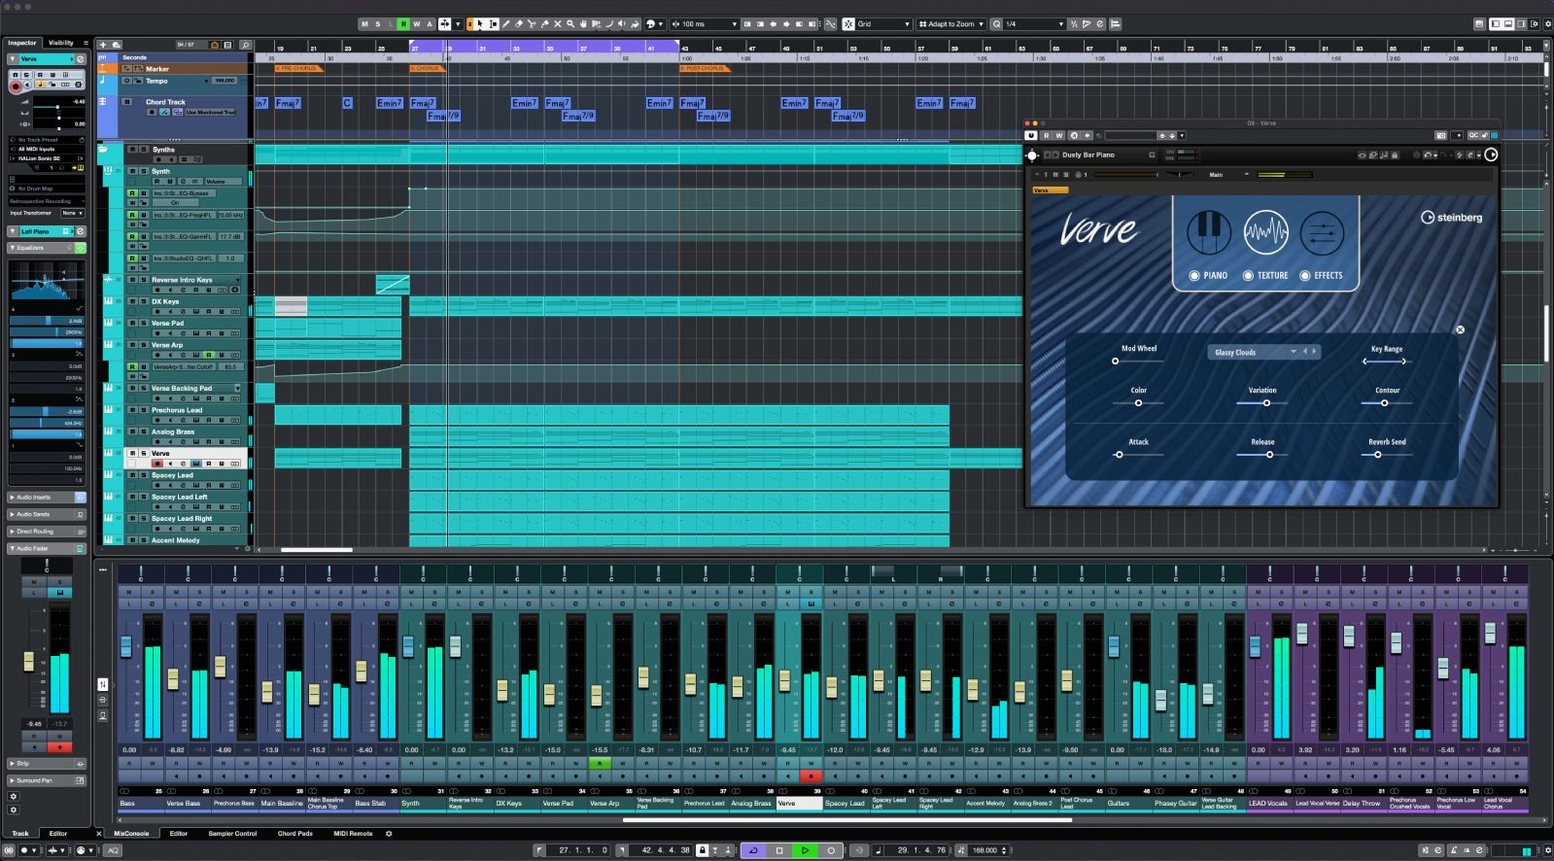
Driving without the Constrain Delay Compensation button. It sits at the bottom left of the mixer, and when it is off, plug-ins that introduce latency — linear-phase EQs, lookahead limiters — push everything out of sync. A new user inserts a mastering chain on the stereo bus while tracking and wonders why the live input flanges against the recorded playback. The fix is one click, but you have to know where it lives.
Ignoring the Control Room section. Cubase splits monitoring from the main mix path, which is powerful and deeply confusing at first. A beginner routes headphones through the main outs, then can't figure out why the click track bleeds into the export. Setting up the Control Room properly — cue sends, monitor bus, a dedicated headphone path — takes ten minutes and prevents a dozen headaches downstream.
Putting tempo changes directly on the tempo track without locking events first. Drop a ritardando on the tempo lane and every MIDI event that follows shifts unless it is set to absolute timebase. The new user watches their second chorus drift off-grid and blames the software. Musical mode versus linear mode is the toggle to learn on every track, especially for audio.
Overloading the channel strip before setting gain structure. Six insert slots seem hungry, and a new producer fills them fast — preamp emulation, two compressors, an exciter, a transient shaper, a limiter — before checking whether the raw recording peaked at -18 dBFS or -2 dBFS. Hitting the first plug-in too hot makes every subsequent stage fight for headroom. Cubase's 64-bit engine handles the math, but your ears still hear the consequence.
Flying blind with VariAudio without listening to the segmentation. New users grab a blob and drag it to pitch without zooming in on where Cubase split the note. A sibilant consonant caught inside a segment boundary turns into a warbly artifact the moment the pitch shifts a semitone. Manually adjusting segment borders before tuning is the step that separates a natural-sounding result from a robotic mess.
A session, told moment by moment
The project is a four-minute synthwave track that needs a bridge section and a final mix. I open the session at 9 pm with a coffee and no clear plan for the eight empty bars sitting between the second chorus and the outro.
I loop the region and audition a bass patch from Retrologue — too round, all sub and no bite. I switch to a wavetable patch I built two weeks earlier, dial the filter cutoff down to 400 Hz, and play the progression in with a MIDI keyboard. The timing is loose, so I open the Key Editor, select all notes, hit Q for quantize, and then nudge the off-beat hits forward manually with the arrow keys. Swing feels better when a human decides it.
A synth pad goes on the next track. I arm it, record three takes in cycle mode, and comp the best phrases from each pass by swiping across the lanes with the comp tool. The third take has a chord voicing that works but the second take's filter sweep is better, so I split the comp at bar 73 and borrow from both.
Drums are already programmed, but the snare lacks presence. I open the channel editor, insert Raiser on slot one — gentle ratio, medium attack — and pull the threshold down until the transient cracks through without flattening the body. A high shelf at 8 kHz adds air. I copy the setting to the clap track with an option-drag, then back the threshold off by 3 dB because the clap doesn't hit as hard as the snare.
The bridge needs a riser. I load an instance of FX Modulator on a send, set the LFO shape to a slow sawtooth, and route a noise oscillator through it. The modulation builds over sixteen bars and I automate the send level by drawing a diagonal line with the pencil tool.
By 10:30 pm the arrangement is solid and I switch to the mix. The Control Room meters show peaks around -6 dBFS on the stereo bus — healthy. I check the low end on headphones, then switch to near-fields and pull the kick down 1.5 dB. The bass and kick are fighting around 90 Hz, so I insert a dynamic EQ on the bass channel, key its sidechain input to the kick, and set a narrow dip at 90 Hz that triggers only when the kick hits. The two elements separate without losing weight.
I export a 24-bit WAV, drag it into a new project, and listen through once without touching a fader. The snare still needs half a dB, so I open the original session, adjust, and export again. At 11:15 pm I bounce stems for a collaborator, close the laptop, and realize I never touched a menu bar. Every action was a key command, a right-click, or a drag. That's the mark of a session where the software didn't demand attention — it just held the frame while the work happened.
Drop ASIO guard to Low for tracking, raise it for mixing
The defaults are reasonable, but a few preferences shift the whole experience. Open the Preferences pane on your first launch and make these changes.
Set the ASIO guard level to Low for tracking, Normal for mixing. High ASIO guard adds latency safety at the cost of responsiveness. When you are playing in a MIDI part, low guard means the keys feel like an instrument, not a request to the CPU. Switch it back for heavy mixing sessions.
Enable "Show Event Names in Arrange." After a week of tracking, a sea of cyan rectangles with no labels is utterly illegible. With this on, each MIDI region displays the track name or the clip name, and you stop squinting at the info line for orientation.
Change the default fade length to 2 ms. Cubase ships with a longer default fade on audio events, which softens every cut. For tight edits — drum comps, dialogue, any surgical work — a 2 ms fade kills clicks without smearing the transient.
Map the Transport controls to the function keys. The default key commands for play, stop, record, and cycle are logical, but moving them to F1 through F4 frees your left hand for modifiers and your right hand stays on the mouse or fader. A small ergonomic shift that compounds over a long session.
Turn off "Snap to Zero Crossing" for sample-level editing. The setting is on by default and it subtly prevents you from making cuts exactly where the waveform demands. When you are editing toms or cleaning up a vocal breath, you want the slice exactly where your eyes place it, not a few samples left because the zero-crossing algorithm disagreed.
Logic hands you a sound palette, Cubase hands you a routing matrix
Logic Pro shares the same building blocks — unlimited tracks, deep MIDI editing, a generous instrument library — but the workflow bends in a different direction. Logic feels built for the composer who wants a palette of sounds and a fast path from blank session to musical idea. Its stock library is broader out of the box, and the Drummer track generates usable performances with a few sliders. Cubase counters with a steeper learning curve that rewards precision: the MIDI editor is more surgical, the automation lanes are more transparent, and the mixer feels closer to a physical console in both layout and behaviour. Where Logic nudges you toward its built-in instruments, Cubase treats your third-party collection as a first-class citizen.
Ableton Live remains the choice for people who treat audio as a material to be manipulated in real time. Its Session View is a sketchpad that Cubase does not attempt to replicate. Warping in Live is fluid and immediate; AudioWarp in Cubase is powerful but demands more deliberate action. Live rewards the improvisor — the producer who launches clips and builds a song by feel. Cubase rewards the arranger — the person who sees the whole form in their head and needs the tools to execute it bar by bar. The mixer in Cubase runs deeper, the comping tools are more mature, and the handling of large track counts is more graceful. For a live set, Live wins. For a film score or a multi-track band recording, Cubase makes more sense.
Studio One has closed the gap in recent versions, borrowing ideas from both camps — drag-and-drop routing, a polished single-window interface, integrated mastering tools. Its project page for assembling an album is genuinely clever. Where Cubase maintains an edge is in the sheer granularity of its feature set. VariAudio is older and more refined than Studio One's Melodyne integration, the Logical Editor allows MIDI transformations that no other DAW can touch without scripting, and the expression maps for orchestral libraries are deeper. Studio One feels modern and cohesive; Cubase feels older and more powerful, like a tool that accumulated layers over decades and kept every useful one.
The 15.0.30 update, released in early June 2026, is a maintenance round with a few hardware-friendly additions. Novation Launch Control Series 3 surfaces get immediate mapping, MIDI Remote API 1.3 extends what scripted controllers can reach, and a layer of under-the-hood fixes steadies playback and plug-in behaviour across the application.
- macOS 13 or later
- Intel or Apple Silicon Mac
Questions from the booth
Yes, the Audio to MIDI chords feature analyzes incoming audio harmony and converts it into MIDI note data you can edit or reassign.
Cubase 15 supports an unlimited number of audio channels, MIDI tracks, and instrument tracks, limited only by your Mac's processing power.
It ships with VariAudio, an integrated tool for adjusting pitch, timing, and vibrato directly on monophonic vocal recordings.