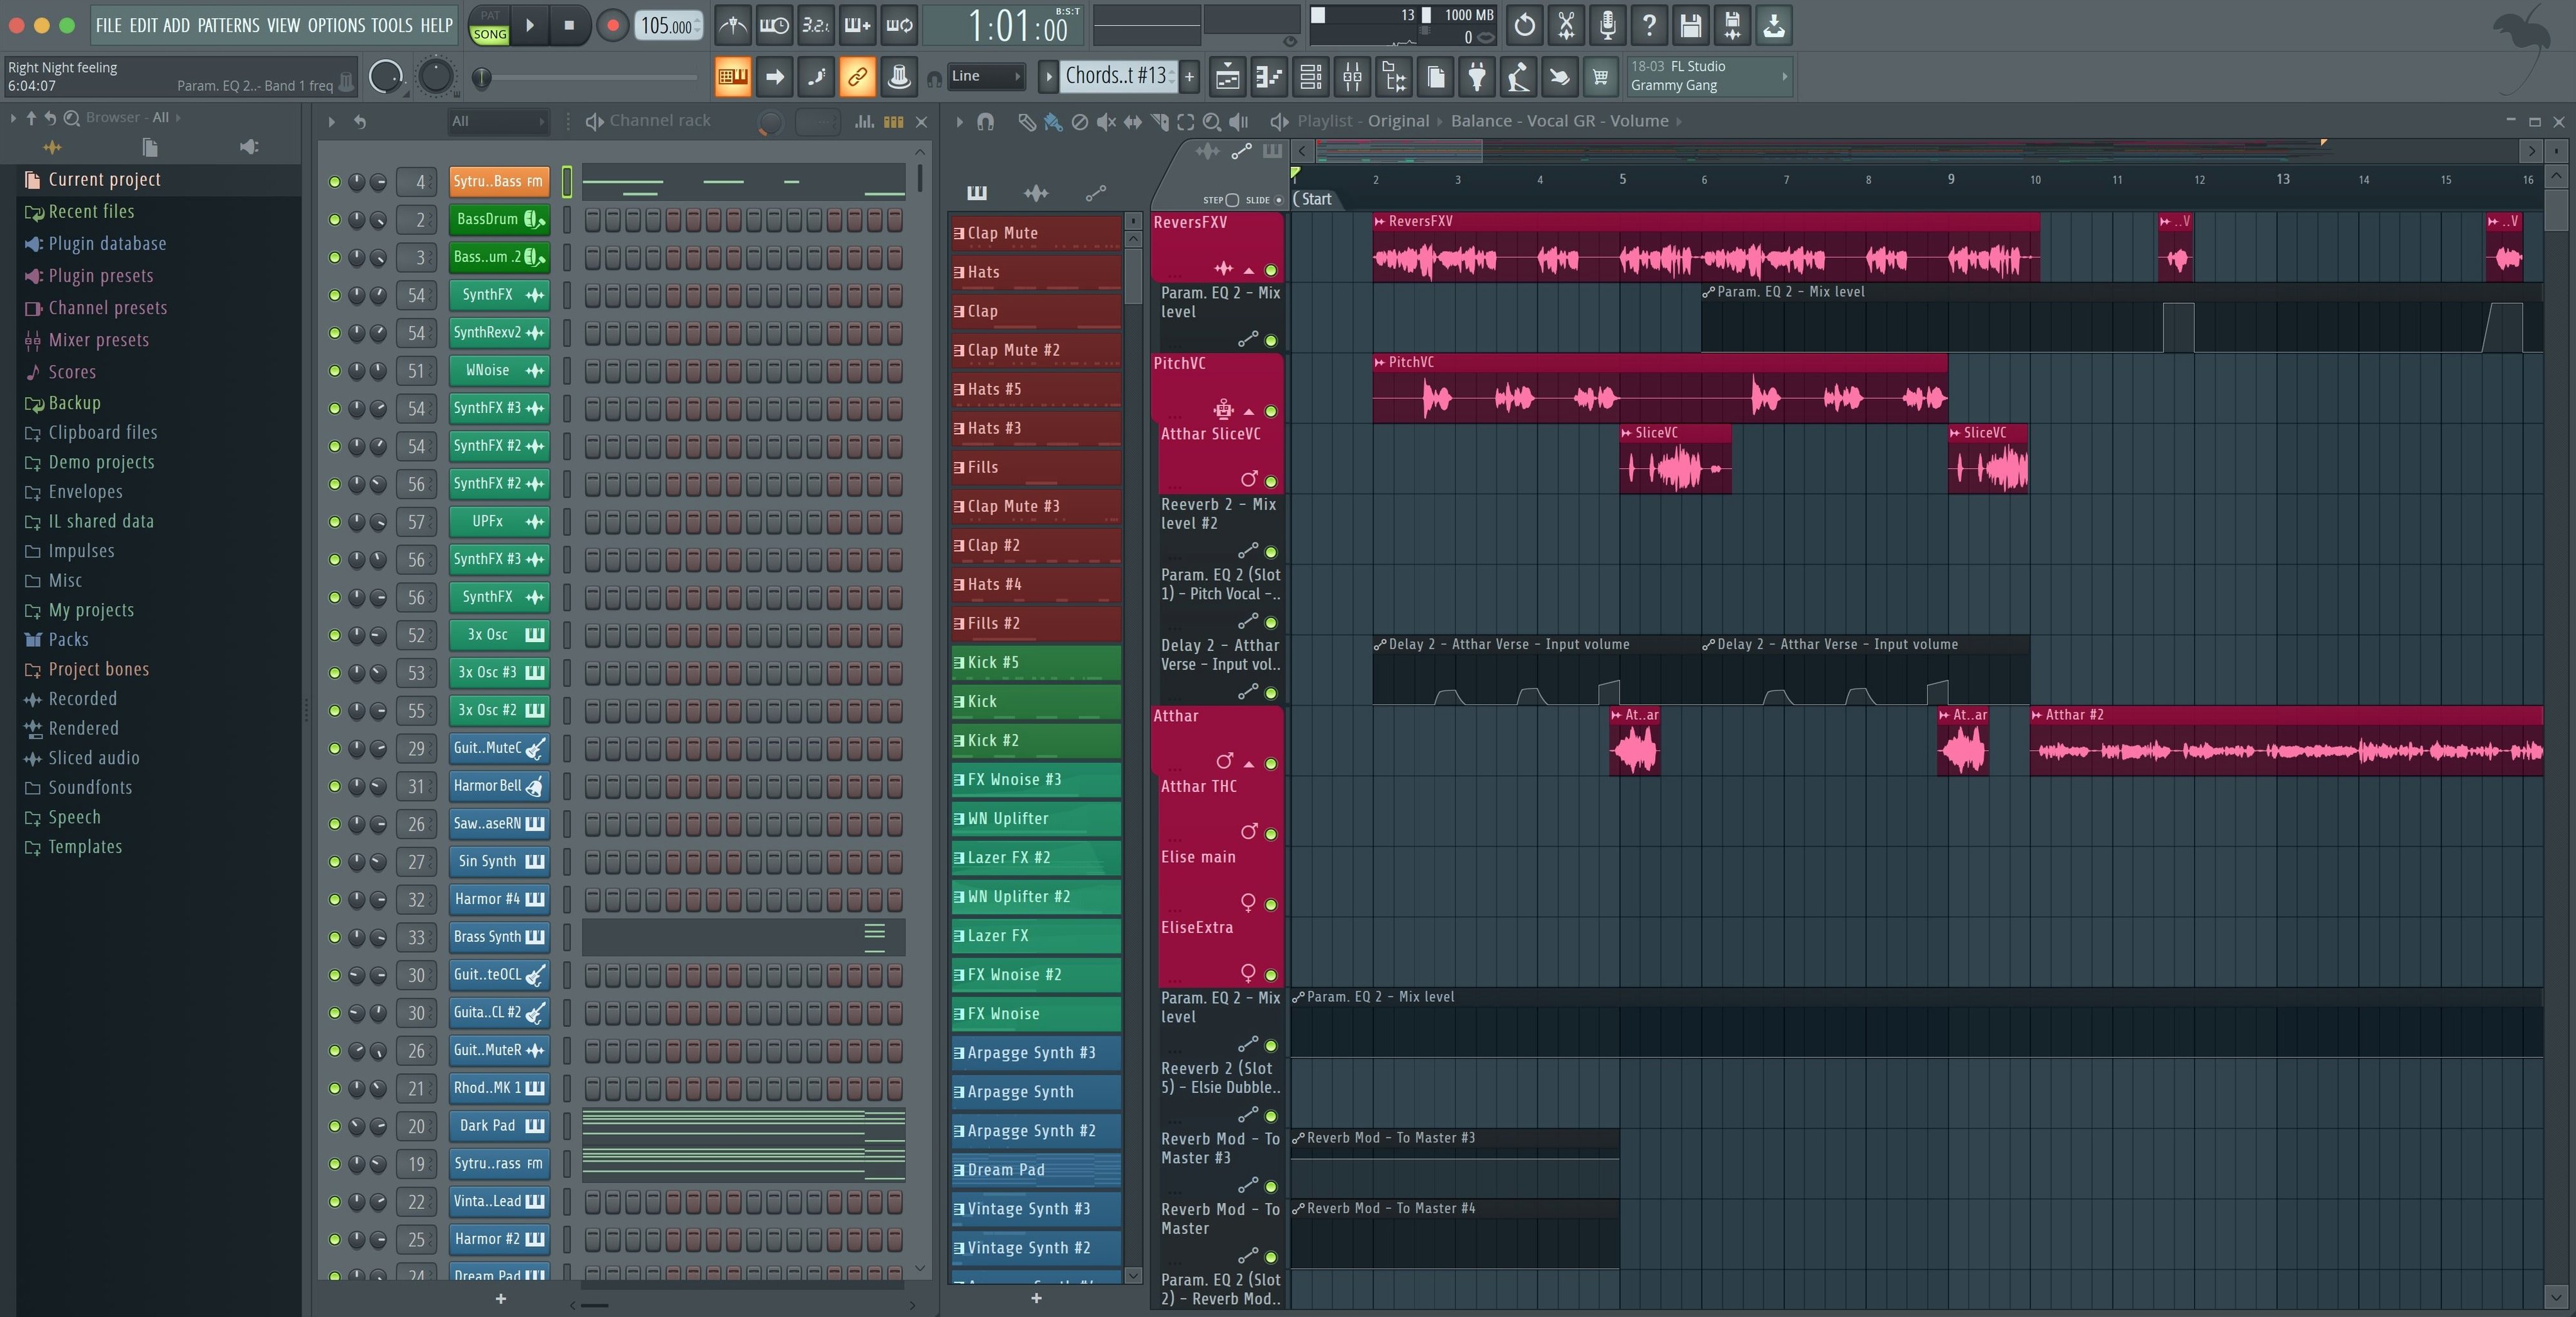
The midnight session starts simply enough — a kick, a snare, a bassline hummed into a voice memo earlier. You launch the desktop app, drop a kick pattern into the step sequencer, layer a clap from the stock library, and pull up a built-in synthesizer for a drifting pad. Within twenty minutes the pattern is breathing, and you route each sound to its own mixer channel to start shaping the space.
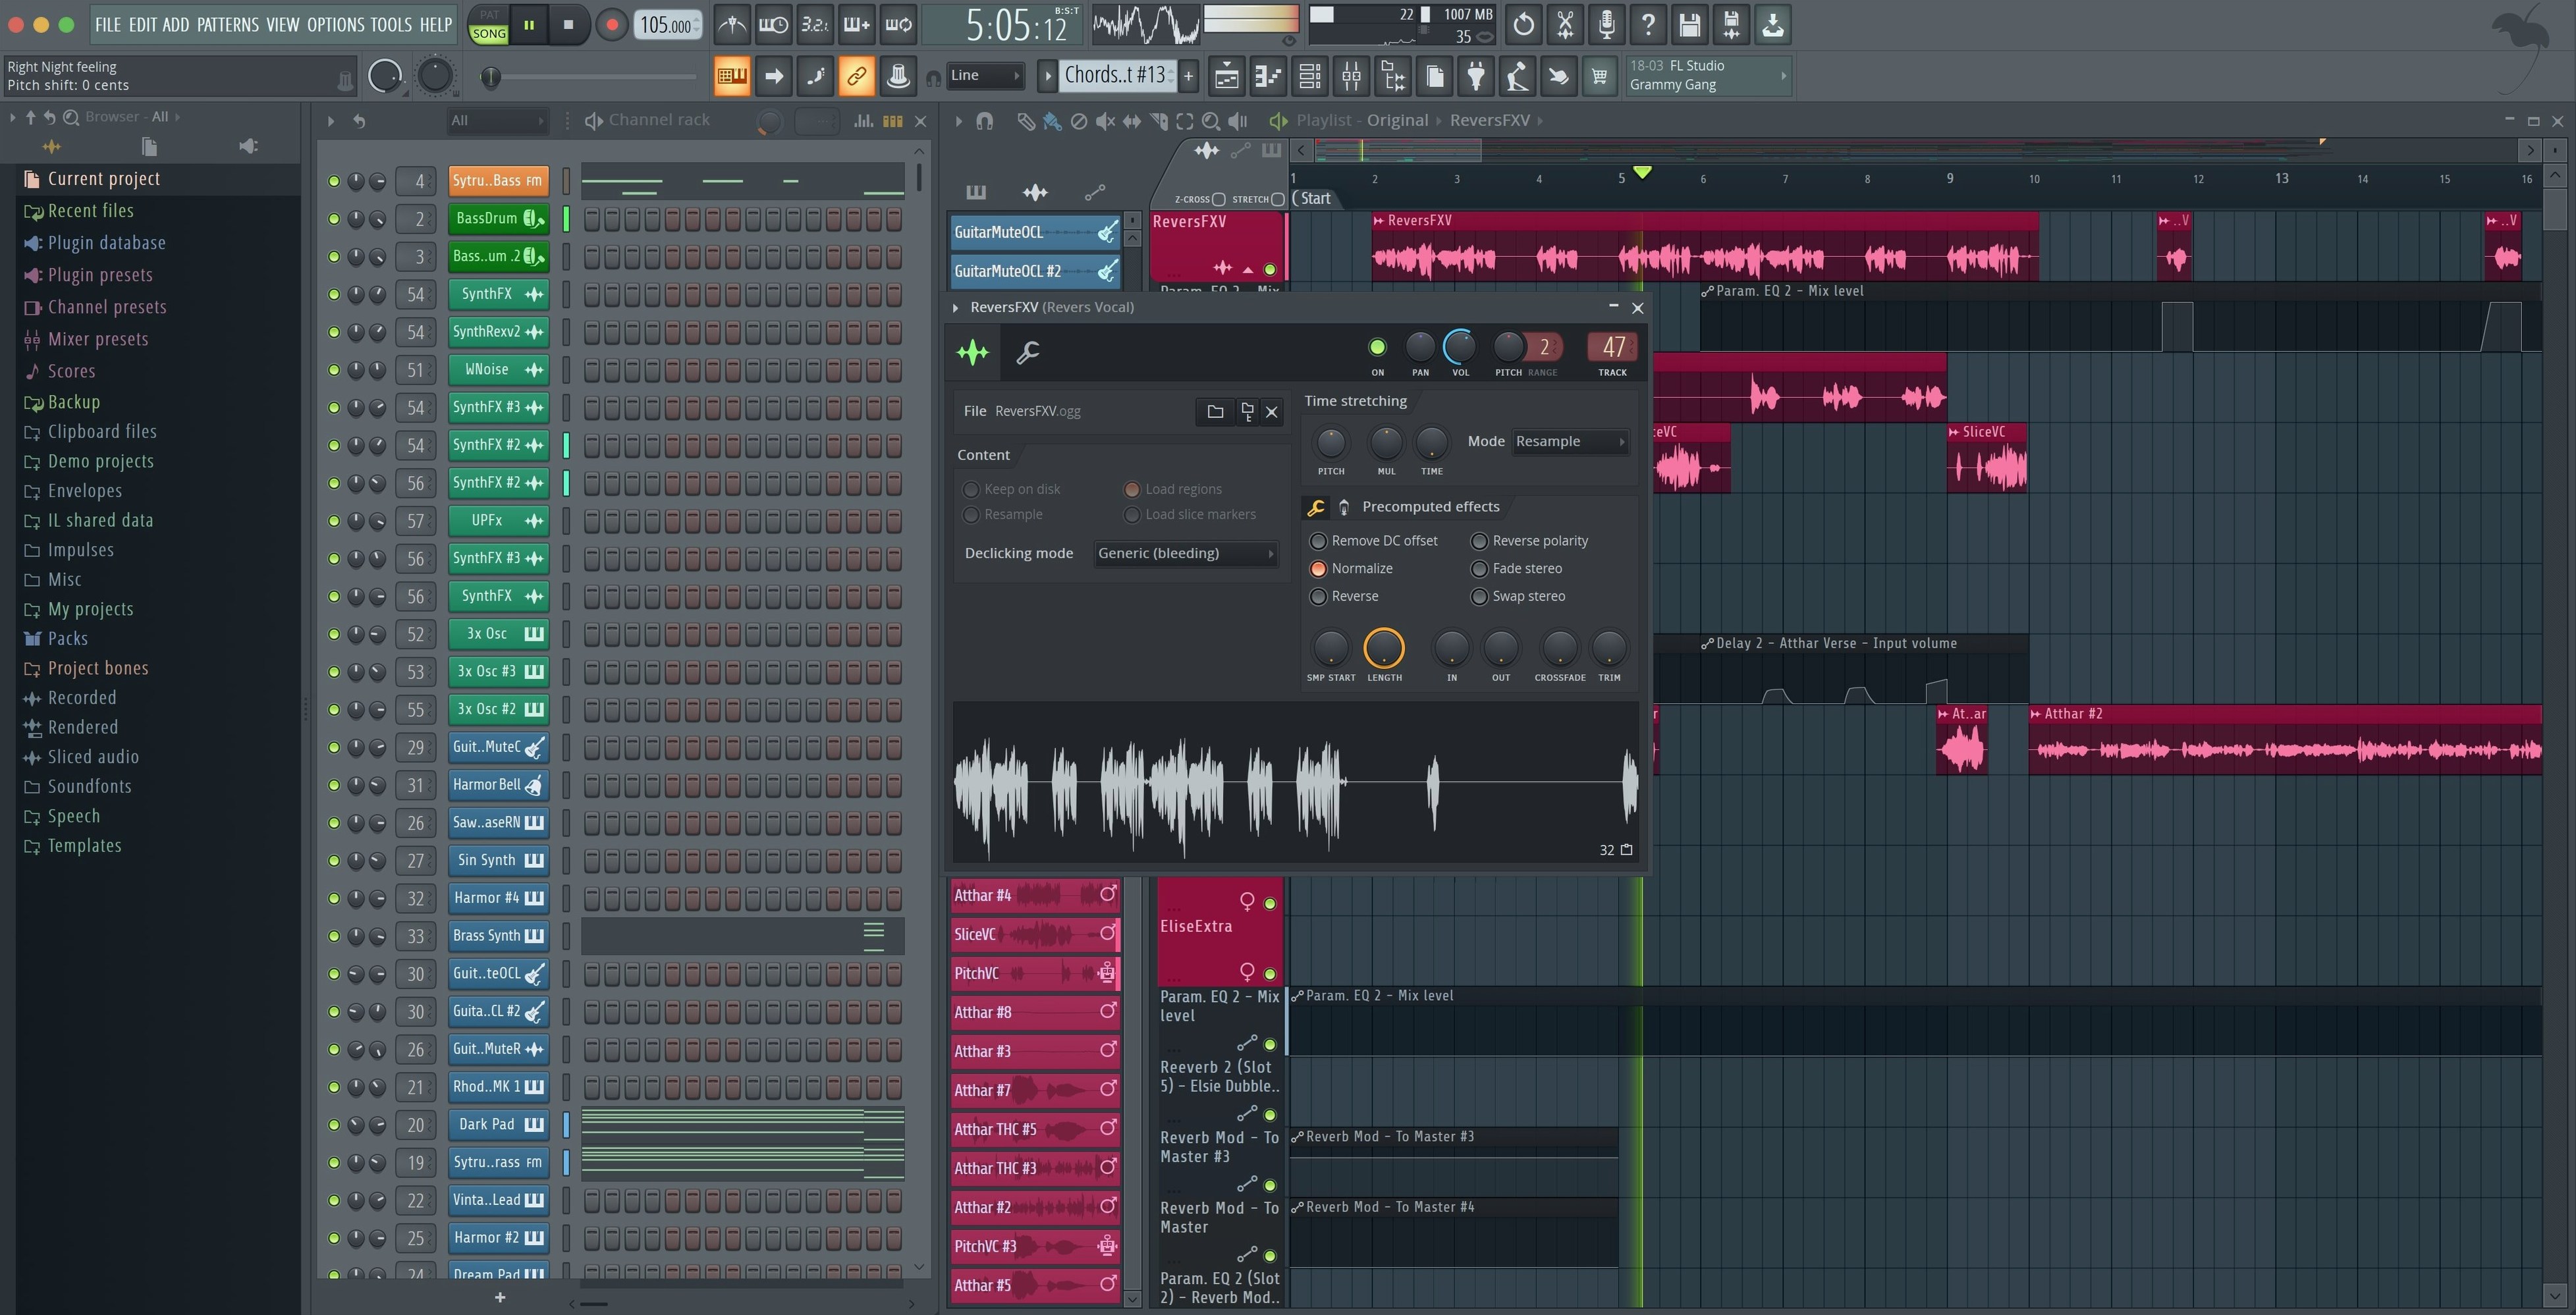
- Step-sequenced drum patterns and basslines with the channel rack, adjusting velocity per hit until the groove sits right.
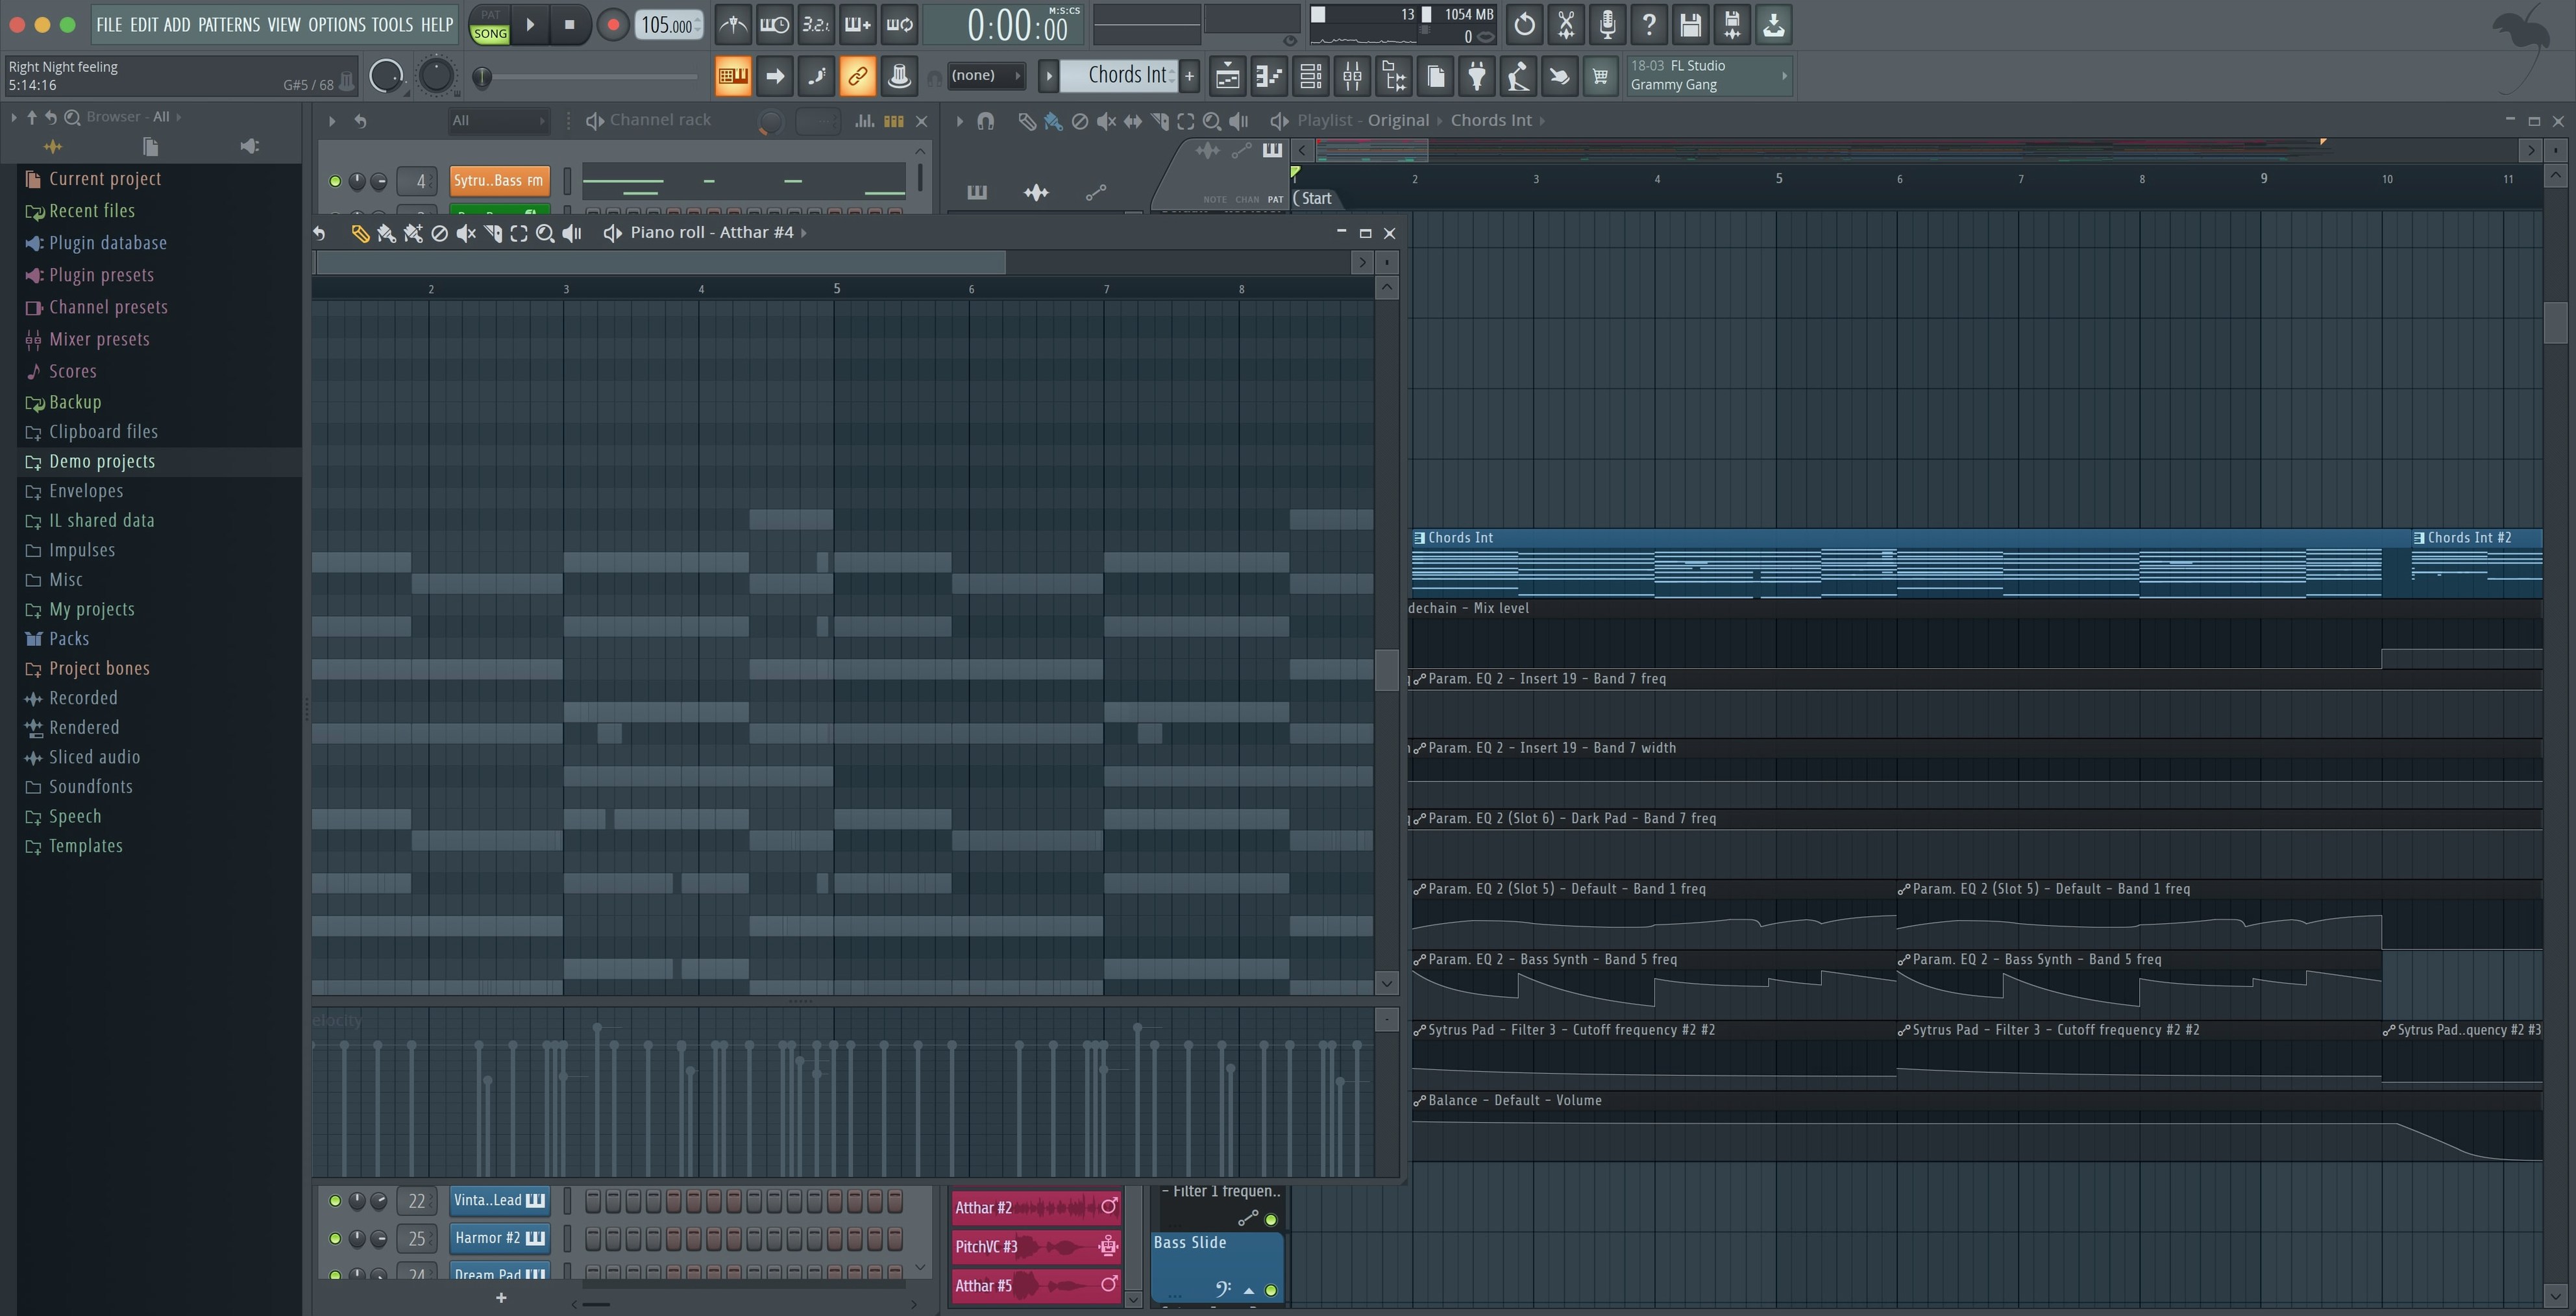
- Piano roll editing for the melodic elements, drawing in a chord progression and nudging note lengths to humanize the timing.
- Automation clips drawn directly on the playlist to fade the pad in over eight bars and tilt a high-pass filter on the drums during the bridge.
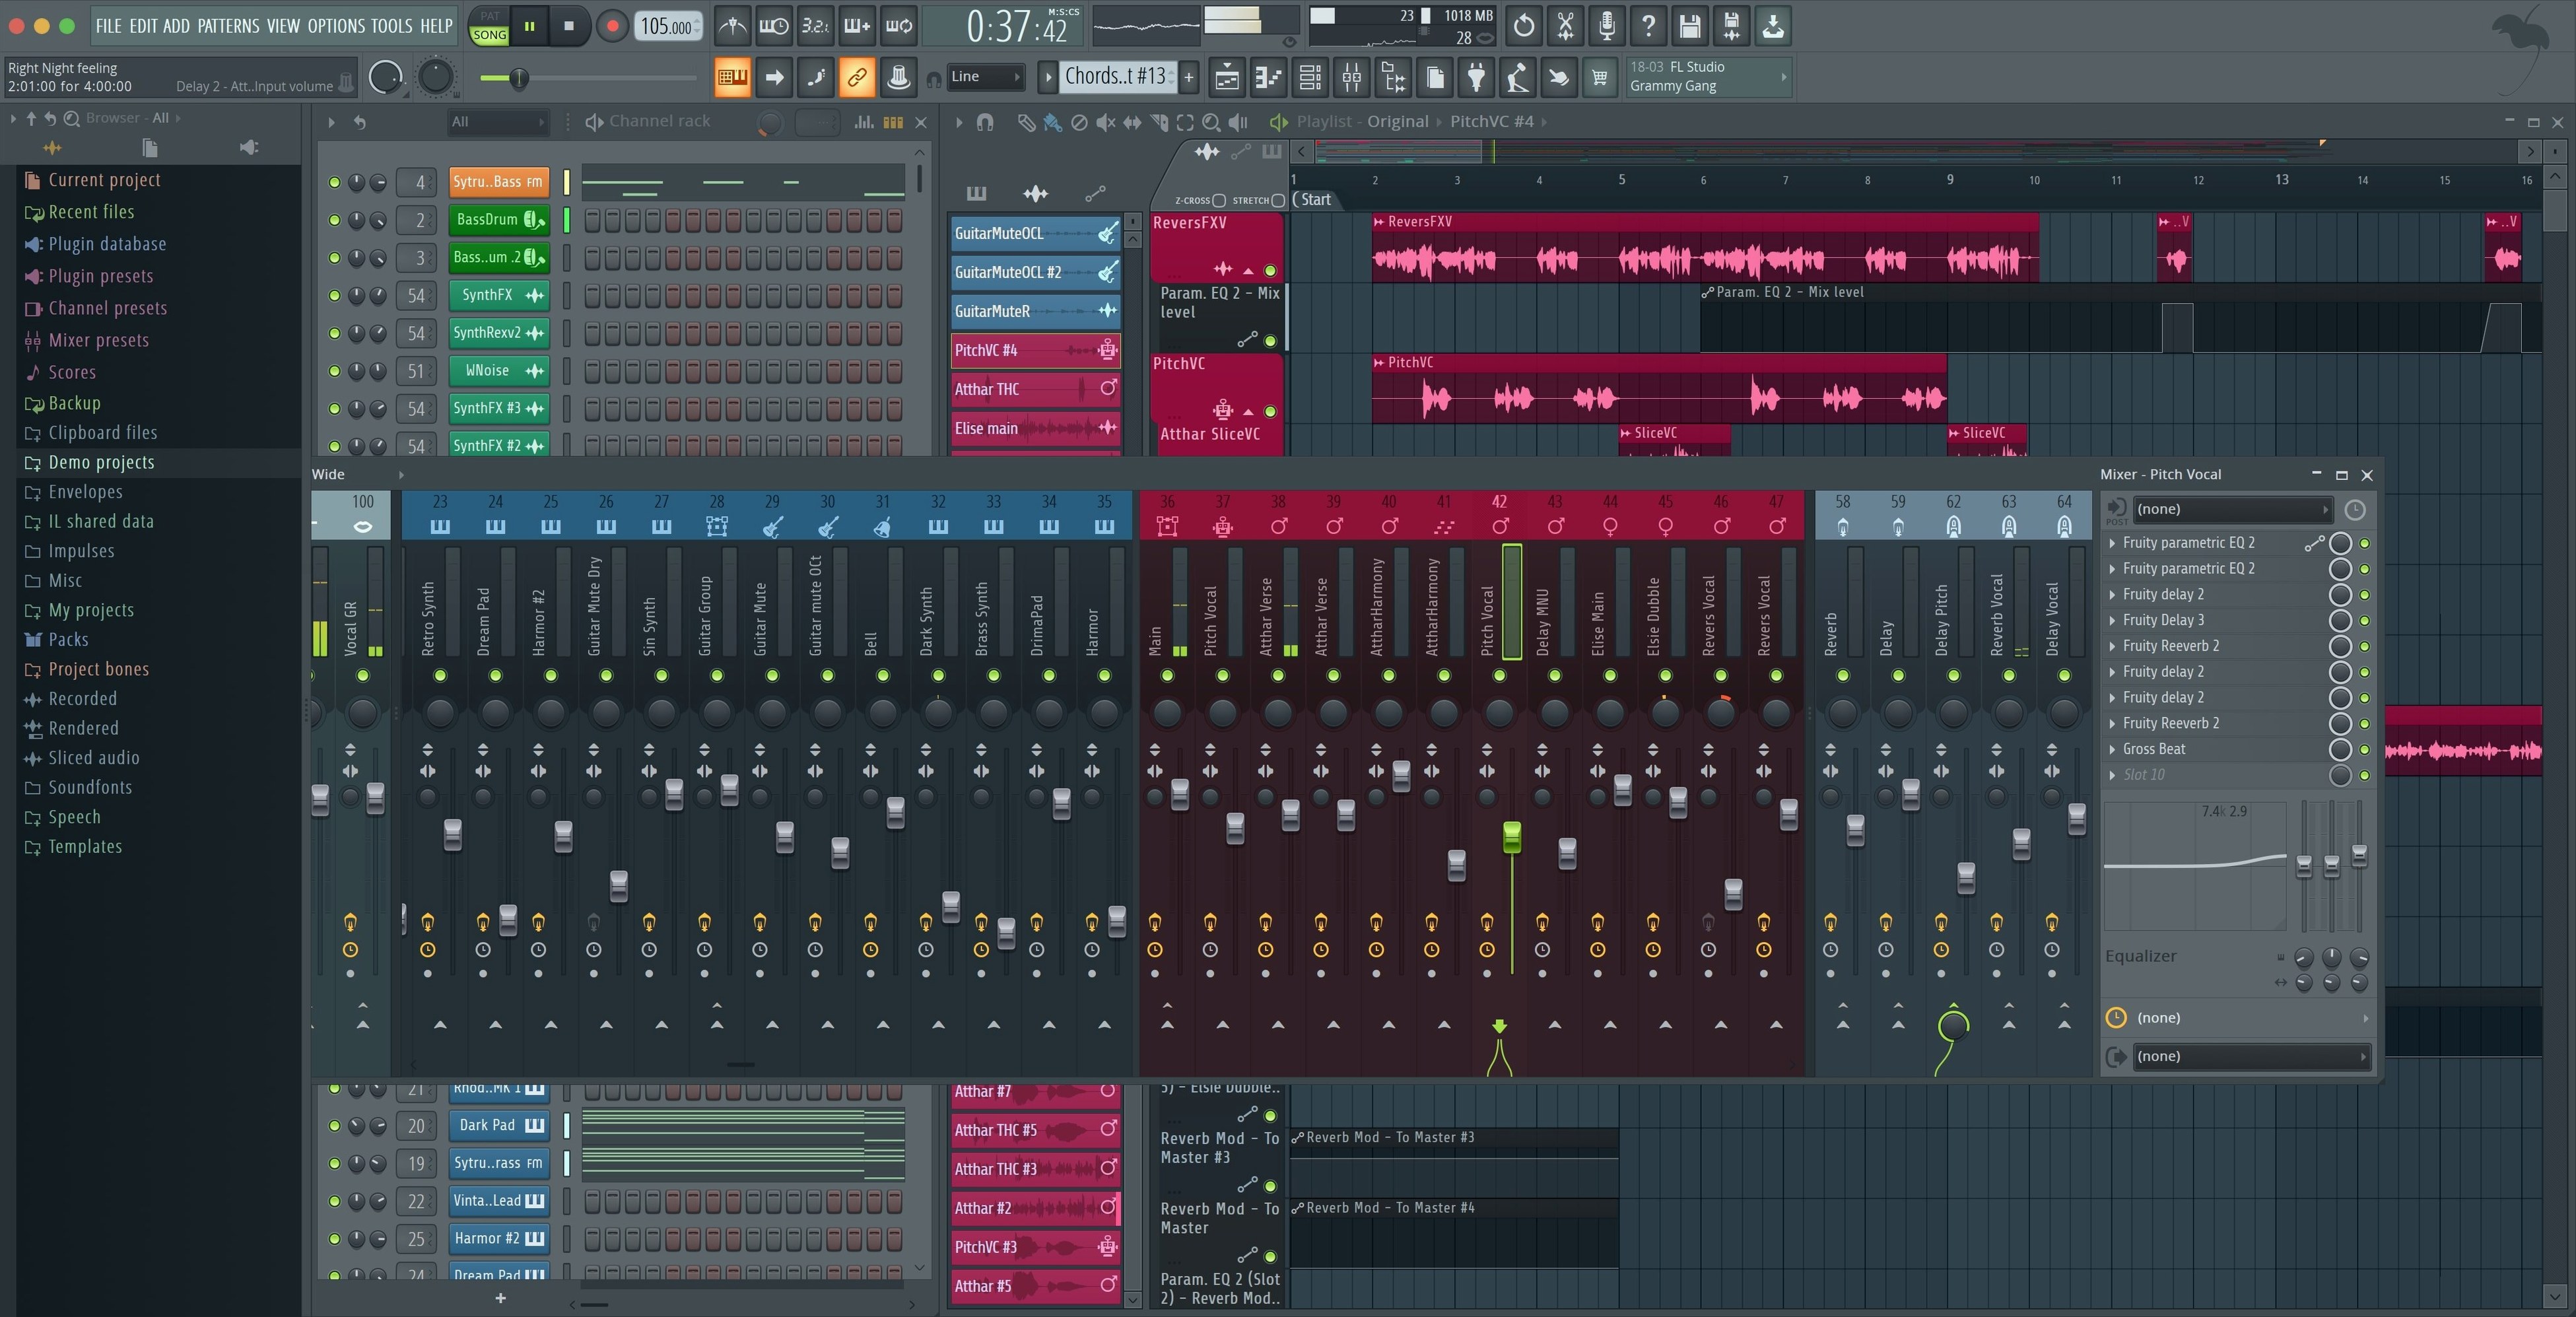
- Mixer routing with channel sends to a short reverb and a ping-pong delay, keeping the low end dry while pushing the synth into a widening effect.
- Arranging sections by painting patterns across the playlist timeline, then splitting the export to render the master bus alongside individual stems using the new checkboxes in the export dialog.
By the time the arrangement breathes through a verse, a drop, and a final wash of filtered noise, the mix is balanced with the full built-in effects chain — EQ, compression, and a limiter catching the peaks. The session started with a hummed melody and ended as a track ready to share.
Middle-click any knob to reset it instantly
FL Studio buries a handful of shortcuts that speed up the kind of repetitive tasks you do dozens of times a session. Middle-clicking any knob, fader, or control resets it to its default value — no need to hunt for a reset option in a menu. Holding Alt while clicking and dragging a note in the piano roll duplicates it instantly, which turns building chord stacks into a single gesture. The browser's Snapshot panel, tucked near the bottom of the browser, remembers up to ten folder locations you visit often: one click and you are back inside your drum kit folder without scrolling through the full tree.
On the playlist, Shift + drag on a clip edge stretches its content rather than looping it — useful when a riser sample needs to fill exactly three and a half bars instead of four. The step sequencer accepts right-click on a step to open a velocity and fine-pitch pop-up, so ghost notes and accent variation never require leaving the channel rack. And when a new MIDI controller appears, the notification introduced in 26.1.6 means you can enable it on the spot instead of digging through the MIDI settings panel later.
From tapped tempo to kick-and-snare backbone
You start with an empty project and a tempo tapped out on the transport panel. The channel rack gets a kick on every quarter note, a snare on the backbeat, and closed hi-hats on the off-eighth — nothing fancy, just a skeleton. You open the piano roll on a second channel, load a FLEX preset from the "Arctic" pack, and sketch a four-chord loop. The timing is stiff, so you quantize to 70% strength with a quick Alt+Q and slide a few notes manually where the pocket needs to breathe.
Next, the mixer. You select each channel in the rack and press Ctrl+L to assign it to an open mixer insert — five channels, five inserts, no drag-and-drop. Insert 1 gets a soft-knee compressor and a small boost around 60 Hz. Insert 2, the snare, gets a subtle plate reverb on a send so the tail stays out of the way during faster fills. You drop a Parametric EQ 2 on the master and pull down a narrow cut at 250 Hz where the pad and the kick are mudding up.
With the core loop playing, you open the playlist and paint the pattern out for sixteen bars. The arrangement needs contrast, so you duplicate the pattern, delete the hi-hats from the duplicate, and paint that as a stripped-down eight-bar section. You draw an automation clip for the pad volume, dipping it over the stripped section, and another for the master-channel filter cutoff that opens up during the transition. Twenty-five minutes in, the project plays top to bottom with two distinct sections and a mix that already translates on headphones.
Bypass plugins one by one when audio cuts out
Audio suddenly cuts out. The most common culprit is a demo version of a third-party plugin inserted somewhere in the chain — many VSTs mute their output periodically until registered. Bypass plugins one by one to find the offender. The Plugin Performance Monitor, now with fractional precision in its percentage readout, helps spot a misbehaving plugin before it crashes the project.
MIDI notes play back with no sound. Check that the channel's mixer routing is intact: a channel assigned to a mixer insert that was deleted or reassigned will go silent. Press Ctrl+L on the channel again to route it fresh. Also verify the instrument's volume envelope has not decayed to silence — an ADSR with zero sustain will produce only a click.
Export sounds thinner than the live playback. Some producers discover their system audio is routed through a different device or has an EQ curve applied that the export bypasses. Disable any external audio processing, set the master output to the same device used for monitoring, and check that the export dialog is rendering the Master bus, not just a single mixer track by mistake. The new per-track render checkboxes in the export dialog — Master and Current — let you confirm exactly what is being printed before committing.
Latency during recording. If you are punching in vocals or a guitar line and the monitoring delay is distracting, lower the buffer size in the audio settings temporarily. Switch it back higher for mixing to avoid dropouts. Enabling "Smart Disable" in the Tools → Macros menu ensures idle plugins release CPU cycles when they are not processing audio.
A stem-export workflow for sending a beat to a vocalist
The request comes in: a vocalist needs your beat split into separate WAV stems so they can comp takes in their own session. You open the playlist and confirm all patterns are arranged across the timeline exactly as intended — no stray clips tucked behind a section marker. In the mixer, you have eight inserts carrying the essential elements: kick, snare, hi-hats, bass, chords, lead, FX, and a percussion bus. Each insert is named clearly, because the export dialog reads those names when splitting.
You open the export dialog with Ctrl+R, set the format to WAV at 24-bit, and enable Split mixer tracks. The new checkboxes added in version 26.1.6 appear: you tick Render Master to get a full reference mix and leave Render Current unchecked since you want all tracks, not just the selected one. You choose a folder, name the project, and hit Start. FL Studio cycles through the arrangement eight times, once per insert, and writes a folder containing eight stems plus the master bounce — each file aligned to bar one, ready to drop into any DAW.
Before you zip the folder and send it, you solo the kick and snare together for a quick listen. The attack transients are clean, the tail of the reverb send prints correctly on the FX stem, and nothing clips. The vocalist will hear the beat exactly as you mixed it, no surprises. The whole process — from opening the export dialog to checking the final files — takes under three minutes.
The 2026.1.6 maintenance update sharpens a few daily details. The export dialog now includes checkboxes to render both the Master and Current tracks when splitting mixer channels, saving a second pass. The Plugin Performance Monitor displays percentage values with fractional precision, making it easier to spot incremental load changes. A new notification appears when a MIDI controller is connected, with an option to enable it directly, and the Akai Fire controller defaults to its dedicated script.
- macOS 10.15 Catalina or later
- Apple Silicon (native, no Rosetta required) or 64-bit Intel processor