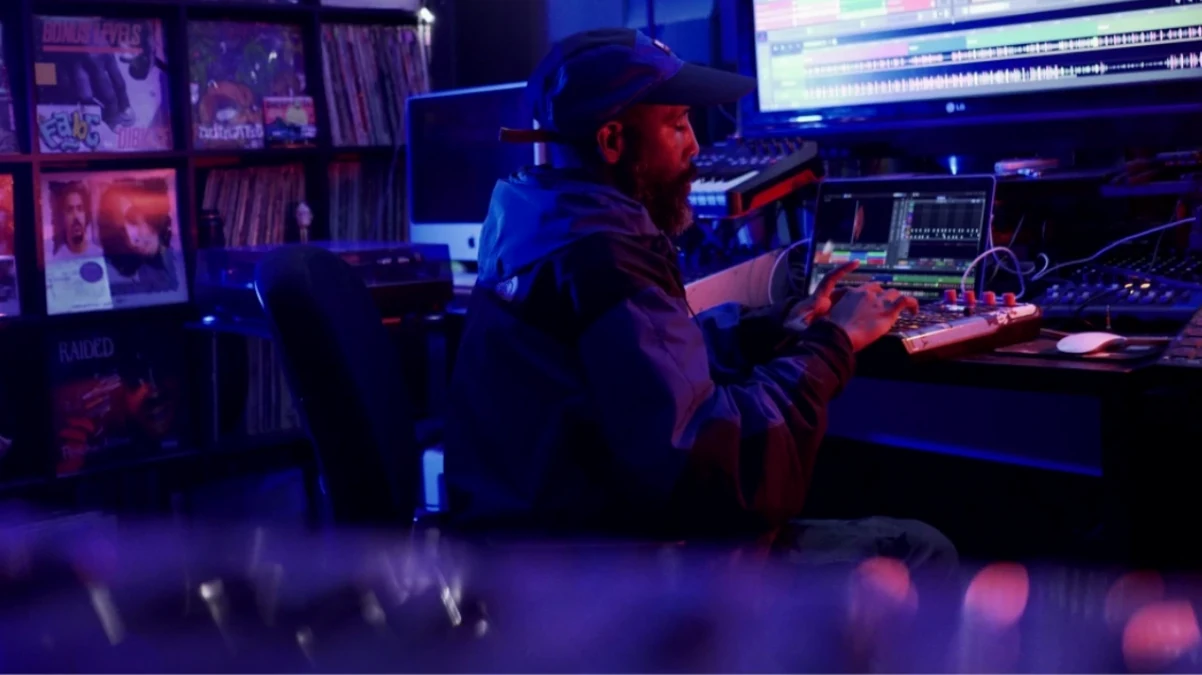
The current 1.0.0 release marks the transition from the browser-based mastering.studio into a dedicated desktop application. It brings the same automated analysis of reference masters into a standalone environment, removing the need for a DAW entirely. For anyone shaping a final stereo file in GarageBand or another lightweight setup, that change alone shifts the workflow.
Compatibility and system requirements
- Requires macOS 12 (Monterey) or later
- Runs natively on both Intel and Apple Silicon processors
- Interface presented in English
What the application delivers
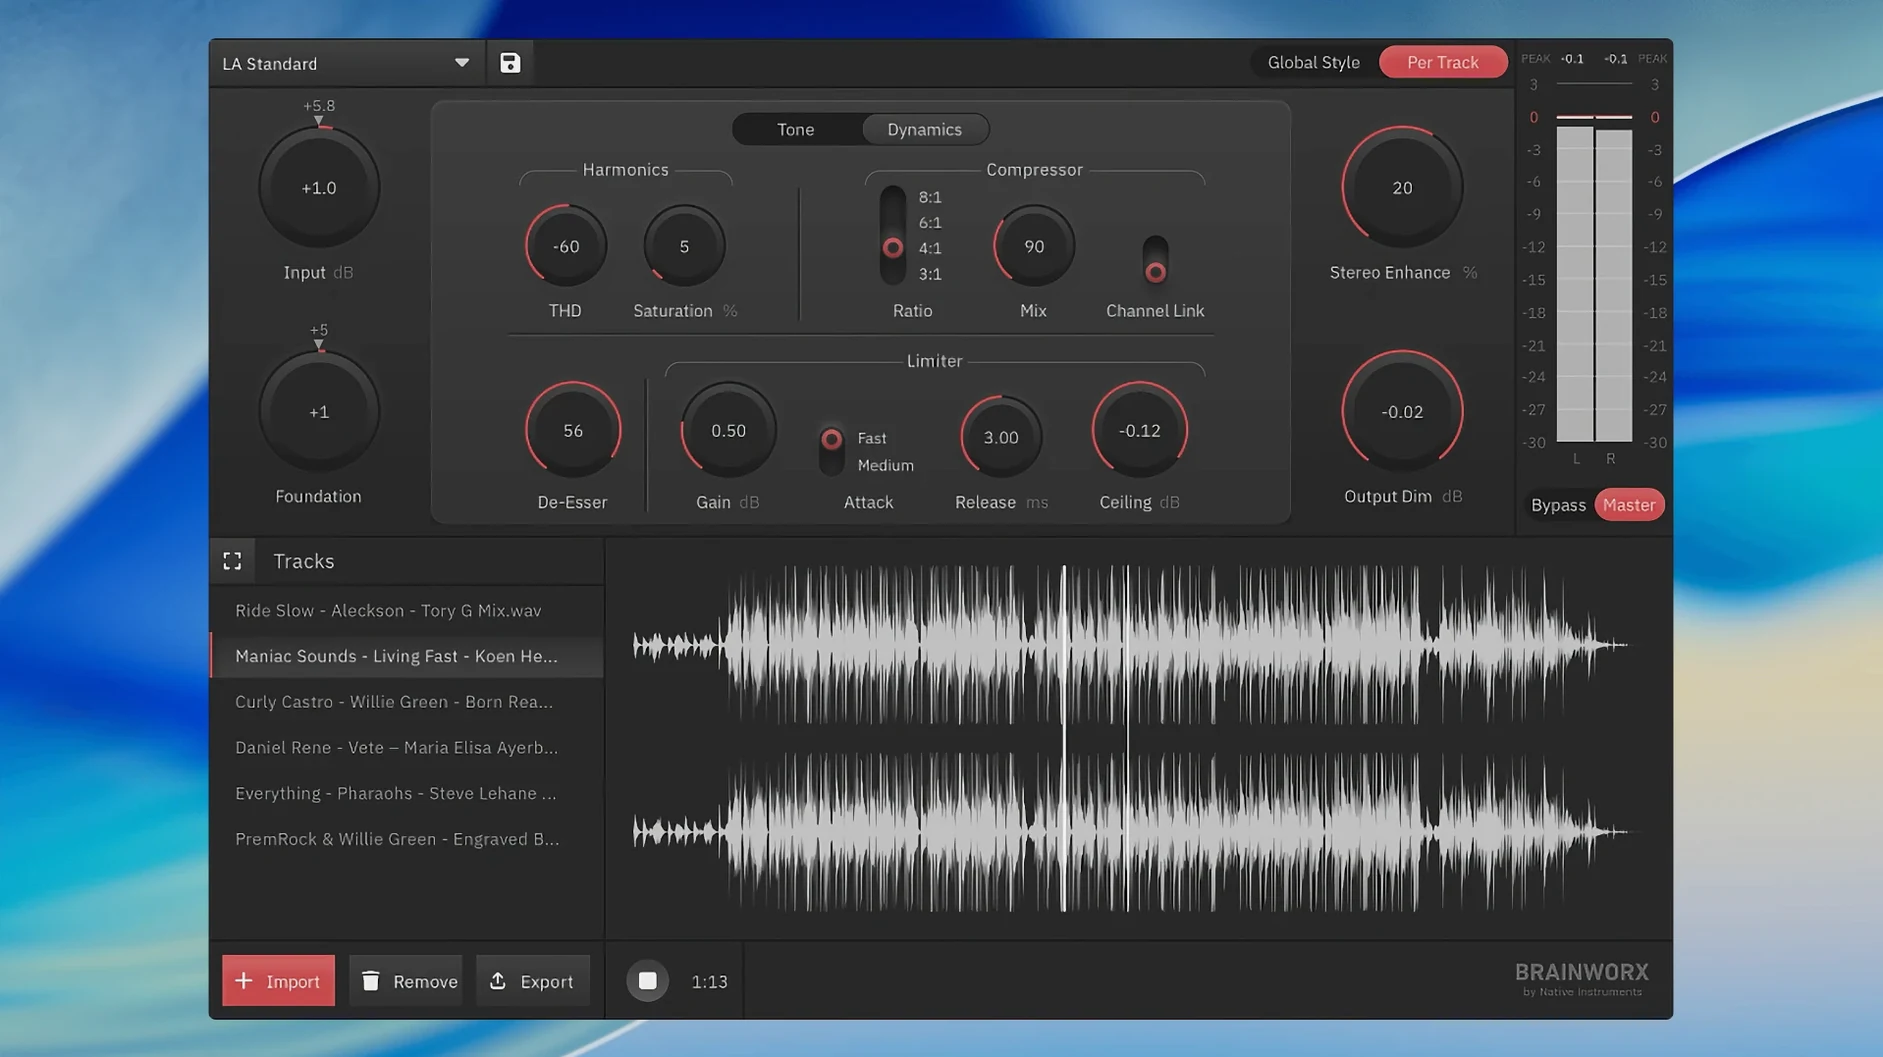
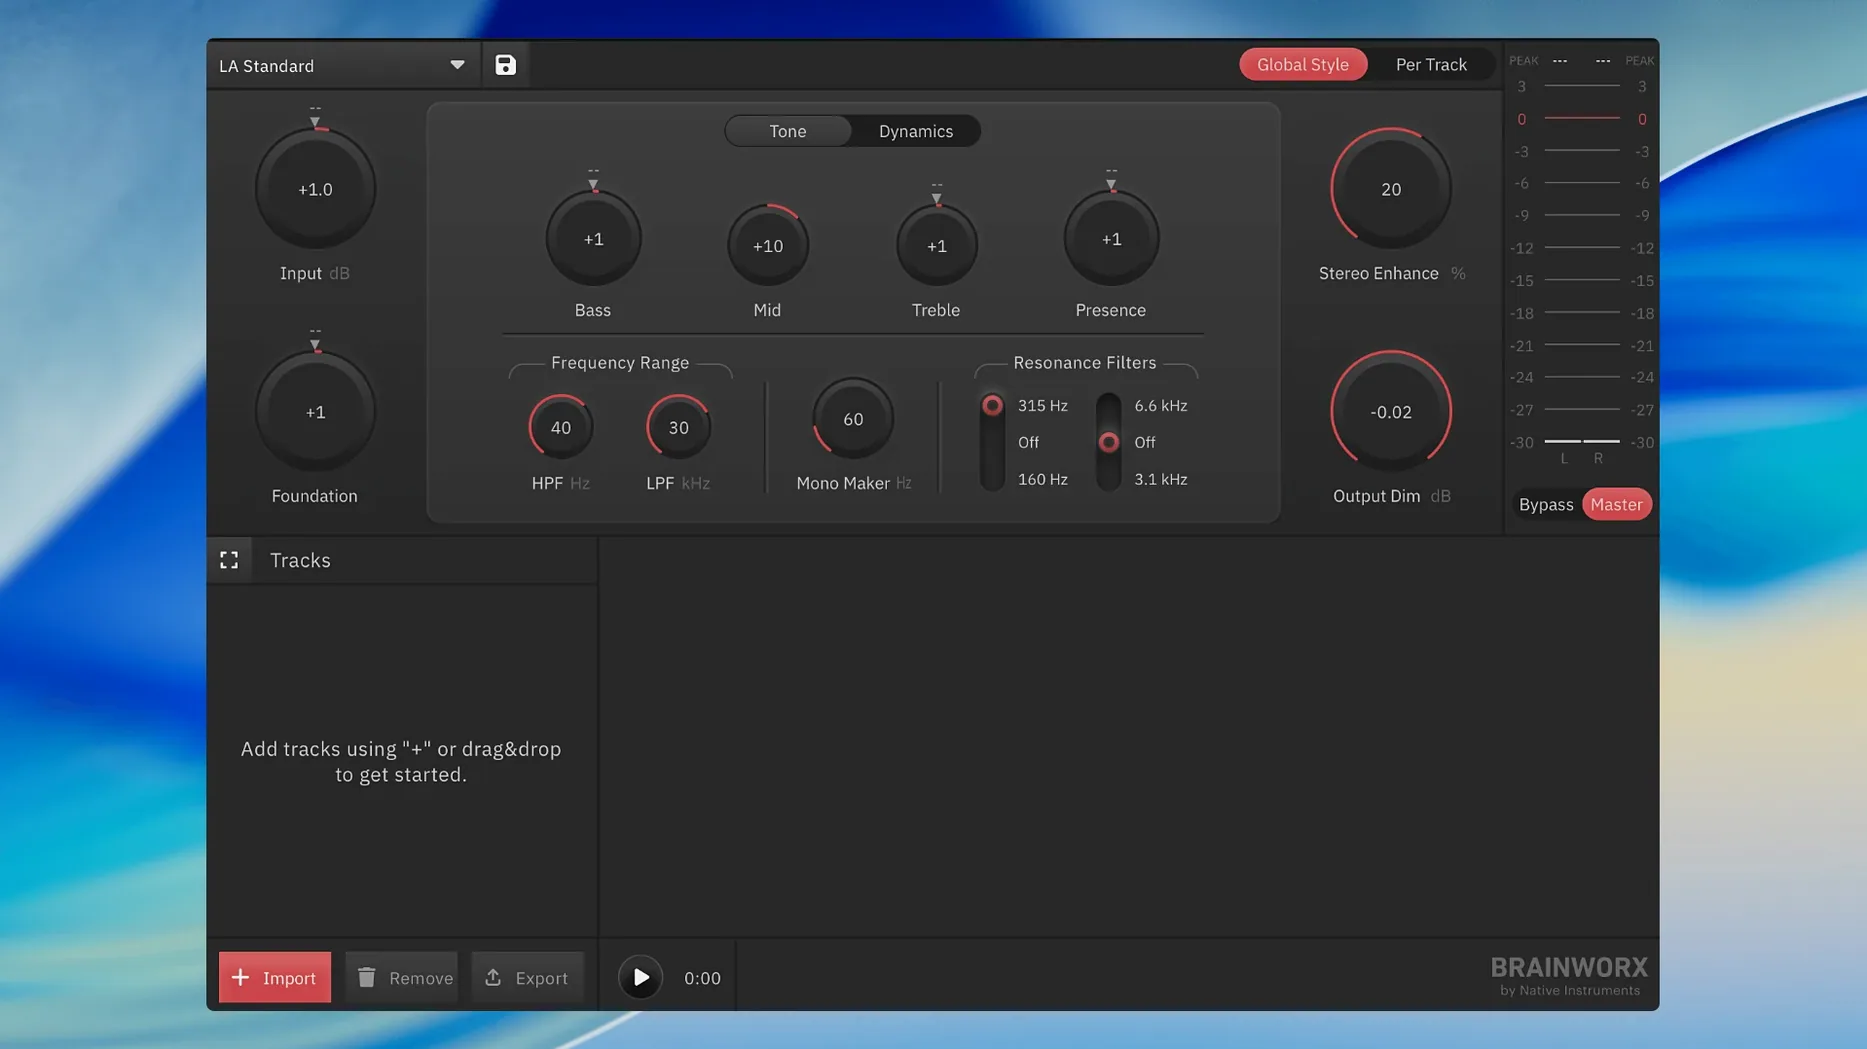
The engine is built from Brainworx's Style Creator, so you begin by choosing one of the built-in mastering styles rather than a blank chain. Each style is a snapshot of processing derived from an analysis of notable commercial masters. You can tweak the resulting curve, but the guiding logic is the app's sense of a finished record. That makes it an unusual descendant of the earlier web tool — still leaning on algorithms to suggest the final polish, now running locally on your machine.
Export your mix as a stereo WAV first, not an open plug-in
bx_mastering studio is not a plug-in, and that fact shapes how you reach for it. You export a stereo mix — usually a 24-bit or 32-bit float WAV at the project sample rate — then drop it into the app as the last stop before distribution. Because it is standalone, it pairs naturally with any audio editor that can hand off a file: Logic Pro, Reaper, even QuickTime exports from a voice memo. I find myself using it after a rough bounce from DaVinci Resolve when a video project needs a quick loudness lift without leaving the desktop for a browser tab.
Drag-and-drop from Finder works as you would expect, and the app respects macOS colour tags and Quick Look previews. If you use Automator or Shortcuts, you can build a Folder Action that watches a "To Master" directory and opens new files automatically — something the earlier browser tool could never touch. The app also writes its output files with standard Core Audio timestamps, so when you bring a mastered track back into Logic or Final Cut, it slots into the timeline without drift.
What the 1.0.0 desktop release actually changed
Moving from a browser tab to a native Cocoa application sounds like a technical footnote, but it ripples out into daily use. The most immediate difference is that your audio stays on your machine — no upload, no cloud processing, no waiting on a server queue. On an M1 MacBook Air, a four-minute stereo file processes in under ten seconds, which feels invisible compared to the upload-and-wait rhythm of the old mastering.studio.
Offline access became real. You can master a podcast episode from a train seat or a cabin with no Wi-Fi, which was impossible in the browser era. The app also gained proper macOS audio device routing: you can send playback through an external interface while keeping system sounds on the built-in speakers, something the browser version could never negotiate with Core Audio aggregates. Drag-and-drop from the Dock icon and the ability to set bx_mastering studio as the default application for WAV and AIFF files are small touches, but they make the app feel less like a utility and more like a tool you keep in the dock.
Lossy source files sabotage the style-matching analysis
The first misstep I see repeatedly is feeding the app an already-limited MP3. The analysis engine works from the spectral content of the file you give it, and starting with a lossy source means the style-matching algorithm makes decisions based on missing information. Always export a lossless bounce from your session, even if the final destination is a streaming platform. The app handles SRC and dither on export; it cannot recover what was discarded by an earlier encode.
Another common error is auditioning the result on the same monitors used for mixing, at the same volume, with no reference track loaded. The built-in styles are shaped around commercial loudness and tonal balance expectations, not your mix room's quirks. If you skip loading a reference song that you know well, you are evaluating the master in a vacuum. The app includes a reference track slot for exactly this reason — use it. A third trap: chasing the Style Creator fader toward 100%. The processing is not a wet/dry blend; pushing the fader to maximum often introduces a hyped top end that sounds exciting for thirty seconds and fatiguing for a full album. Start at 50%, print a pass, and walk away before comparing.
Change the default 16-bit output for video or archival masters
The default output format is a 16-bit, 44.1 kHz WAV with shaped dither. For most streaming or CD-R scenarios, that is correct. If you are handing a master to a video editor or archiving, switch to 24-bit or 32-bit float and match the sample rate to your project. The dither menu offers four noise-shaping curves; the default is a safe choice, but if you are printing a quiet, dynamic recording, the low-spread option preserves more low-level detail. The loudness target defaults to -14 LUFS integrated — the streaming standard — but the app does not enforce it rigidly. If your genre expects -9 LUFS and a denser crest factor, you can set the target lower and let the limiter stage work harder. Listen to the result, not the meter, but know that the meter is adjustable.
Spend two minutes in the preferences pane before processing anything. The option to auto-name output files with the style name appended saves you from a folder full of "Master1.wav" files. The playback buffer size, set to 512 samples by default, can be dropped to 128 on Apple Silicon machines for tighter responsiveness when toggling the bypass comparison. And if you plan to use the app regularly, enable the menu bar shortcut — it keeps the app accessible without cluttering the dock during long editing sessions.
- macOS 12 or later
- Intel or Apple Silicon Mac