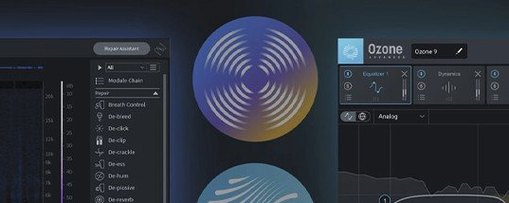
A field recording comes back from a windy hillside, the dialogue fighting against a low-frequency rumble and the snap of a jacket hitting the lavalier. That is the kind of material that ends up open in RX—a spectral view spreading across the screen, noise showing as faint orange clouds you can simply paint away. The toolkit hasn’t changed its core promise: it still gives you De-click, De-hum, De-crackle, and the rest of the surgical modules that film and game audio editors reach for daily. What shifts with version 12 is how you approach a complex scene.
What does Scene Rebalance actually separate?
Dialogue, music, and effects. A stereo mix can be pulled apart into three stems, letting you lower a score that is stepping on a line or isolate background ambience for a different cut without returning to the original multitrack.
How does the spectral editor work with the new Stem View?
Stems View displays the separated elements side by side in the spectrogram, so you can apply De-bleed or Dialogue Isolate directly to an individual stem rather than processing the entire file and hoping for the best.
Which older modules got rebuilt for RX 12?
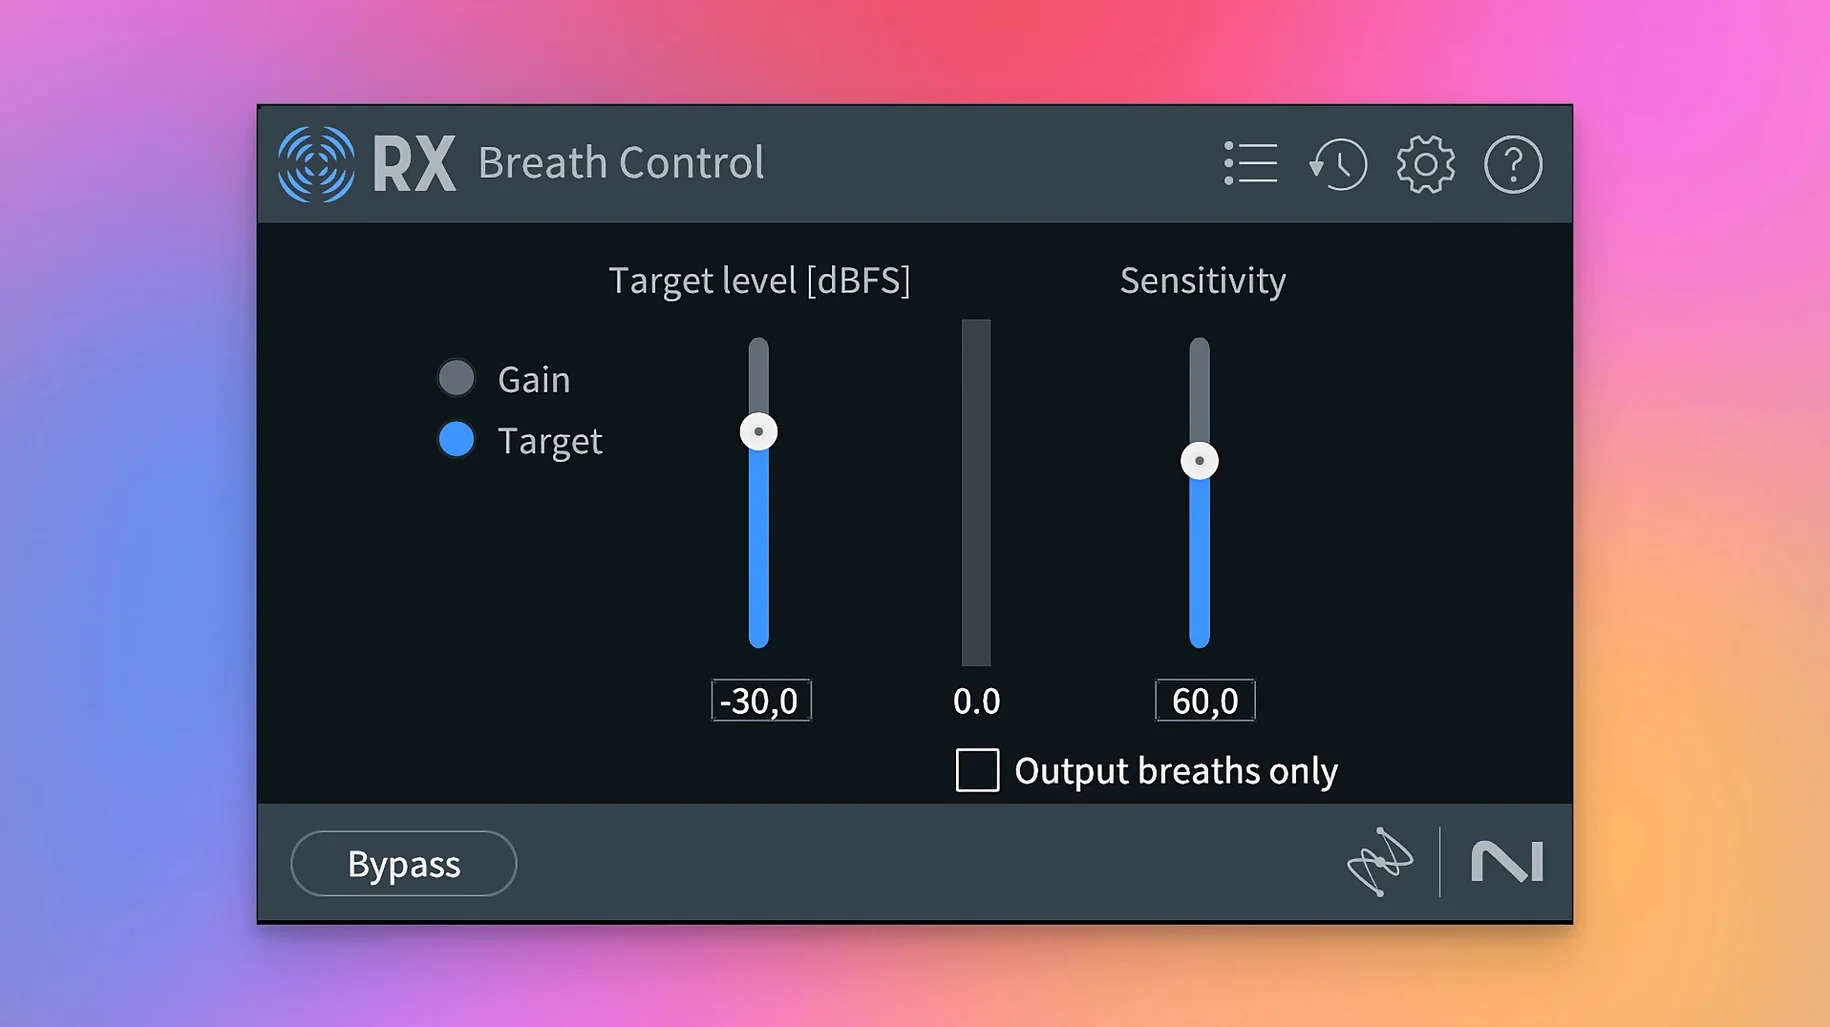
Breath Control and De-bleed were reworked from the ground up. The new Breath Control detects inhalations with fewer false positives on sibilants, and De-bleed now handles the low-end thump of headphone spill more cleanly than the previous algorithm managed.
Does it still work the same way inside a DAW?
Yes. The suite loads as AU, VST3, or AAX plug-ins, with ARA support for spectral editing directly in the timeline. You can also launch it as a standalone editor for long-form work, and Repair Assistant still provides a first pass at identifying problems across a file using machine learning before you touch a single control.
Beyond the standalone editor — where RX 12 sits in a working chain
The standalone application is where the heavy restoration happens, but a session rarely lives in one piece of software. A common path starts with a dialogue edit in Pro Tools or Logic, where RX Connect sends a clip straight into the spectral editor without bouncing or reimporting. The ARA integration tightens that further: select a region on the timeline, open it in RX, paint out a chair squeak, and the waveform updates in place. For Nuendo or DaVinci Resolve users who lean on AAX Audiosuite, the plug-ins render directly onto clips, so a De-hum pass on a lav track takes seconds rather than minutes.
Outside the DAW, macOS tags and Quick Look become surprisingly useful when you are wrangling a day’s worth of production audio. Name a folder of raw field recordings, tag them by scene, hit the spacebar to audition a file, then right-click to open the worst ones in the standalone editor. RX respects the Mac’s recent-file list and Spotlight index, so a file you processed three weeks ago for a different project surfaces instantly when you type the scene code. The suite also integrates with the system’s audio routing for monitoring: you can switch between your interface and the built-in output from the menu bar, which matters when you are checking low-end rumble on a pair of headphones plugged directly into the MacBook.
For music producers, the bridge is usually Logic or Ableton Live. Dialogue Isolate or Music Rebalance can be applied as real-time inserts, but the smarter workflow is offline rendering through the RX application. Pull a stereo mix into the standalone editor, run Music Rebalance to separate the vocal from the instrumental, then export the stems back into the DAW for remixing. The round-trip is quick enough that it becomes part of the arrangement process, not just a salvage operation.
A repair session, step by step
Imagine a scene shot on a city rooftop at dusk. The dialogue track carries wind, distant traffic, and the low mechanical hum of an HVAC unit two floors below. The editor has already synced the audio and dropped a rough cut onto the timeline. Here is how an hour with RX 12 might unfold.
Step one — listen without looking. Open the file in the standalone editor and play the entire take with the spectrogram hidden. Mark the spots where the problems are audible: a gust hits the mic at 00:42, the HVAC drone is constant from 01:10 onward, and there is a sharp click where the actor’s ring tapped the railing at 02:03. Keeping your ears ahead of your eyes prevents you from chasing visual artifacts in the spectral display that nobody will hear in context.
Step two — Repair Assistant as triage. Run the module across the selected file and let it propose a chain. It usually catches the hum, the click, and the broadband wind. Accept the suggestions that sound right in solo, but bypass the De-noise if it thins the voice too much — the machine learning model occasionally mistakes a gravelly voice for background noise, and you learn to spot that by the third session.
Step three — surgical spectral work. Zoom into the gust at 00:42. The wind shows as a smear of low-frequency orange across four or five seconds. Switch to the brush tool, set the selection to harmonics mode so it grabs the fundamental and its overtones together, and attenuate by about 8 dB. Too much and the room tone collapses unnaturally beneath the voice; too little and the gust still distracts. Play it back, undo, adjust, repeat until the edit breathes like the surrounding ambience.
Step four — De-bleed for the lav track. The actor’s jacket rustle is bleeding into the boom. Open Stems View, separate dialogue from effects, and apply De-bleed to the dialogue stem. The rebuilt algorithm in 12 handles the low-end thump without carving out the chest resonance of the voice, which was a trade-off in previous versions. Render the stem and check it against the original: the rustle should now sit far enough back that a subtle fade blends it into the scene rather than calling attention to the edit.
Step five — Trim Silence for the assembly. The take runs five minutes with long pauses between slate calls and direction. Switch to the Trim Silence module, set the threshold to catch only the dead air below -50 dB, and trim to a 1-second pad at each boundary. Export the cleaned clip as a 48 kHz WAV, bring it back into the NLE, and watch the timeline shrink to the usable material. The module saves twenty minutes of manual chopping on a long interview or a documentary string-out.
Step six — final listen in context. Mute the original track in the DAW and play the sequence with picture. The fixes should be invisible, which is the whole point of restoration work. If the voice sounds processed, back off the last two dB of De-noise and let a little city texture bleed through. Authenticity almost always beats sterility in a mix.
Dialogue editors who lasso camera clicks in seconds
Post-production dialogue editors live inside the spectral editor. They are the ones who can draw a perfect lasso around a camera click in under three seconds and who know exactly how many bands of De-hum to engage for a European power grid versus a North American one. For them, the Stems View addition in 12 is a genuine workflow shift: isolating a reverb tail from a dialogue line without affecting the voice underneath used to require a round-trip through another application.
Location sound mixers benefit from the standalone application as a triage station. Between takes, they can pull a problematic clip into RX on a MacBook Pro, run Repair Assistant, and hand the post team a file that already has the worst problems addressed. The Trim Silence module pays for itself on documentary shoots where a single interview can run two hours.
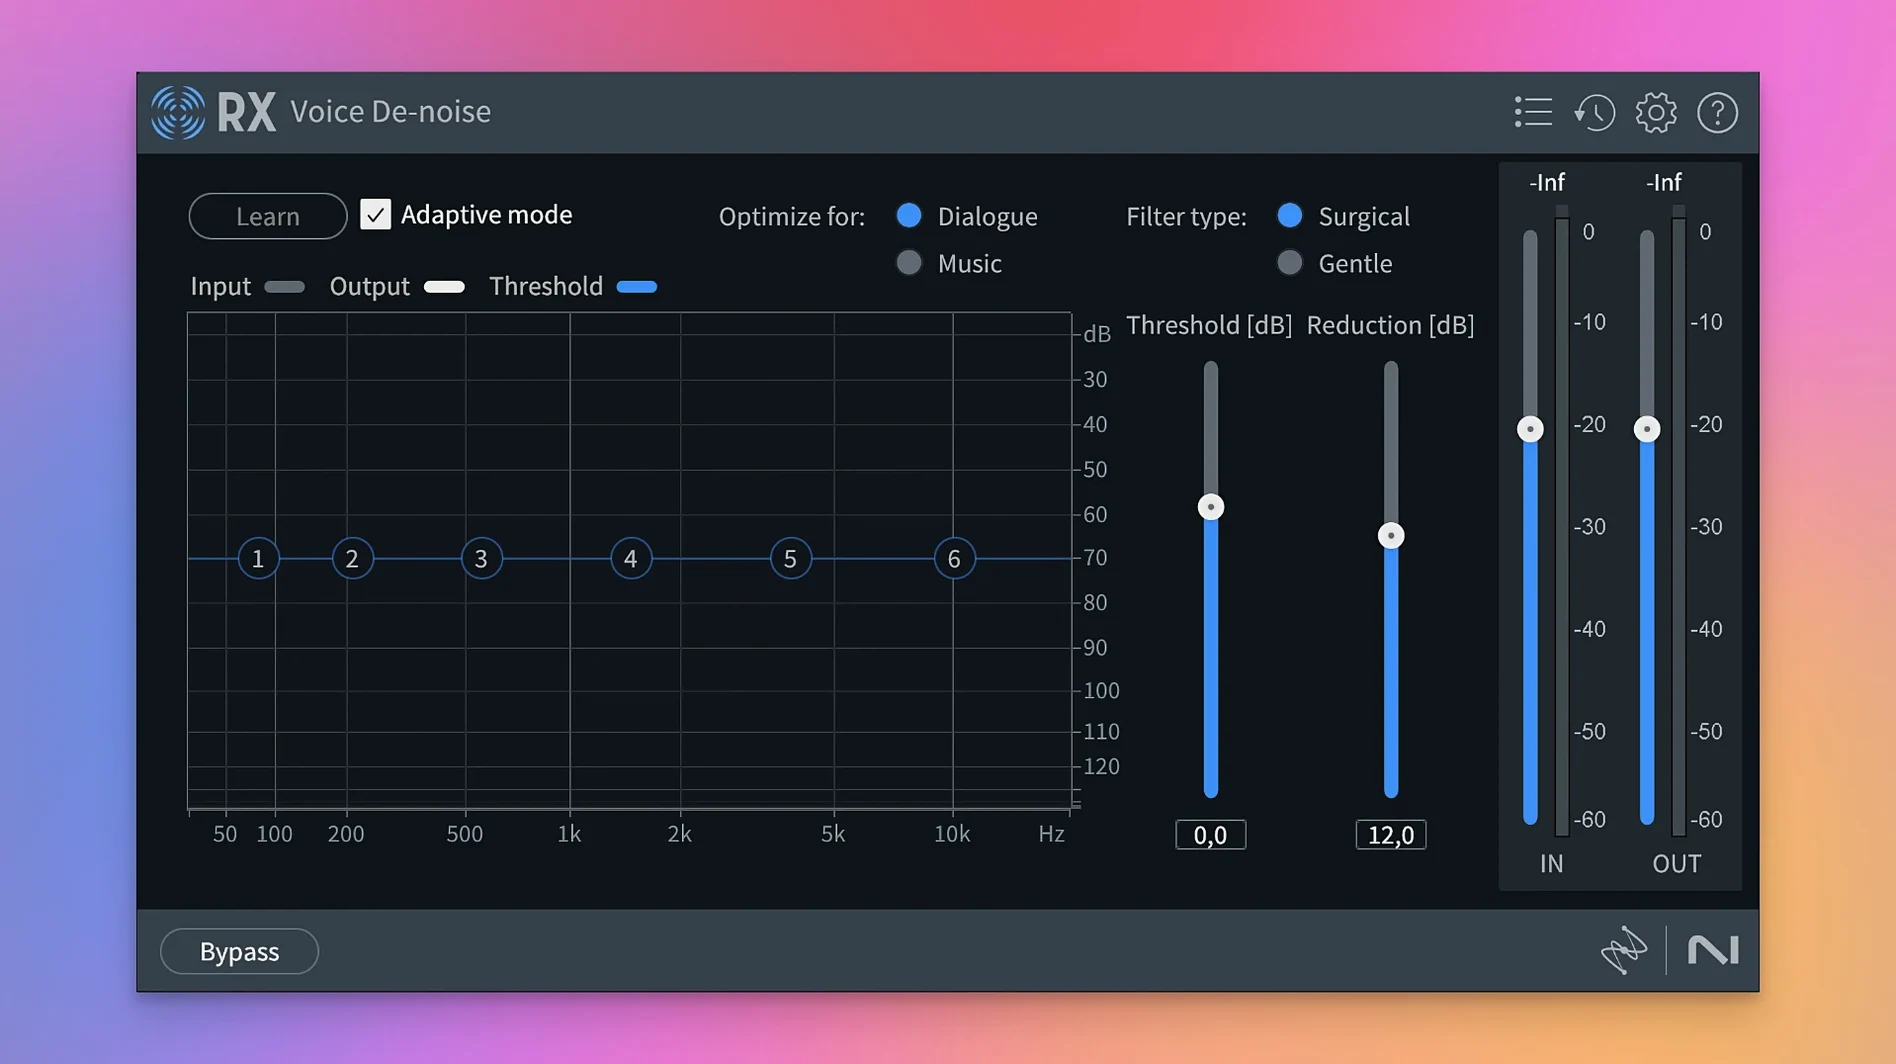
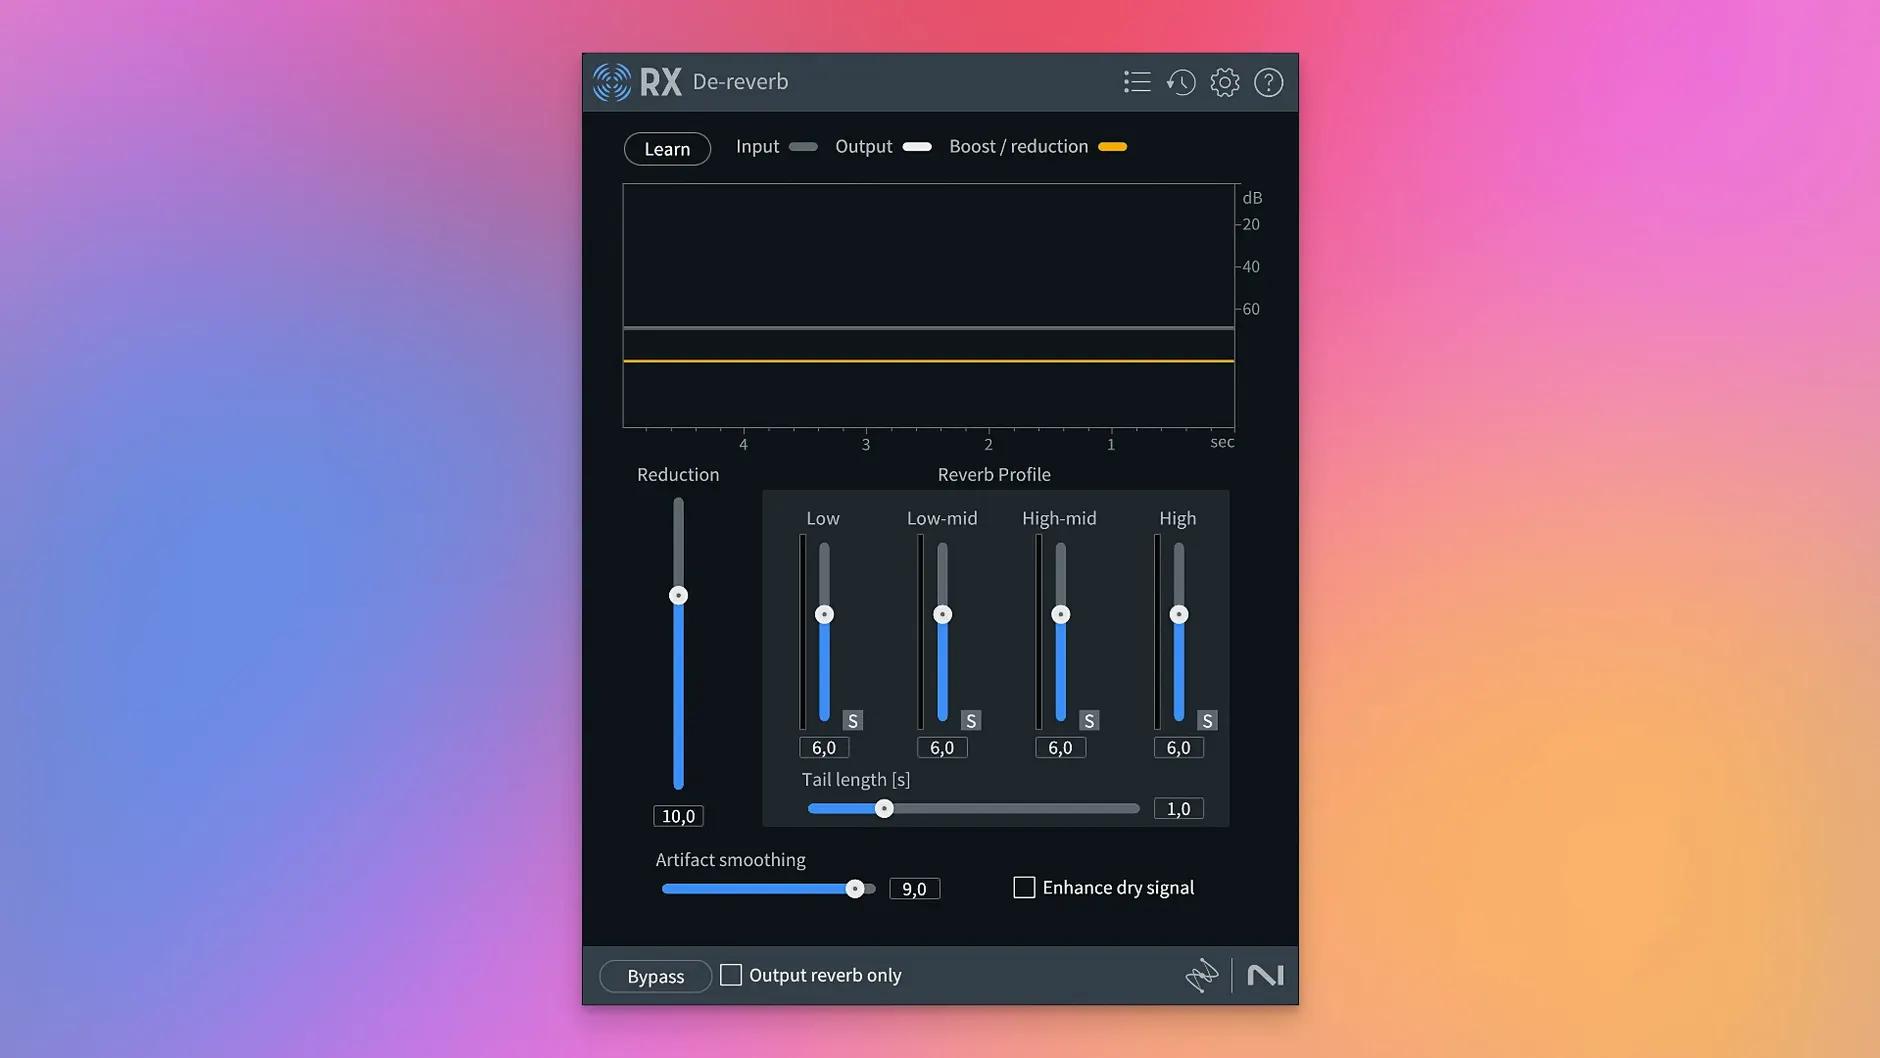
Podcast producers who record in untreated rooms find Voice De-noise and De-reverb to be the daily drivers. The modules are set-and-forget enough that you can build a preset per recording location — kitchen, office, walk-in closet — and apply it during the assembly edit without opening the spectral display at all. The improved Breath Control catches inhalations more cleanly than a gate ever could, which matters when a host is speaking quickly and you want to tighten pacing without making the edit sound chopped.
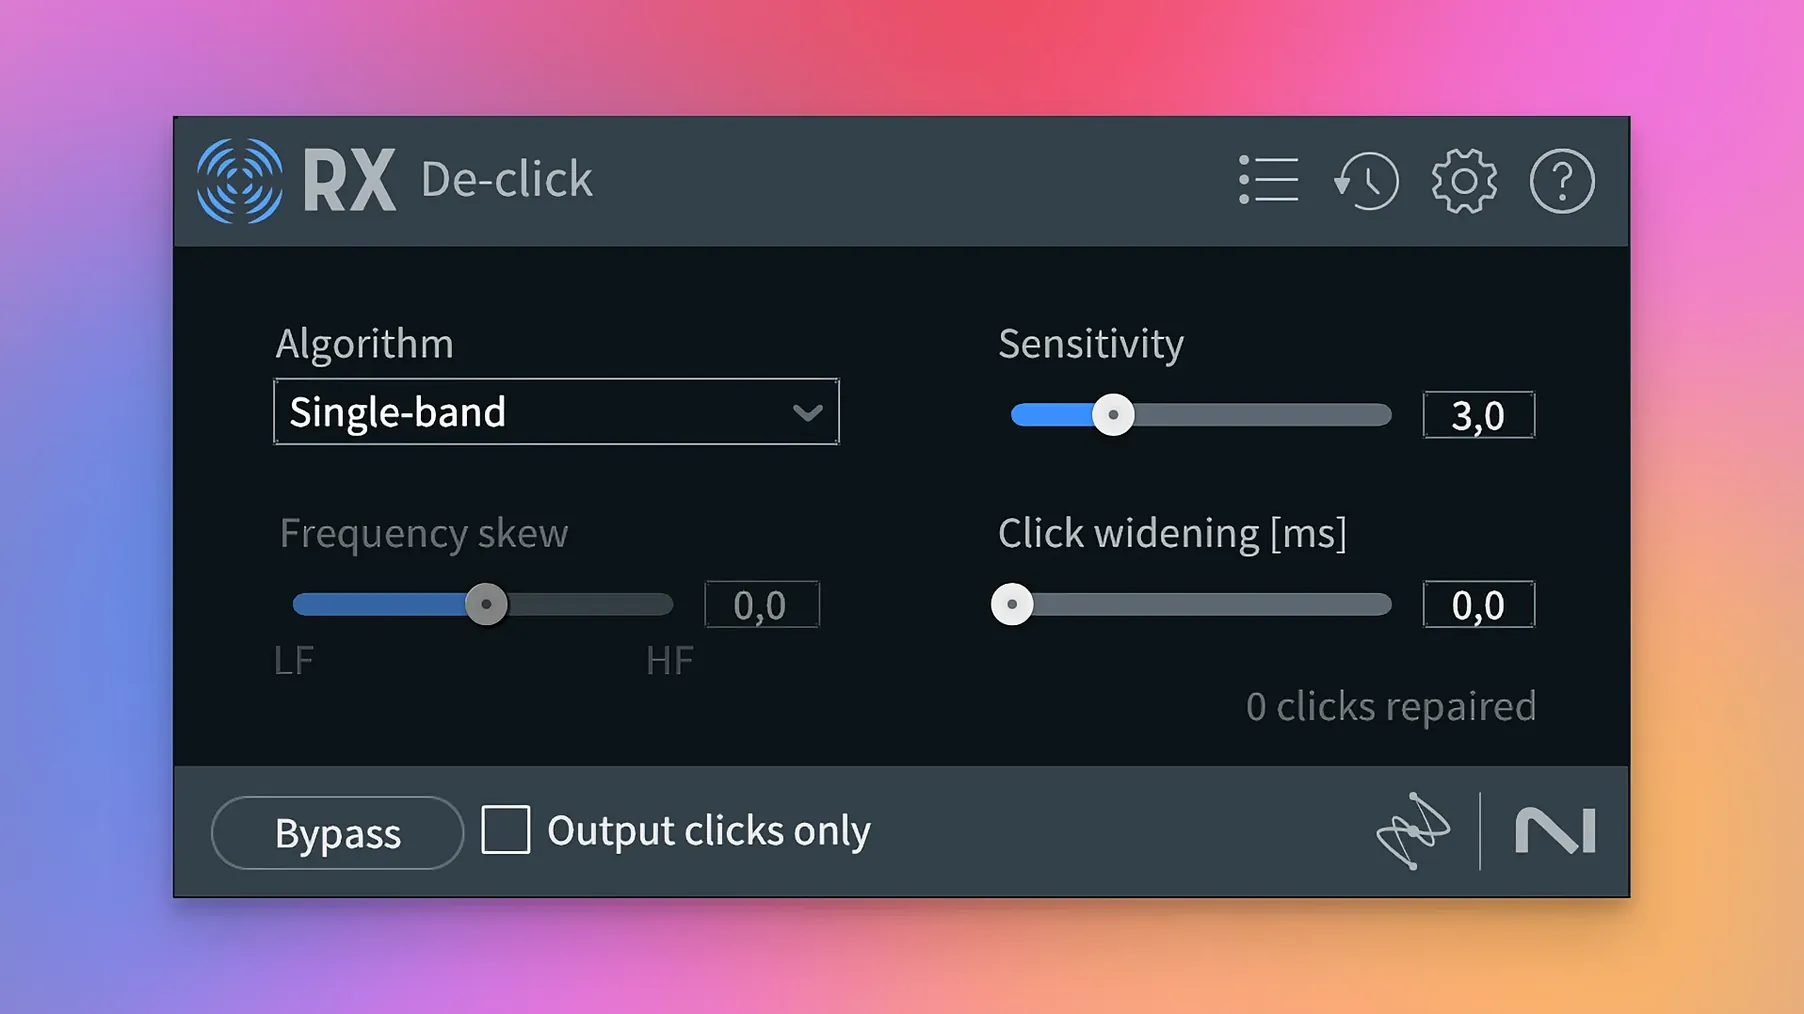
Music producers and sample-library creators lean on Music Rebalance and De-click. Cleaning up a vinyl rip for a beat tape, separating a vocal from a stereo bounce when the session files are long gone, or removing the creak of a piano pedal from a sampled note — these are jobs that would require hours of manual editing or a second recording session, and RX collapses them into a few minutes of processing.
Dragging the contrast slider to see faint hiss in orange
The spectrogram’s colour scale is adjustable. Dragging the contrast slider in the display preferences pulls faint noise out of the background blue and into visible orange, which helps when you are hunting for a low-level hiss that you can hear but cannot see. Most users leave it on the default setting for years without realizing the control exists.
Keyboard shortcuts for module toggling speed up comparison listening. Assign De-hum, De-click, and Voice De-noise to the number row, then tap through them while the file plays. Your ear catches the moment a module hurts more than it helps, and you bypass it before you waste time dialing in a setting that was never going to work.
The History panel in the standalone editor is a full undo tree, not a linear list. You can branch from a restoration choice made ten steps back without discarding the work that followed. When you are experimenting with different De-noise strengths, branch at the point before the module was applied, try a second setting, and A/B between the two branches by clicking back and forth. The module even lets you save a branch as a snapshot for later comparison.
Instant Compare — the small waveform button next to each module’s bypass switch — plays a few seconds of processed audio in a loop. It is faster than toggling the entire module on and off, and it keeps your ears calibrated to the difference rather than the absolute sound. Editors who use it habitually tend to dial in subtler settings.
ARA mode supports multiple clips simultaneously in Logic and Studio One. Select three dialogue regions on different tracks, send them all to RX, and the spectral editor opens them in tabs. Fix a hum on one, a click on another, and a rustle on the third without closing and reopening the editor each time. The round-trip renders back to the timeline in one pass.
Repair Assistant over-attenuates quiet voices
Over-reliance on Repair Assistant is the most common early mistake. The module is a starting point, not a final pass. It tends to over-attenuate noise on quiet voices and can misinterpret a breathy delivery as something that needs fixing. Train yourself to treat its suggestions as a rough draft: accept the modules that clearly apply, then dial each one back by a few dB and listen again.
Processing in solo without checking in the mix leads to thin dialogue. A voice cleaned in isolation often sounds brittle once the room tone and music bed return. The fix is simple — keep the full mix playing while you adjust De-noise and De-reverb, or at least toggle the context back in every few minutes. The goal is intelligibility, not laboratory sterility.
Painting too much in the spectral view creates watery artifacts. The algorithms interpolate the removed audio, and if you brush out every visible speck of noise, the result starts to sound like a low-bitrate MP3. Leave the faintest trace of broadband noise in the gaps; it masks the interpolation and preserves the natural air around a voice.
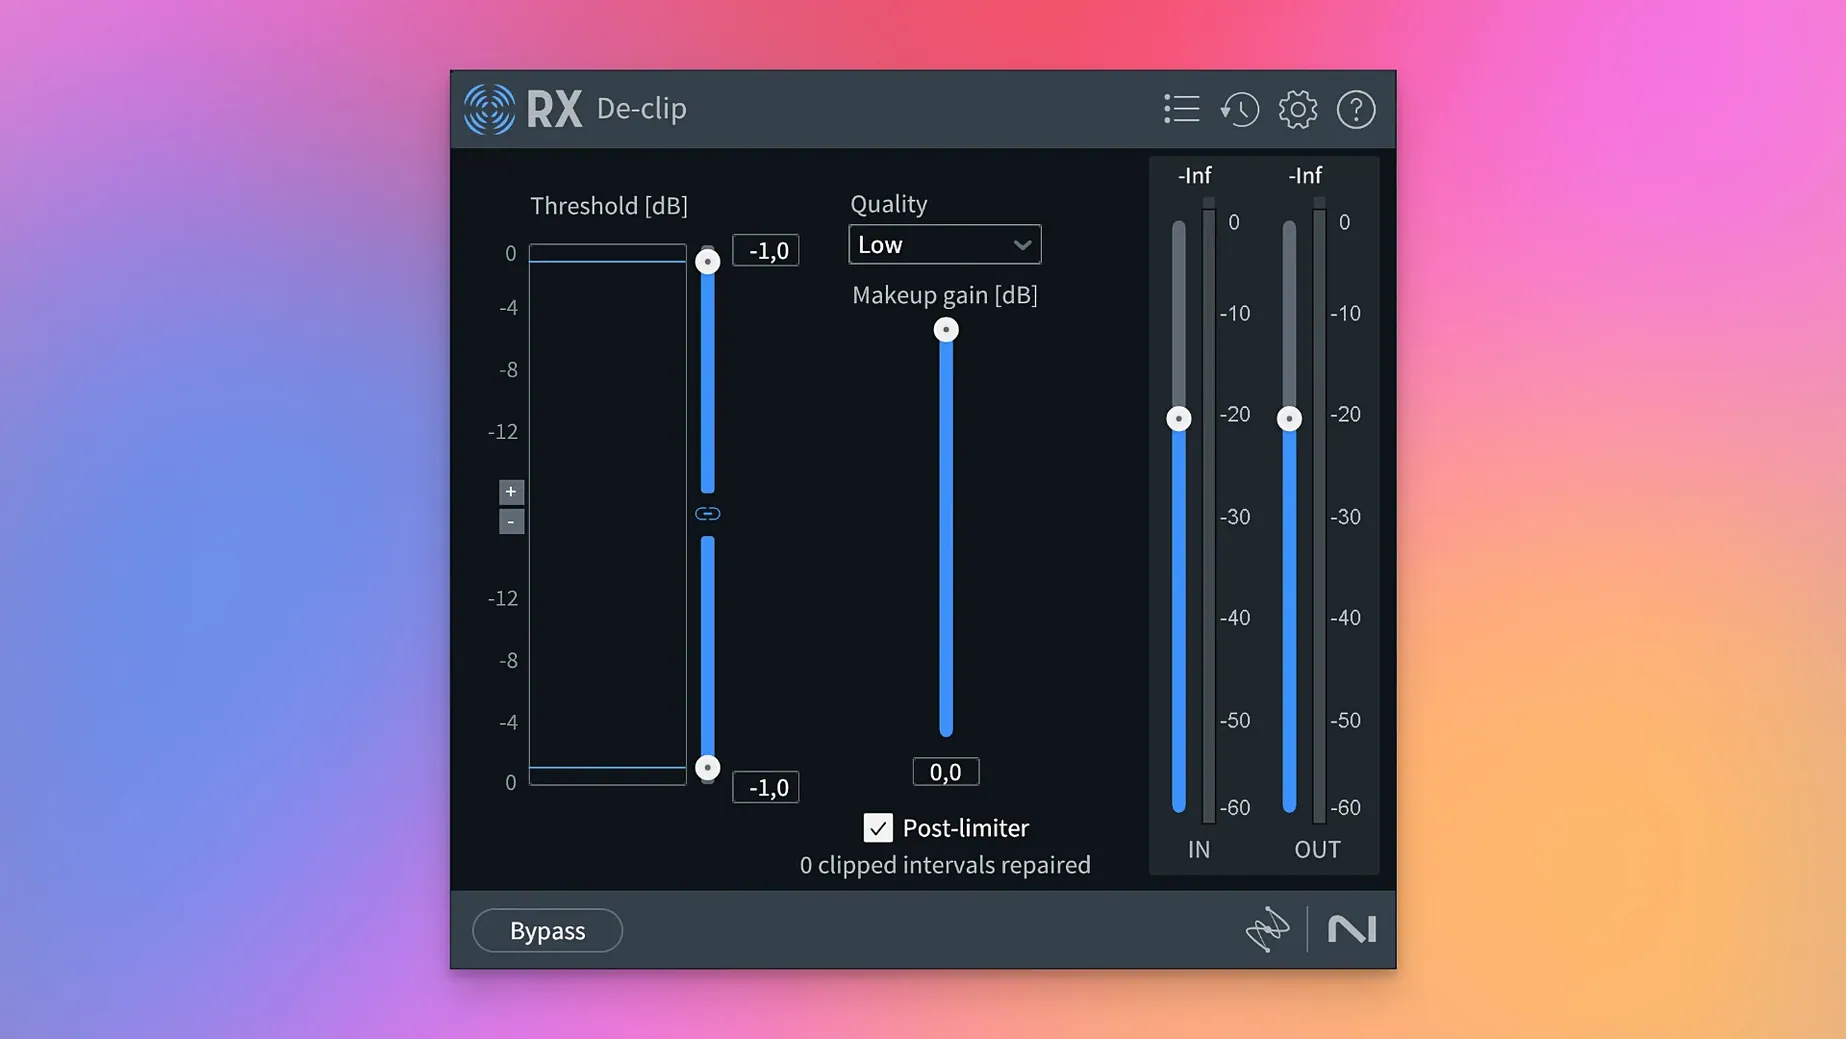
Ignoring the output ceiling on modules like De-clip and De-click can lead to new distortion. The reconstructed waveform peaks sometimes exceed the original, and if your DAW channel is already running hot, the repaired audio clips again at the fader. Enable the output limiter built into the module or drop the clip gain by 3 dB before processing.
Applying Breath Control before noise reduction is a sequencing error. The algorithm reads inhalations partly by their spectral shape, and if broadband noise is still present, it misidentifies noise bursts as breaths. Clean the file with Spectral De-noise or Voice De-noise first, then run Breath Control on the quieter background.
Forgetting to set the noise print correctly in Dialogue Isolate leaves the voice phasey and thin. The module needs a quiet section of the file — even half a second of room tone — to learn what to remove. If you feed it a section with dialogue, it carves into the voice itself. Always select a silent moment first, capture the print, then process the full clip.
RX 12 introduces Scene Rebalance for separating a stereo mix into dialogue, music, and effects stems. Trim Silence arrives for quickly cleaning long recordings. A new Stems View lets you apply spectral processing to isolated elements, while De-bleed and Breath Control return with rebuilt detection and processing engines.
- macOS 14.7 Sonoma or later
- Intel and Apple Silicon support
- AU, AAX, AAX Audiosuite, VST3, AU ARA, and VST3 ARA plug-in formats
Questions from the booth
It is built for audio post-production across film, television, podcasts, music, video games, and sample library work—anywhere recorded sound needs cleaning or restoration.