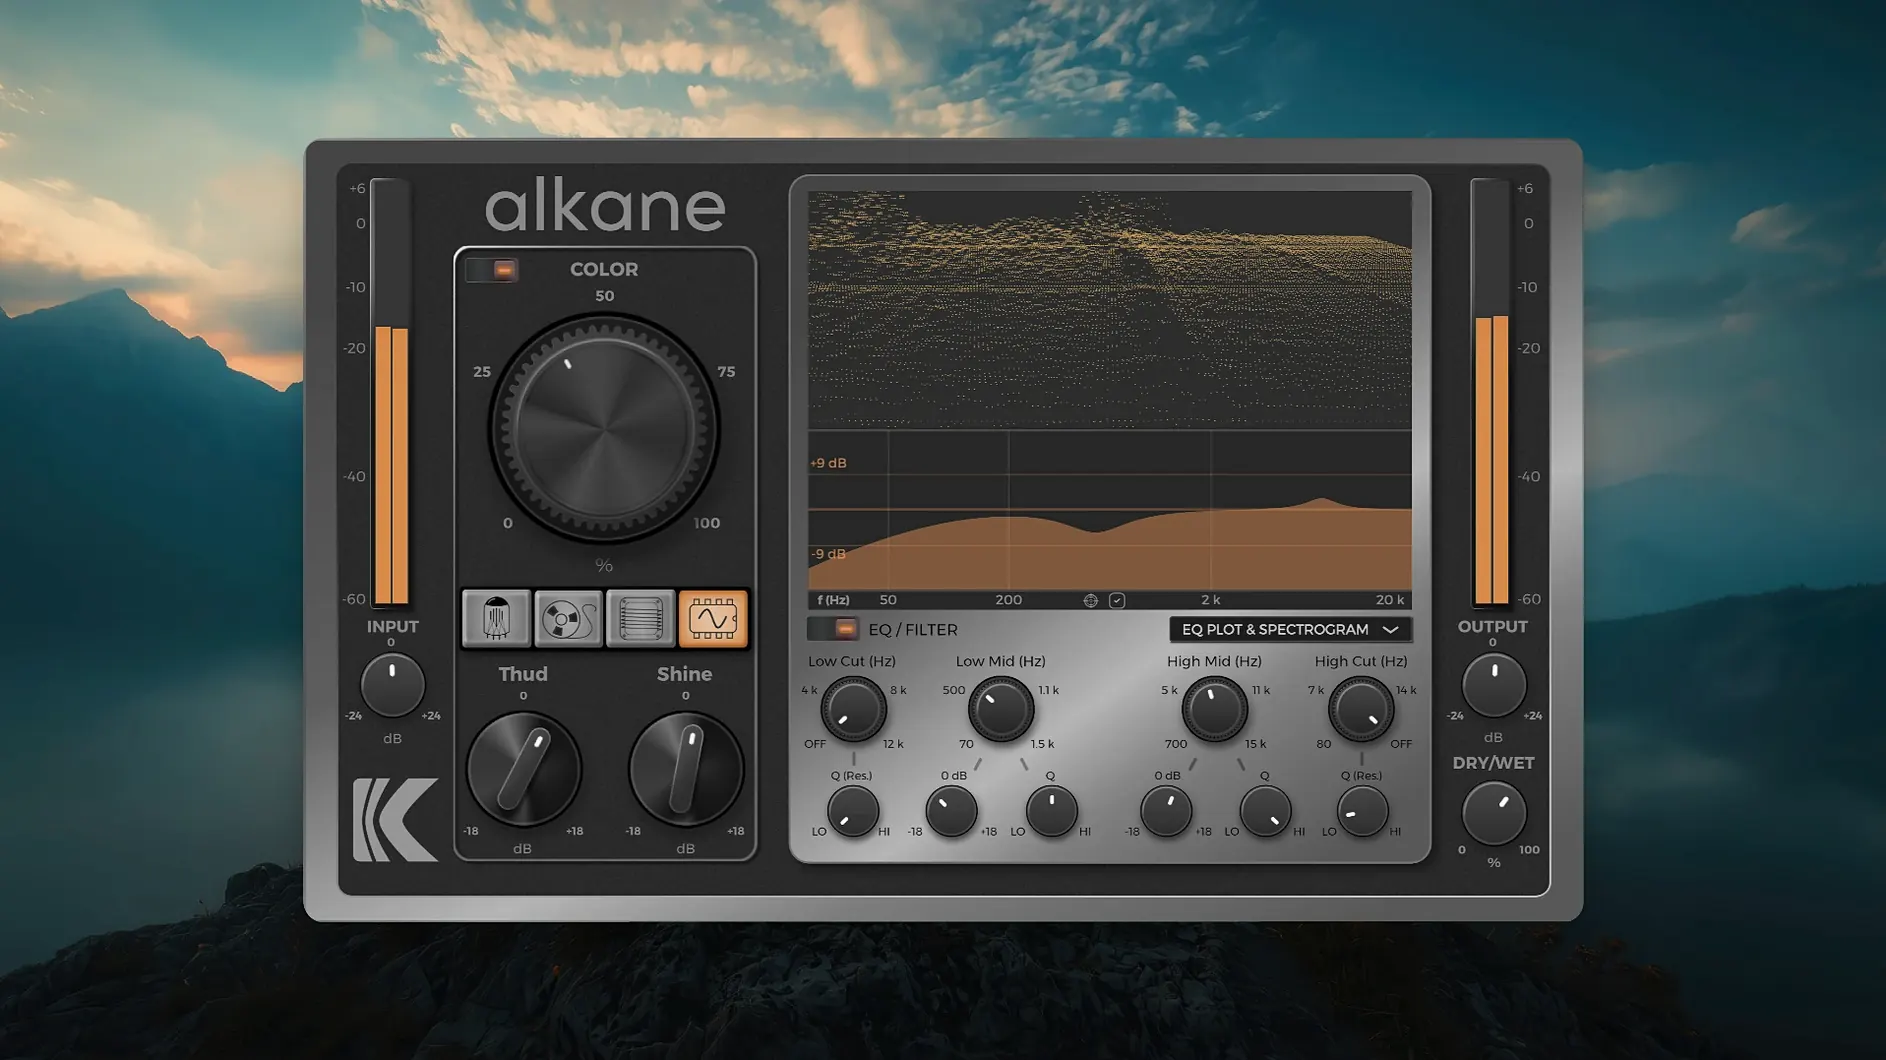
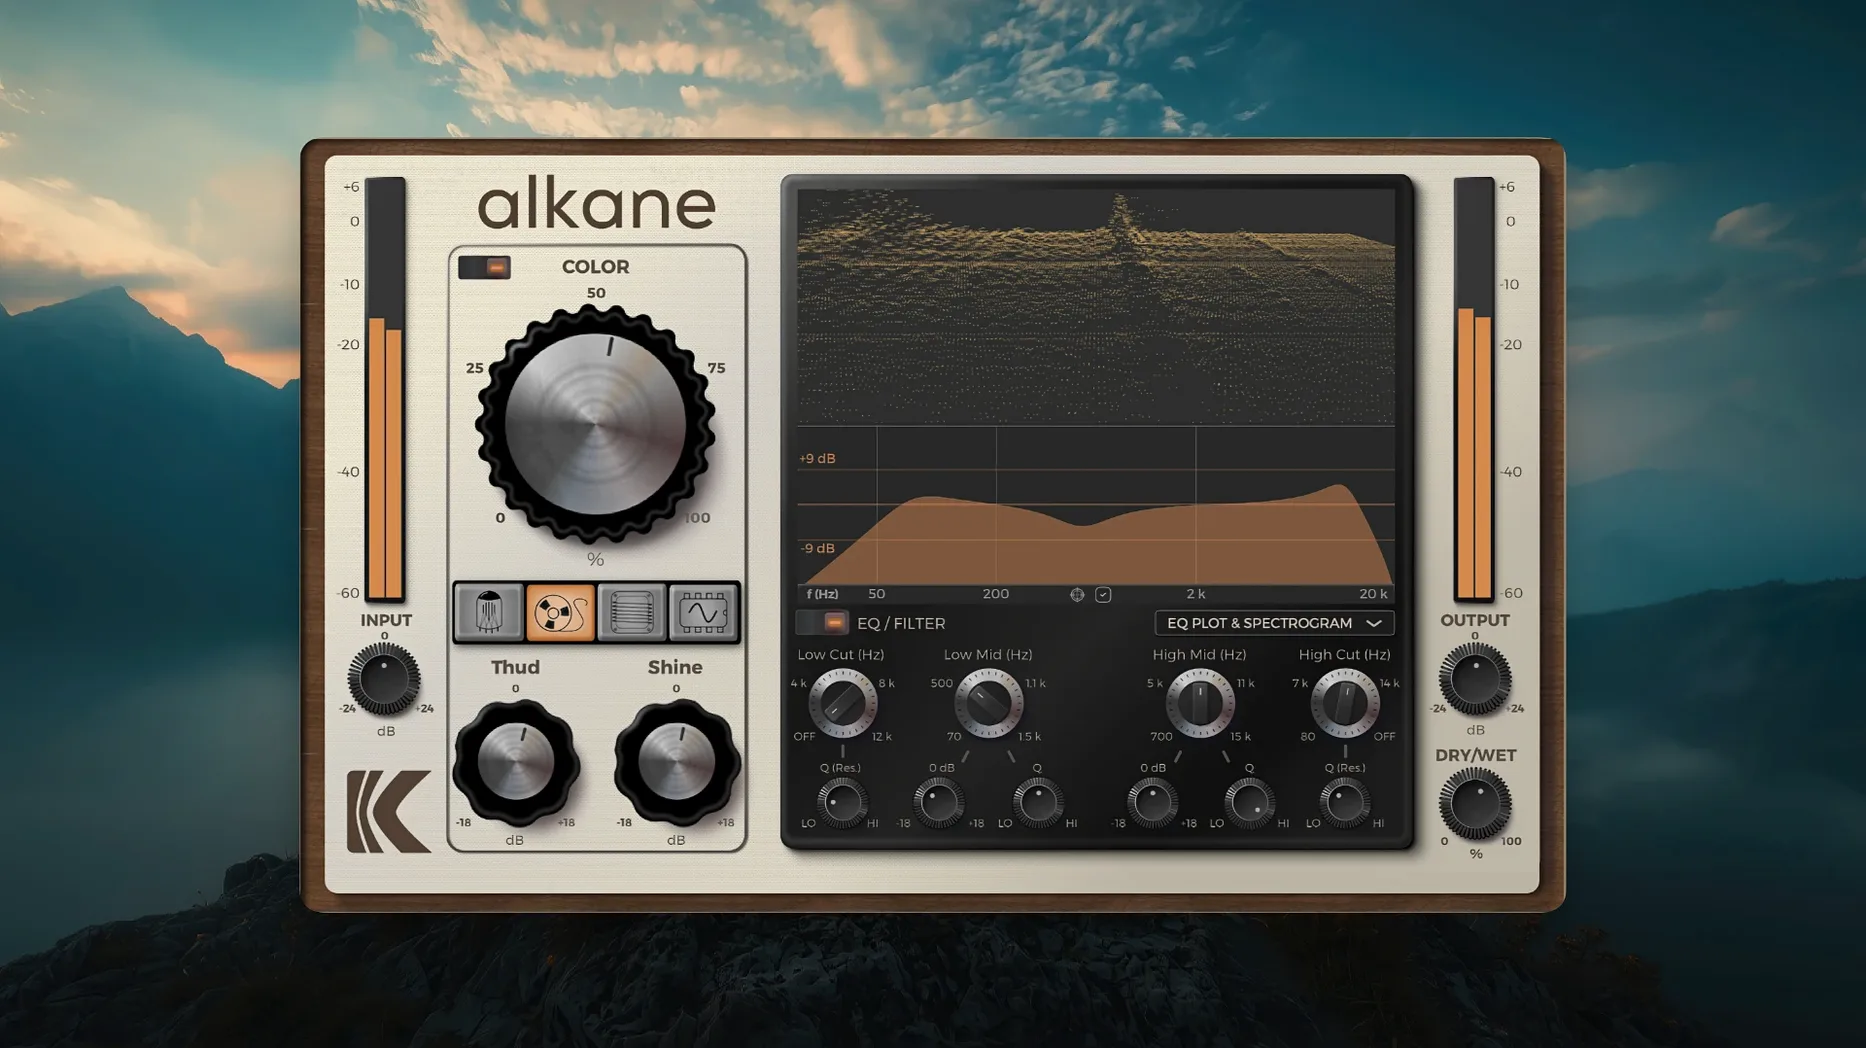
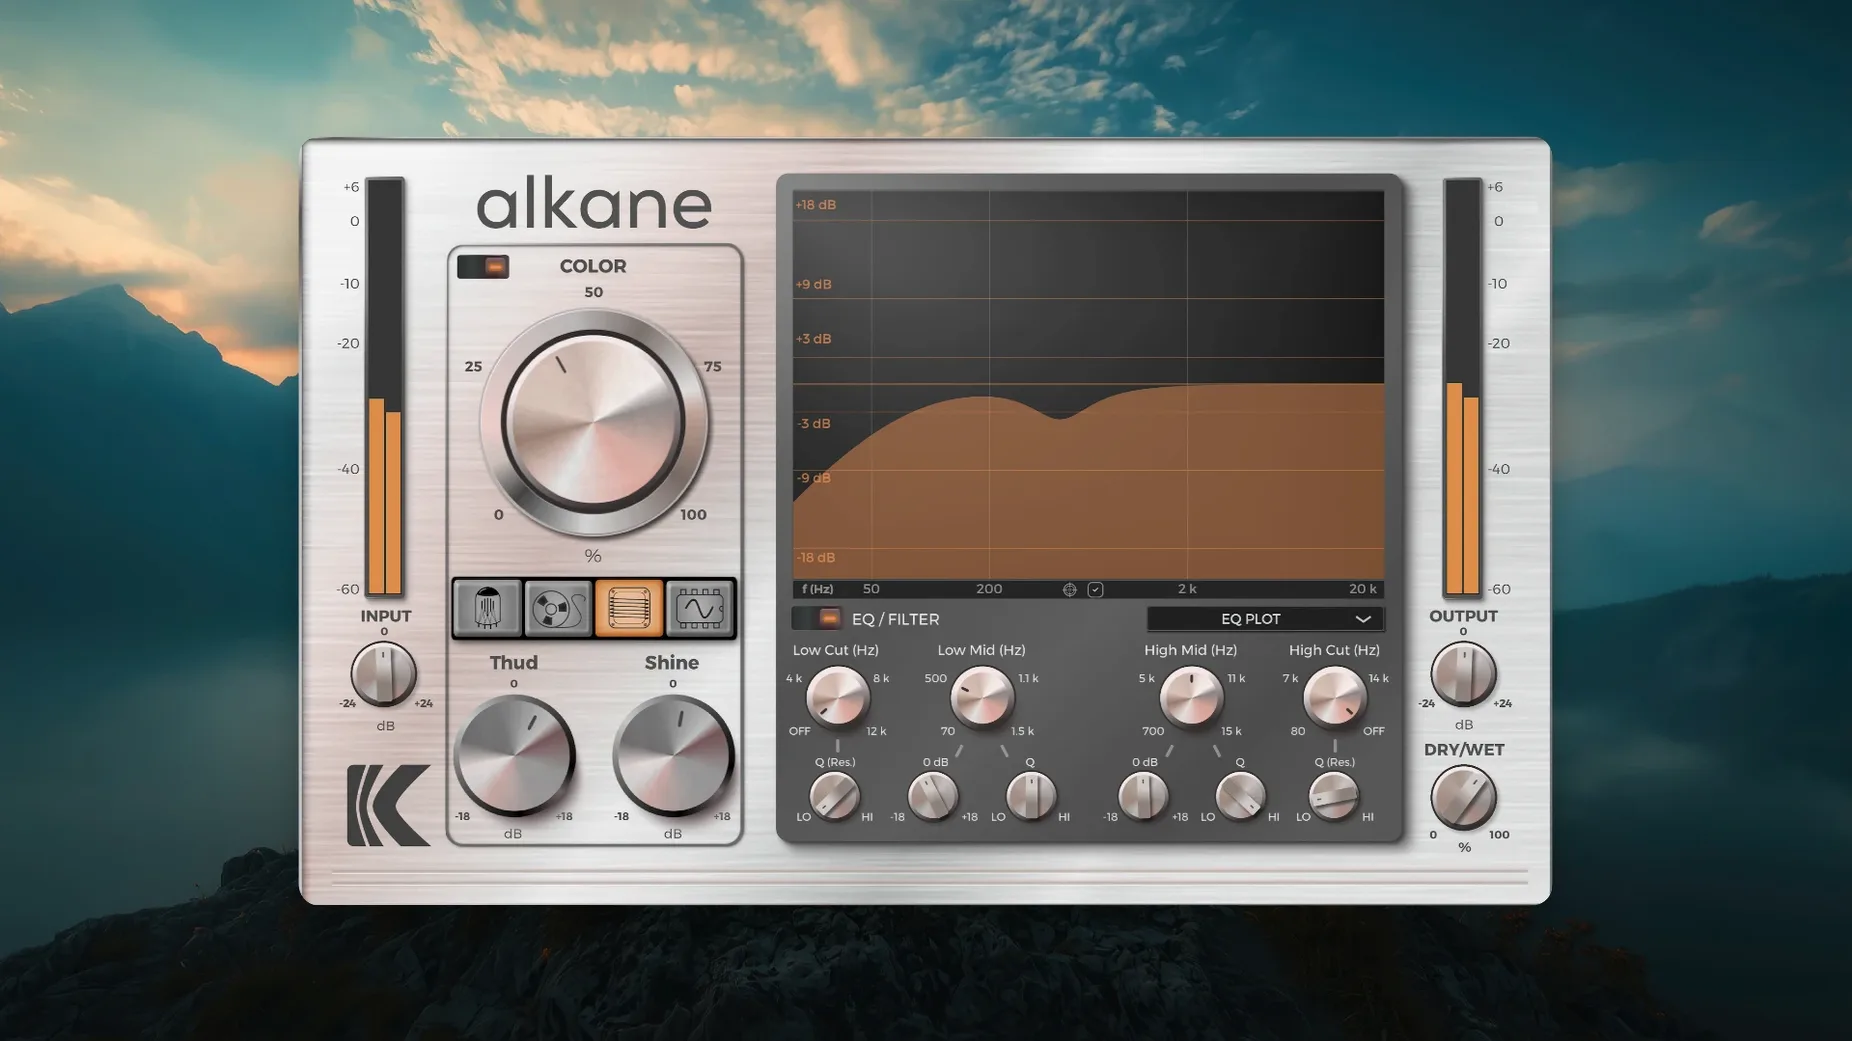
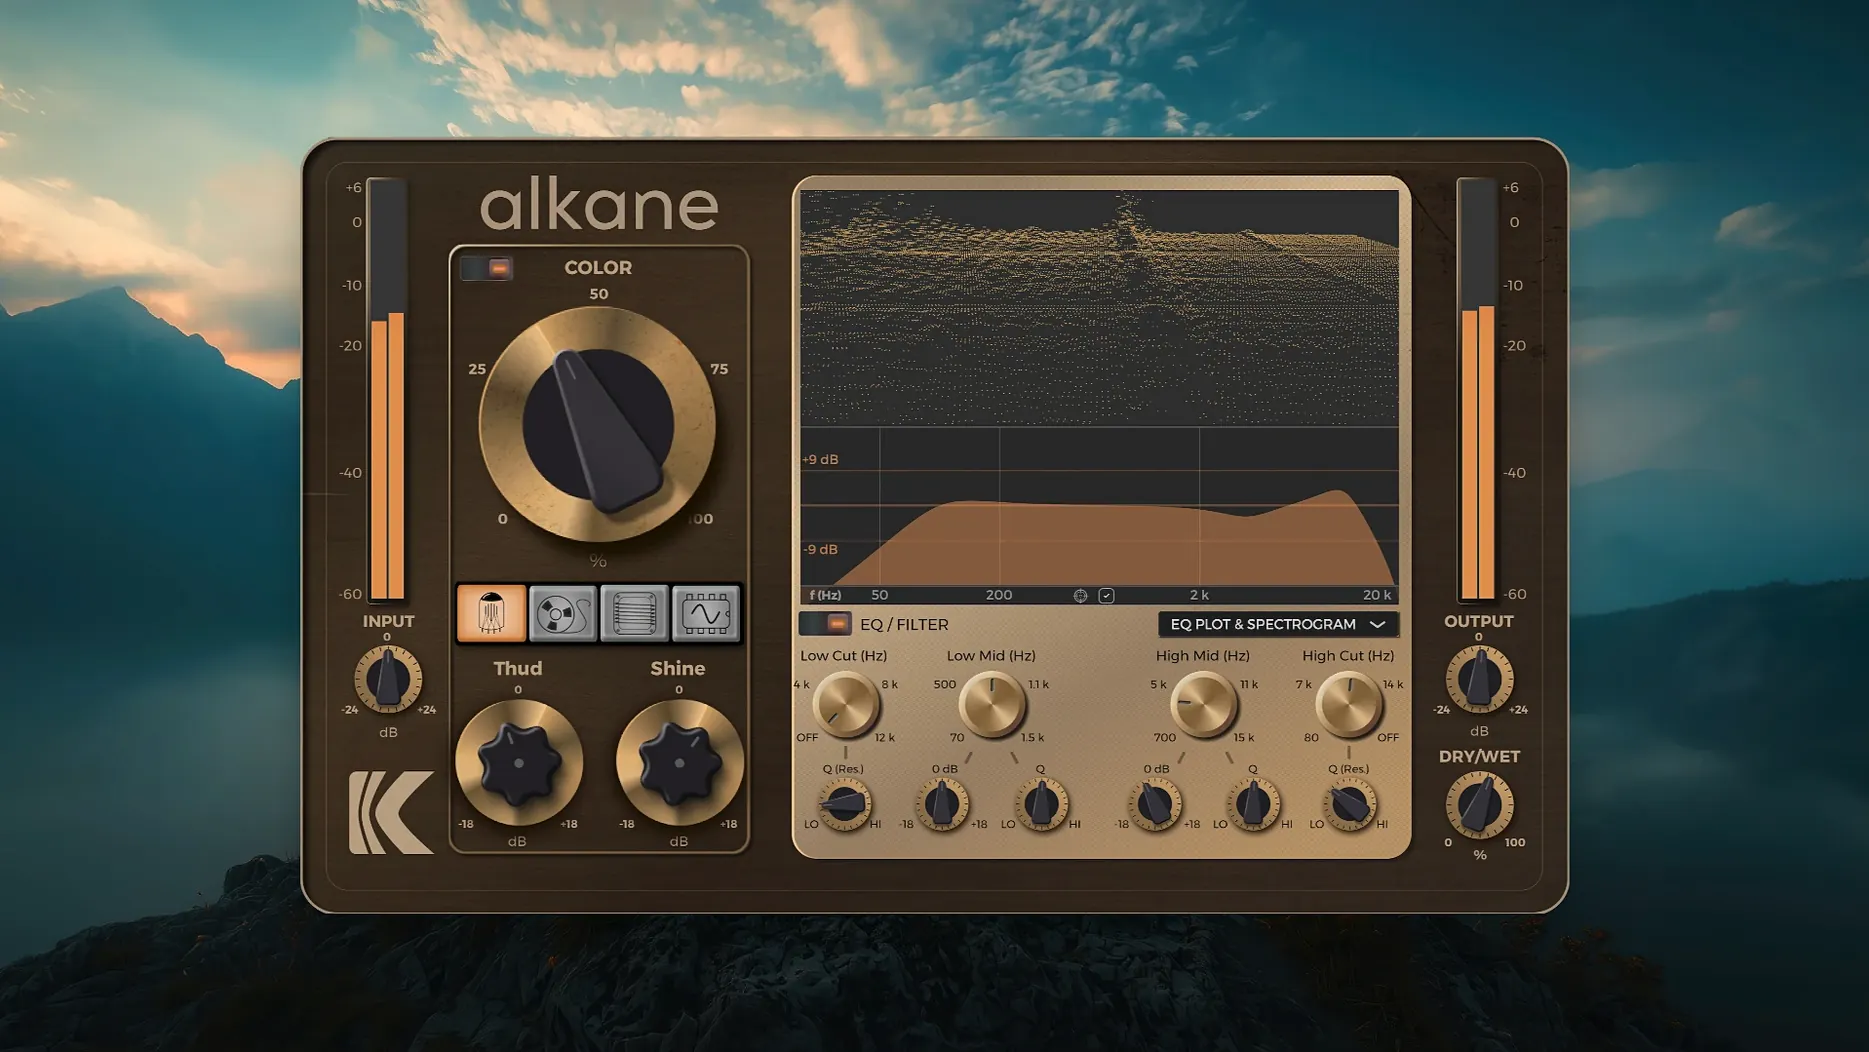
The drum bus is hitting clean but feeling sterile — transients poking through the mix without any of the glue you’d get from the console at the old studio on Powell Street. You drop KD Alkane onto the insert, pull back the threshold on the first circuit, and the kick rounds out almost immediately, the snare wire buzz softening into something that breathes rather than snaps.
- Open the plug-in in your session — AAX, AU, or VST3, whatever your host expects. It loads fast on Apple Silicon, no wrapper needed on macOS 11 and later. Logic, Pro Tools, Cubase — it slots in the same way every time.
- Dial in the quad-circuit section first. Four cascaded saturation stages give you everything from subtle transformer-style warmth to a crumbling, overloaded channel strip. Push the later stages harder and the harmonic content stacks in a way that feels reactive, not static.
- Shape the tone with the two-band parametric EQ. It sits post-saturation, so you can carve out the low-mid mud that heavy drive builds up, or brighten the top end without the fizz that a shelf boost usually brings.
- Engage the Color module. This isn’t a simple tilt filter — it imparts a distinct spectral curve that shifts the whole signal toward a darker, tape-like character or a more open, airy presence depending on where you set it. Useful as a final polish or a drastic re-voicing of a synth pad.
The plug-in was built by Kalifornia Dynamic as a single-purpose tool for producers and sound designers who want analog behaviour without leaving the box. The four circuits don’t just clip — they fold, compress and bloom in ways that respond to input level, so a quiet piano passage gets a gentle halo while a slammed 808 line distorts with a controlled, musical breakup. Because it runs native on ARM architecture, the latency stays low even when you stack instances across a full mix session.
A complete vocal saturation chain, step by step
Start with a dry lead vocal that sounds too clinical — the kind of close-mic'd take where every sibilant lands like a pin drop and the body of the voice lacks weight. Insert KD Alkane on the vocal channel, but before you touch a knob, solo the track and set the plug-in's output level to unity so you can compare gain-matched before and after. This matters more here than on drums, because the Color module can change perceived loudness in ways that fool you into preferring the louder signal.
Now bypass all four circuits and bring up the first stage — Tube — slowly. Keep the drive low, around 9 o'clock, and listen to what happens around 200 to 400 Hz. The chest resonance thickens without turning boomy. Push the second stage, Tape, just enough that the consonants soften. You're not after obvious distortion. What you want is the transient on the word "can't" to round off slightly so it doesn't leap out of the speakers. The third and fourth stages can stay off for now; stacking all four on a vocal usually ends up grainy unless the arrangement is sparse and industrial.
Move to the EQ section. Engage the high-pass filter and sweep it up to around 90 Hz — the vocal doesn't live down there, and the Tube stage may have added some subharmonic rumble you didn't notice at first. The low shelf on the parametric band can dip a decibel or two around 300 Hz if the warmth is piling up into mud. A gentle high-shelf boost at 8 kHz, no more than a decibel and a half, brings back the air that the Tape circuit softened away.
Finally, the Color module. Set it to roughly 30 percent wet and sweep the character control slowly while the vocal plays in context with the full arrangement. Somewhere around the darker third of the knob's travel, the voice sits back into the track without losing intelligibility — the reverb tail seems to bloom around it rather than sitting on top. That's the non-linear processing doing its work on the transient edges. Print the track and A/B against the raw take. The difference should feel like a change of microphone preamp, not a special effect.
A game audio designer salvaged a monster roar with four cascaded circuits
A game audio designer I know — the kind who builds creature vocals by layering pitched-down cello bowing with processed breath — ran into trouble on a deadline. The monster's roar needed to shake the room, but every saturation plug-in she tried either fuzzed out into white noise or added a plastic-sounding crunch that made the creature sound synthetic. She loaded KD Alkane on the sub-bass layer, a 40 Hz fundamental with harmonics from a ring-modulated contact mic recording.
She enabled the Transformer circuit first, driving it until the waveform started to fold asymmetrically — the kind of clipping that adds even-order harmonics and makes the low end feel wider without eating headroom. Then she patched in the Synth circuit at low drive, just to add a slightly hollow, resonant overtone around 1.2 kHz that made the roar feel like it came from a throat rather than a circuit board. The 3D spectrogram in the visualizer let her spot exactly where the harmonic series was thinning out, so she nudged the EQ to compensate. The final sound dropped into the game's build that night, and in the morning the creative director asked what outboard gear she'd rented. Nothing — just a plug-in and a good set of monitors.
Subtle oversampling tweaks cut aliasing when all circuits run hot
Version 1.0.17.0 brought refinements rather than overhauls, but a few changes altered how the plug-in behaves in daily sessions. The 8x oversampling engine received a subtle update that reduced aliasing artifacts when stacking all four circuits at high gain — previously, certain combinations of Tube and Synth stages could produce a faint glassy overtone around 16 kHz that wasn't part of the source. Now the top end stays cleaner even in extreme settings, which makes the plug-in more viable on full-range material like mix bus or mastering chains.
The GUI scaling also tightened up. On earlier builds, switching between a MacBook's built-in display and an external 4K monitor sometimes left the visualizer window slightly offset. That's resolved, and the parameter readouts now update more smoothly when you automate circuit drive levels from your DAW. The Color module's curve was tweaked as well — the darker settings retain more midrange presence than before, which means you can push a track deep into tape-style saturation without the vocal or lead line disappearing behind the rest of the arrangement. If you've been using an older version, the difference is noticeable the first time you re-open a session and A/B the Color bypass.
Beginner pitfalls that are easy to fix
The most common mistake is ignoring the gain staging between the four circuits. Each stage feeds the next, so if you crank the Tube drive thinking it sounds great solo'd, the Tape and Transformer stages downstream will clip hard in ways that turn musical saturation into a brittle, unresponsive wall of fuzz. Back off the earlier stages and push the later ones incrementally — the cumulative effect is what you're after, not one stage doing all the work.
Another habit worth breaking: using the EQ before understanding what the Color module is already doing to the frequency balance. The Color curve is non-linear and transient-aware, so a vocal that sounds dark with Color engaged might just need the module's character control shifted, not a high-shelf boost layered on top. Boosting before adjusting Color often leads to a harsh, phasey top end that's hard to undo without resetting the whole plug-in. Start with Color bypassed, dial in the saturation, then bring in Color and tweak the EQ only to correct what the module changes.
Finally, some producers new to the plug-in treat all four circuits as if they need to be on. They don't. A bass DI track might only want the Transformer stage for weight and a touch of Synth for midrange grit. A drum bus might need Tube and Tape but nothing else. The bypass buttons exist for a reason — use them, and don't let the interface convince you that an unused circuit is an opportunity wasted. Sometimes the best character comes from restraint.
- macOS 11 or later
- Apple Silicon (ARM) processor
- AAX, AU, or VST3 compatible host
Questions from the booth
It is available in AAX, AU, and VST3 formats for use inside DAWs like Pro Tools, Logic Pro, and Cubase.
Yes, it uses ARM architecture and requires macOS 11 or later, so it runs natively without Rosetta translation.
The Color module applies a distinct spectral curve to the signal, shifting the overall tonal character toward a darker, tape-like quality or a more open, airy presence depending on the setting.